Slow plasma cutting usually points to heat, height, air, or consumable problems. If your torch crawls through the cut, the arc may not have enough power to pierce the material cleanly, or worn parts may be weakening the arc. This guide explains the most common causes of slow cutting speeds and shows you how to adjust your setup for cleaner, faster cuts.
What’s in This Article
- Understanding the Impact of Cutting Speed on Quality
- Identifying Common Causes of Slow Cutting Speed
- Adjusting Amperage and Voltage Settings for Optimal Performance
- Maintaining and Replacing Consumables for Better Efficiency
- Techniques for Achieving Consistent Travel Speed
- Ensuring Proper Setup and Calibration for Accurate Cuts
- How Air Flow and Gas Pressure Affect Cutting Speed
- When to Stop and Check the Machine
- Frequently Asked Questions
Quick Answer
Your plasma cutter may cut slowly because the amperage is too low, the material is too thick, the torch height is off, or the consumables have worn out. Dirty metal, weak grounding, poor air flow, and low gas pressure can also slow the arc. Start by checking the consumables, ground clamp, air supply, amperage, and standoff distance.
Key Takeaways
- Match amperage and travel speed to the material thickness.
- Keep the torch at the right standoff distance for a stable arc.
- Replace worn electrodes and nozzles before they hurt cut quality.
- Clean rust, paint, oil, and dirt from the cutting path before you start.
- Check air pressure, gas flow, and the ground clamp when cuts slow down.
Understanding the Impact of Cutting Speed on Quality
Cutting speed has a major effect on your plasma cutting results. You might think slower travel gives you more control, but moving too slowly lets the plasma arc dwell in one spot. That extra heat widens the kerf and leaves excessive dross, which is oxidized metal that sticks to the cut edge.
Slow travel can also cause warping, especially on thin sheet metal. The risk grows when you use too much amperage or hold the torch too close to the workpiece.
Clean cuts come from matching travel speed to the material thickness, amperage, gas type, and torch height. Each setup has a useful speed range where the arc cuts through the metal without leaving heavy dross.
Make test cuts at several speeds before cutting your final piece. Watch the sparks and arc angle. A steady arc with sparks exiting from the bottom of the cut usually points to a better travel speed.
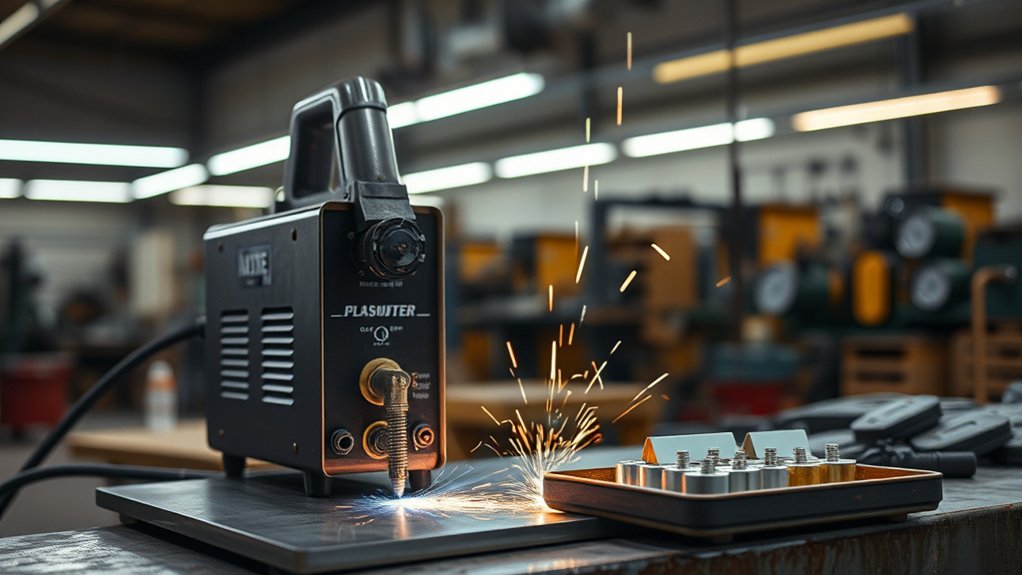
Identifying Common Causes of Slow Cutting Speed

When your plasma cutting tasks take too long, start with the most likely causes. Material thickness, surface condition, torch height, consumable wear, and machine settings all affect slow cutting speed.
Material thickness and surface contamination are two of the most common causes of slow plasma cutting.
If you cut thick material without enough power, the arc struggles to pierce and sever the metal. That weak cut forces you to slow down, and it can leave rough edges or incomplete cuts.
Surface contamination also causes trouble. Rust, paint, mill scale, oil, and dirt can disrupt the arc and make the torch drag through the cut.
The standoff distance matters, too. If you hold the torch too far from the workpiece, the arc loses focus before it reaches the metal. If you hold it too close, you can damage the nozzle and create more dross.
Check your consumables before changing every setting. Worn electrodes and nozzles often create a weak, unstable arc that cuts slowly and leaves rough edges.
Warning: Wear eye protection, gloves, flame-resistant clothing, and hearing protection before you cut or inspect hot metal.
Adjusting Amperage and Voltage Settings for Optimal Performance
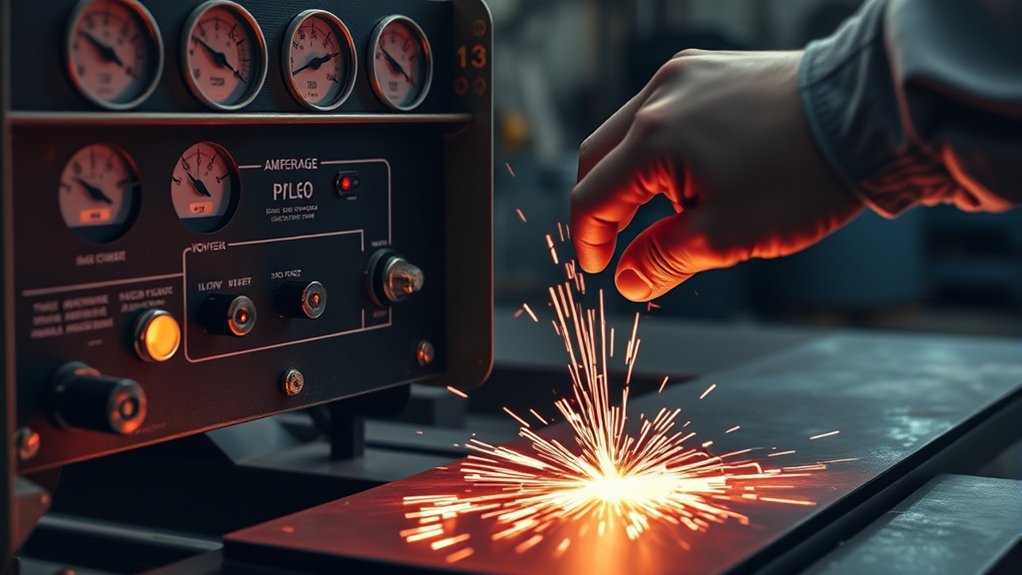
To improve cutting performance, match amperage to material thickness. Thin metal needs less power, while thicker plate needs more power to keep the arc cutting through the full depth.
Your arc voltage also ties closely to torch height. If the torch-to-work distance changes, the voltage changes with it. That shift can affect cut angle, edge quality, and speed.
Adjust the standoff distance along with amperage and travel speed. A balanced setup reduces dross, improves edge shape, and helps the torch move at the right pace.
Products Worth Considering

Foot pedal for Lotos plasma cutter and welder combos CT520D LTPDC2000D

POWERFUL CUTTING THICKNESS: This plasma cutter handles 1/2" (12mm) steel at 120V/35A and 5/8" (16mm) at 240V/60A. Dual voltage auto-detection (10-35A@120V / 30-60A@240V) with PSI guidance (70-75 PSI / 0.48-0.52MPa). Optimized for quick, efficient cuts in automotive repairs and metal fabrication
![ARCCAPTAIN Plasma Cutter, [Large LED Display] 50Amps Cutter Machine with 110/220V Dual Voltage DC Inverter IGBT 1/2 Inch Clean Cut Post Flow and 2T/4T, for Beginners DIY](https://m.media-amazon.com/images/I/418eA5bRMGL._SL500_.jpg)
【Powerful Cutting Aibility】Switch effortlessly between 110V/220V for home or workshop use. Achieve professional 1/2" clean cuts on steel, aluminum and copper with advanced IGBT technology. Perfect for DIY projects and heavy-duty tasks! The maximum cutting thickness is recommended to be 12mm @ 35A 110V, 55PSI; 18mm@50A 220V, 75 PSI. NOTE: Requires compressed air (compressor sold separately).
Balancing Amperage Levels
Good plasma cutting starts with the right amperage level. Too little amperage slows the cut and may not pierce the material. Too much amperage can add heat, widen the kerf, and warp thin metal.
Use the machine manual or cut chart as your starting point. Then make test cuts and adjust from there.
To improve speed and cut quality, follow these steps:
- Match amperage to material thickness.
- Lower amperage when thin metal starts to warp.
- Increase amperage only when the material needs more heat.
- Check the cut edge for dross, bevel, and incomplete cut lines.
- Balance amperage with travel speed instead of changing one setting alone.
Voltage Impact on Cuts
Voltage affects arc length, cut angle, and edge quality. If the arc runs too long, the cut can become angled and rough. If the arc runs too short, the torch may drag, sputter, or damage consumables.
Keep voltage, amperage, and torch height in balance. A stable arc gives you cleaner edges and helps reduce dross.
Many computer numerical control (CNC) plasma systems use torch height control (THC) to manage arc voltage during the cut. On hand-held cuts, you control this by keeping a steady torch height and travel speed.
Adjusting Standoff Distance
The standoff distance controls how far the torch sits from the workpiece. Many hand-held setups work best around 1/16 inch to 1/8 inch, but your torch and consumables may call for a different range.
Use the torch manual as your main guide. Then keep your hand steady so the arc stays focused through the cut.
Use these habits to improve arc stability:
- Watch the arc angle: Adjust speed and height when sparks trail too far behind.
- Use enough amperage: Add power only when the material thickness requires it.
- Use torch height control: Let THC manage height on compatible CNC systems.
- Check for angled cuts: A high or low torch can leave beveled edges.
- Calibrate your setup: Confirm settings before switching materials.
Pro tip: Keep a scrap piece of the same metal nearby so you can test speed, height, and amperage before the final cut.
Maintaining and Replacing Consumables for Better Efficiency
Good consumables help your plasma cutter run faster and cleaner. Inspect the tip, electrode, swirl ring, shield, and retaining cup before important cuts.
Look for irregular nozzle holes, heavy spatter, melted edges, or pitted electrodes. These signs often mean the arc has lost focus, which slows the cut and leaves rough edges.
Inspect the nozzle and electrode before blaming the machine. Worn consumables can slow cutting speed and reduce cut quality.
Replace worn tips and electrodes as a set when your manual recommends it. Mixing a new part with a badly worn part can shorten consumable life and create unstable cuts.
Moisture and poor technique can also wear parts faster. Keep the air supply dry, avoid dragging non-drag tips, and don’t overtighten the retaining cup. Finger-tightening usually gives the cup enough hold without damaging the parts.
Products Worth Considering

[Achieve Precise Cuts] PT31 Plasma Cutting Consumables – Your Essential Tool for Efficient Cutting! Whether you're working with sheet metal, steel, or any other material, superior cutting performance ensure clean, accurate, and smooth cuts.

⚡【Precision Compatibility】 Exact fit for YESWELDER CUT 55DS Pro & 65DS (2019-2024 models). Replaces OEM# IPT40-55DS/65DS.

Fit for : AG-60 AG-60P SG-55 WSD-60 Plasma cutter torch head
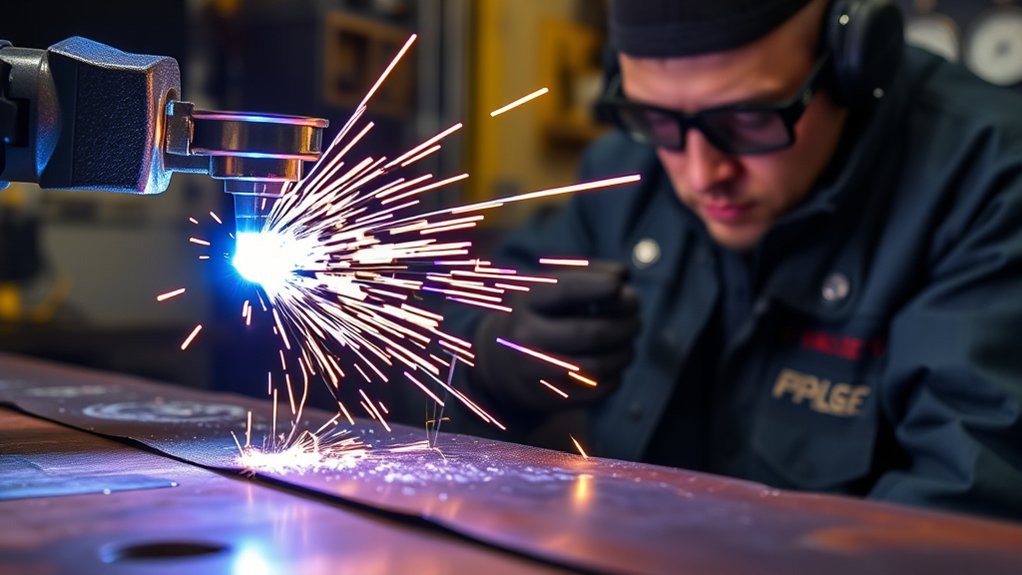
Techniques for Achieving Consistent Travel Speed
Strong consumables help, but your hand movement also matters. A steady travel speed keeps the arc from overheating one spot or falling behind the cut.
Start with practice cuts on scrap metal. Listen to the arc, watch the sparks, and check the bottom edge after each pass.
Use a drag shield if your torch supports it. A drag shield helps keep the torch stable and makes it easier to hold a consistent standoff distance.
Adjust your speed based on material thickness. Move faster on thinner metal and slower on thicker metal, but don’t slow down so much that the arc piles heat into the cut.
Use these techniques for cleaner results:
- Make practice cuts: Learn how your machine responds before the final cut.
- Keep the torch steady: Brace your cutting hand with your other hand.
- Hold the right height: Use a drag shield when your torch allows it.
- Match speed to thickness: Move faster on thin metal and slower on thick plate.
- Inspect consumables: Replace worn parts when the arc becomes unstable.
Ensuring Proper Setup and Calibration for Accurate Cuts
A good setup helps your plasma cutter cut faster and more accurately. Start with the ground clamp, then check the air supply, torch parts, and machine settings.
Set your cutter settings for the material type and thickness. Adjust amperage and travel speed together, then test the cut before working on the final piece.
This careful setup improves cutting accuracy and reduces dross. It also helps prevent poor arc transfer, weak cuts, and extra heat buildup.
Ground Clamp Placement
The ground clamp gives the cutting arc a stable electrical path. Poor contact can slow the arc, create sputtering, and reduce cut quality.
Use these checks before you cut:
- Attach the ground clamp to clean, bare metal.
- Place the clamp close to the cutting area when you can.
- Remove paint, rust, or coatings from the contact point.
- Inspect cables for loose ends, wear, or heat damage.
- Make a short test cut before starting the final workpiece.
Calibration for Precision
Precise cuts come from a setup that matches the material. Set speed, amperage, and voltage before you begin, then adjust them after a test cut.
Watch torch height closely. Many cuts work best around 1/16 inch to 1/8 inch standoff, but your manual should guide the final setting.
Secure the ground clamp to clean metal near the workpiece. Then inspect the cut edge for dross, bevel, and rough spots. Those signs tell you what to change next.
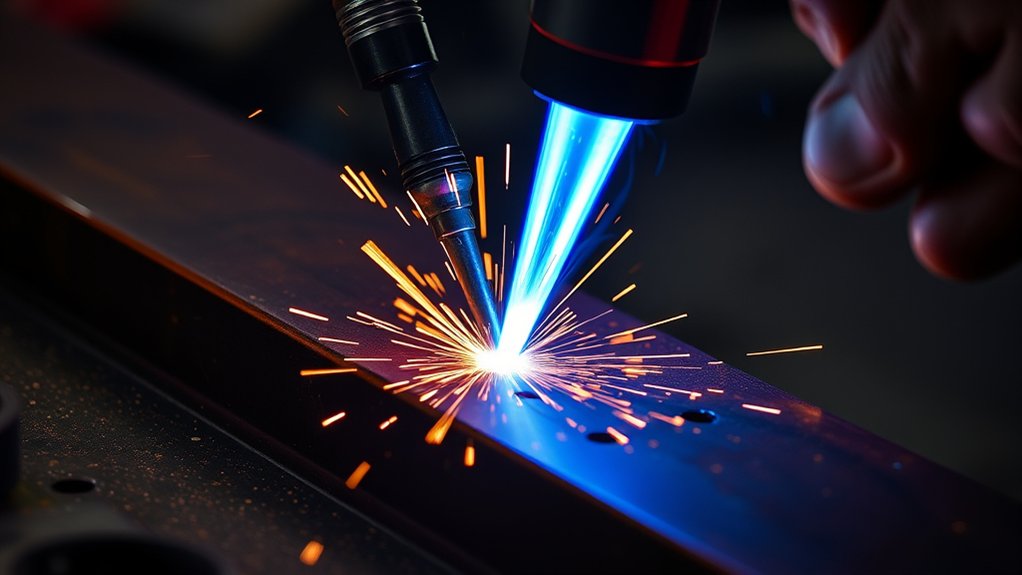
How Air Flow and Gas Pressure Affect Cutting Speed
Plasma cutters need clean, dry, steady air or gas to form a strong arc. If pressure drops too low, the arc can weaken, sputter, or cut slowly.
Too much pressure can also cause problems. It can blow the arc out of shape and leave a rougher edge. Use the pressure range listed for your torch, consumables, and material.
Check the air filter, regulator, hoses, compressor size, and moisture trap. Water or oil in the air line can damage consumables and reduce arc quality.
Note: If the pressure looks correct at idle, check whether it drops while the torch fires.
When to Stop and Check the Machine
Stop cutting if the torch sputters, the arc loses contact, or the cut fails to pierce the metal. Pushing through these signs can waste consumables and damage the workpiece.
Let the torch cool before touching any parts. Then check the electrode, nozzle, shield, air pressure, work lead, and input power.
If the machine still cuts slowly after basic checks, review the manual or contact a qualified service technician. Internal electrical faults, air solenoid problems, and torch lead damage need proper testing.
Frequently Asked Questions
How Does Ambient Temperature Affect Plasma Cutting Speed?
Ambient temperature can affect how your plasma cutter performs, mainly through air supply, moisture, and machine duty cycle. Cold, wet, or unstable shop conditions can increase condensation in the air line and reduce cut quality.
Can Gas Pressure Influence Cutting Speed in Plasma Cutting?
Yes, gas pressure can change cutting speed and edge quality. Set pressure to the range listed for your machine, torch, consumables, and material. Different gases and torch designs need different settings.
What Role Does Material Surface Condition Play in Cutting Speed?
Dirty or rusty material can slow the cut because the arc must pass through contamination before it reaches clean metal. Grind or wipe the cutting path when rust, paint, oil, or mill scale causes arc drag.
Are There Specific Safety Precautions for Optimizing Cutting Speed?
Yes. Wear proper protective gear, keep flammable items away, and clamp the workpiece before you cut. Faster cutting should never come at the cost of control, grounding, ventilation, or eye protection.
How Does Torch Angle Impact Cutting Speed and Efficiency?
Torch angle affects how the arc enters the metal. Hold the torch as close to perpendicular as your cut allows. A tilted torch can slow the cut, create bevel, and leave a rougher edge.
Conclusion
Slow plasma cutting usually comes from a weak arc, worn consumables, poor torch height, dirty metal, or settings that don’t match the material. Start with the simple checks first: inspect consumables, clean the workpiece, confirm air pressure, and secure the ground clamp. Then adjust amperage, voltage, standoff distance, and travel speed with test cuts. Once your setup works in balance, you’ll cut faster, leave cleaner edges, and spend less time grinding dross.