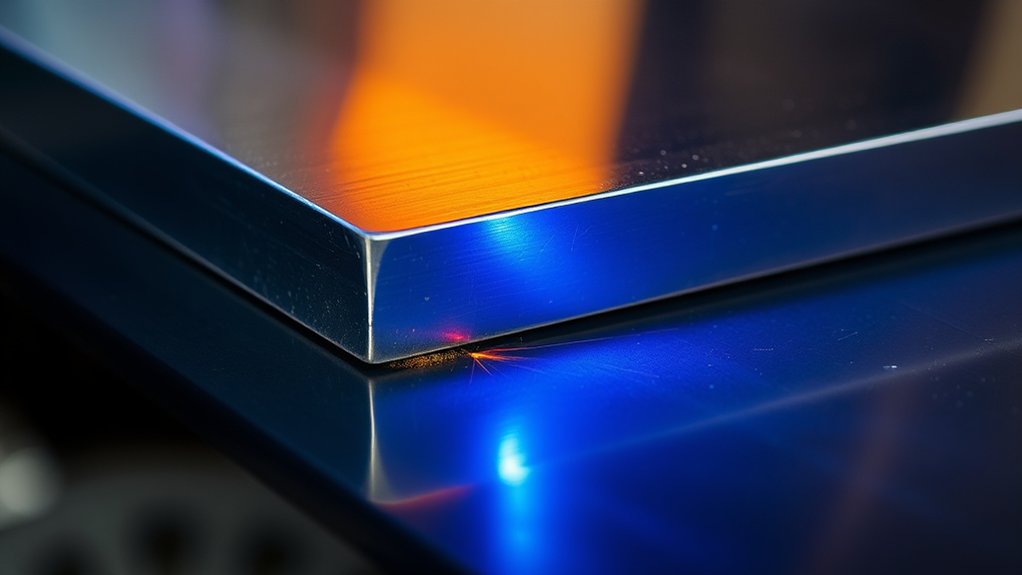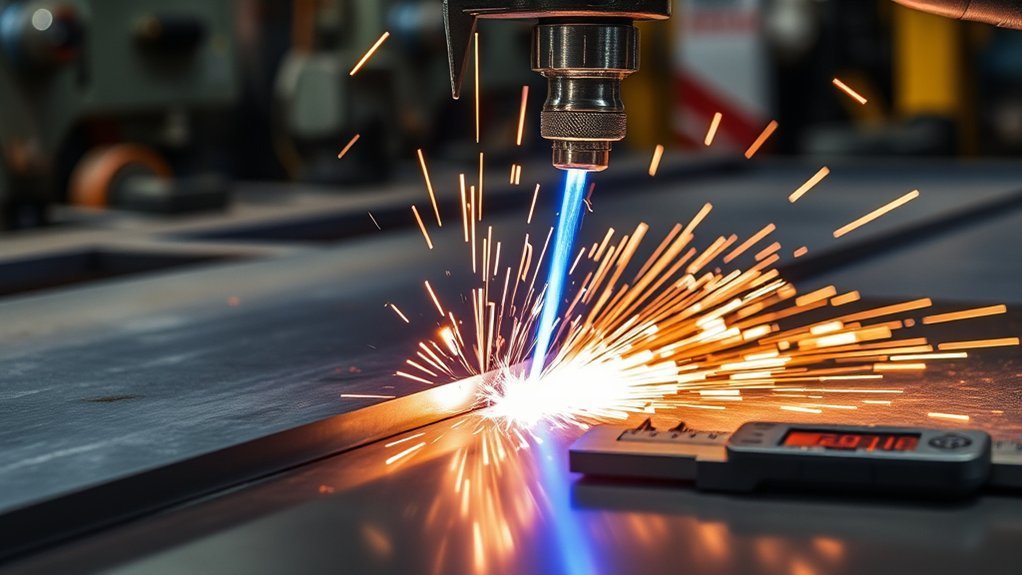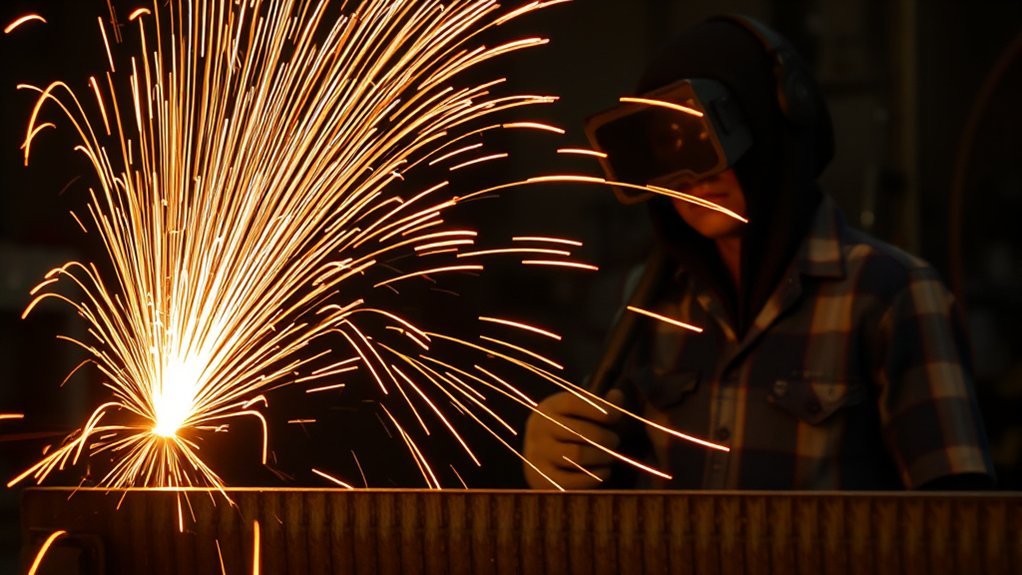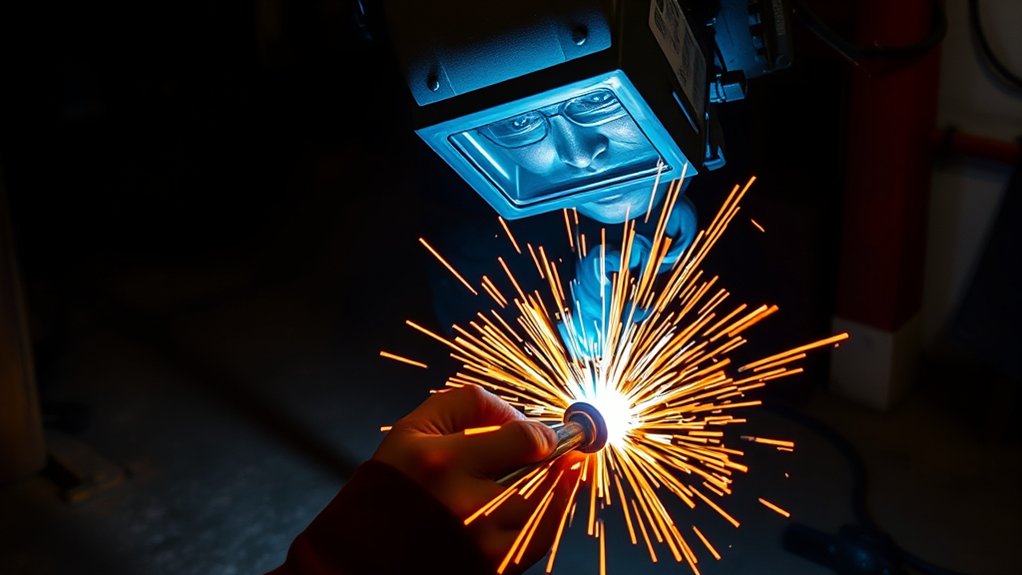
A plasma cutter drag shield lets you rest a compatible torch consumable lightly against the workpiece while you cut. That contact can make the torch easier to guide, especially along a straightedge or template. However, you must use a shield or cartridge approved for direct-contact cutting. Dragging an ordinary standoff nozzle can damage the consumables and reduce cut quality.
Quick Answer
Use shield drag only when your torch has a manufacturer-approved drag shield or drag-cutting cartridge. Install the correct consumable, set the current and air to the cut chart, attach the work clamp, hold the torch at 90 degrees, and drag it lightly at a smooth speed. Never drag a bare nozzle unless the manual allows it.
Key Takeaways
- Confirm that your torch, shield, nozzle, or cartridge is designed for direct-contact drag cutting.
- There is no universal 40-amp limit. Follow the amperage and thickness range listed for your exact consumable.
- Hold the torch perpendicular to the metal. The commonly cited 15–30-degree angle refers to lag lines on the cut face, not the torch angle.
- Use light contact, clean and dry air, a sound work-clamp connection, and a steady travel speed.
- Control fumes, sparks, ultraviolet radiation, electrical hazards, and hot metal before you start cutting.
At a Glance
| Time Required | About 10–20 minutes for inspection, setup, and a test cut |
| Difficulty | Beginner to intermediate |
| Tools Needed | Compatible plasma cutter, approved drag shield or cartridge, clean air supply, work clamp, straightedge or template, and plasma-cutting PPE |
| Cost | No added cost if the correct shield is supplied with the torch; replacement-consumable cost varies by model |
Warning: Never press an unshielded or standoff-cutting nozzle against the workpiece. Plasma torches can fire immediately when you pull the trigger. Read the machine manual, lock or disconnect the torch before changing consumables, control fumes and sparks, and never cut a sealed or previously flammable container.
What Is a Plasma Cutter?

A plasma cutter uses an electrical arc and a fast stream of ionized gas to melt a narrow path through electrically conductive metal. The gas stream also blows molten material out of the kerf, which is the gap left by the cut.
Portable air-plasma machines commonly use clean, dry compressed air. Larger industrial systems may use oxygen, nitrogen, argon-hydrogen, or another process gas selected for the material and cut requirements.
Plasma cutters can cut mild steel, stainless steel, aluminum, copper, brass, and other conductive metals. Actual capacity depends on the machine, input power, amperage, gas system, consumables, and the difference between a clean-cut rating and a maximum severance rating.
Many handheld systems use a pilot or non-contact starting process, but starting technology varies. Check the manual rather than assuming every torch starts or transfers the arc in the same way.
How Do Plasma Cutters Work?
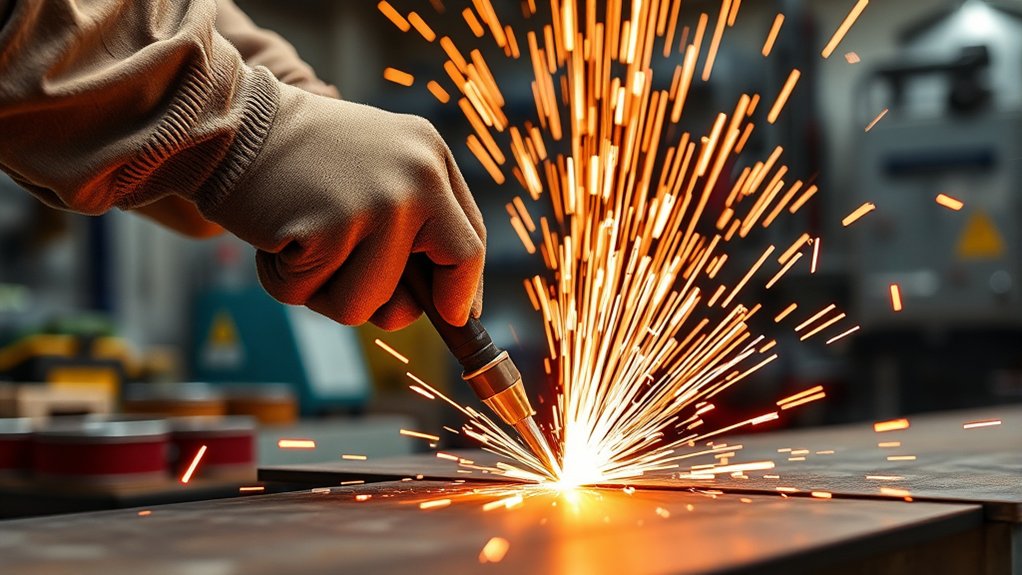
When you pull the torch trigger, gas flows through the torch and the machine creates an electrical arc. The arc ionizes part of the gas, producing an electrically conductive plasma jet. The nozzle constricts and directs that jet into the workpiece.
Once the cutting arc transfers to the metal, the arc melts the cut path and the gas pushes the molten metal through the bottom of the plate. Current, air pressure or flow, torch height, consumable condition, and travel speed all affect the result.
Traveling too fast can leave a small, hard line of dross, produce excessive lag, or prevent the arc from cutting completely through the plate. Traveling too slowly can widen the kerf, increase heat input, round the top edge, and leave larger deposits underneath.
A good drag cut comes from matching the consumable, current, air, and speed to the material—not from pressing harder on the torch.
What Is a Plasma Cutter Drag Tip?
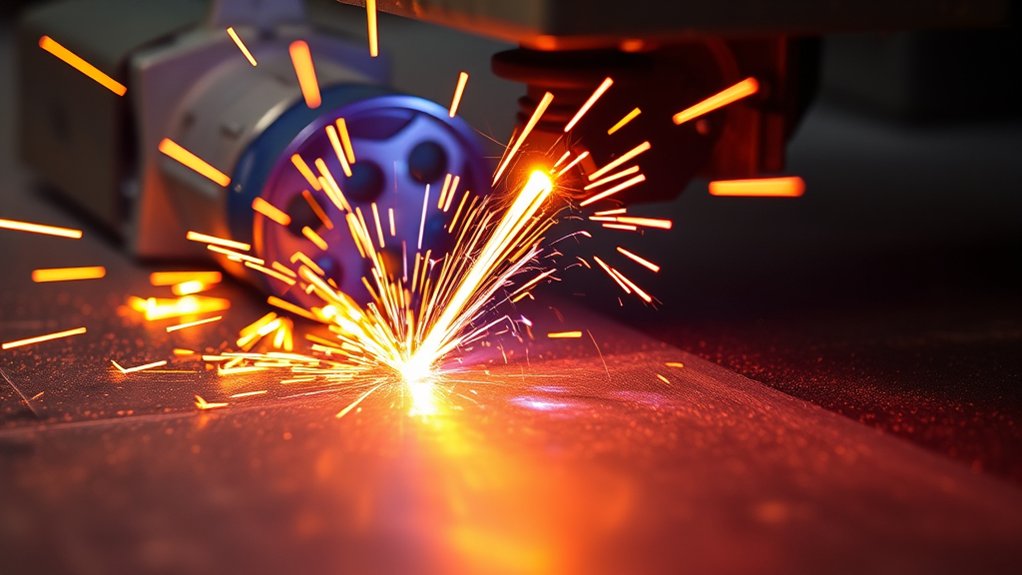
A plasma cutter drag shield is an outer consumable designed to touch the workpiece while keeping the nozzle electrically isolated from the metal. This helps prevent the nozzle from becoming an unwanted attachment point for the arc.
Manufacturers do not all use the same terminology. You may see the contact component described as a drag shield, drag cap, drag tip, or part of a complete drag-cutting cartridge. Use the part number and process description in your torch manual instead of choosing a part by appearance alone.
Products Worth Considering

【Quantity】1pcs 9-8237 Plasma Shield Cup + 5pcs 9-8235 Plasma Drag Shield

Drag shield 249930 are fit Miller Spectrum 375 X-TREME Plasma Cutter with XT30 Torch, or fit in Spectrum 625 X-TREME Cutter XT40 Plasma Torch

【Great value】Includes 220674 Hand Drag Cutting Shield 5Pcs.
How a Drag Shield Works
The nozzle shapes and constricts the plasma arc. The drag shield sits outside or ahead of that nozzle and provides the surface that contacts the workpiece. On a compatible torch, the shield lets you keep a consistent physical relationship between the nozzle and the metal without manually holding a small air gap.
This arrangement can reduce accidental nozzle contact, molten blowback, and double arcing. It can also make it easier to guide the torch against a straightedge or template.
Note: A drag shield does not convert every plasma torch into a contact-cutting torch. The torch body, nozzle, shield, retaining cap, current, and gas process must be compatible as a complete system.
Benefits of Drag Cutting
- More consistent hand position: You do not have to estimate a changing standoff distance while moving.
- Better control along guides: The shield can slide along a straightedge or template when the setup permits it.
- Less accidental nozzle contact: The outer shield protects a properly matched nozzle from touching the plate.
- Reduced blowback exposure: An approved shield can help protect internal consumables from some molten splash.
- Easier freehand work: Light contact can steady the torch during simple patterns and repair cuts.
These benefits are not guaranteed. Dirty air, worn parts, incorrect current, poor grounding, excessive pressure, and unsuitable material thickness can still produce a poor cut.
Recommended Amperage for Drag Cutting
There is no universal amperage limit for drag cutting. Some compact torches use low-amperage contact tips, while professional systems offer approved drag-cutting consumables at much higher currents.
For example, Hypertherm lists drag-cutting cartridges at 45, 65, and 85 amps for compatible Powermax SYNC systems. That does not mean those settings apply to another brand or torch.
Use this selection order:
- Identify the exact plasma cutter and torch model.
- Find the manufacturer’s approved drag shield, contact tip, or drag-cutting cartridge.
- Check its rated amperage range and compatible operating mode.
- Use the cut chart for the metal type and thickness.
- Make a test cut on matching scrap before cutting the finished part.
Pro Tip: Do not automatically turn the machine to its maximum output. Use the smallest approved consumable and current that cut the material cleanly at a practical speed. This usually gives you better control and a narrower kerf on thin sheet.
Before You Drag Cut
Confirm Consumable Compatibility
Look for language such as “drag cutting,” “contact cutting,” “shielded cutting,” or “drag cartridge” in the manual or consumable chart. A generic nozzle that merely fits the torch is not proof that direct contact is safe.
Check that the nozzle, electrode, retaining cap, swirl ring, shield, and cartridge are the correct matched parts. Mixing similar-looking consumables can disturb airflow, arc position, cooling, and electrical isolation.
Inspect the Cutting System
- Turn the power supply off and lock the torch before touching consumables.
- Allow hot consumables and cut metal to cool.
- Inspect the torch body, lead, trigger guard, work lead, and work clamp.
- Confirm that the shield or cartridge is fully seated but not overtightened.
- Drain moisture from the compressor and filter system.
- Make sure the air supply meets the machine’s pressure, flow, and cleanliness requirements.
- Place the work clamp on clean, bare metal as close to the cut as practical.
- Support the work so the falling piece cannot trap the torch, strike your feet, or damage equipment.
Use the Right Safety Equipment
Plasma cutting creates ultraviolet and infrared radiation, sparks, molten metal, noise, fumes, and hot surfaces. Wear safety glasses with side protection under a suitable cutting shield or helmet, flame-resistant clothing, appropriate gloves, hearing protection when needed, and closed leather footwear.
Choose the filter shade from the machine manual and applicable safety requirements. Do not assume ordinary sunglasses or clear safety glasses protect you from the arc. OSHA’s general-industry table lists shade 8 for light plasma arc cutting below 300 amps when the actual arc is clearly seen, while noting that arc visibility affects filter selection.
Remove flammable material from the spark path, keep suitable fire-control equipment nearby, and check both sides of walls, floors, and panels for hidden combustibles. Never cut a closed container or a container that held fuel, solvent, or another flammable substance unless it has been professionally cleaned and prepared for hot work.
Use local exhaust or effective mechanical ventilation to keep fumes out of your breathing zone. Be especially cautious with galvanized, painted, plated, stainless, lead-coated, cadmium-coated, or otherwise treated metal. OSHA requires suitable ventilation controls for welding and cutting fumes in covered workplaces.
Applications of Plasma Cutter Drag Tips
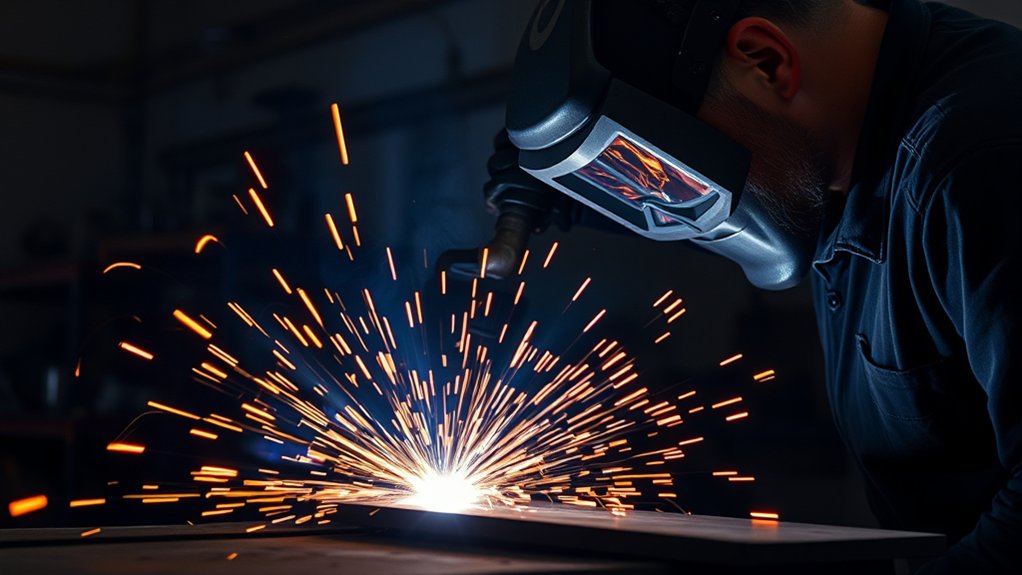
Drag cutting works well when the approved contact consumable matches the job. Common applications include:
- Cutting straight lines in sheet metal with a guide
- Following simple templates and curved patterns
- Trimming brackets, panels, tabs, and repair patches
- Breaking down plate skeletons and scrap
- Making freehand cuts where a consistent standoff would be difficult
- Cutting mild steel, stainless steel, or another conductive metal approved by the manufacturer
Material compatibility and preferred torch height are separate questions. A machine may be able to cut aluminum while its manufacturer recommends a controlled standoff rather than direct contact. For example, Hypertherm’s current aluminum guidance advises avoiding drag cutting for the aluminum process it describes.
Drag cutting is not automatically the best method for precision holes, mechanized cutting, beveling, heavy piercing, or applications that require a controlled torch-to-work distance.
Differences Between Drag Tips, Shields, and Nozzles

The nozzle and drag shield perform different jobs even when a seller loosely calls both parts “tips.” Understanding the difference helps you avoid pressing the wrong component against the metal.
| Component | Main Function | May It Touch the Work? |
|---|---|---|
| Nozzle | Constrains and shapes the plasma arc. | Only when the manufacturer specifically designed that nozzle for contact cutting. |
| Drag shield or drag cap | Protects and electrically isolates the nozzle while providing a contact surface. | Yes, when installed as part of the approved consumable stack. |
| Drag-cutting cartridge | Combines several consumable functions into a model-specific assembly. | Yes, when the cartridge is labeled for drag cutting. |
| Standoff guide | Maintains a physical gap between the nozzle and workpiece. | The guide touches the work; the nozzle remains above it. |
Products Worth Considering

EXCLUSIVELY COMPATIBLE WITH LTP8500: Precision-engineered 100% to fit the heavy-duty LOTOS APEX LTP8500 plasma cutter torch. Ensures a perfect mechanical seal and uncompromised airflow configuration for this specific 85A machine.

10Pcs 220818 Shield Hand Drag Fit Hypertherm PMX 45XP/65/85/105 Series Plasma Cutter Torch Consumable

10-Pack Set: Includes 10 pcs 45–85A shield cups, replacement part No. 220818.
Functionality and Purpose
A drag shield simplifies manual height control by creating a fixed contact point. A standoff nozzle or mechanized torch instead relies on a specified air gap or torch-height control.
Neither approach is automatically better for every job. Drag cutting favors hand control and convenience. Standoff cutting may be preferable for certain materials, high-precision work, piercing procedures, mechanized systems, and consumables that require a controlled gap.
Design and Construction
On a traditional multi-piece torch, the electrode, swirl ring, nozzle, retaining cap, and shield work together. The outer shield may have slots or castellations that let gas and molten material escape while the shield contacts the plate.
One-piece cartridges package several of these functions together. Do not disassemble, modify, drill, file, or mix parts unless the manufacturer explicitly allows it.
Performance and Applications
A correctly matched drag setup can make hand cutting more repeatable because the operator does not have to hold a constant gap. However, the contact does not correct poor settings. You still need the right current, gas flow, consumable size, work-clamp connection, and speed.
Use a standoff method when the manual calls for one, when cutting with an unshielded nozzle, or when the process requires a specific torch height.
How to Use a Plasma Cutter Drag Shield
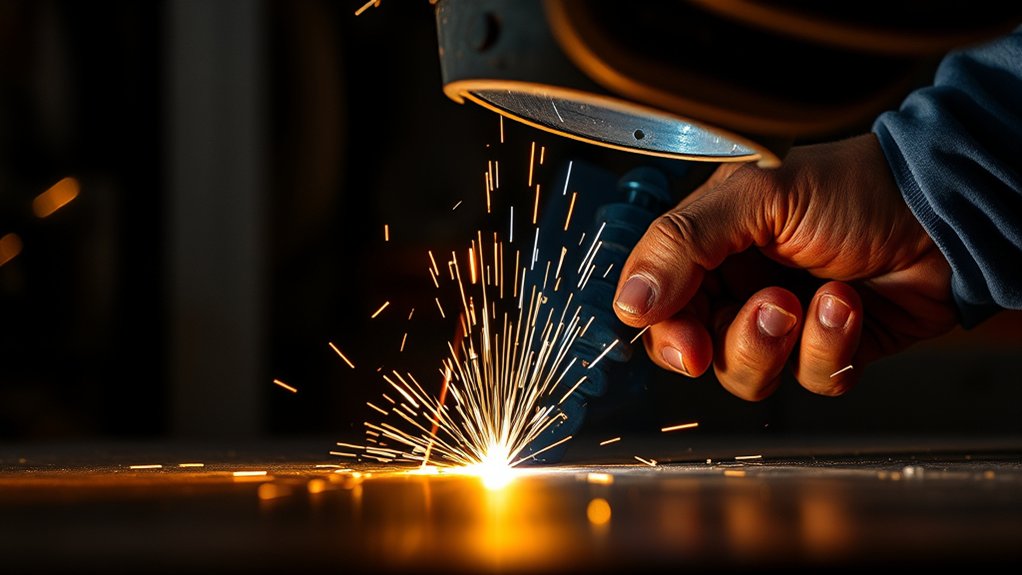
1. Read the Cut Chart
Confirm the approved consumable, current, material type, thickness range, air requirement, and operating mode. If your manual does not identify the part as a contact or drag consumable, maintain the specified standoff instead.
2. Install and Inspect the Consumables
Switch the machine off and lock the torch. Inspect the electrode, nozzle, shield, retaining components, and cartridge for damage or wear. Install the parts in the correct order and tighten them only as instructed.
3. Prepare the Workpiece
Secure the metal so it cannot shift. Mark the cut line, provide room for sparks and molten metal to exit underneath, and position the offcut so it cannot fall on you or pull the torch into the kerf.
Place the work clamp on clean, bare metal. Remove rust, paint, or scale from the clamp area. Surface rust elsewhere may not stop a pilot-arc machine from starting, but a poor work connection can make the cutting arc unstable.
4. Set the Air and Current
Connect a clean, dry air supply that meets the machine’s pressure and flow requirements. Set the current from the manufacturer’s cut chart. Do not assume that more amperage always produces a cleaner cut.
5. Make a Test Cut
Use scrap with the same material and thickness as the finished part. Check whether the arc cuts through, how much dross remains, whether the edge is square, and how smoothly the shield moves across the surface.
6. Start From an Edge When Possible
Position the approved drag shield at the edge of the workpiece. Hold the torch perpendicular, or 90 degrees, to the metal. Pull the trigger and wait until the arc has cut completely through the edge before moving forward.
Hypertherm’s Powermax45 SYNC manual recommends an edge start when possible because piercing blowback can damage the front of the cartridge.
7. Drag the Shield Lightly
Move the torch with light contact. Do not lean your body weight on it. Excess pressure increases friction, makes curves harder to follow, and can damage the shield or disturb the torch angle.
Keep the torch at 90 degrees from side to side and front to back unless you are following a manufacturer-approved piercing or bevel procedure.
8. Control Travel Speed
Move smoothly and watch the sparks below the plate when visibility and safety allow. They should pass through the metal and trail slightly behind the torch. Sparks spraying back toward the top can indicate that the torch is moving too fast, the current is too low, the air supply is inadequate, or the consumables are worn.
On a sound cut, the lag lines on the cut face may angle back approximately 15–30 degrees from the direction of travel. That angle describes the cut-face lines. It does not mean you should tilt the torch 15–30 degrees.
9. Finish the Cut
Continue past the edge before releasing the trigger so the cut separates completely. Keep the torch pointed away from your body during post-flow, and do not touch the shield, workpiece, or offcut until it has cooled.
Pro Tip: When using a straightedge, measure the distance from the shield’s contact edge to the center of the plasma arc. Offset the guide by that amount so the kerf follows your intended line.
Piercing With a Drag Shield
An interior pierce sends molten metal upward before the arc breaks through the plate. A drag shield does not mean you should automatically pierce with the torch pressed flat against the surface.
Use an edge start whenever practical. For an interior feature, follow the manufacturer’s piercing method and capacity. Depending on the torch, the instructions may require you to hold the torch above the plate or tilt it briefly so molten material sprays away from the front end. Do not pierce material thicker than the system’s rated pierce capacity.
Common Mistakes When Using Drag Tips
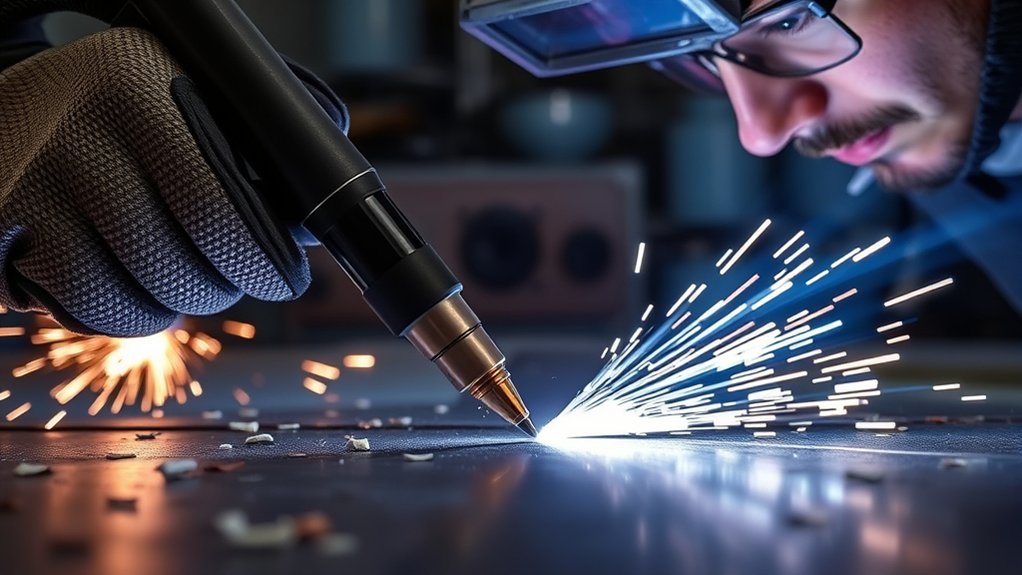
- Dragging an incompatible nozzle: Direct contact can damage the nozzle and promote double arcing if the consumable was designed for standoff cutting.
- Assuming 40 amps is the universal limit: The approved current depends on the exact torch and consumable.
- Tilting the torch during a normal cut: A tilted torch can produce an angled edge. Hold it at 90 degrees.
- Moving too quickly: The arc may trail excessively or fail to cut through.
- Moving too slowly: The kerf can widen and large deposits may form under the plate.
- Pressing down too hard: Excess pressure increases friction and shield wear without improving penetration.
- Piercing while pressed flat: Molten blowback can damage the shield, nozzle, or cartridge.
- Using wet or oily air: Contaminated air can shorten consumable life and destabilize the arc.
- Ignoring the work-clamp connection: Paint, rust, or a loose clamp can interrupt the cutting arc.
- Cutting coated metal without fume control: Paint, plating, galvanizing, and contamination can produce hazardous fumes.
Plasma Drag-Cutting Troubleshooting
| Problem | Likely Causes | What to Check |
|---|---|---|
| Arc does not cut through | Travel speed too high, current too low, insufficient air, worn nozzle, or material beyond capacity | Slow down slightly, verify the cut chart, check air under flow, inspect consumables, and confirm material thickness |
| Large, easy-to-remove bottom dross | Travel speed may be too slow or heat input may be excessive | Increase speed in small steps and confirm that current is appropriate |
| Small, hard bottom dross | Travel speed may be too high, current too low, or consumables worn | Reduce speed slightly, verify current, and inspect the nozzle or cartridge |
| Edge is strongly beveled | Torch not held at 90 degrees, worn nozzle, wrong travel direction, or unsuitable speed | Square the torch, replace damaged consumables, and make another test cut |
| Arc starts and stops | Poor work connection, air-pressure fault, duty-cycle limit, loose consumable, or damaged lead | Move the clamp to bare metal, read fault indicators, check airflow, and inspect connections |
| Consumables wear unusually fast | Wrong parts, contaminated air, excessive piercing blowback, incorrect current, or dragging a bare nozzle | Verify part numbers, service the air system, use edge starts, and follow the approved current range |
Maintenance Tips for Plasma Cutter Drag Tips
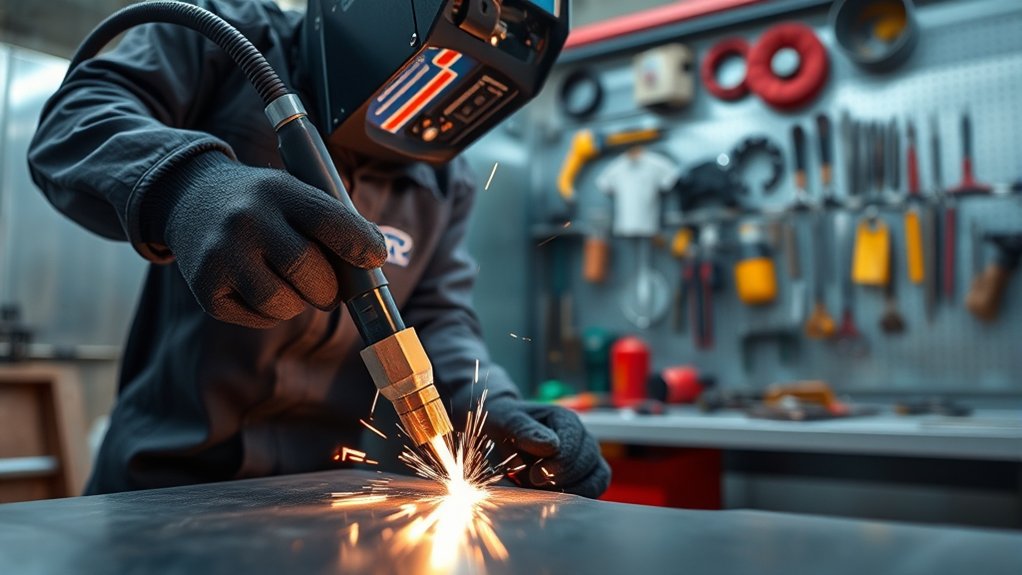
Inspect the front of the torch before each cutting session and whenever cut quality changes. Turn the power supply off, lock the torch, and allow the consumables to cool before handling them.
- Check the drag shield for cracks, melted edges, clogged slots, or severe wear.
- Inspect the nozzle orifice. Replace the nozzle if the opening is enlarged, oval, nicked, or visibly damaged.
- Check the electrode according to the manufacturer’s wear limit.
- Make sure retaining parts and cartridges seat correctly.
- Remove loose exterior spatter with a soft, nonmetallic brush or lint-free cloth if the manual permits cleaning.
- Do not push wire, drill bits, files, or picks through the nozzle orifice.
- Do not apply oil or lubricant to consumables unless the manufacturer specifically requires it.
- Drain the compressor tank and moisture separator, and service filters on schedule.
- Store spare consumables in a clean, dry container.
Replace the drag shield when it no longer protects or positions the nozzle correctly. Replace a nozzle, electrode, or one-piece cartridge when it reaches the stated wear limit or when inspection and test cuts show that it can no longer produce a stable arc.
Replacing one damaged consumable early can protect the rest of the torch stack from heat, blowback, and unstable arc attachment.
Frequently Asked Questions
What types of metal can I cut with a drag shield?
A compatible plasma cutter may cut mild steel, stainless steel, aluminum, copper, brass, and other conductive metals. However, the fact that a machine can cut a metal does not prove that drag contact is the preferred method. Follow the approved material, consumable, gas, current, and torch-height guidance for your model.
Can I drag any plasma cutter nozzle directly on the metal?
No. Use direct contact only with a nozzle, shield, tip, or cartridge that the torch manufacturer approves for drag cutting. Pressing a standoff nozzle against the workpiece can damage it and may cause unstable arc attachment or double arcing.
What amperage should I use for drag cutting?
Use the amperage assigned to your exact drag shield or cartridge and the material thickness in the manufacturer’s cut chart. There is no universal 40-amp maximum. Approved drag-cutting consumables are available at different current levels.
Should I tilt the torch while drag cutting?
Hold the torch perpendicular, or 90 degrees, during a normal straight or curved cut. A temporary tilt may be part of an approved piercing method, but the 15–30-degree lag-line figure describes marks on the cut face, not the correct torch angle.
How do I know when to replace a drag tip or shield?
Replace it when you find cracks, melting, blocked gas passages, severe wear, or damage that prevents the shield from positioning and protecting the nozzle correctly. Also inspect the nozzle, electrode, and retaining components when cut quality changes.
Can I use a drag tip on thin sheet metal?
Yes, thin sheet is a common drag-cutting application. Choose the smallest approved consumable and current that cut through cleanly, move fast enough to limit heat input, and practice on matching scrap to reduce warping and dross.
What safety gear should I wear while plasma cutting?
Wear safety glasses with side protection beneath a suitable plasma-cutting face shield or helmet, flame-resistant clothing, appropriate gloves, closed leather footwear, and hearing protection when needed. Use the filter shade required by the machine manual and applicable safety rules, and control fumes with suitable ventilation or local exhaust.
How can I improve my drag-cutting technique?
Use matching scrap to practice. Hold the torch at 90 degrees, maintain light contact, move at a smooth speed, and watch whether sparks pass through the plate. Change only one setting at a time so you can see whether current, air, speed, or consumable condition caused the improvement.
Conclusion
Plasma cutter shield drag can make handheld cutting steadier and easier, but only when the torch uses a compatible contact-cutting shield, tip, or cartridge. Check the manual, match the consumable to the current and material, use clean air, attach the work clamp to bare metal, and hold the torch at 90 degrees.
Use light contact rather than downward pressure, start from an edge when possible, and adjust speed based on your test cut. Most importantly, protect yourself from the arc, fumes, molten metal, electrical hazards, and fire. Correct setup will do more for cut quality and consumable life than forcing the torch or relying on a universal amperage rule.
Sources
- Hypertherm: Plasma Cutter Drag Tips — drag-shield construction, electrical isolation, lag lines, and common technique errors
- Hypertherm: Powermax SYNC Handheld Cutting Tips — compatible drag-cutting cartridge amperages and perpendicular torch position
- Hypertherm Powermax45 SYNC Operator Manual — edge-start procedure, 90-degree torch position, and smooth drag movement
- OSHA: Welding, Cutting, and Brazing Hazards — ultraviolet radiation, fumes, burns, electrical shock, and other hot-work hazards
- OSHA 1910.133: Eye and Face Protection — protective filter-shade requirements for plasma arc cutting
- OSHA 1926.353: Ventilation and Protection in Cutting — general and local exhaust requirements for fumes and smoke