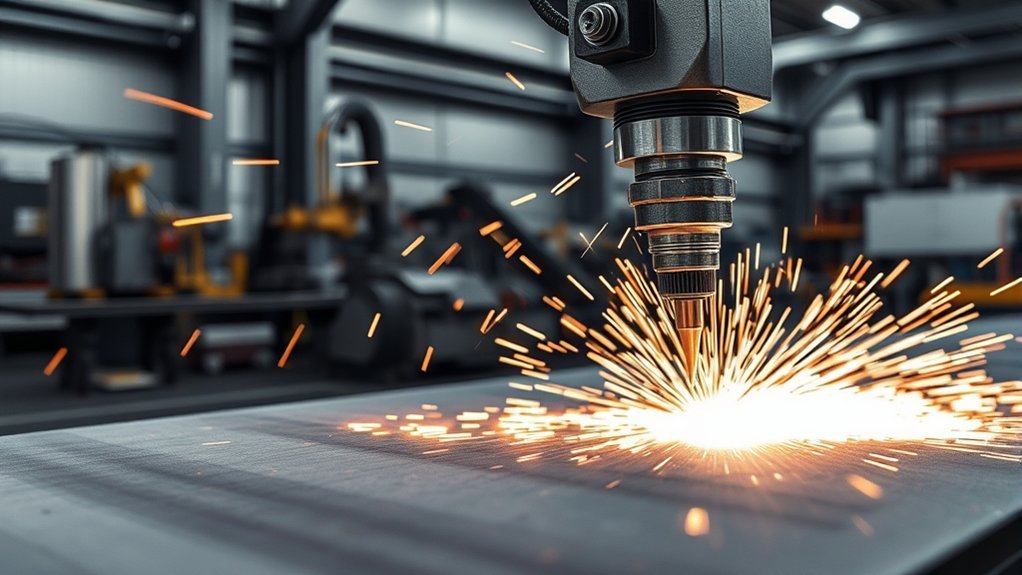
Plasma cutting accuracy depends on a stable arc, clean dry material, the right amperage, matching consumables, steady torch height, proper travel speed, and an air or gas setup that fits the metal. Instead of guessing, start with your plasma cutter’s cut chart, make one test cut, inspect the edge, then adjust one setting at a time.
Quick Answer
To improve plasma cutting accuracy, match amperage and consumables to material thickness, keep the torch at the recommended standoff, use clean dry air or gas, set travel speed from the cut chart, and inspect dross, kerf, and bevel after a test cut. Replace worn nozzles and electrodes before they distort the arc.
Key Takeaways
- Use the plasma cutter’s cut chart first, then fine-tune speed, amperage, and torch height with test cuts.
- Clean, dry air matters as much as amperage because moisture and oil can shorten consumable life and roughen the edge.
- Most accuracy problems show up as dross, bevel, wide kerf, arc wander, or heat distortion.
- Worn consumables can make a good machine cut poorly, even when your settings look correct.
- Plasma cutting is hot work, so use proper eye protection, ventilation, fire prevention, and electrical safety checks.
At a Glance
| Time Required | 10 to 20 minutes for setup and test cuts before cutting final parts |
| Difficulty | Beginner to intermediate, depending on material thickness and cut tolerance |
| Tools Needed | Plasma cutter, correct consumables, clean compressed air or approved gas, ground clamp, straightedge or guide, calipers, PPE, fire extinguisher |
| Cost | Usually $0 to $50 for test material, filters, tips, or electrodes, unless consumables need full replacement |
Warning: Plasma cutting produces intense arc light, sparks, molten metal, hot slag, electrical hazards, and airborne fumes. Wear suitable eye and face protection, gloves, flame-resistant clothing, and respiratory protection when ventilation is not enough. Keep combustibles away from the cut area before you strike an arc.
Understanding Plasma Cutting Basics
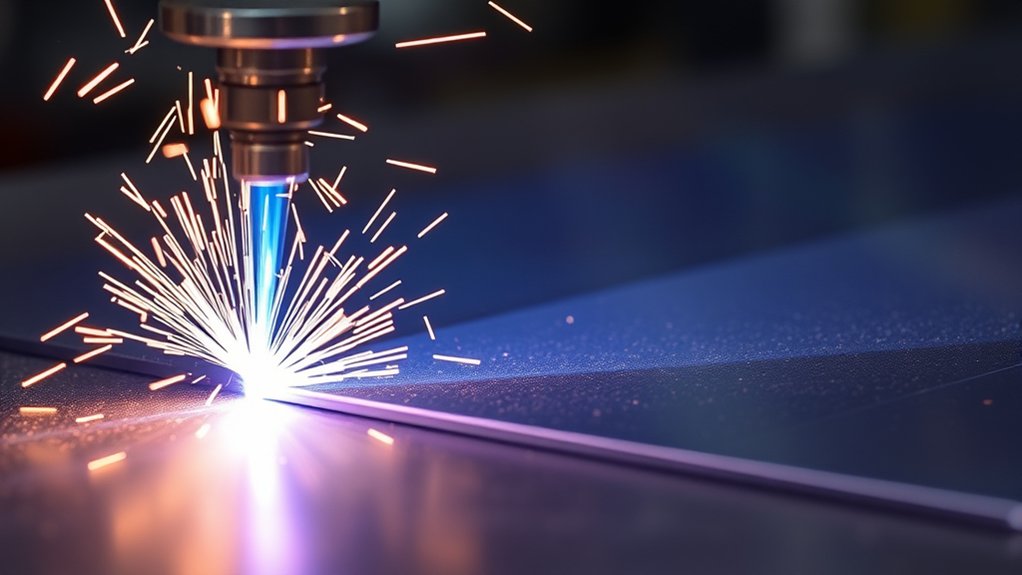
Plasma cutting uses an electric arc and a high-speed stream of ionized gas to melt and blow metal out of the cut path. Because the process relies on an electrical circuit, it works on conductive metals such as mild steel, stainless steel, aluminum, copper, and brass.
The cut path, or kerf, is controlled by the arc, nozzle opening, amperage, travel speed, air or gas flow, and the distance between the torch and workpiece. When those factors are balanced, the cut follows the line cleanly with less bevel and less dross.
The most accurate plasma cuts come from repeatable setup. That means clean metal, a strong work clamp connection, dry air, the correct consumables, and a torch hand or CNC table that holds the same height through the cut.
Note: Do not treat one online amperage, speed, or torch-height number as universal. Use your machine’s manual or cut chart first, then fine-tune on scrap from the same material.
Key Components of a Plasma Cutting System
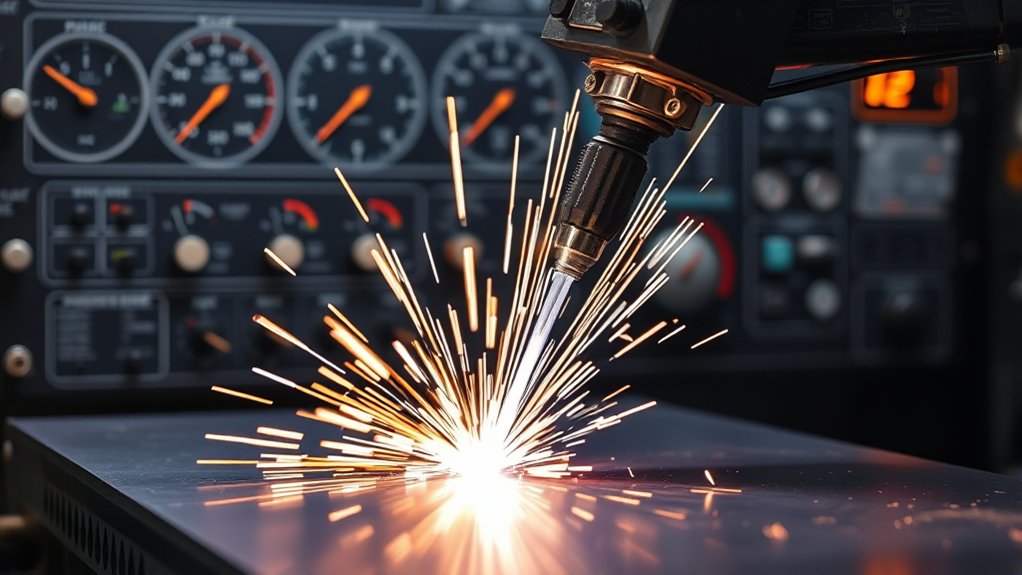
A plasma cutting system is only as accurate as its weakest part. A high-quality power supply helps, but a dirty air line, loose ground, damaged nozzle, or unstable torch hand can still ruin the cut.
| Component | What It Does | Accuracy Impact |
|---|---|---|
| Power supply | Provides controlled cutting current | A stable output helps keep the arc steady through corners and long cuts. |
| Torch | Holds the electrode, swirl ring, nozzle, and shield | A square, steady torch angle reduces bevel and line wander. |
| Consumables | Shape and center the plasma arc | Worn tips and electrodes widen the kerf and create rough edges. |
| Air or gas supply | Forms the plasma stream and blows molten metal out | Low flow, moisture, oil, or wrong gas choice can increase dross and arc instability. |
| Work clamp | Completes the cutting circuit | A poor ground can cause hard starts, arc dropout, and uneven cuts. |
How to Measure Plasma Cutting Accuracy
Before you adjust settings, decide what “accurate” means for the part. A decorative sign, a bracket hole, and a weld-prep bevel do not need the same tolerance. Measure the result, not just the machine settings.
- Kerf width: Measure the slot left by the cut. A wider-than-expected kerf can throw off part dimensions.
- Bevel angle: Check whether the edge leans. Excess bevel often points to torch angle, speed, worn consumables, or incorrect height.
- Dross: Inspect the top and bottom edge for stuck slag. The type and location of dross help diagnose speed and heat problems.
- Lag lines: Look at the vertical lines on the cut face. Smooth, slightly swept lines usually show better speed than heavy, curved, rough lines.
- Hole roundness: Small holes often need lower speed, proper lead-in, and correct pierce height, especially on CNC tables.
- Heat distortion: Thin sheet can warp if travel speed is too slow, amperage is too high, or cuts are sequenced poorly.
Step-by-Step Setup for Accurate Plasma Cuts
- Read the cut chart. Match metal type, thickness, amperage, consumables, air pressure or gas, pierce height, cut height, and travel speed.
- Clean the metal. Remove heavy rust, paint, oil, mill scale buildup, and moisture from the cut path and clamp area.
- Check the air supply. Drain the compressor tank, confirm pressure at the machine, and use a water separator or dryer when needed.
- Inspect consumables. Replace damaged nozzles, deeply pitted electrodes, cracked swirl rings, or spatter-packed shields.
- Attach the work clamp to clean metal. Put it close enough to support a stable circuit without crossing hot slag or loose material.
- Set torch height. Use drag-shield, standoff, pierce-height, or torch-height-control settings specified for your torch and consumables.
- Make a test cut. Use scrap from the same sheet or plate. Do not tune settings on different material.
- Inspect the edge. Check dross, bevel, lag lines, kerf width, and whether sparks exit the bottom of the cut.
- Adjust one variable at a time. Change speed first in small steps, then check height, amperage, air quality, and consumables.
Pro Tip: Keep a simple cut log. Write down metal type, thickness, amperage, air pressure, consumables, travel speed, and the result. After a few jobs, you will have a shop-specific starting point that is faster than guessing.
Selecting the Right Plasma Cutter
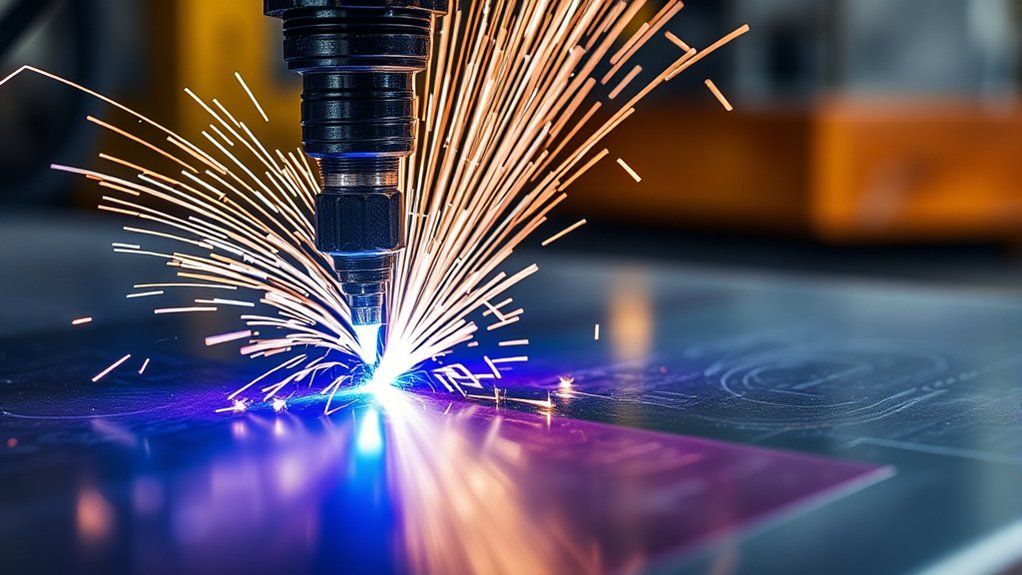
For accurate cuts, choose a plasma cutter based on the material you cut most often, not just the thickest plate it can sever. A machine may sever thick metal slowly, but its clean cut rating is the better number for parts that need clean edges and tighter dimensions.
Pay attention to these buying and setup factors:
- Clean cut rating: The practical thickness range for cleaner edges and reasonable speed.
- Severance rating: The maximum thickness the cutter can get through, usually with slower speed and rougher edges.
- Duty cycle: How long the machine can cut at a rated output without overheating.
- Air demand: The compressor must keep up with the cutter’s pressure and flow needs during continuous cutting.
- Consumable options: Fine-cut consumables can help on thinner material when the torch supports them.
- CNC compatibility: For repeat parts, look for a machine that supports divided voltage, machine torch options, and reliable torch height control.
Products Worth Considering
![ANDELI 65 Amp Plasma Cutter [CNC Enabled][ Non-HF],1.06" Max Cut](https://m.media-amazon.com/images/I/51HzSS1IgqL._SL500_.jpg)
【Large Digital Display】The upgraded LED interface clearly displays key parameters such as air pressure, voltage, current, and working status in real time, allowing users to monitor machine performance and make timely adjustments for more efficient operation. If an issue occurs, the screen shows an error code to help quickly identify the problem and simplify troubleshooting.
![ARCCAPTAIN iControl CUT55 MP [Non-HF] Plasma Cutter Machine, APP Control](https://m.media-amazon.com/images/I/51hLye1tq1L._SL500_.jpg)
[NON-HF BLOWBACK PILOT ARC] This plasma cutter machine uses non-high-frequency blowback start, eliminating the electromagnetic interference commonly found in traditional HF machines. The pilot arc allows you to cut without touching the metal, ideal for rusty or painted surfaces. Delivers up to 55A (240V) for smooth cuts through steel, stainless steel, copper, and more—up to 1 inch (26mm) thick. Ensures smooth and clean edges for professional-grade results. (Cutting Range: 120V: 12–15mm | 240V: 18–26mm)
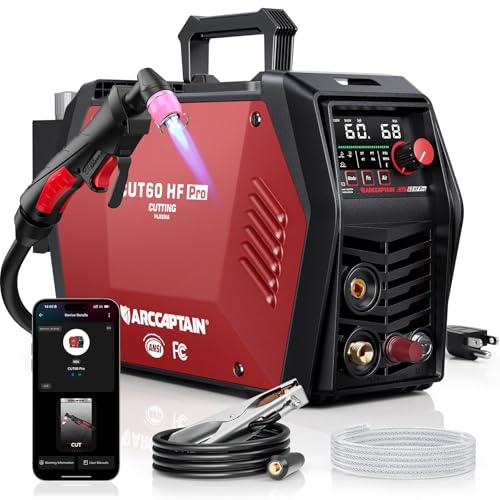
[ENHANCED CUTTING CAPACITY] - Equipped with a 3nd-Gen MCU, this plasma cutter delivers powerful output across both voltage options. On 120V, it supports a cutting range of 10–16 mm when the air pressure is kept above 55 PSI. Switching to 240V unlocks heavier performance, cutting 16–26 mm (up to 15/16" / 24 mm) with the recommended 55–75 PSI air pressure. The arc remains stable on stainless steel, carbon steel, aluminum, and copper, producing smooth edges with minimal slag and reducing follow-up grinding.
The Importance of Proper Torch Height
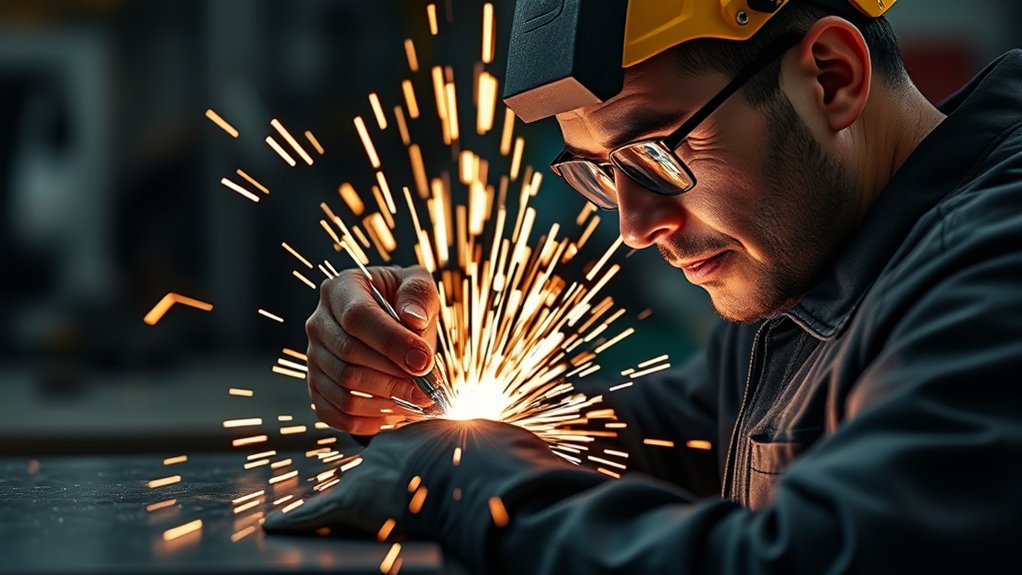
Torch height controls arc shape. If the torch is too high, the arc can spread, wander, and leave a wider kerf. If it is too low, the nozzle or shield can drag, double-arc, collect spatter, or crash into raised material.
Many hand-cutting systems use a drag shield or a small standoff, while CNC systems may use separate pierce height and cut height settings. Some setups fall near the 1/16-inch to 1/8-inch range, but the correct number depends on your torch, consumables, amperage, material, and cut chart.
- Hand cutting: Keep the torch square to the plate and use a guide when the line matters.
- Template cutting: Keep the same side of the nozzle or shield against the guide so the kerf offset stays consistent.
- CNC cutting: Confirm pierce height, pierce delay, initial height sensing, cut height, and voltage-based torch height control.
- Thin material: Prevent warping by supporting the sheet and avoiding excess heat input.
Adjusting Cutting Speed for Precision
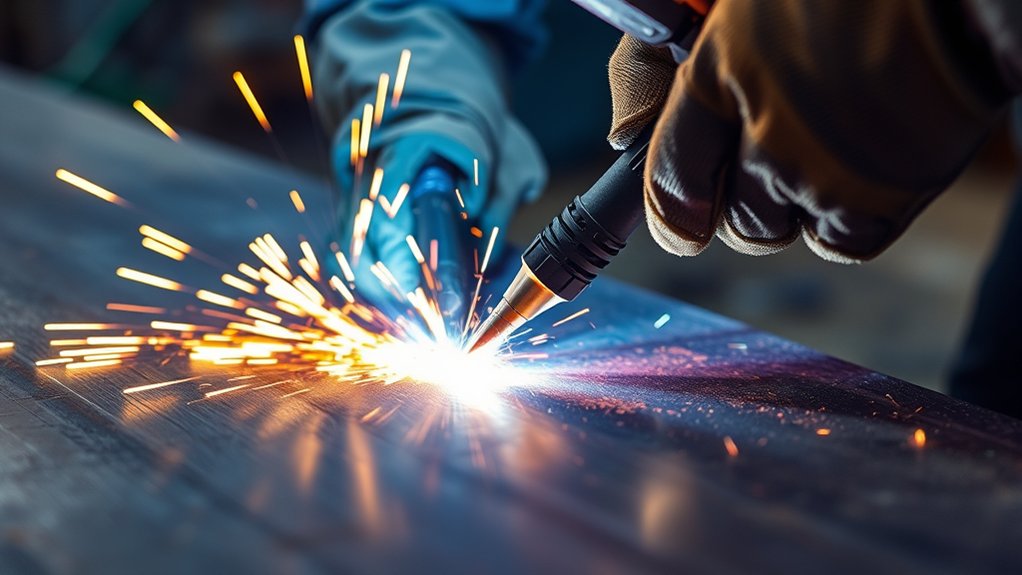
Travel speed is one of the fastest settings to diagnose. The correct speed lets the arc fully cut through while keeping the kerf narrow and the heat input controlled.
During a good cut, sparks should exit mostly from the bottom of the plate. A slight arc lag behind the direction of travel is normal. If sparks spray back toward you or ride along the top, the torch may be moving too fast, the amperage may be too low, or the air flow may be weak.
| Cut Symptom | Likely Cause | What to Try |
|---|---|---|
| Hard bottom dross and sparks trailing far behind | Speed too slow or too much heat | Increase travel speed in small steps or check amperage. |
| Top dross, incomplete cut, or sparks blowing upward | Speed too fast, low amperage, or poor air flow | Slow down, confirm air pressure, and check consumables. |
| Wide kerf and rounded top edge | Too much heat or torch too high | Check cut height and reduce heat input if the chart allows. |
| One side of cut has more bevel | Torch angle, cut direction, or worn nozzle | Hold torch square, confirm direction, and inspect the nozzle orifice. |
The Role of Consumables in Accuracy
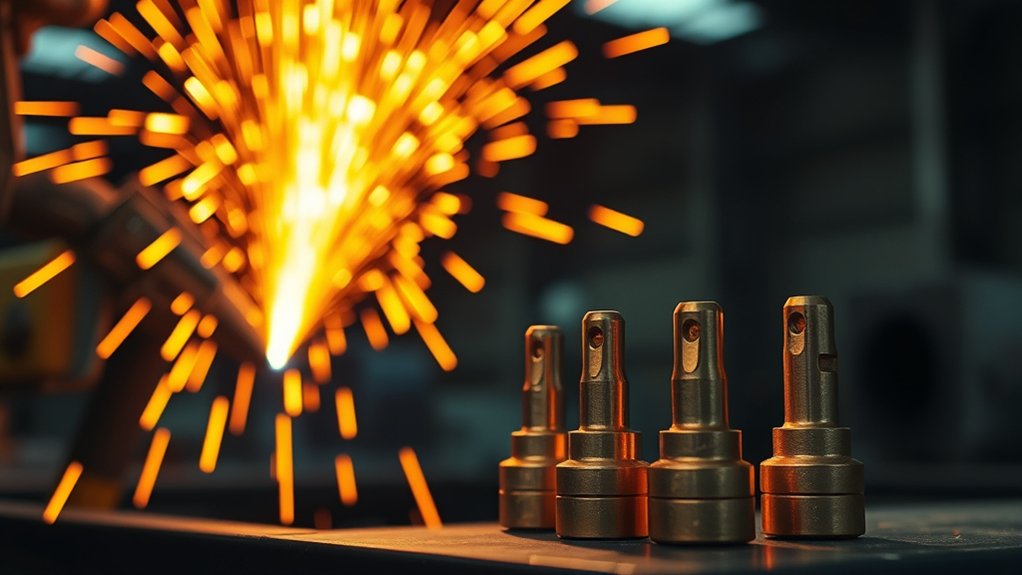
Consumables shape the arc. If the nozzle opening is no longer round, the electrode is deeply pitted, or the swirl ring is damaged, the arc may no longer exit straight through the center of the torch. That can create bevel, wider kerf, excess dross, and poor hole quality.
Consumable Wear Impact
Worn consumables often make the cut look like a settings problem. Before changing amperage or speed, remove and inspect the parts that guide the arc.
- Nozzle: Look for an oval, enlarged, notched, or off-center orifice.
- Electrode: Look for a deep pit, uneven wear, or discoloration beyond normal use.
- Swirl ring: Check for cracks, missing edges, plugged holes, or heat damage.
- Shield or retaining cap: Remove built-up spatter and replace damaged parts.
- O-rings: Replace cracked or dry O-rings so gas flow stays sealed and consistent.
Regular Inspection Necessity
Inspect consumables before precision cuts, after long pierce-heavy jobs, and any time the arc starts wandering. Pierce starts wear consumables faster than steady cutting, so a job with many holes may require more frequent checks than a long straight cut.
Use genuine or properly matched consumables for your torch. Mixing parts that look similar can change gas flow, cut height, arc shape, and retaining-cap fit.
Pro Tip: Keep a new nozzle and electrode nearby as a comparison. If the old nozzle hole looks larger or less round than the new one, accuracy is already slipping.
Choosing the Appropriate Gas for Cutting
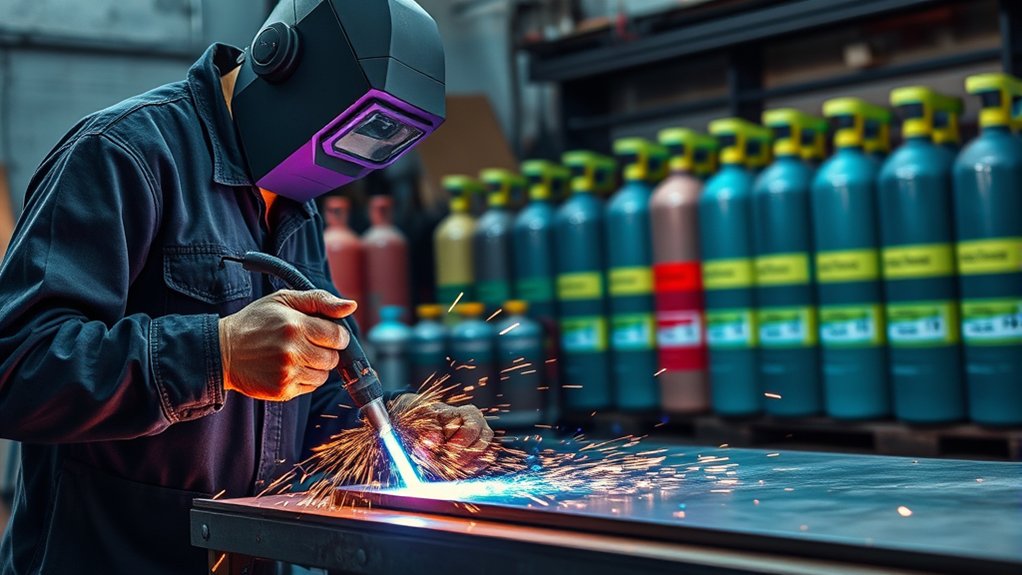
The right air or gas setup improves arc stability, edge finish, dross control, and consumable life. For many portable plasma cutters, clean, dry compressed air is the standard choice. Industrial systems may allow oxygen, nitrogen, argon-hydrogen, or mixed gases, but only when the power supply, torch, and consumables are designed for them.
Gas Selection Tips
| Air or Gas | Common Use | Accuracy Note |
|---|---|---|
| Clean, dry compressed air | Most small-shop cutting on mild steel, stainless, and aluminum | Simple and affordable, but moisture and oil quickly hurt cut quality. |
| Oxygen | Often used on carbon steel in compatible industrial systems | Can improve carbon-steel edge quality but may oxidize the edge and requires approved equipment. |
| Nitrogen | Stainless steel, aluminum, and some non-ferrous cutting setups | Can reduce oxidation compared with oxygen, but settings are system-specific. |
| Argon-hydrogen mixes | Specialty industrial cutting, often for thicker stainless or aluminum on designed systems | Do not substitute these gases on an air-plasma machine unless the manufacturer approves it. |
Effects on Cut Quality
Air or gas affects the heat of the arc, the way molten metal leaves the kerf, oxidation on the edge, and consumable wear. Low pressure, poor flow, leaks, or moisture can cause sputtering, rough edges, excess dross, and shorter nozzle life.
If your machine uses compressed air, drain the compressor tank often, keep the filter bowl clean, and add a dryer when moisture shows up in the line. A small pressure drop at the machine can matter, especially during longer cuts.
Optimal Gas Combinations
The best gas combination is the one listed for your machine, torch, consumables, amperage, and material. If the cut chart gives separate recommendations for mild steel, stainless steel, and aluminum, use those before experimenting.
When you change gases, make new test cuts and re-check kerf width, edge angle, dross, and speed. A gas that improves one metal may create more oxidation, cost, or cleanup on another.
Maintaining a Clean and Safe Workspace
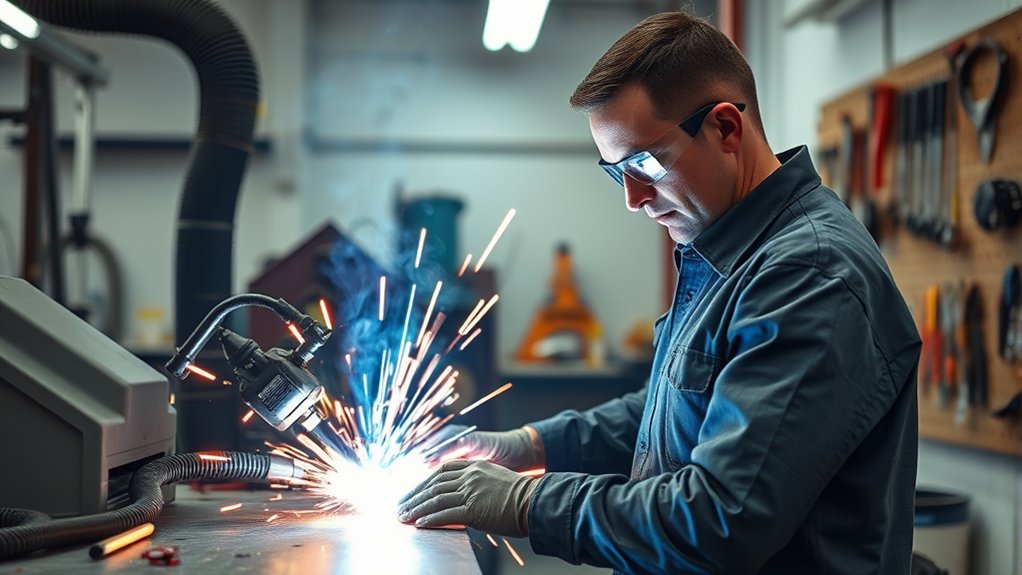
A clean workspace improves accuracy and safety. Dirt, rust, paint, oil, and moisture can make the arc less stable. Loose scrap can tip, vibrate, or trap slag under the cut. Combustibles near the work area can ignite from sparks or hot metal.
Before cutting, clear the table, support the workpiece, and make sure the offcut can drop or stay supported without pinching the torch. Move flammable liquids, cardboard, rags, sawdust, and dust buildup away from the work area. Keep suitable extinguishing equipment nearby.
A cleaner setup usually gives a cleaner edge: dry metal, dry air, a solid ground, clear travel path, and stable torch height.
Plasma Cutting Safety Checks
Plasma cutting is a hot-work process, so safety checks belong in the accuracy routine. Rushing safety can also hurt cut quality because poor visibility, unstable footing, fumes, or clutter make it harder to hold the torch steady.
- Eye and face protection: Use a helmet or face shield with an appropriate filter shade for plasma arc cutting. OSHA’s eye and face protection rule lists minimum protective shades for plasma arc cutting based on current range.
- Skin protection: Wear flame-resistant clothing, leather gloves, and closed footwear. Avoid synthetic fabrics that can melt.
- Ventilation: Use local exhaust or strong ventilation when fumes can build up, especially on coated, galvanized, stainless, or painted metal.
- Fire prevention: Move combustibles away from the cutting area or shield them. Use a fire watch when sparks can reach hidden or nearby combustible materials.
- Electrical safety: Keep leads in good condition, avoid wet floors, and place the work clamp on clean metal.
- Compressed air safety: Use rated hoses, fittings, and filters. Do not exceed the machine’s pressure rating.
Warning: Do not plasma cut closed containers, fuel tanks, drums, or unknown vessels unless they have been professionally cleaned, vented, and verified safe for hot work. Residue and vapors can explode.
Troubleshooting Plasma Cutting Accuracy Problems
| Problem | Most Likely Causes | Fix |
|---|---|---|
| Cut misses the line | No guide, wrong kerf offset, torch angle, hand movement | Use a straightedge, mark the waste side, and account for kerf width. |
| Excess bevel | Torch not square, worn nozzle, wrong direction, incorrect height | Square the torch, inspect consumables, and confirm cut direction and standoff. |
| Heavy bottom dross | Speed too slow, heat too high, wet air, worn consumables | Increase speed slightly, check air quality, and inspect consumables. |
| Rough edge | Incorrect speed, poor ground, low air flow, dirty metal | Clean the metal, improve the clamp connection, and repeat the cut-chart setup. |
| Arc shuts off or sputters | Poor ground, moisture, low pressure, damaged torch parts | Move the clamp, dry the air supply, and inspect torch parts. |
| Warped thin sheet | Too much heat, slow travel, poor support, bad cut sequence | Use lower heat settings where allowed, cut faster, support the sheet, and spread heat across the job. |
Can CNC and Software Improve Plasma Cutting Accuracy?
Yes. CNC plasma can improve repeatability because the machine controls travel path, speed, pierce timing, and torch movement more consistently than hand cutting. The best results still depend on good consumables, correct cut charts, dry air, and sound table setup.
For CNC accuracy, check these settings:
- Kerf compensation: Offsets the toolpath so the finished part, not the center of the arc, lands on size.
- Lead-ins and lead-outs: Keep pierce marks and end divots away from the finished edge.
- Pierce height and delay: Prevents blowback into the nozzle and allows the arc to pierce before moving.
- Cut height: Controls bevel and arc shape during motion.
- Torch height control: Helps maintain standoff over warped or uneven plate.
- Hole rules: Small holes may need slower speed, different lead-ins, or post-cut drilling when tight tolerances are required.
Products Worth Considering

ADJUST HEIGHT : Plasma Height Control can continuously adjust the height of the cutting torch on the uneven steel plate according to the set arc pressure value , so as to ensure that the height of the cutting torch to the steel plate remains constant

SCOPE OF APPLICATION: Wide clamping range, torch range from 12mm‑38mm, suitable for a variety of work scenarios

Plasma Controller Fangling F2100B Controller CNC Flame Cutting Machine 2 Axis Plasm Digital Control System
Frequently Asked Questions
How does humidity affect plasma cutting accuracy?
Humidity can add moisture to the compressed air stream. Moisture can make the arc less stable, increase consumable wear, and leave a rougher edge. Drain the compressor, use a water separator, and add an air dryer if you see water in the line.
Can plasma cutting be automated for improved precision?
Yes. CNC plasma cutting can improve repeatability by controlling travel speed, kerf offset, lead-ins, pierce height, and torch height. It still needs dry air, good consumables, correct cut-chart settings, and a table that supports the material well.
What is the impact of electrical supply fluctuations on cutting accuracy?
Unstable input power can affect arc starts, output stability, and cut consistency. Use the circuit size recommended by the machine manufacturer, avoid undersized extension cords, and do not overload the same circuit with compressors or other tools during precision cuts.
How do different metals affect kerf width?
Kerf width changes with metal type, thickness, amperage, consumables, gas or air choice, and travel speed. Aluminum often needs close attention to speed and support because it conducts heat quickly. Stainless may need different gas and speed choices than mild steel for cleaner edges.
Can software aid in enhancing plasma cutting accuracy?
Yes. CAD/CAM and nesting software can apply kerf compensation, smoother lead-ins, cut sequencing, and hole rules. Software helps most when the machine settings, consumables, and torch height are already correct.
Why does my plasma cutter leave so much dross?
Common causes include travel speed that is too slow or too fast, worn consumables, wet compressed air, incorrect torch height, low air flow, or amperage that does not match the metal thickness. Start by checking air quality and consumables, then adjust speed on a test cut.
Is drag cutting accurate enough?
Drag cutting can be accurate when your torch and consumables are designed for it. Use a straightedge or template, keep steady contact, and account for kerf offset. Do not drag an unshielded tip unless the manual allows it.
How often should plasma cutter consumables be replaced?
Replace consumables when the nozzle opening is no longer round, the electrode is deeply pitted, the swirl ring is cracked or dirty, or cut quality changes suddenly. Pierce-heavy jobs and wet air shorten consumable life.
Conclusion
Better plasma cutting accuracy comes from control, not luck. Start with the cut chart, use the correct consumables, keep the air clean and dry, hold the torch at the recommended height, and tune speed with test cuts. Then inspect the edge for dross, bevel, kerf width, lag lines, and distortion before cutting final parts.
When the result still looks wrong, troubleshoot in order: air quality, consumable wear, torch height, travel speed, amperage, ground connection, and material condition. That simple sequence solves most plasma cutting accuracy problems without wasting metal.
Sources
- OSHA 29 CFR 1910.133, Eye and Face Protection – supports plasma arc cutting filter shade and eye/face protection guidance.
- OSHA 29 CFR 1910.252, Welding, Cutting, and Brazing General Requirements – supports fire prevention, fire watch, combustible control, and hot-work precautions.
- OSHA Fact Sheet: Controlling Hazardous Fume and Gases during Welding – supports fume, ventilation, and exposure-control guidance for welding and plasma cutting operations.
- OSHA Welding, Cutting, and Brazing Overview – supports general welding and cutting safety context.
- Arc Plasma Torch Modeling – supports the technical context that arc plasma torches are used in metal cutting and involve coupled thermal, electrical, and fluid-flow behavior.