Much like calibrating a fine instrument, mastering the art of plasma cutting involves adjusting your feed rate to the thickness of the mild steel. Visualize this: for a 24-gauge sheet, you’re cruising at 205 IPM, but thicker 1/2-inch steel demands a crawl at 1.2 IPM. Precision isn’t just about speed—it’s about marrying amperage and pierce height for clean cuts. Are you prepared to optimize each variable for impeccable results?
Understanding the Basics of Plasma Cutting on Mild Steel
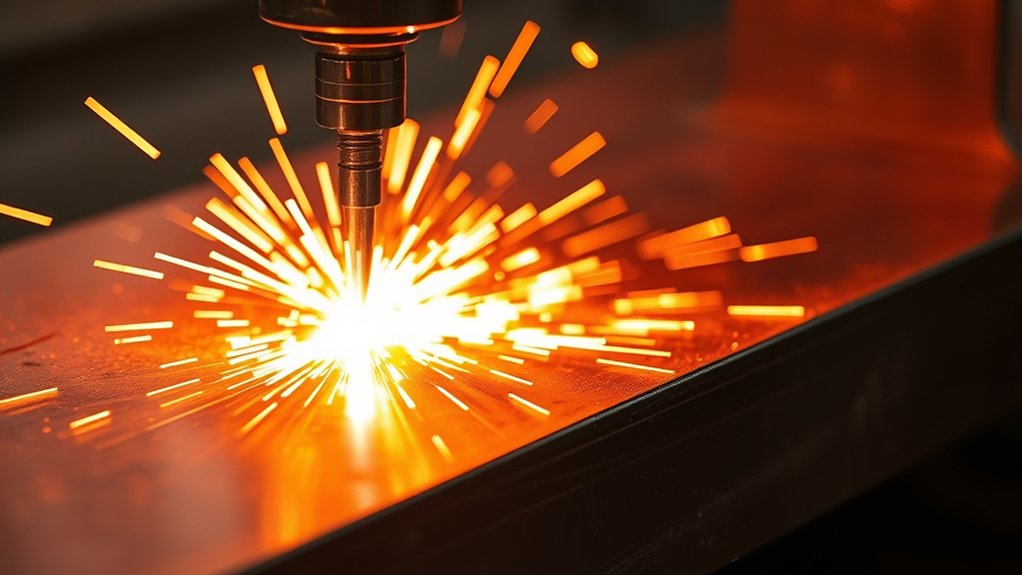
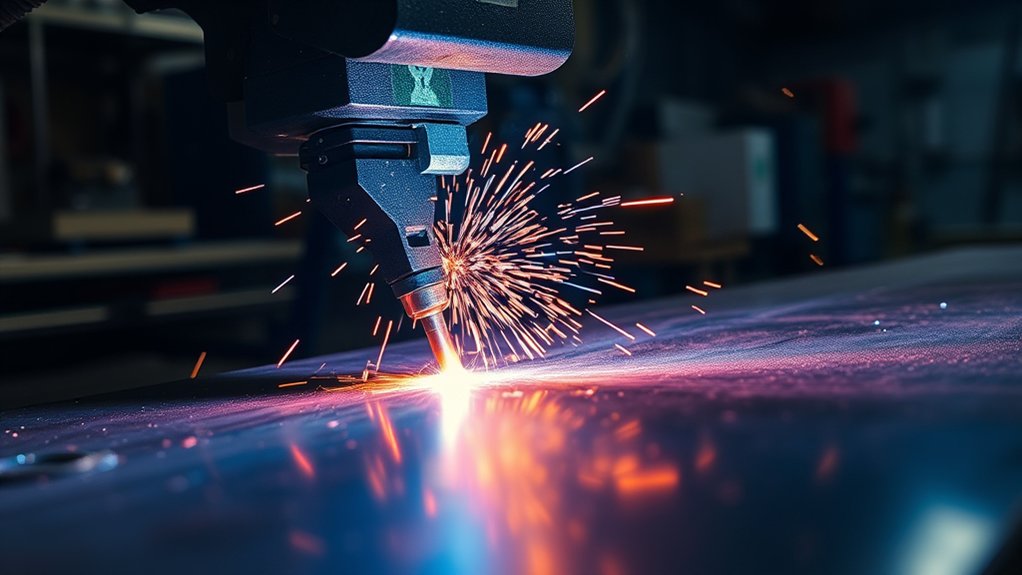
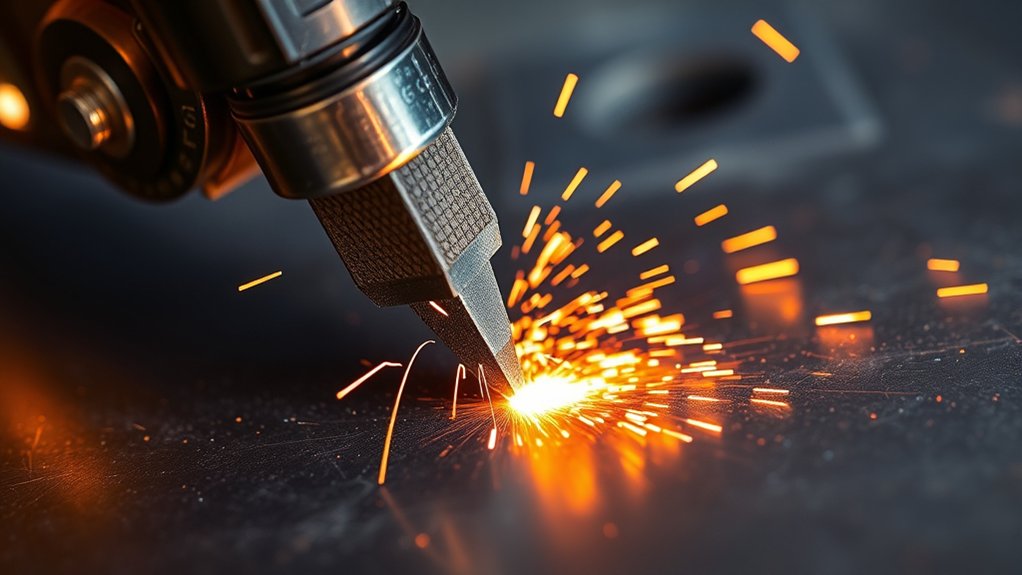
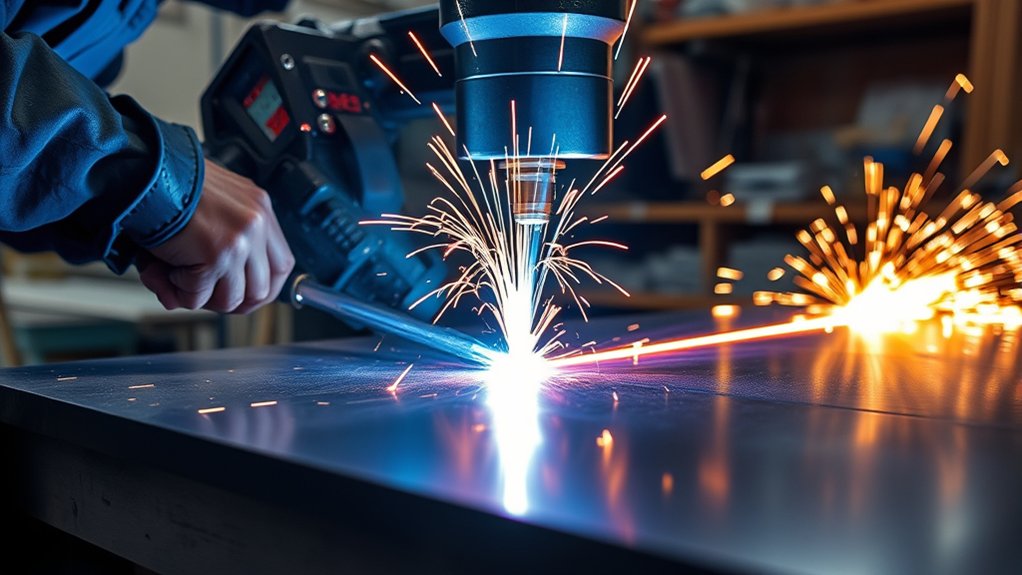
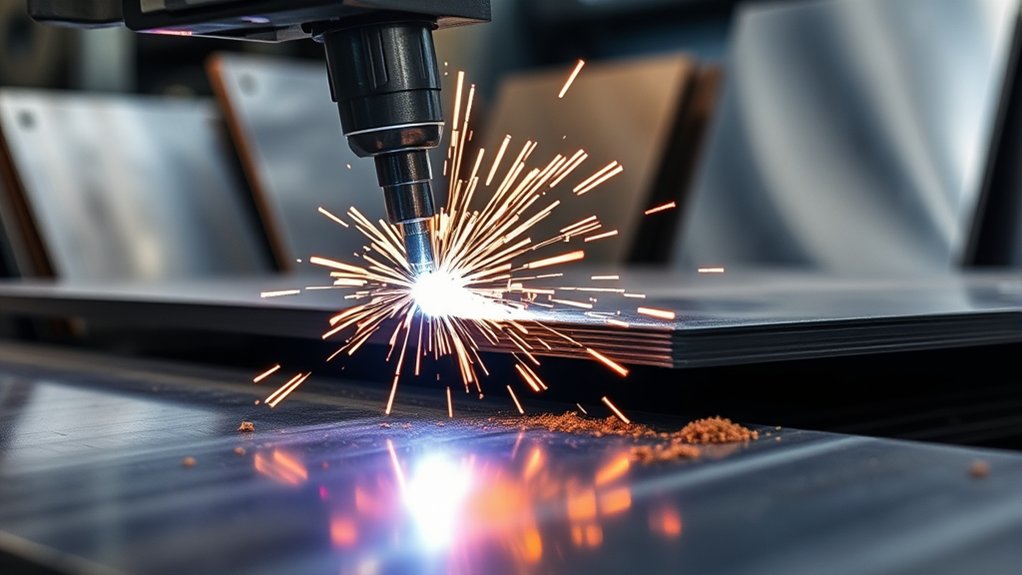
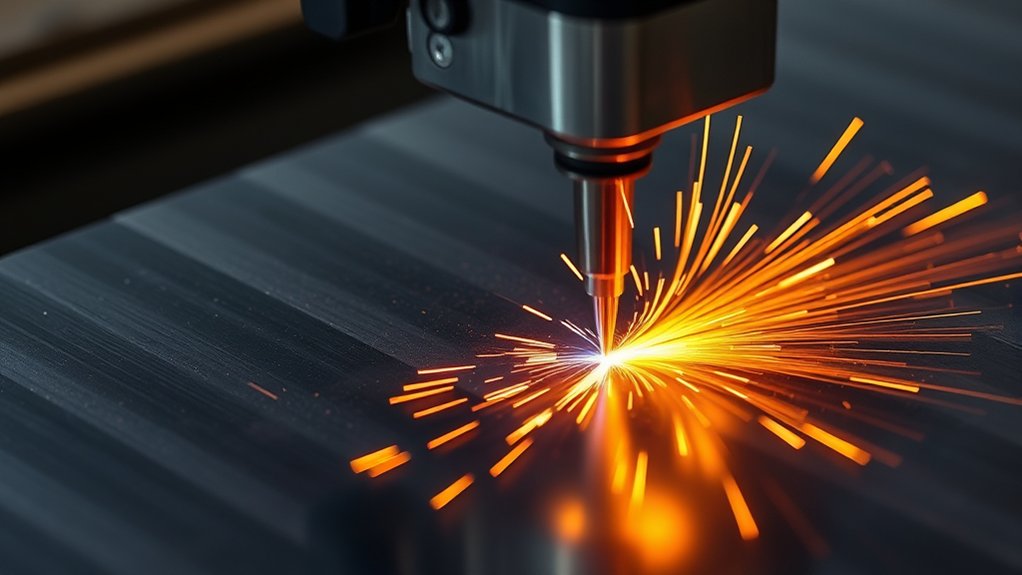
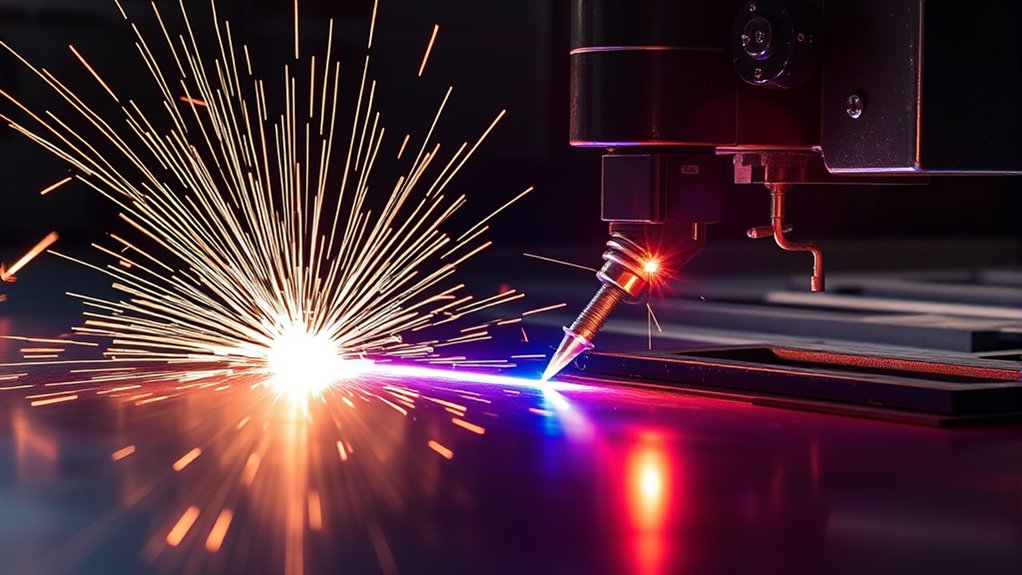
When you’re venturing into the domain of plasma cutting on mild steel, understanding the fundamental processes is vital. You wield a plasma cutter, harnessing high-speed jets of ionized gas to achieve precise and clean cuts.
Mastering cutting techniques involves not just slicing through metal but doing so with efficiency and precision. For instance, ideal cutting speed, measured in inches per minute (IPM), varies greatly based on material thickness. For 14-gauge mild steel, aim for a feed rate of about 105 IPM, while thicker 1/2-inch steel requires a slower 1.2 IPM.
Balancing amperage settings is essential; higher settings accelerate cuts but can lead to excessive dross and potential warping. Additionally, maintaining the correct pierce height and air pressure guarantees ideal performance and extends the life of your plasma cutter consumables.
This technical knowledge empowers you to achieve liberation through precision and control in your metalworking endeavors.
Importance of Adjusting Cutting Speed for Different Thicknesses
Understanding the basics of plasma cutting on mild steel lays the foundation for mastering speed adjustments based on material thickness. Adjusting your feed rate is essential for ensuring peak performance and cut quality.
For instance, when working with 24GA mild steel, a feed rate of 205 IPM is recommended. But as material thickness increases, such as with 14GA mild steel, you need to decrease the speed to 105 IPM. This change prevents distortion and guarantees clean edges.
The relationship between amperage and feed rate is equally important. Higher amperage settings permit faster cutting speeds on thicker materials, enhancing efficiency.
Optimal IPM for 24GA Mild Steel
Achieving ideal cutting performance on 24GA mild steel requires careful attention to the feed rate. To enhance your cutting techniques, set your plasma cutter to 0.35A and maintain an air pressure of 0.35 MPa (55 PSI) for a feed rate of 205 IPM. This setup guarantees minimal dross formation, giving you cleaner cuts and promoting liberation from tedious cleanup tasks.
For optimal 24GA mild steel cuts, set plasma cutter to 0.35A and 0.35 MPa at 205 IPM for minimal dross formation.
Remember, maintaining a pierce height of 0.125 inches is essential for extending consumable life and achieving efficient cutting.
For successful dross reduction and consistency, consider these key points:
- Confirm air supply is dry and clean: This reduces impurities affecting cut quality.
- Regularly check and calibrate settings: Material tests can help maintain peak performance.
- Monitor pierce height: This helps in minimizing wear and tear on consumables.
- Stay precise with feed rate: It’s crucial for clean, efficient cuts.
Master these details for smoother, more liberated fabrication processes.
Recommended Speed for 20GA Mild Steel
To achieve ideal cutting performance on 20GA mild steel, set your plasma cutter to a feed rate of approximately 190 IPM. This speed, combined with precise cutting techniques, guarantees clean, efficient cuts. Align your plasma settings with best amperage at 0.35A and air pressure at 0.35 MPa (55 PSI) for best results. Initiate cuts with a pierce height of 0.125 inches to minimize consumable wear.
| Parameter | Recommended Setting | Purpose |
|---|---|---|
| Feed Rate | 190 IPM | Guarantees efficient cutting |
| Amperage | 0.35A | Best for 20GA steel |
| Air Pressure | 0.35 MPa (55 PSI) | Maintains cutting quality |
| Pierce Height | 0.125 inches | Reduces wear on consumables |
| Material | 20GA Mild Steel | Specific cutting focus |
Adjusting IPM for 16GA Thickness
Fine-tune your plasma cutting process for 16GA mild steel by adjusting the feed rate to approximately 150 IPM. This specific feed rate reduces heat input, minimizing warping and excessive dross formation.
Feed rate adjustments are critical, especially when paired with an amperage setting of 0.35A and an air pressure of 0.35 MPa (55 PSI). To achieve ideal results, maintaining a pierce height of 0.125 inches is essential. This height guarantees clean cuts and prolongs consumable life, enhancing overall performance.
- Feed rate adjustments: Set to 150 IPM to minimize thermal distortion.
- Pierce height importance: Maintain at 0.125 inches for cut quality.
- Amperage setting: Adjust to 0.35A to balance speed and quality.
- Air pressure checks: Keep at 0.35 MPa to support stable cutting.
Regularly inspect and adjust these parameters to release the full potential of your plasma cutter. Achieving precision liberates your process and enhances efficiency.
Speed Considerations for 14GA Mild Steel
When cutting 14GA mild steel, it’s important to adjust your plasma cutter’s feed rate to around 105 IPM, guaranteeing efficient operation and minimizing defects.
Achieving precision requires more than just speed; your amperage should be set at about 0.41A. This balance prevents excessive dross and distortion, essential for clean edges.
For precision cutting, set your amperage to 0.41A to ensure clean edges and minimize defects.
Cutting techniques also include maintaining a pierce height of 0.125 inches. This guarantees effective initial piercing while reducing wear on consumables.
Don’t overlook plasma maintenance. Consistent air pressure, ideally at 0.41 MPa (60 PSI), is crucial for peak cutting performance.
Monitoring your cutting speed and adjusting as necessary can greatly enhance the quality of your cuts. Remember, liberation in your work comes from mastery over these details.
Best Practices for Cutting 1/2 Inch Mild Steel
When cutting 1/2 inch mild steel, set your plasma cutter to around 0.45A for best results, guaranteeing the amperage is paired with a voltage that complements the material thickness.
Maintain an air pressure of 0.45 MPa (65 PSI) to achieve clean cuts without excessive dross.
Keep a consistent feed rate of 1.2 inches per minute and a stable standoff distance to prevent warping and guarantee smooth, even edges.
Optimal Cutting Speed
To achieve ideal cutting speed when working with 1/2 inch mild steel, it’s crucial to set your plasma cutter to a feed rate of approximately 1.2 inches per minute (IPM) at 0.45 amperes, accompanied by air pressure at 0.45 MPa (65 PSI).
Understanding the cutting techniques and metal properties is essential for precision. A consistent pierce height of 0.19 inches guarantees clean cuts, reducing wear on consumables.
You’ll need a dry, clean air supply to prevent dross formation and maintain peak performance. While trial and error can fine-tune your settings, starting with these parameters offers efficiency and quality.
Embrace your cutting freedom by mastering these details:
- Feed rate: 1.2 IPM
- Pierce height: 0.19 inches
- Air pressure: 0.45 MPa
- Amperage: 0.45A
Amperage and Voltage Settings
Achieving ideal cuts on 1/2 inch mild steel requires precise amperage and voltage settings to guarantee efficiency and quality. Start with an amperage calibration around 0.45A. This setting assures efficient cutting without distortion. Pair this with voltage stability to maintain arc consistency, essential for quality cuts.
Consistent voltage output is key; fluctuations can undermine arc stability, affecting cut quality. Proper settings liberate you from excessive consumable wear and subpar results.
Consider this table:
| Setting | Recommended Value |
|---|---|
| Amperage | 0.45A |
| Air Pressure | 0.45 MPa (65 PSI) |
| Pierce Height | 0.19 inches |
These values, when precisely calibrated, empower you to achieve peak performance. Maintain control over your equipment, and your results will reflect precision and freedom from limitations.
Factors Influencing Cutting Speed and Precision
Understanding the factors that influence cutting speed and precision is essential for enhancing plasma cutter performance on mild steel. By mastering cutting techniques and following maintenance tips, you can increase efficiency and extend consumable life.
The ideal cutting speed varies with the steel’s thickness; for instance, 14-gauge requires around 105 IPM. Adjust your feed rate as thickness changes—thinner materials like 24-gauge can handle up to 205 IPM while maintaining quality.
Higher amperage settings generally allow for faster speeds, so consider a 0.41A setting for 14-gauge steel to achieve the recommended 105 IPM. Don’t overlook pierce height; maintain it 1.5-2 times the cutting height to prevent excessive wear on consumables.
Air pressure is vital too; 0.35 MPa (55 PSI) enhances performance across various gauges.
- Adjust feed rate based on material thickness
- Use higher amperage for faster speeds
- Maintain correct pierce height for precision
- Enhance air pressure for diverse gauges
Techniques to Achieve Clean Cuts at Various Thicknesses
To achieve clean cuts across various thicknesses of mild steel, you need to carefully adjust the amperage and feed rate.
For instance, maintaining a 0.35A current with a feed rate of 205 IPM is vital for 24GA steel, whereas 1/2 inch steel requires 0.45A and a much slower 1.2 IPM.
It’s also essential to mitigate material warping by ensuring consistent pierce heights, such as 0.125 inches for gauges up to 14GA, and adjusting to 0.19 inches for thicker sections.
Amperage and Cutting Precision
When working with plasma cutters on mild steel, adjusting amperage and feed rates is essential for achieving precise cuts across various thicknesses. Effective amperage control guarantees that you can tailor cutting techniques to specific needs, liberating your creative process while maintaining technical accuracy.
For instance, cutting 14-gauge mild steel requires balancing the amperage to achieve around 105 IPM, resulting in clean cuts without distortion.
- 16-gauge: Set feed rate to 150 IPM at 0.35A for precision and minimal dross.
- 20-gauge: Use 190 IPM at 0.35A to guarantee effective penetration, reducing warping.
- 24-gauge: Achieve ideal results with 205 IPM and 0.35A, guaranteeing clean edges.
- 1/2-inch: Adjust to 0.45A and slow down to 1.2 IPM to prevent excess dross.
Material Warping Mitigation
While cutting mild steel, you must address material warping to guarantee clean cuts across various thicknesses. Implement warping prevention techniques like maintaining an ideal cutting speed—75 IPM for 14-gauge steel—to minimize heat input and distortion.
Secure thin sheets firmly to enhance cutting material stability, as their low rigidity increases warping risk. Utilize FineCut consumables for a narrow kerf and stiff arc, promoting cleaner cuts and reducing material waste.
Consider staggered cutting paths or sequenced cuts with cooling intervals to manage heat distribution effectively. Adjust pierce times and heights, ideally 1.5-2 times the cutting height, to extend consumable life and uphold cut quality.
These strategies empower you to achieve precision and freedom in your cutting endeavors.
Enhancing Efficiency With Proper Plasma Cutting Settings
Achieving efficiency in plasma cutting mild steel involves dialing in precise settings that cater to the specific gauge you’re working with. By mastering cutting techniques and making informed material selections, you gain the freedom to execute clean cuts consistently.
Dial in precise settings for plasma cutting mild steel to achieve efficient, clean cuts consistently.
For 24GA mild steel, set your plasma cutter to a feed rate of 205 IPM, with an amperage of 0.35A and an air pressure of 0.35 MPa (55 PSI). Shift to 20GA by adjusting the feed rate to 190 IPM while maintaining the same amperage and air pressure.
As you move to 16GA, drop the feed rate to 150 IPM, still at 0.35A and 0.35 MPa. For 14GA, set a feed rate of 105 IPM, increasing both amperage and air pressure to 0.41A and 0.41 MPa (60 PSI) respectively.
- 24GA: 205 IPM, 0.35A, 0.35 MPa
- 20GA: 190 IPM, 0.35A, 0.35 MPa
- 16GA: 150 IPM, 0.35A, 0.35 MPa
- 14GA: 105 IPM, 0.41A, 0.41 MPa
Frequently Asked Questions
What Is the Lifespan of a Plasma Cutter Nozzle?
You can expect a plasma cutter nozzle to last between 1 to 3 hours of active cutting, depending on nozzle wear and cutting efficiency. Regular maintenance and ideal settings guarantee you maximize both performance and lifespan.
How Does Humidity Affect Plasma Cutting?
Humidity affects plasma cutting by impacting arc stability and cutting quality. If it’s high, moisture can disrupt the plasma arc, causing inconsistent cuts. Maintain a dry environment to guarantee peak performance and liberate yourself from subpar results.
Can Plasma Cutters Be Used on Painted Surfaces?
Yes, you can use plasma cutters on painted surfaces, but for best results, verify surface preparation by removing paint beforehand. This reduces contamination, improves cut quality, and prevents potential damage to the equipment, enhancing your creative freedom.
What Safety Gear Is Essential for Plasma Cutting?
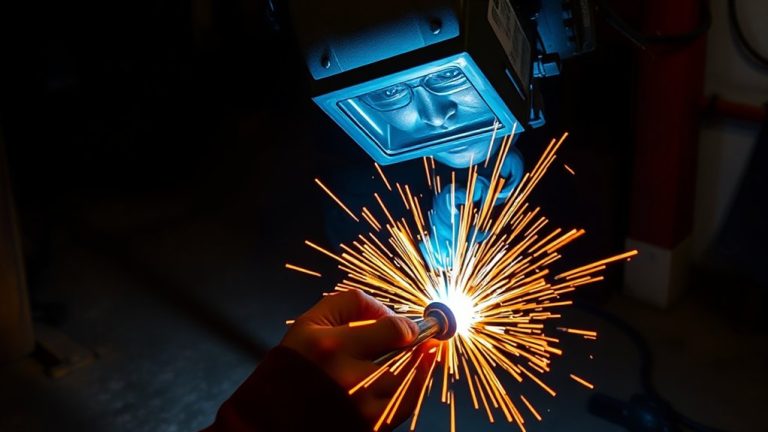
Imagine stepping into a lion’s den without armor. When plasma cutting, make certain you wear safety equipment like a welding helmet, gloves, flame-resistant clothing, and boots. This gear shields you from sparks and UV radiation. Stay protected!
How Do You Maintain a Plasma Cutter for Longevity?
To maintain your plasma cutter for longevity, perform routine inspections, clean the torch, check consumables for wear, and guarantee proper air pressure. A well-maintained machine boosts performance, granting you freedom from unexpected breakdowns and costly repairs.
Conclusion
Imagine you’re a conductor orchestrating a symphony of sparks, where each note represents the precise IPM required for different steel thicknesses. Just as a maestro adjusts tempo for harmony, you must fine-tune your plasma cutter settings. For instance, cutting 24-gauge steel at 205 IPM mirrors a swift allegro, while 1/2-inch steel’s 1.2 IPM resembles a slow adagio. By mastering these adjustments, you guarantee each cut is a masterpiece, free of dross and inefficiency.