What’s in This Article
- Understanding Dross and Slag in Plasma Cutting
- Why Dross and Slag Cause Problems
- How to Set Plasma Cutting Parameters for Cleaner Edges
- How to Maintain Consistent Torch Height
- How to Select the Right Consumables
- Techniques for Dross and Slag Removal
- Regular Maintenance and Equipment Care
- Automation and Advanced Plasma Cutting Technologies
- Frequently Asked Questions
- Conclusion
Rough plasma-cut edges slow you down fast. Dross sticks to the cut, forces more grinding, and can make a clean part look unfinished. You can reduce most dross by controlling cut speed, amperage, gas flow, torch height, and consumable condition.
Quick Answer
To reduce dross in plasma cutting, match your amperage, cut speed, gas pressure, and torch height to the material and thickness. Keep the torch about 1/16 inch to 1/8 inch from the workpiece unless your machine’s cut chart says otherwise. Replace worn tips, electrodes, and nozzles before they distort the arc.
Key Takeaways
- Set cut speed and amperage from your plasma cutter’s chart before you start.
- Keep torch height steady to hold arc voltage and reduce bevel changes.
- Replace worn consumables because damaged parts create more dross and rougher edges.
- Use the right removal tool for the type and thickness of dross.
- Clean and inspect your machine often to keep cut quality consistent.
Understanding Dross and Slag in Plasma Cutting
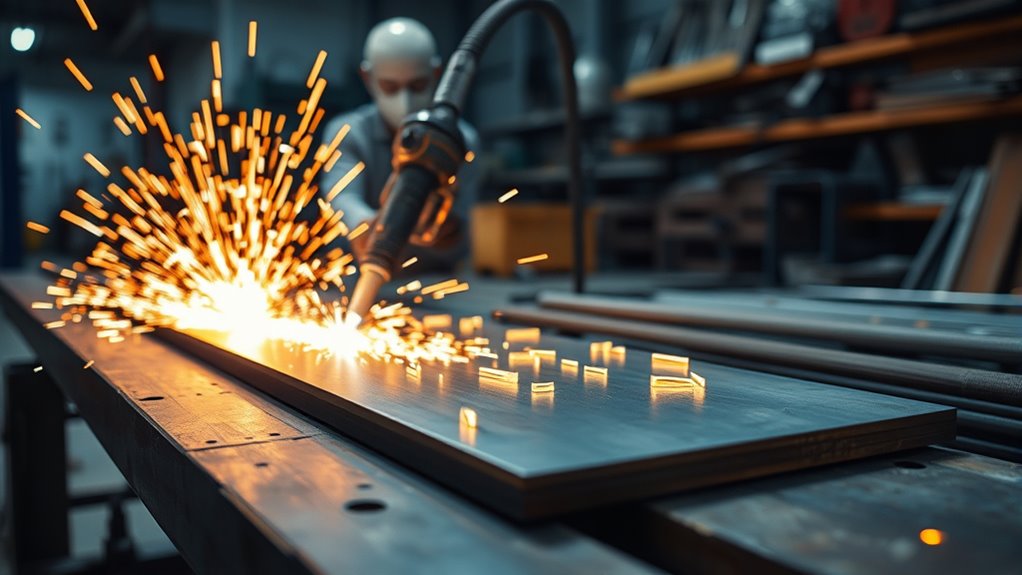
Dross forms when molten metal from a plasma cut cools and hardens along the cut edge. It often appears under the plate, but it can also form on top when your settings drift too far from the correct range.
Dross usually points to a mismatch between cut speed, amperage, gas flow, torch height, or consumable condition. A stable arc and clean gas flow help push molten metal out of the kerf before it hardens.
Precise cutting speed, amperage, gas flow, and torch height help minimize dross in plasma cutting.
Slag often describes waste from oxy-fuel cutting, while dross describes unwanted metal buildup in plasma cutting. Shops sometimes use the terms loosely, but the cause and cleanup method can differ.
To limit dross, start with the cut chart for your machine. Then inspect the edge, adjust one setting at a time, and keep your consumables in good condition.
Why Dross and Slag Cause Problems
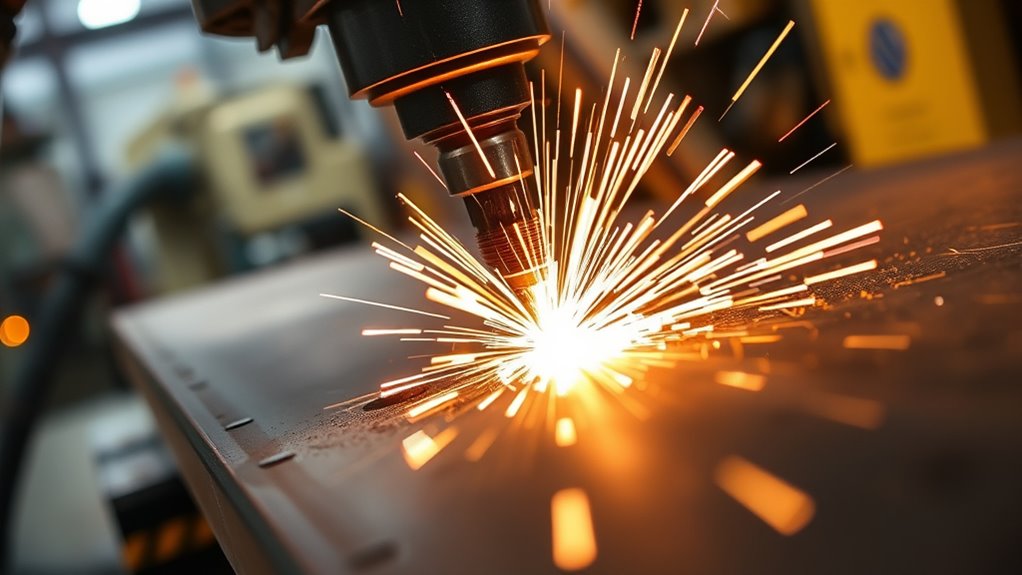
Dross adds extra work after the cut. You may need to grind, chip, brush, or sand the edge before welding, painting, or fitting the part.
That cleanup can slow production and raise labor costs. It can also damage the surface if you grind too hard or use the wrong abrasive.
Even skilled operators deal with dross when material thickness, torch height, air quality, or consumables change. A repeatable setup gives you the best chance of clean, square edges.
Production Delays and Bottlenecks
Dross removal can delay fabrication work, especially when you cut large batches. Every extra grinding pass adds time that you could spend fitting, welding, or finishing parts.
Hardened dross often needs an angle grinder, chipping tool, or mechanical finishing machine. Small shops may feel the delay more because they often remove dross by hand.
Reducing dross at the cut saves more time than removing it later. Check your settings before each material change, especially when you switch thickness, gas, or amperage.
Surface Alteration Concerns
Dross removal can change the surface finish if you use too much force. Heat-sensitive metals and finished surfaces need extra care because grinding can discolor or mark the part.
| Problem | Impact |
|---|---|
| Delayed Production | Higher labor time and operating cost |
| Surface Finish Alteration | Visible marks, discoloration, or edge damage |
| Extra Cleanup | Slower workflow and more rework |
Use the least aggressive removal method that still clears the buildup. A wire wheel may handle light dross, while thicker deposits may need a flap disc or grinder.
How to Set Plasma Cutting Parameters for Cleaner Edges
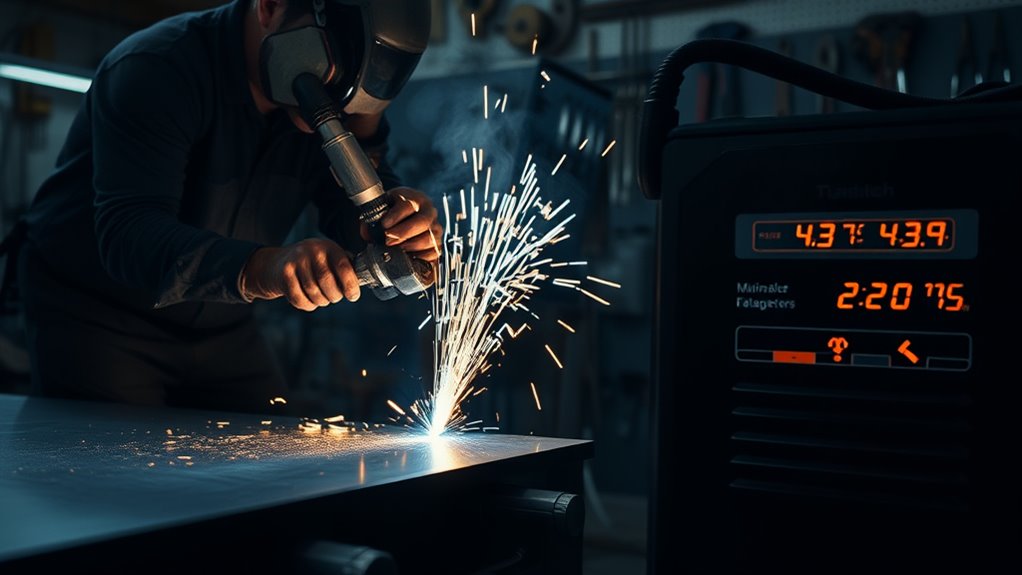
Clean plasma cuts start with the right settings. Match amperage, speed, gas pressure, and torch height to the material type and thickness.
Use your plasma cutter’s manual or cut chart as the baseline. Cut charts reflect the machine, torch, consumables, and material thickness better than a general rule of thumb.
Watch the arc as you cut. A good cut often leaves an arc lag of about 15 to 30 degrees behind the torch, but your machine’s chart should guide the final setting.
If dross builds under the cut, your speed may be too slow or too fast depending on the dross type. Adjust one variable at a time so you can see what changed.
Pro tip: Make a short test cut on scrap from the same sheet before you cut the final part.
Keep notes on settings that work well for each material and thickness. A simple log saves time when you repeat the same job later.
Products Worth Considering

WITH GRADUATED SCALE: This plasma cutter comes with a graduated scale. This design enables the user to use the scale to intuitively and conveniently locate the cutting diameter, cutting more convenient and quick.

AG-60/SG55 Slotted Cup Roller Guide——The upgrade Plasma torch roller guide can fit AG-60 torch/ SG55 torch,ensuring optimal balance during cutting

The suitable plasma torch: Plasma spring guide AG60 / SG55 WSD60 plasma cutting torch
How to Maintain Consistent Torch Height
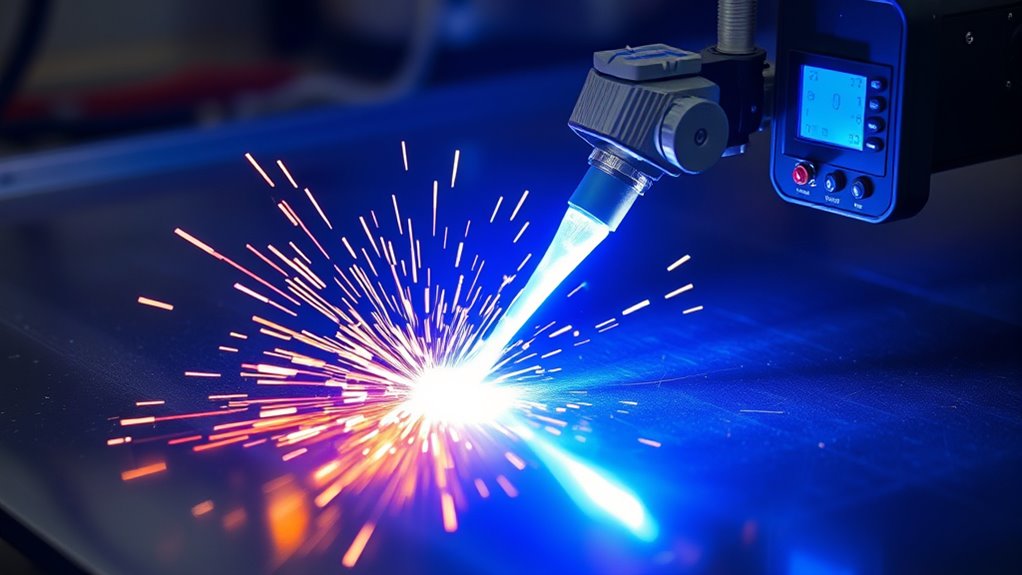
Keep the torch at a steady height to hold a stable arc. Many manual cuts work best around 1/16 inch to 1/8 inch from the workpiece, but your machine may require a different stand-off.
Too much height can widen the kerf and increase bevel. Too little height can damage the nozzle, disturb the arc, and leave more cleanup.
Use a drag shield, stand-off guide, or torch height control when your setup supports it. These tools help you keep the torch steady across uneven plate.
How Arc Voltage Affects the Cut
Arc voltage changes as torch height changes. When the torch rises too far from the plate, voltage climbs and the cut can lose quality.
Check your cut chart for the target arc voltage when you use a computer numerical control (CNC) table or torch height control. A steady voltage helps keep the edge angle more consistent.
Manual cutters can still use this idea. Keep your hand steady, brace your body, and avoid lifting the torch near corners or pierce points.
How to Adjust Torch Height
Set the torch height before the cut, then watch for changes as the material heats and moves. Thin sheet can warp, which changes the gap between the torch and the workpiece.
Adjust height based on material thickness, cut quality, and the machine’s chart. Avoid guessing from one job to the next because consumables and material condition can change.
Consistent height reduces bevel angle changes and limits post-cut cleanup. It also helps extend consumable life because the torch runs under steadier conditions.
How Material Inconsistencies Affect Torch Height
Uneven plate, mill scale, rust, paint, and heat warp can disturb torch height. These issues can cause uneven cuts even when your machine settings look correct.
Clean the cut path when surface contamination affects the arc or work clamp. Secure the workpiece so vibration or movement doesn’t change the stand-off during the cut.
When you cut rough or warped material, slow down and check the edge often. Small corrections during setup prevent larger problems later.
How to Select the Right Consumables
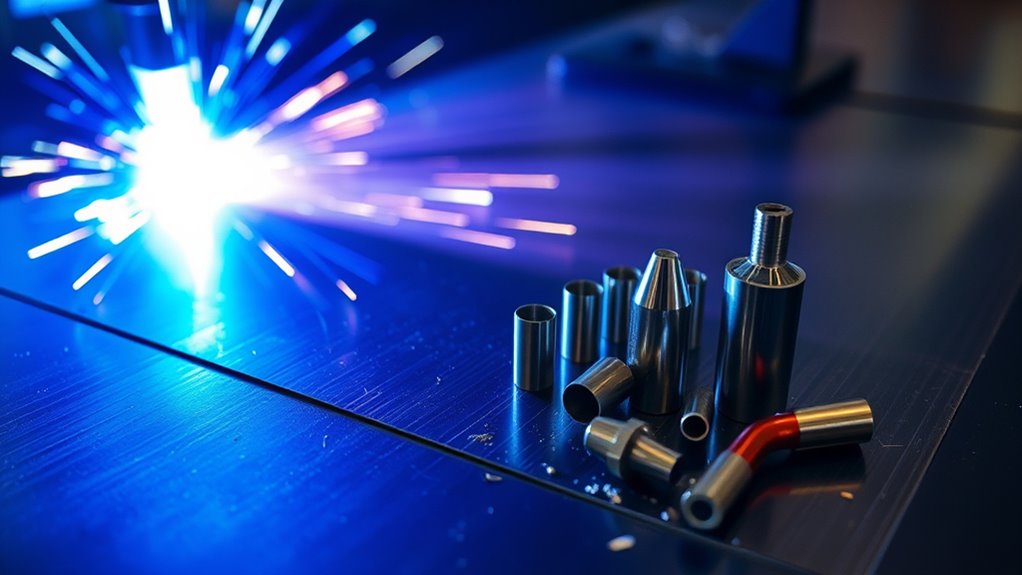
Consumables shape the plasma arc, so they have a direct effect on edge quality. Nozzles, electrodes, swirl rings, shields, and retaining caps all need to match your torch and amperage.
Use the nozzle and electrode that your manufacturer recommends for the material and current. A fine-cut nozzle can improve detail on thin material when your torch system supports it.
Use the correct nozzle and electrode for the amperage, material, and torch model.
Inspect consumables before quality-critical cuts. Replace parts with pitting, uneven holes, burn marks, cracks, or distorted edges.
Worn parts can create an unstable arc that leaves more dross and rougher edges. Keep spares near the cutter so you don’t push damaged parts through another job.
Products Worth Considering

Package Include: 10 Shield Cups, 50 Nozzles, 20 Swirl Baffle, and 30 Electrodes.

PACKAGE INCLUDED: 5 Pcs Cup-15 Pcs Electrodes-10 Pcs Ring-30 Pcs Tip(Standard)

[Achieve Precise Cuts] PT31 Plasma Cutting Consumables – Your Essential Tool for Efficient Cutting! Whether you're working with sheet metal, steel, or any other material, superior cutting performance ensure clean, accurate, and smooth cuts.
Techniques for Dross and Slag Removal
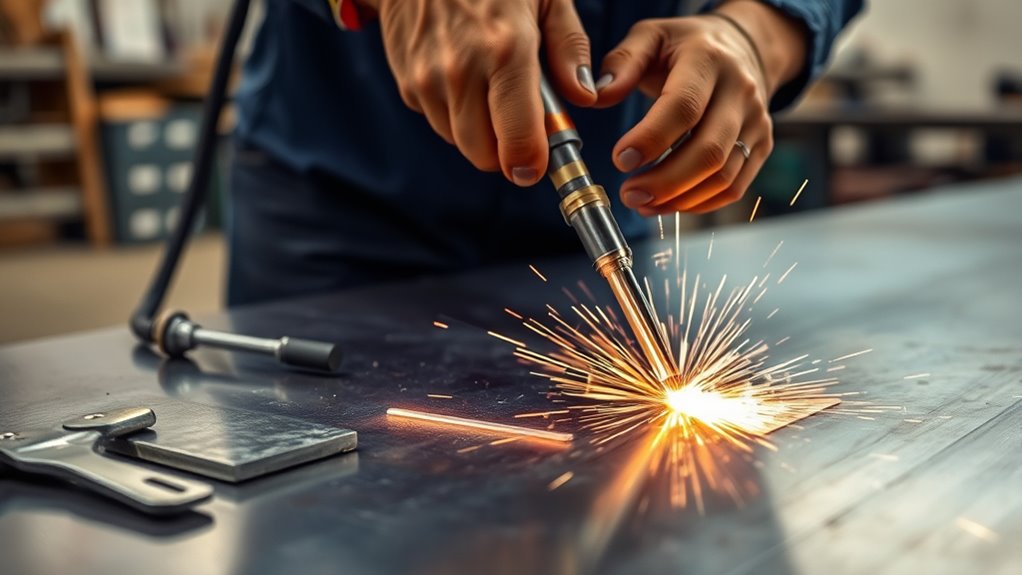
Choose your removal method based on how firmly the dross sticks. Light dross may break off with a scraper or wire wheel, while heavy deposits need a grinder.
Angle grinders with flap discs work well for many medium dross deposits. Use steady pressure and keep the tool moving so you don’t gouge the edge.
Mechanical finishing machines can speed up cleanup on repeat production parts. They cost more, but they may save labor when you process large batches.
Anti-spatter sprays can help reduce buildup on some jobs. Test them first because coatings can affect welding, painting, or finishing if you leave residue behind.
Warning: Wear eye, face, hand, and respiratory protection when you grind or brush plasma-cut edges.
Regular Maintenance and Equipment Care

Good maintenance helps your plasma cutter hold a stable arc. Start by checking the torch, lead, work clamp, air supply, and consumables before each job.
Clean the torch and replace worn parts before they affect cut quality. Metal dust, loose connections, and damaged leads can all make dross worse.
Inspect consumables often and replace worn parts before they reduce cut quality.
Keep the power source clean and dry. Dust and moisture can shorten equipment life and create poor electrical contact.
Attach the work clamp to clean, bare metal. A weak ground path can cause arc instability, rough cuts, and more edge cleanup.
Drain moisture from the air system if your machine uses compressed air. Dry, clean air helps the plasma arc cut more consistently.
Automation and Advanced Plasma Cutting Technologies
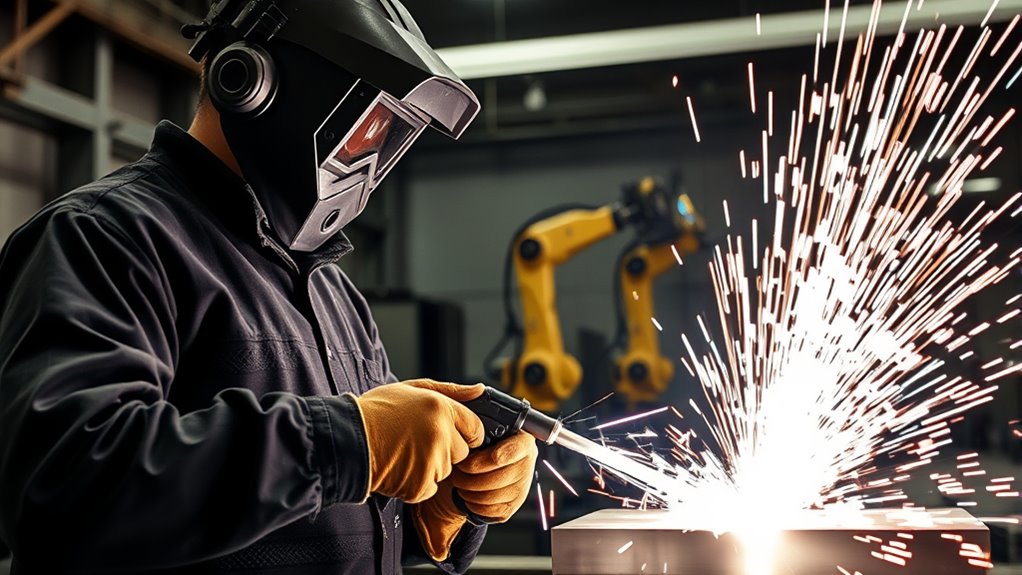
Manual plasma cutting works well for many shops, but automation can improve repeatability. A CNC table or robotic system can hold speed, height, and path more consistently than hand cutting.
Automation can reduce cleanup because it controls the same variables that cause dross. These systems work best when you still maintain the torch, gas supply, consumables, and work clamp.
Common automation upgrades include:
- CNC cutting tables: They hold programmed paths and steady speed for repeat parts.
- Torch height control: It helps maintain stand-off as the material moves or warps.
- Cartridge-style consumables: They simplify replacement on compatible torch systems.
Automation won’t fix poor setup by itself. Use it with correct parameters, clean material contact, and good consumables for the best results.
How to Diagnose Common Dross Patterns
The dross pattern can help you find the cause. Look at where the buildup forms, how firmly it sticks, and whether the top edge looks rounded or square.
| Dross Pattern | Likely Cause | What to Check |
|---|---|---|
| Heavy bottom dross | Speed, amperage, or gas flow mismatch | Cut chart, air pressure, and travel speed |
| Top spatter | Torch too high or pierce issue | Stand-off, pierce height, and nozzle condition |
| Uneven dross on one side | Worn consumables or poor torch angle | Nozzle hole, electrode wear, and torch position |
Make one change at a time when you troubleshoot. If you adjust speed, height, and amperage together, you won’t know which change solved the problem.
Frequently Asked Questions
How does material thickness affect plasma cutting quality?
Material thickness affects speed, amperage, pierce height, and edge quality. Thicker material usually needs slower travel and enough amperage to clear molten metal from the kerf.
What role does gas type play in plasma cutting?
Gas type affects arc stability, cut speed, oxidation, and dross. Many air plasma systems use clean, dry compressed air, while some industrial systems use gases such as oxygen, nitrogen, or argon-hydrogen blends.
Can plasma cutting be used on all metals?
Plasma cutting works on electrically conductive metals, including mild steel, stainless steel, aluminum, brass, and copper. It won’t work well on nonconductive materials because the process needs an electrical arc.
How do environmental factors impact plasma cutting performance?
Moisture, dust, wind, and poor ventilation can affect plasma cutting results. Keep the air supply dry, protect the arc from strong drafts, and maintain a clean work area.
What safety precautions are necessary during plasma cutting?
Wear safety glasses, a face shield or welding helmet, gloves, hearing protection, and flame-resistant clothing. Keep flammable materials away from the cutting area and use ventilation to control fumes.
Why does dross stick after plasma cutting?
Dross sticks when molten metal doesn’t fully leave the cut before it cools. Poor speed, low gas flow, worn consumables, or incorrect torch height can all cause this problem.
Is high-speed or low-speed dross easier to remove?
Low-speed dross often forms as heavy globs along the bottom edge. High-speed dross can form a harder, thinner bead that may cling more tightly to the metal.
Conclusion
Cleaner plasma-cut edges come from steady control of speed, amperage, torch height, air quality, and consumable condition. Start with your cut chart, make a test cut, and adjust one setting at a time. Keep your torch clean and replace worn parts before they damage the cut. With a repeatable setup, you’ll spend less time grinding and more time finishing parts that fit right.