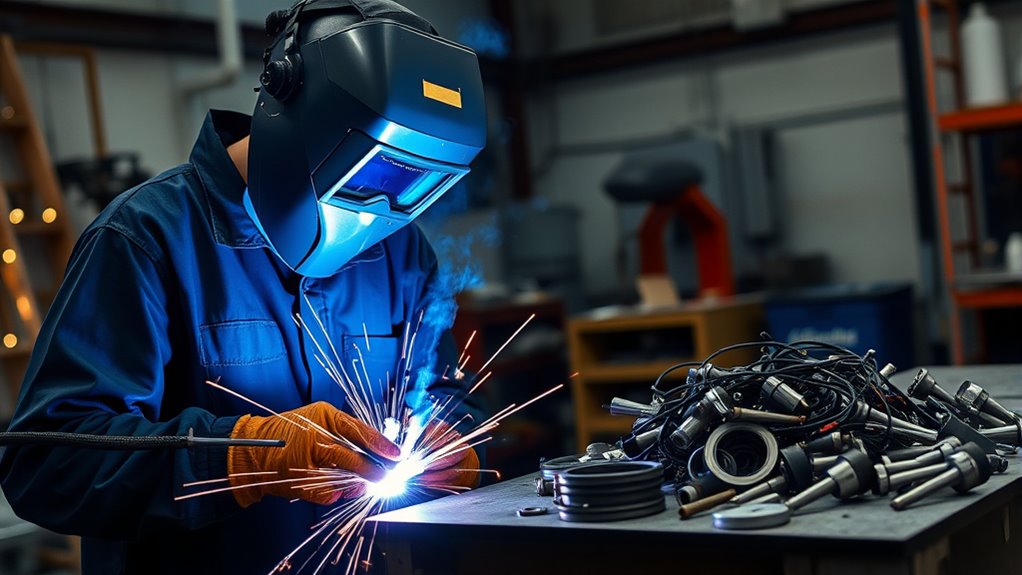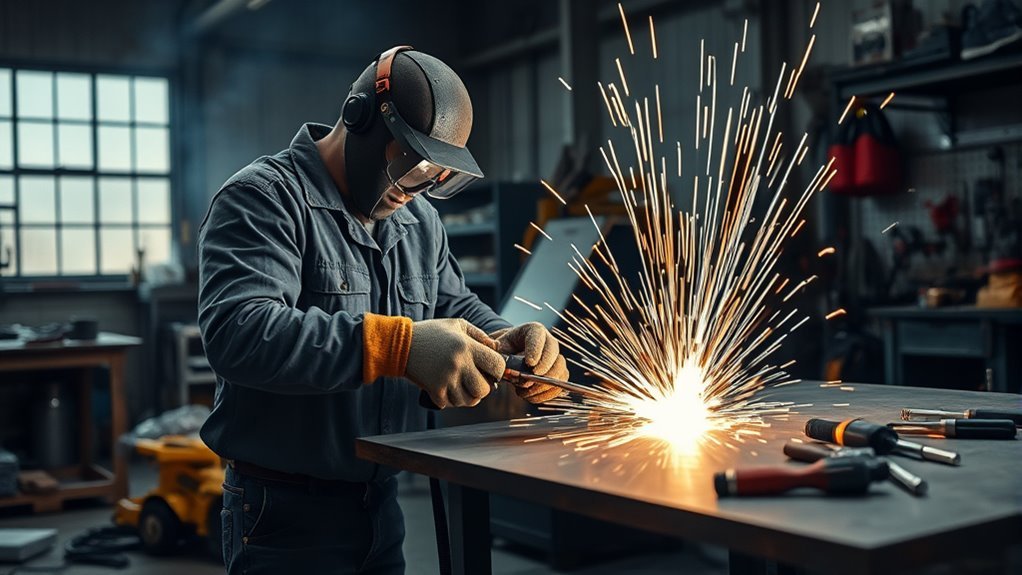
Plasma cutting is a fast way to cut steel, stainless steel, aluminum, copper, brass, and other electrically conductive metals. The cutter uses compressed gas, electricity, and a constricted plasma arc to melt the metal while the gas stream blows molten material out of the kerf. Good results come from safe setup, clean dry air, correct amperage, steady torch movement, and regular consumable checks.
Quick Answer
Plasma cutting works by sending an electric arc through compressed gas to create a hot, electrically conductive plasma jet. That jet melts conductive metal, while the gas stream blows the molten metal away. For safe cuts, wear proper PPE, clamp the work lead securely, use clean dry air, set amperage for the metal thickness, and keep flammables away.
Key Takeaways
- Plasma cutters work only on electrically conductive metals, not wood, plastic, glass, concrete, or most nonconductive materials.
- Always follow the owner’s manual for input power, air pressure, flow rate, duty cycle, standoff, and consumable type.
- For eye protection, OSHA lists shade 8 as the minimum for light plasma arc cutting under 300 amps when the arc is clearly seen.
- Most rough cuts come from the wrong speed, worn consumables, poor work clamp contact, wet air, or incorrect torch height.
At a Glance
| Time Required | 5–10 minutes to set up; cutting time depends on metal thickness and cut length |
| Difficulty | Beginner to intermediate, depending on material thickness and cut quality needed |
| Tools Needed | Plasma cutter, correct consumables, clean dry compressed air or built-in air supply, work clamp, straightedge or guide, PPE, fire extinguisher |
| Cost | Consumables and compressed air are the main ongoing costs; equipment cost varies by amperage, duty cycle, and cut capacity |
Understanding Plasma and the Cutting Process

Plasma is often called the fourth state of matter. In a plasma cutter, compressed gas is forced through a small nozzle while an electric arc ionizes part of that gas. The gas becomes electrically conductive, forms a plasma arc, and concentrates heat into a narrow cutting zone.
The plasma jet can reach extremely high temperatures, often described in the tens of thousands of degrees. That heat melts the metal, and the high-speed gas stream blows the molten metal out of the cut. This is why plasma cutting is fast, but also why eye protection, fire control, ventilation, and electrical safety matter.
Because the process depends on an electrical circuit, plasma cutting works on conductive materials such as mild steel, stainless steel, aluminum, copper, and brass. It does not work properly on wood, plastic, glass, concrete, stone, or most nonconductive materials.
For the arc to transfer correctly, the work clamp must have clean contact with the workpiece or cutting table. Paint, rust, scale, or loose clamp contact can cause a weak arc, hard starts, rough edges, or arc shutdown.
Warning: Plasma cutting is hot work. Sparks, molten metal, UV/IR radiation, fumes, electric shock, and hot workpieces can cause serious injury. Keep fire extinguishing equipment ready, remove or shield combustibles, and do not cut coated or unknown metals without proper ventilation and respiratory protection.
What Metals Can a Plasma Cutter Cut?
A plasma cutter cuts metal only when the material can carry the electrical arc. The most common materials include:
- Mild steel: The easiest and most common plasma cutting material.
- Stainless steel: Cuts well, but fumes require extra care and good ventilation.
- Aluminum: Cuts quickly, though the edge may need cleanup depending on thickness and settings.
- Copper and brass: Conductive and cuttable, but they may need more amperage than steel of similar thickness.
- Expanded metal and mesh: Works best with a pilot-arc machine designed to restart the arc across gaps.
Do not use plasma cutting on closed containers, fuel tanks, pressurized vessels, or unknown coated materials unless they have been properly cleaned, tested, and approved for hot work. Cutting paint, galvanized coatings, oil, adhesives, or plated metals can create hazardous fumes.
Key Components of a Plasma Cutting System
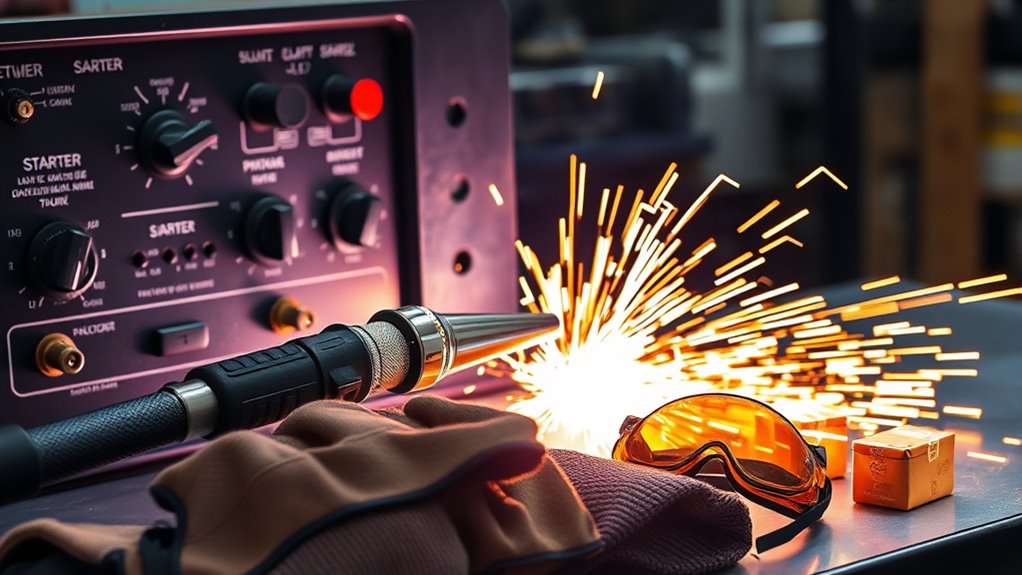
A plasma cutter may look simple from the outside, but several parts work together to create a stable arc and clean cut. Understanding these parts helps you choose the right machine, diagnose problems, and avoid damaging consumables.
Power Supply Essentials
The power supply changes incoming AC power into a controlled cutting output. Portable units may run on 120V, 240V, or dual-voltage input, while higher-output machines usually need a dedicated 240V circuit or industrial power.
Do not assume that every cutter uses the same output voltage, breaker size, plug, or duty cycle. Check the machine’s rating plate and manual before connecting power. Use the correct circuit, extension cord size, and grounding method for the cutter.
OSHA’s arc welding and cutting standard emphasizes safe equipment selection, installation, and instruction. For home or shop use, that means you should inspect cords, keep covers in place, avoid wet work areas, and stop using the cutter if cables, plugs, or the torch are damaged.
Arc Starting Methods
Plasma cutters use different arc-starting methods. Older or industrial machines may use high-frequency start. This can start an arc without touching the workpiece, but it may interfere with nearby electronics, CNC controls, radios, or computers.
Many modern portable machines use blowback start, contact start, or pilot arc designs. A pilot arc is helpful on rusty metal, painted spots, expanded metal, and interrupted cuts because it can keep or restart the arc more easily.
The best starting method depends on your work. For CNC tables, look for a CNC-friendly start method. For field repair, expanded metal, or rough stock, a pilot arc can make the cutter easier to use.
Plasma Torch Components
The torch directs gas and current into a narrow, controlled arc. Most torches include these parts:
- Electrode: Carries the arc inside the torch and wears during use.
- Nozzle: Constricts the arc and shapes the plasma jet. A damaged or enlarged nozzle causes poor cut quality.
- Swirl ring: Controls gas movement around the electrode and helps stabilize the arc.
- Shield or drag cap: Protects the nozzle and may help maintain the correct standoff.
- Torch body and leads: Carry air, current, and trigger signals from the machine to the torch.
Use consumables that match your torch model and amperage range. Mixing incorrect parts can cause double arcing, short consumable life, poor cut edges, or torch damage.
Essential Safety Measures for Plasma Cutting

Plasma cutting creates sparks, molten metal, intense light, hot parts, noise, and fumes. Treat every cut as hot work, even if the cut takes only a few seconds.
Proper Protective Equipment
Wear PPE before you connect power or pull the trigger. At minimum, use:
- Eye and face protection: Use a welding helmet or suitable shaded face protection. OSHA lists shade 8 as the minimum for light plasma arc cutting under 300 amps when the arc is clearly seen. Start darker, then lighten only if you can still stay at or above the required protection level.
- Gloves: Wear dry leather gloves that protect from heat and sparks.
- Clothing: Wear flame-resistant sleeves, jacket, or apron. Avoid synthetic fabrics that can melt into skin.
- Foot protection: Wear leather work boots. Do not cut in open shoes.
- Hearing protection: Use ear protection when noise levels are high, especially in enclosed shops.
Electrical Safety Precautions
Keep the work area dry. Do not stand in water, cut in rain, or handle the torch with wet gloves. Inspect the torch lead, power cord, plug, and work clamp before each session.
Attach the work clamp to clean metal on the workpiece or a properly connected cutting table. A poor clamp can make the arc unstable and may send current through unintended paths.
Disconnect power before changing consumables. Let the torch cool first, then inspect the electrode, nozzle, swirl ring, and shield. Never bypass safety interlocks or use damaged torch parts.
Workspace Safety Practices
Clear the area before you cut. Sparks can travel farther than you expect, and the part will remain hot after the arc stops.
- Move combustible material away from the cutting area when possible.
- Keep a suitable fire extinguisher ready and easy to reach.
- Use welding curtains or screens to protect nearby people from arc flash and sparks.
- Use ventilation or local exhaust to remove fumes from the breathing zone.
- Mark or isolate hot metal after cutting so no one grabs it by mistake.
OSHA’s welding, cutting, and brazing rules call for fire prevention steps, fire extinguishing equipment, and ventilation controls in defined situations. In tight areas, confined spaces, or production settings, follow workplace hot-work rules and get qualified safety guidance before cutting.
Evaluating Plasma Cutter Features and Capabilities
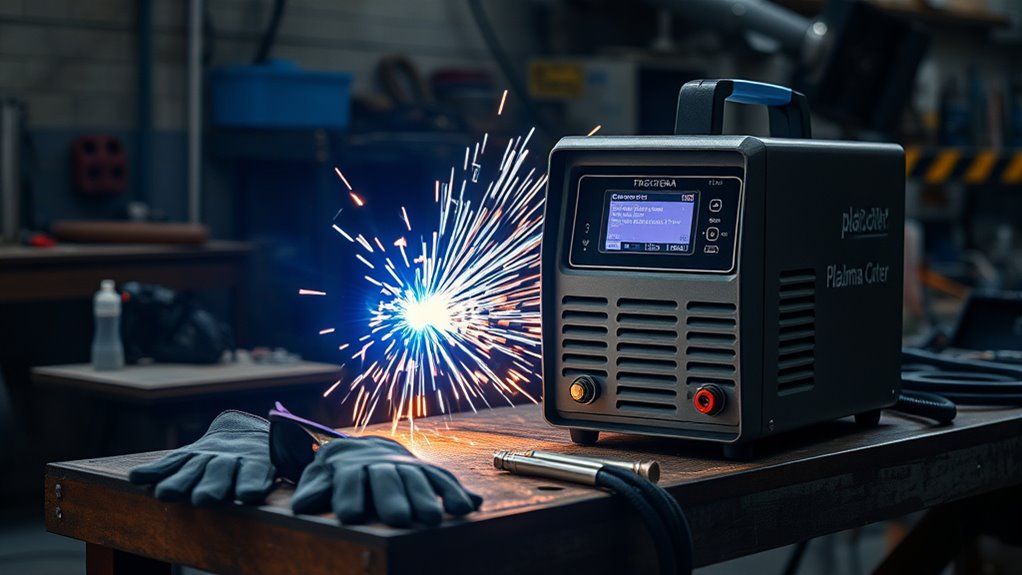
To choose the right plasma cutter, match the machine to the metal thickness, cut quality, duty cycle, power supply, and portability you need. A cutter that is too small may sever thick metal slowly, but it may not give the clean edge you want.
Products Worth Considering
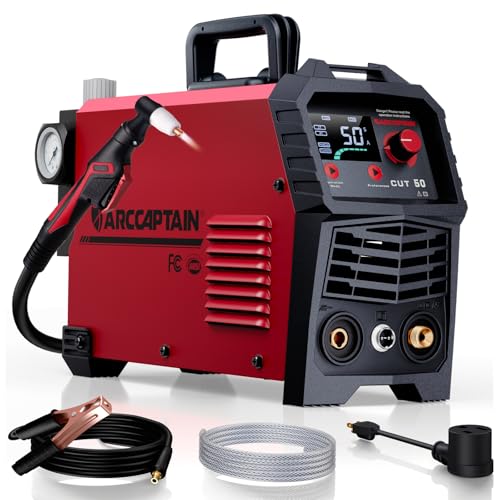
【Powerful Cutting Ability】Switch effortlessly between 110V and 220V for home or workshop use. Achieve professional 1/2" clean cuts on steel, aluminum, and copper with advanced LGBT technology. Perfect for DIY projects and heavy-duty tasks. Recommended maximum cutting thickness: 12mm @ 35A / 110V / 55 PSl; 18mm @ 50A / 220V / 75 PSI. Note: Requires compressed air (compressor sold separately).

【Non-Touch Pilot Arc Function】The ARCCAPTAIN 55A plasma cutter features a pilot arc function. It utilizes a high-frequency non-touch arc starting mode. The torch head does not need to touch the metal plate, reducing energy consumption during non-cutting work, minimizing electrode burning, and extending service life. NOTE: Do not switch voltages until the screen turns off and the fan stops.

[Powerful Cutting Ability] Dual voltage 110/220V good for home, workshop and hardware shop use. Professional performance 1/2" clean cuts on Iron, Steel aluminum and copper with Inverter IGBT Technology. Very powerful for DIY and heavy duty project. The Maximum cutting thickness is recommended to 1/2" @35A 110V 50PSI; 2/3" @50A 220V 65PSI. Dry and compressed air is required. Power breaker up to 60A@110V 35A; Up to 50A@220V 50A.
Cut Capacity Ratings
Manufacturers often describe cut capacity in more than one way:
- Rated cut: The thickness the machine is designed to cut at a practical speed with good quality.
- Quality cut: A cleaner cut that needs less grinding or edge cleanup.
- Severance cut: The maximum thickness the machine can cut through slowly, usually with a rougher edge.
For regular shop work, choose based on rated or quality cut, not only severance cut. If you often cut 1/2-inch plate, do not buy a cutter that lists 1/2 inch only as its maximum severance rating.
Amperage and Duty Cycle
Higher amperage helps cut thicker metal faster, but more power also requires more input power, more air, and the right consumables. Duty cycle tells you how long the cutter can run in a 10-minute period before it needs to cool.
For occasional short cuts, a lower duty cycle may be fine. For long cuts, production work, or repeated plate cutting, choose a higher duty cycle so the machine does not stop from overheating.
Air Supply and Consumable Costs
Most air plasma cutters need clean, dry compressed air. Moisture, oil, or low flow can shorten consumable life and create rough cuts. Some portable cutters have built-in air compressors, but they usually trade speed and thickness capacity for convenience.
Before buying, check the cost and availability of electrodes, nozzles, shields, swirl rings, and drag tips. Cheap consumables are not helpful if they wear quickly or are hard to find.
Choosing the Right Plasma Cutter for Your Needs

The best plasma cutter is the one that fits your real work, not just the highest number on a spec sheet. Think about the thickest metal you cut often, the power available in your shop, and whether you need clean edges or quick rough cuts.
Choose a plasma cutter by its rated cut, duty cycle, input power, air requirements, and consumable support. Maximum severance thickness alone does not tell you how clean or practical the cut will be.
- For thin sheet metal: A smaller unit may be easier to control and less likely to overheat the edge.
- For auto repair and fabrication: Look for clean starts, pilot arc, easy consumables, and good low-amp control.
- For thick plate: Prioritize amperage, duty cycle, air flow, and cut-speed charts.
- For CNC use: Choose a machine with CNC-compatible start technology, divided voltage output if needed, and torch height control compatibility.
- For mobile work: Consider weight, dual-voltage input, generator compatibility, and built-in air only if it meets your thickness needs.
Products Worth Considering

[75A Plasma Cutting Performance]: The STC750P plasma cutter machine delivers powerful cuts with advanced IGBT inverter technology and high-frequency pilot arc. Supporting 110V/220V dual voltage, it offers 15-45A at 110V for home garage projects and up to 75A at 220V for professional metal fabrication. Clean cuts up to 5/8" (16mm) and maximum severance thickness up to 1" (25mm) at 75A/70 PSI on 220V with reduced slag and less post-cut grinding

【Non-Touch Pilot Arc Function】The plasma cutter features a high frequency non-touch arc starting mode. It allows for cutting steel surfaces with dirt, rust or coatings. The torch head does not need to touch the metal plate, reducing energy consumption, minimizing electrode burning, and extending service life. NOTE: DO NOT power on until the screen turns off and the fan stops working!
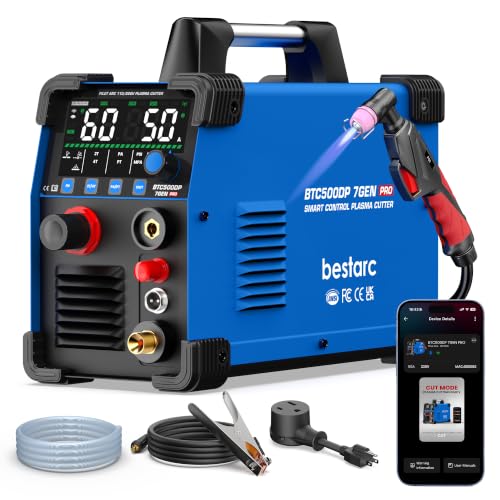
[Smart APP Remote Control Up to 98FT] Control your plasma cutter from up to 98 ft (30 m) away via Bluetooth APP. Adjust cutting current, switch cutting modes, save preferred settings, monitor operating status, and check error codes directly from your phone. Reduce trips back to the machine and work more efficiently—ideal for workshops, auto repair, farms, garages, and DIY projects.
Setting Up and Operating a Plasma Cutter

Setup affects both safety and cut quality. Do not guess at air pressure, flow rate, amperage, or consumable type. Use the chart inside your machine manual or the settings printed near the control panel.
Plasma Cutter Setup Checklist
- Read the manual: Confirm input power, breaker size, air requirements, duty cycle, and recommended consumables.
- Inspect the torch: Check the electrode, nozzle, swirl ring, shield, cap, and torch lead for damage.
- Connect clean dry air: Drain the compressor tank and use a dryer or filter if moisture is present.
- Clamp to clean metal: Grind or brush a small spot if rust, paint, or scale blocks good contact.
- Set amperage: Match amperage to material thickness and the consumables installed.
- Set standoff: Use a drag shield, guide, or manual standoff recommended by the cutter maker.
- Make a test cut: Use scrap of the same material and thickness before cutting the final part.
Starting the Cut
For an edge start, place the torch near the edge, hold it square to the workpiece, pull the trigger, and begin moving once the arc pierces through. For a pierce start in the middle of the plate, angle the torch slightly away at first so molten metal does not blow back into the nozzle, then bring the torch upright after the arc breaks through.
For most straight cuts, keep the torch close to perpendicular to the workpiece. Move smoothly and watch the sparks. When speed is close, sparks should exit through the bottom and trail slightly behind the torch. If sparks spray upward, you may be moving too fast, using too little amperage, or cutting beyond the machine’s capacity.
Pro Tip: If you are learning, draw a straight soapstone line on scrap metal and practice keeping the torch height, speed, and angle steady. A simple straightedge or magnetic guide can improve cut quality quickly.
Common Plasma Cutting Problems and Fixes
Most plasma cutting problems come from five areas: air, amperage, speed, standoff, or consumables. Use this table before replacing major parts.
| Problem | Likely Cause | Fix |
| Heavy bottom dross | Travel speed too slow, amperage too low, or worn nozzle | Increase speed slightly, confirm amperage, inspect nozzle and electrode |
| Sparks spray upward | Moving too fast or not enough power for thickness | Slow down, raise amperage within the consumable rating, or use a larger cutter |
| Beveled edge | Torch not square, wrong standoff, damaged nozzle, or cutting direction issue | Hold torch upright, set standoff correctly, replace worn parts, and test cut direction |
| Arc stops during cut | Poor clamp contact, low air pressure/flow, overheating, or exceeded duty cycle | Clean clamp point, verify air supply, let machine cool, and reduce continuous cut time |
| Rough, wide kerf | Wrong consumables, too much standoff, moisture in air, or unsteady hand | Use correct parts, dry the air, lower to recommended standoff, and use a guide |
Tips for Improving Plasma Cutting Technique
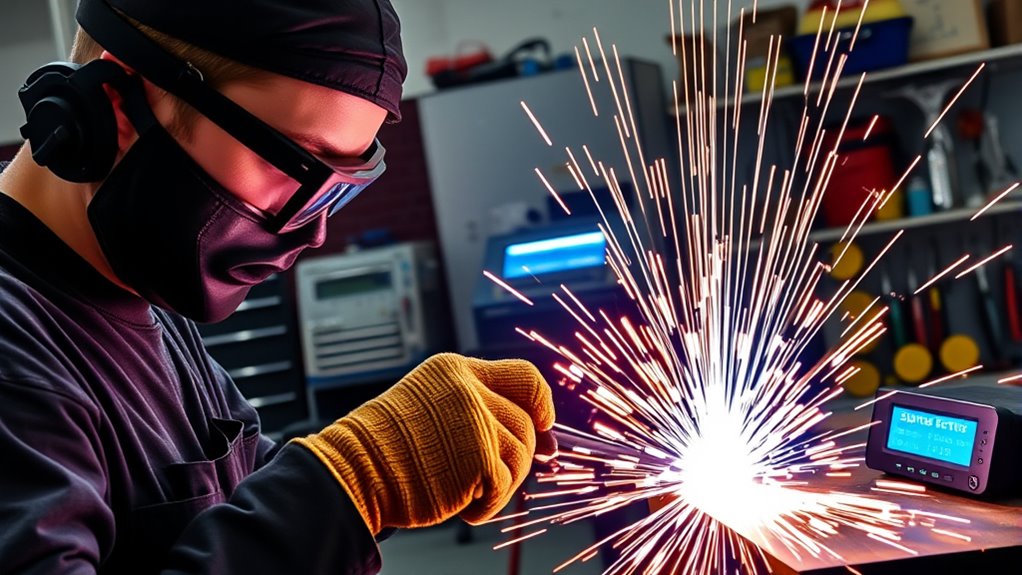
Clean plasma cuts come from steady movement and correct settings. Before cutting a finished part, practice on scrap from the same material. Listen to the arc, watch the sparks, and inspect the bottom edge.
- Use the right consumables: Match the nozzle and electrode to your amperage range.
- Keep the torch height steady: Too much standoff widens the arc and creates bevel; too little can damage the nozzle.
- Move at the right speed: Too fast may fail to cut through; too slow can create dross and a wider heat-affected area.
- Start with clean metal: Heavy rust, paint, and scale can hurt arc transfer and create fumes.
- Let the cut finish: Pause briefly at the end of a thick cut so the arc fully exits the plate.
- Use guides for accuracy: A straightedge, circle guide, or template helps keep the torch path smooth.
Note: Plasma cut edges are not always perfectly square. Kerf width, gas flow, swirl direction, standoff, cutting direction, and worn consumables can all affect bevel and edge finish.
Plasma Cutter Maintenance Routine
Regular maintenance keeps the arc stable and helps consumables last longer. A few quick checks before each session prevent many cutting problems.
- Before each use: Inspect the power cord, torch lead, work clamp, air hose, and consumables.
- After cutting: Let the torch cool, remove slag from the work area, and store the torch where the nozzle will not be damaged.
- Daily or weekly: Drain compressor moisture, check filters, and clean dust from machine vents.
- When cut quality drops: Replace the electrode if the pit is deep or uneven, and replace the nozzle if the hole is oval, enlarged, or nicked.
- Periodically: Check the swirl ring, shield cap, retaining cap, and O-rings for cracks, burns, or missing seals.
Never keep cutting with damaged consumables just to save money. A bad nozzle or electrode can ruin the cut, overheat the torch, and damage more expensive parts.
Frequently Asked Questions
How do maintenance routines affect plasma cutter lifespan?
Regular maintenance protects the torch, power supply, and consumables. Clean dry air, good cable connections, clear vents, and timely consumable replacement help prevent overheating, arc instability, and avoidable torch damage.
Can plasma cutting be used underwater?
Yes, but underwater plasma cutting requires specialized equipment, training, and safety controls. Do not use a standard shop plasma cutter underwater. Water, electricity, gases, visibility limits, and confined work conditions can create severe hazards.
What are common plasma cutter troubleshooting steps?
Start with the basics: confirm clean clamp contact, correct air pressure and flow, dry air, correct consumables, proper amperage, and a sound torch lead. Then inspect the nozzle, electrode, swirl ring, and shield for wear or damage.
How does plasma cutting compare to laser cutting?
Plasma cutting is often more affordable and practical for thicker conductive metals, especially in repair and fabrication shops. Laser cutting can produce finer detail, narrower kerf, and cleaner edges on many thin materials, but laser systems cost more and need more controlled setup.
Are there environmental impacts of plasma cutting?
Yes. Plasma cutting can create fumes, metal dust, noise, sparks, and scrap waste. Reduce impact by using good ventilation, capturing fumes when needed, recycling scrap metal, disposing of used consumables properly, and avoiding coated or contaminated metals unless controls are in place.
Why is my plasma cut full of dross?
Dross usually comes from the wrong travel speed, low amperage, worn consumables, incorrect standoff, or wet air. Make one change at a time on scrap metal so you can see which setting improves the edge.
Can a plasma cutter cut rusty or painted metal?
A pilot-arc plasma cutter can often cut through light rust or paint, but clean metal gives better clamp contact and better cut quality. Avoid cutting unknown coatings, lead paint, galvanized coatings, or oily surfaces without proper fume controls.
Conclusion
Plasma cutting is powerful, fast, and useful for many metalworking jobs, but it rewards careful setup. Use conductive metal, clean dry air, the correct consumables, a secure work clamp, and settings that match the material thickness. Keep the torch steady, watch the sparks, and inspect the edge after every test cut. Most importantly, treat plasma cutting as hot work every time: protect your eyes and skin, control fumes, remove fire hazards, and let hot metal cool before handling it.
Sources
- OSHA 1910.133 — Eye and face protection — backs up shade lens and eye/face protection guidance for plasma arc cutting.
- OSHA 1910.252 — Welding, cutting, and brazing general requirements — backs up fire prevention, fire watch, ventilation, hot metal, and workplace safety guidance.
- OSHA 1910.254 — Arc welding and cutting — backs up safe equipment selection, installation, instruction, and electrical precautions.
- Trelles, Chazelas, Vardelle, and Heberlein — Arc Plasma Torch Modeling — supports the overview of DC arc plasma torch behavior and plasma torch operating principles.