For welding exhaust headers at home, use 304 or 316 stainless with about 0.065-inch wall tubing, and clean all flange and tube surfaces before fit-up. Mock everything together, square the joints, and tack in place to stop warping. TIG weld with pure argon, a sharp tungsten, and about 35–50 amps, working in short sections. Use copper backers on thin spots, then grind and inspect for pinholes and undercut. A few more details can make the whole job easier.
Choose Materials for Exhaust Headers
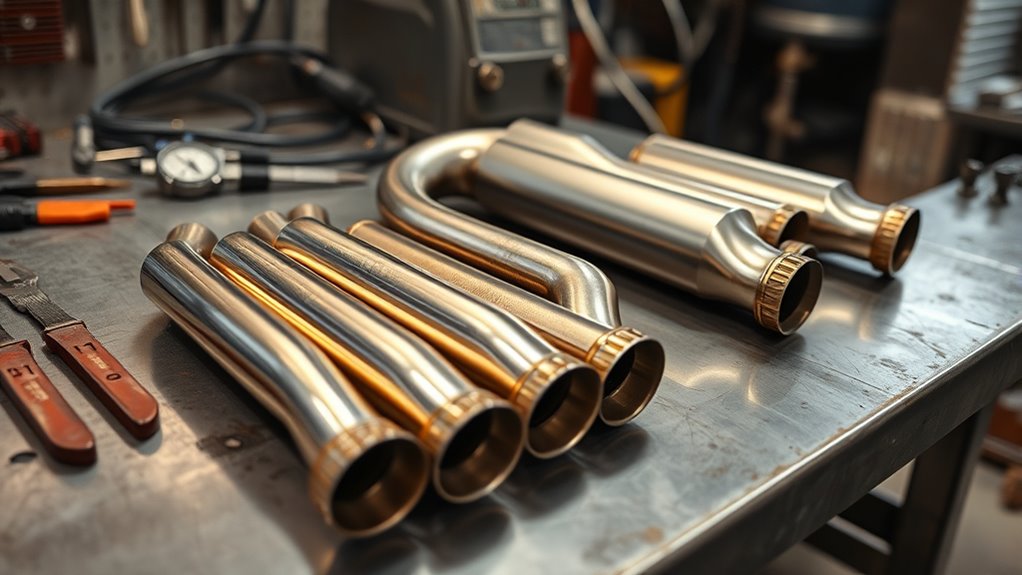
When you choose materials for exhaust headers, start with stainless steel—304 or 316 is ideal because it handles heat and resists corrosion well in exhaust environments.
You’ll get better service life than with mild steel, especially when heat cycling and vibration try to crack weak parts. Use tubing with at least 0.065-inch wall thickness so the header keeps its shape and strength under load.
Heat cycling and vibration punish weak parts—0.065-inch wall tubing helps headers hold shape and last longer.
Pick bends that you can form smoothly; tighter radii can improve flow if you don’t create sharp restriction. Stainless steel also matches TIG welding well, so you can make clean, controlled joints with less cleanup.
Additionally, ensure you follow the AWS D1.6:2017 standards for maintaining weld quality to achieve optimal performance.
If you’re tempted by lower cost, weigh the upfront savings against replacement time, rust, and failure. Choosing the right stainless steel lets you build headers that last, breathe better, and free your engine from needless backpressure.
Your work should serve performance, not compromise it.
Products Worth Considering
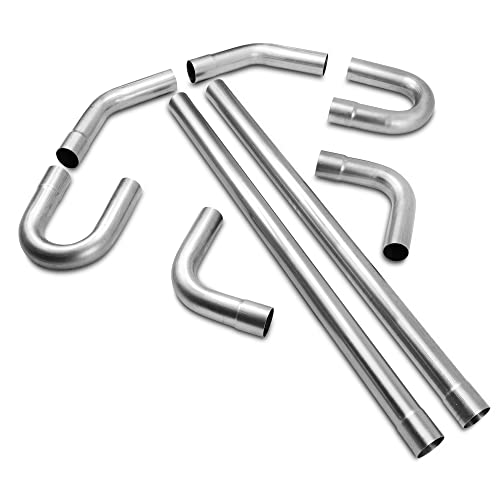
This Universal Custom Exhaust Kit Made of High Quality Mild Steel with Computerized Mandrel-Bends for Strength and Durability, 16-Gauge Piping Walls

Expand-on Pipe End: All of the pipes have flared ends for easy sliding installation; The elbow is also full size to achieve smooth exhaust

This Universal Custom Exhaust Kit Made of High Quality Mild Steel with Computerized Mandrel-Bends for Strength and Durability, 16-Gauge Piping Walls
Prep the Flanges and Tubes
Start by cleaning the flange surfaces with denatured alcohol so you remove oil, scale, and other contaminants before welding.
Then square up the tube fit using a belt grinder so the flanges and tubes sit flat, align correctly, and match the intended angle and length.
Mock up the header, mark each joint, and tack the parts in place so you can verify fit-up and limit warping during final welding. Proper surface preparation is crucial to avoid issues like porosity and ensure strong welds.
Clean Flange Surfaces
Before you weld, clean the flange faces and tube ends thoroughly with denatured alcohol to remove oil, dirt, and oxidation. Then use a wire brush or grinder to leave both surfaces smooth and flat for a tight fit-up.
You need clean flange surfaces so the weld can bite into bare metal, not contamination. Inspect each flange for warping, pits, or high spots, and correct defects before you strike an arc. Any foreign material, even a thin film, can weaken the joint and invite failure.
If you’re managing heat, a copper backing plate can help support the weld zone and spread temperature more evenly. Keep the parts dry, handled with clean gloves, and ready for assembly so you stay in control and build a stronger, freer exhaust system.
Square Tube Fit-Up
With the flange faces cleaned and flat, set the square tubes against them and check the fit-up carefully. You want each tube to sit perpendicular to the flange, so use a square and correct any lean before welding.
Lightly bevel the tube and flange edges to improve penetration and give your filler rod a stronger root to tie into. Wipe every contact surface with denatured alcohol; oil, oxide, and dust will weaken the joint.
Keep the parts fully seated and tight, because flat flanges and clean, true tubes help the exhaust seal and flow freely. Once the fit looks right, place a few tack welds at multiple points to lock alignment and resist heat distortion during the full weld.
Mark And Mock-Up
Mark and mock up the flanges and tubes carefully so every piece lands where it should. Use marking to lay out each flange, then position straight tubing in its intended path before you commit to bends and angles.
Dry-fit the parts, check clearance, and adjust the routing until the header can move freely without crowding the chassis.
- Clean every joint square.
- Align each tube with the flange.
- Tack weld the assembly to lock fit-up.
That mock-up keeps the layout honest and stops warping when you weld for real.
When you control the fit, you control the flow, and you keep the exhaust system strong, smooth, and ready for the road.
Fit the Collector and Tight Bends
Start by tacking the collector in place so you can verify alignment before you commit to a full weld; this helps prevent warping and keeps the assembly true.
When you fit the collector, use your marks to center it, then check the angle from every side. Dress the collector and tube edges with a belt grinder until the joints seat tightly; a clean fit gives you stronger welds and less filler to manage.
For tight bends, choose smaller radius sections where space demands a compact route, but keep the change smooth. Use 1 1/2-inch bends whenever the layout allows, since they promote better exhaust flow and cut back pressure.
Hold your heat setting steady as you weld each joint so the metal doesn’t distort. With careful fit-up and controlled heat, you build headers that breathe freely and stay true. Additionally, ensure to preheat the material to prevent quench cracks, which is particularly important when working with cast iron components.
Products Worth Considering

Adaptability: The belt sander attachment for grinder is suitable for 4 inch,4-1/2 inch and 5 inch, US 5/8-11 spindle angle grinders. You can install the belt sander grinder attachments on the angle grinder and get a detailed belt sander in just two minutes.

Strong Power and Efficient Grinding: The bandfile belt sander has an output power of 1080W,With 6-speed variable speed, and a maximum idle speed of 10000RPM. The optimal grinding speed can be selected according to different work requirements to complete polishing and grinding work in the shortest possible time.
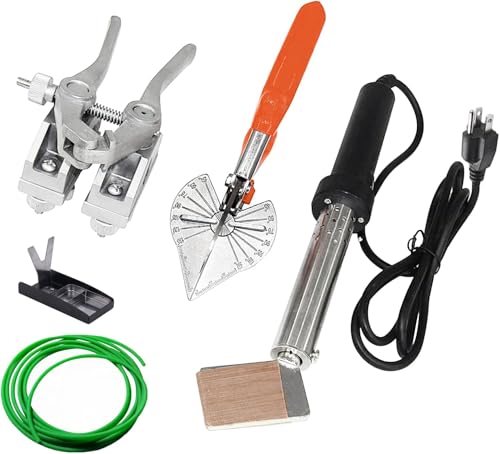
【What you can get】The round belt welding set includes an adjustable temperature electric soldering iron, a precise positioning pliers, and a multi angle scissors. With this set of tools, you can quickly cut and weld round strips.
Tack Weld the Header to Prevent Warping
Tack weld the flanges and key joints before you run the full weld, because those small tacks lock the header in position and help prevent warping.
With tack welding, you give each tube a fixed reference point, so the assembly stays true while you work. Place tacks at strategic points, then check alignment before adding more. This keeps the header’s shape disciplined and reduces the chance that heat will pull it off line.
- Space tacks evenly around the header to spread heat.
- Let each tack cool before adding the next one.
- Use a sequence of tacks, not a continuous bead, so you can still adjust fit. Additionally, maintaining a steady hand helps control heat and warping during the welding process.
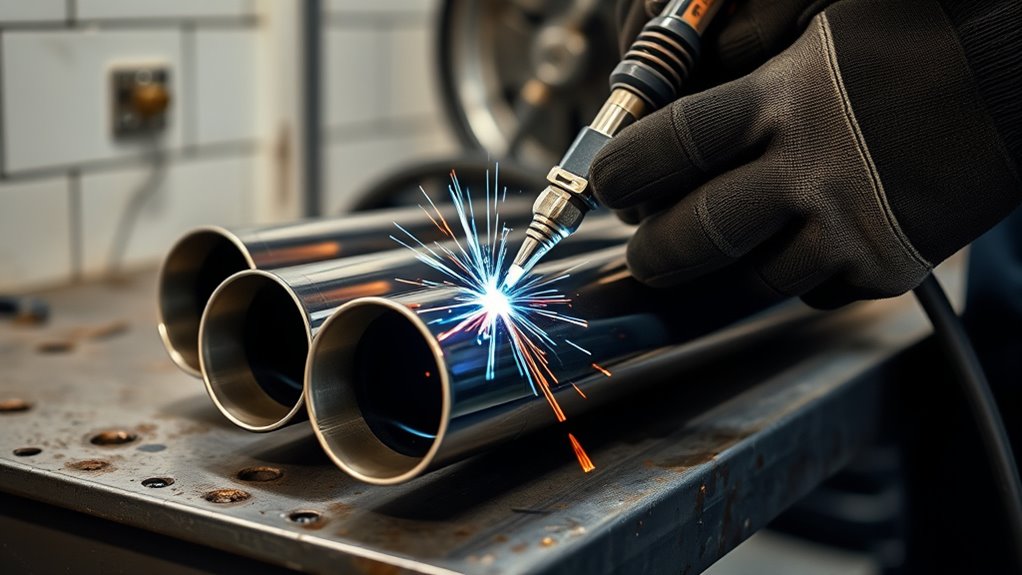
Set TIG Heat and Filler Wire
Once the header is tacked and aligned, set your TIG welder for tubing work at about 35–50 amps, then adjust from there based on wall thickness so you’ve got enough penetration without overheating the tubes.
Use the lower end for thin-wall sections and step up only when the material can take it. Keep ER70S6 filler wire ready; it feeds smoothly and gives you strong, consistent joints for exhaust headers.
Run pure argon as your shielding gas so the weld puddle stays clean and the finished bead resists oxidation.
Before each weld, clean the tungsten electrode to keep the arc sharp and predictable. A clean tungsten helps you control the puddle, reduce defects, and place filler exactly where you want it.
You’re not chasing heat; you’re directing it with precision. Set the machine, verify gas flow, and make every adjustment deliberate so your welds stay sound, efficient, and free. Remember to follow amperage settings closely to ensure optimal penetration and minimize distortion.
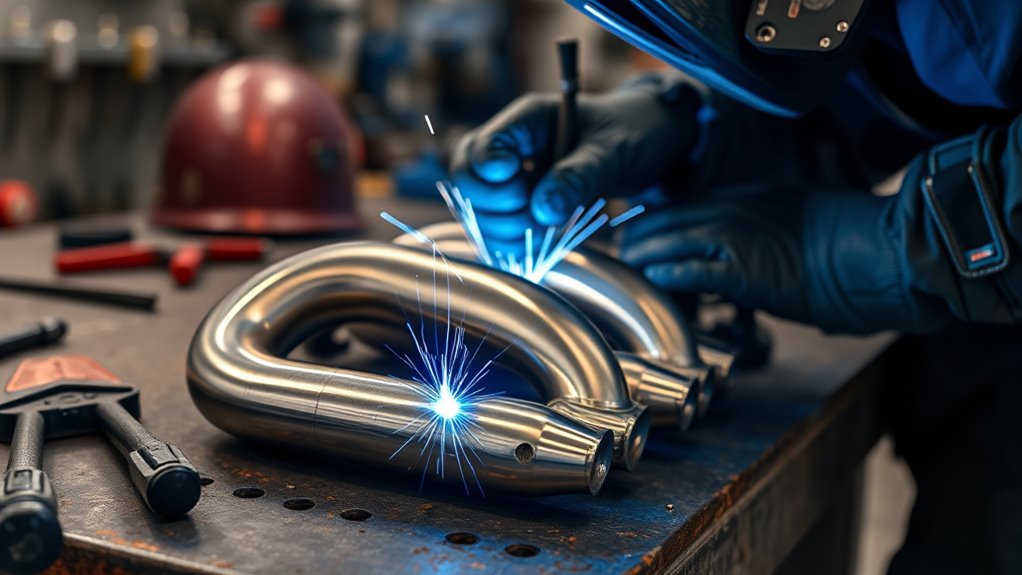
Weld the Header in Small Sections
Work the header one short section at a time to keep heat under control and prevent warping or burn-through at the seams. You’ll gain cleaner control over each weld area and keep the header aligned as you move. Tack each section first, then return to fully weld it only after you’ve checked fit and position. That sequence helps you hold the part steady in tight spaces and stops distortion from spreading.
- Tack the segment.
- Verify alignment.
- Weld short passes.
Use short welds to fill gaps instead of running long beads. This keeps the metal cooler, improves access to difficult weld areas, and gives you a tighter finish. Additionally, maintaining proper stick-out length is crucial for optimal arc stability and preventing burn-through.
Work methodically, moving from one section to the next so each weld can cool before you continue. That disciplined pace lets you build strength without sacrificing appearance, and it gives you the freedom to finish the job with precision and confidence.
Use Copper Backers on Problem Spots
For stubborn seams, hold a copper backer behind the joint so you’ve got a heat-absorbing surface that prevents molten steel from sticking and helps you keep the weld clean.
When you hit thin tube or a tight corner, copper backers pull heat away fast, so you reduce burn-through and keep the edge from collapsing.
You can also use copper plates to support gaps or small holes while you fill them, which gives the puddle a stable foundation and helps you control shape.
Because copper conducts heat so well, it lets you focus on penetration without wasting time fighting distortion.
Keep the backer snug against the part and move with purpose; you want the weld to form on your terms, not the metal’s.
Used well, copper backers improve both the strength and the look of your exhaust headers, giving you cleaner results and more control over every problem spot. Additionally, using a specialized aluminum flux wire can enhance the effectiveness of your welding process.
Clean and Finish the Welds
Grind the finished beads with a belt grinder to smooth high spots and blend the joints, since a cleaner surface not only looks better but also helps exhaust gases move with less turbulence. When you clean and finish the welds, you turn raw fabrication into a freer-flowing system.
Smooth the welds to blend the joints, reducing turbulence and helping exhaust flow more freely.
- Dress the welds lightly; don’t thin the tube wall.
- Keep your tungsten sharp and clean so TIG welding stays precise and consistent.
- Wipe every joint and filler area with denatured alcohol before final assembly.
If you used a MIG machine on tack work, remove spatter and sharp edges so the connection stays smooth. Use air, not water, to cool the metal quickly without risking tempering or weakening the joint.
For extra strength and a cleaner connection, add small strip welds where the geometry changes fast. Finish with a final inspection for pinholes, undercut, and contamination. Remember to ensure proper amperage settings to enhance weld quality and prevent issues during the process.
Clean metal, sharp tools, and careful finishing let your headers breathe freely and perform with less restriction.
Get Better at Header Welding
Dial in your header welding by practicing TIG at lower amperage, around 35–50 amps, so you can control heat better and preserve a clean weld color.
To get better at header welding, keep your work spotless: wipe every tube and flange with denatured alcohol, and keep your tungsten sharp. Any oil, oxide, or dull point will spread contamination fast and weaken the bead.
Tack weld the flanges first, then check alignment before you commit to full welds; that simple step keeps the assembly straight and cuts warping.
Use short strip welds to build strength while keeping connections smooth, which helps exhaust flow and gives the system a cleaner look.
When you need to fill gaps or holes, back the joint with copper so the molten steel won’t stick. You’ll weld with more control, less distortion, and more freedom. Additionally, consider using ER308L filler wire for optimal results when welding stainless components.
Frequently Asked Questions
Can You Weld an Exhaust at Home?
Yes, you can weld an exhaust at home if you’ve got a TIG or MIG welder, Safety Gear, clean metal, and steady heat control; tack first, then finish carefully to avoid warping.
What Is the Golden Rule in Welding?
The golden rule in Welding Safety is cleanliness: you keep joints clean, you keep fit-up tight, and you keep heat controlled. You’ll get stronger welds, less warping, and better freedom to build reliably.
Is It Better to Weld With 110 or 220?
220V’s better for most Welding Equipment because you’ll get more amperage, steadier heat, and longer duty cycles. You’ll weld thicker steel cleaner, though 110V works for light jobs when portability matters.
What Is the Best Welding Method for Exhaust?
TIG’s your best Welding Techniques choice for exhaust: it gives you precise, low-heat control and cleaner stainless welds. Use ER70S6 filler and pure argon. MIG works faster, but you’ll need more finishing.
Conclusion
If you take your time, you’ll get a cleaner, stronger header and fewer leaks. One study found that about 70% of exhaust cracks start at poor fit-up or uneven heat, so your prep matters as much as your welds. Keep the flanges flat, control your TIG puddle, and weld in short sections to limit warping. With practice, you’ll build headers that fit right, seal tight, and hold up under heat and vibration.


