An old hoe does not have to become scrap. With basic metalworking skills and safe shop practices, you can convert a worn hoe into a compact 3-in-1 garden tool that can act as a hoe, shovel, and axe-style blade. This guide covers what to plan, how to design the upgrade, and how to weld and finish it so it is useful instead of risky.
This kind of DIY tool upgrade is best for people who already handle grinders, measure accurately, and understand safe welding fundamentals. If you are new to welding, practice on scrap first and consider a supervised build.
🔧 What a “3-in-1 hoe upgrade” actually means
A practical 3-in-1 design usually combines three functions in one head:
- Hoe function: A curved or angled edge for chopping and slicing small roots and weeds.
- Shovel function: A scoop-like profile or raised edge to move loose soil, compost, or mulch.
- Axe function: A hardened, more aggressive cutting edge for small branches or tough clumps.
The goal is not to make a perfect replacement for specialized tools. The goal is to create a single head that performs the most common jobs efficiently while staying strong enough for repeated use.
🧰 Tools and materials you will likely need
Metalworking tools
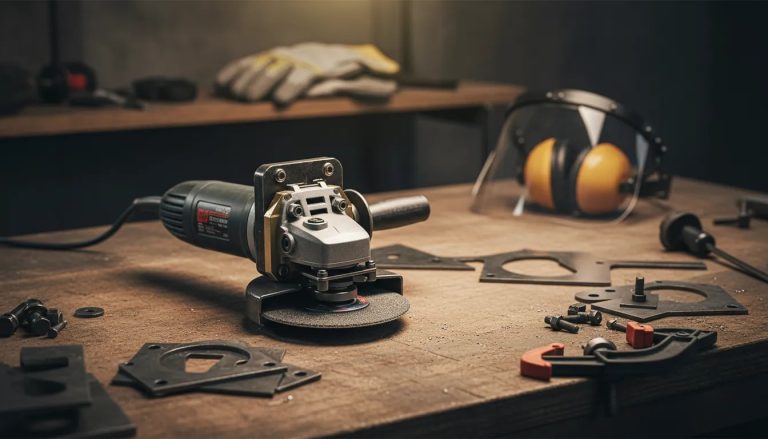
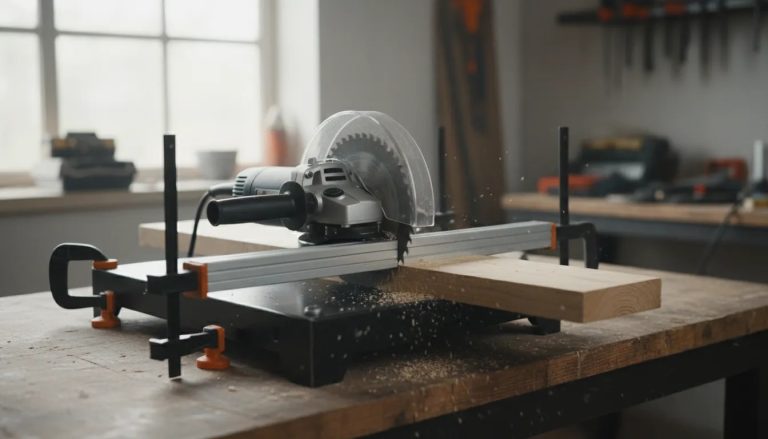
- Angle grinder with cutting and grinding discs
- Wire brush or flap disc for surface prep
- Clamps and a square for alignment
- Measuring tools (tape measure, ruler, marker)
- Bench vise or sturdy workholding setup
Welding and safety gear
- Appropriate welder for your metal and experience level (common choices include MIG or stick)
- Welding helmet, gloves, and protective clothing
- Respirator and eye protection for grinding dust
- Fire safety setup (fire-resistant surface, extinguisher nearby, remove flammables)
Typical consumables
- Cutting discs and grinding discs
- Welding wire or rod (matched to your welder and material)
- Optional: heat control tools (to manage warping)
- Optional: rust primer and paint or a protective coating
📐 Design choices that make the upgrade work
Before cutting anything, decide how the head will be shaped to support each function. A strong build comes from alignment, correct edge geometry, and reinforcement where stress concentrates.
Choose a target “head layout”
Common approach:
- Keep the hoe body portion for chopping and slicing.
- Add a scoop-like area on one side or front for moving soil.
- Add or form an axe-style cutting surface on the opposite side or top area.
Plan for leverage and balance
If the tool becomes top-heavy, it becomes harder to control and can lead to strain or unsafe swings. Consider:
- Keep added metal near the original center of mass.
- Avoid adding thick plates in one spot without counterbalance.
- Test balance with the head temporarily held in place before final welding.
Strength where the forces hit
Hoeing and axe-like impacts place different loads on the metal. Reinforce areas that will see stress:
- Joint seams that form the transition between hoe and shovel areas
- Any location where the axe edge meets the main body
- Connections to the handle/shaft
🧱 Step-by-step: converting a hoe into a 3-in-1 tool
Every hoe is different, but the workflow is consistent. Move through the steps in order and do not weld over unknown cracks.
1) Inspect the hoe and pick safe steel
- Check for cracks near the mounting area and along the worn edge.
- Remove rust and look closely with a bright light.
- If the metal is badly fatigued or cracked, choose a better hoe as a starting point.
2) Strip paint and clean the weld zones
Weld quality depends on clean metal.
- Grind to bare metal at every weld joint.
- Remove scale, heavy rust, and oil residue.
- Confirm the surfaces meet tightly before welding.
3) Mark your cuts and shapes
- Use a marker to outline where the shovel scoop and axe edge surfaces will form.
- Keep angles consistent across the head so the tool behaves predictably.
- Dry-fit any additional plates or formed sections with clamps.
4) Cut and fit the “scoop” section
For shovel performance, aim for a scooping edge and a slight bowl shape rather than a flat plate.
- Cut the metal and shape the profile so loose soil can roll or slide into the scoop.
- Test clearance and alignment with the handle so the working edge sits at a useful angle.
5) Form and reinforce the “axe” edge area
Axe-like performance needs a durable edge and solid support behind it.
- Ensure the axe edge area is supported by thicker steel where possible.
- Use reinforcement plates or gussets if the design includes sharp transitions.
- Keep the blade geometry manageable for a single piece tool. A too-thin edge will chip.
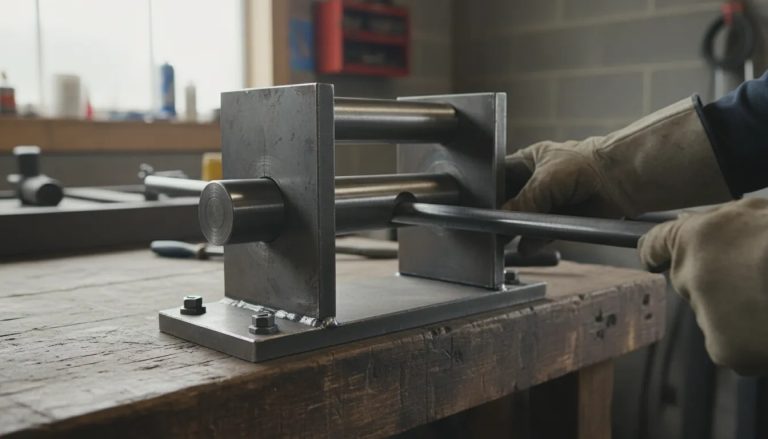
6) Weld in controlled passes
To reduce warping and weak joints:
- Tack weld first, then re-check alignment.
- Use shorter weld segments instead of one long bead across everything.
- Let metal cool between passes if distortion becomes noticeable.
7) Grind the profiles and edge geometry
Grinding is where the tool becomes useful. For a good all-around edge:
- Shape the hoe edge for slicing and chopping weeds and roots.
- Shape the scoop lip for soil release.
- Shape the axe edge with an angle that can withstand accidental impacts.
8) Optional heat treatment and sharpening
Many homemade builds rely on the existing hoe steel without full heat treatment. If you have the ability to harden and temper properly, you can improve edge retention.
- At minimum: sharpen all edges and remove burrs.
- If you heat treat: follow safe, steel-specific procedures so you do not create a brittle edge.
9) Protect against rust
Once finished and cooled:
- Remove dust and wipe clean.
- Apply a rust-resistant coating (primer plus paint, or oil-based protection).
- Consider re-coating after heavy rainy use.
✅ How to test the tool safely before full use
Do not jump straight into heavy yardwork. Do a controlled test:
- Visual check: look for cracks at weld seams and sharp stress points.
- Tap test: gently test the head for looseness or flex (handle it carefully).
- Light gardening test: try hoeing weeds and scooping dry soil first.
- Axe test (small material only): use small branches or soft wood to confirm the cutting edge holds.
⚠️ Common mistakes to avoid
- Welding over rust or paint: leads to weak, porous joints that can fail under stress.
- No fit-up or poor alignment: creates a head that digs unevenly and puts extra forces on welds.
- Making the axe edge too thin: increases chipping and bending.
- Skipping grinding after welding: leaves sharp weld ridges that can catch soil and reduce control.
- Ignoring balance: can make the tool unsafe or exhausting to use.
- Forgetting corrosion protection: a bare welded head rusts fast in outdoor conditions.
🧠 Tips for better performance in the garden
- Use the right motion: hoeing uses slicing and pulling, while axe-like cutting uses controlled strikes.
- Clear debris regularly: soil packed around the scoop lip reduces effectiveness.
- Sharpen on schedule: dull edges require more force and accelerate wear.
- Store dry: wipe off moisture and keep off wet ground.
📌 FAQ
Can any old hoe be converted into a 3-in-1 tool?
What welding method is best for this DIY upgrade?
Do I need heat treatment to make the axe edge durable?
How do I prevent warping while welding?
Is this 3-in-1 tool safe to use like a regular axe?
How should I sharpen the different working edges?
🎯 Key takeaway
Upgrading an old hoe into a 3-in-1 tool is a practical way to save money and build something versatile. The biggest determinants of success are clean weld prep, accurate fitting, reinforcement at stress points, and careful edge shaping. Test lightly first, protect against rust, and maintain the edges so the tool stays dependable through repeated gardening seasons.