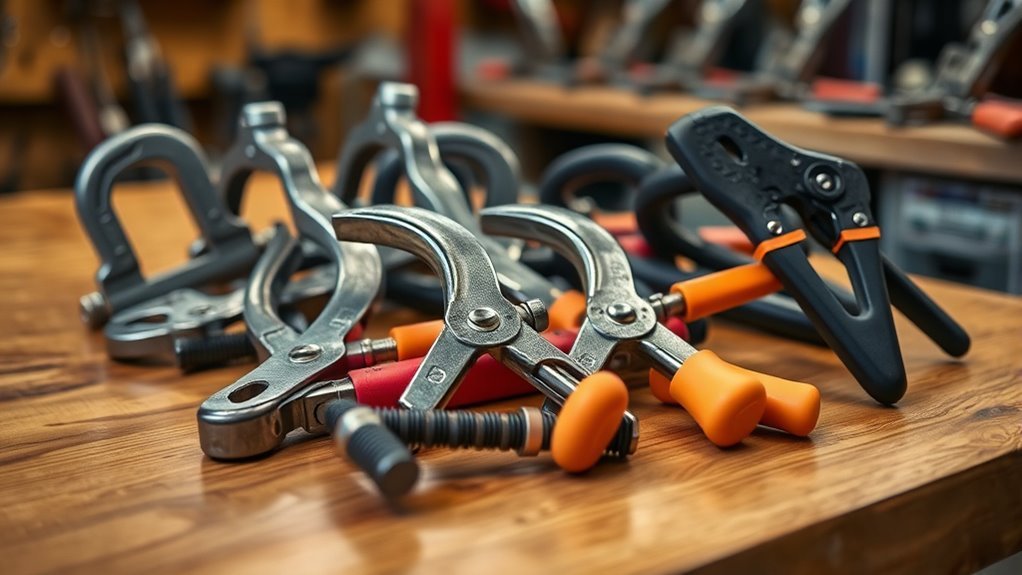
The wrong clamp can let metal shift just as you tack the joint. Even a small movement can open a gap, pull a corner out of square, dent thin sheet, or create extra grinding later. The right welding clamp holds the work in the correct position without blocking the torch, damaging the material, or forcing a poor-fitting joint together.
Quick Answer
Choose C-clamps or F-clamps for general holding, locking pliers for tight spaces, angle or corner clamps for accurate joints, pipe-alignment clamps for round work, and magnets for fast steel setup. Match the clamp’s opening, throat depth, pressure, jaw shape, heat resistance, and access to the actual joint.
Key Takeaways
- Use C-clamps for strong, simple pressure and F-clamps when you need more opening or reach.
- Use locking pliers where a screw clamp will not fit, but protect soft or finished metal from jaw marks.
- Use angle, corner, or fixture clamps when alignment matters more than raw clamping force.
- Distinguish long bar-style pipe clamps from pipe-welding alignment clamps made to center round joints.
- Use magnetic holders only on materials with enough magnetic attraction, and move them away if they disturb the arc.
- Never substitute a workholding clamp for the welder’s electrical work clamp unless the device is specifically designed and rated for that purpose.
What’s in This Article
- What Are Welding Clamps and Their Purpose?
- C-Clamps: Best for Versatile Welding Setups
- F-Clamps: Best for Large Workpieces
- Locking Pliers: Best for Tight Spaces
- Pipe and Tube Clamps: Best for Round Work
- Benefits of Quick-Release Clamps
- Angle Welding Clamps: Best for Precise Joints
- Magnetic Welding Clamps: Secure and Convenient
- Unique Applications of Specialty Welding Clamps
- How to Select the Right Clamp for Your Welding Project
- How to Clamp a Joint Before Tack Welding
- Common Welding Clamp Mistakes
- Welding Clamp Care and Maintenance
- Frequently Asked Questions
Clamp Selection at a Glance
| C-Clamp | Strong general-purpose pressure on plate, brackets, and fixtures. |
| F-Clamp | Large openings, deeper reach, frames, panels, and long assemblies. |
| Locking Pliers | Fast gripping in tight, crowded, or awkward areas. |
| Angle or Corner Clamp | Repeatable 90-degree or adjustable-angle joints. |
| Pipe-Alignment Clamp | Centering and aligning round pipe or tube before tacking. |
| Magnetic Holder | Fast positioning of small ferromagnetic parts before and during tacking. |
| Toggle or Table Clamp | Fast, repeatable production work on a fixture or welding table. |
What Are Welding Clamps and Their Purpose?
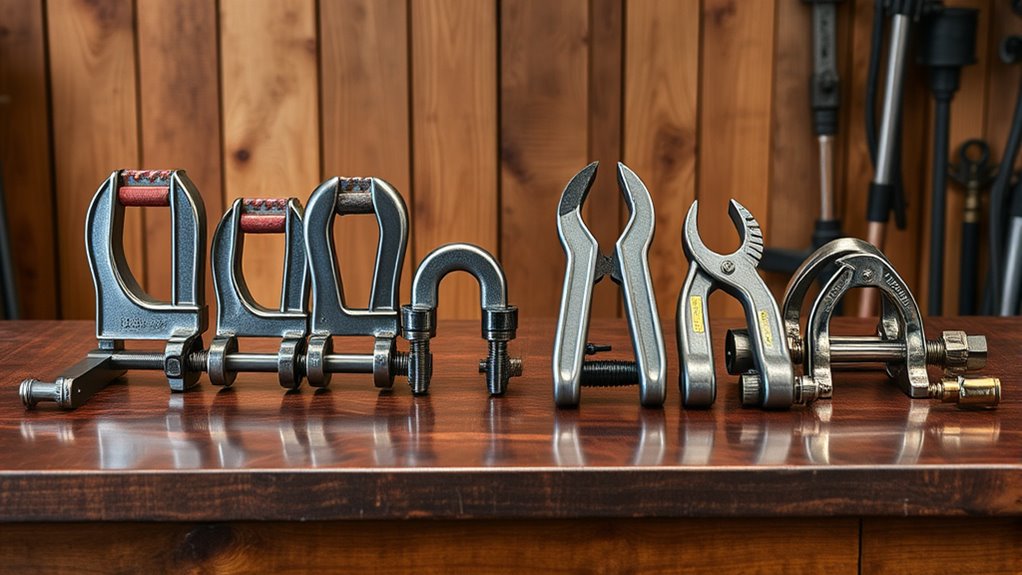
Welding clamps are workholding tools used to keep pieces aligned while you measure, fit, tack, cut, grind, or weld. Common designs include C-clamps, F-clamps, locking pliers, angle clamps, magnetic holders, pipe-alignment clamps, toggle clamps, and fixture-table clamps.
Their main job is to resist movement caused by handling, gravity, tack shrinkage, and welding heat. Good clamping supports consistent fit-up, but it does not correct a badly cut part or replace a sound tack sequence.
Secure work also improves control during cutting and grinding. Follow the tool manufacturer’s instructions, wear the required personal protective equipment, and keep the hot-work area free of exposed combustibles. OSHA’s general welding and cutting requirements cover fire prevention, eye protection, protective clothing, and other hot-work precautions.
Workholding Clamp vs. Electrical Work Clamp
A workholding clamp physically holds parts together. The welder’s work clamp completes the welding circuit. It is often called a “ground clamp,” but that name can be misleading because the work connection and equipment grounding serve different purposes. Lincoln Electric explains the distinction in its grounding and arc-welding safety guidance.
Warning: Do not connect the welding lead to an ordinary C-clamp, F-clamp, or locking pliers unless the device is specifically designed and rated as a welding work clamp. Make the work-lead connection on clean metal with firm metal-to-metal contact, away from bearings, electronics, fuel systems, and unintended current paths.
C-Clamps: Best for Versatile Welding Setups
C-clamps give direct screw pressure through a rigid C-shaped frame. They work well on plate, brackets, fixture tables, flat bar, and many small assemblies where you have clear access to both sides of the work.
Choose a size by checking jaw opening and throat depth. Opening tells you the maximum material thickness the clamp can span. Throat depth tells you how far the screw can reach from the edge. Welding-focused C-clamps may use copper-plated spindles to reduce spatter adhesion; BESSEY lists this feature on its welding-oriented C-clamps.
Products Worth Considering

Clamp for holding items in place; ideal for pocket hole joinery, woodworking, welding, and other projects or repairs

6", with a jaw adjustment of up to 2", and a throat depth of 1 1/2"
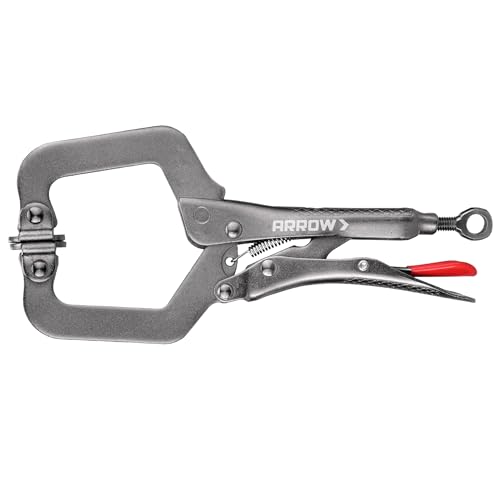
POWERFUL LOCKING WITH SWIVEL PADS: This locking C-clamp features a strong locking mechanism and swivel pads that increase surface contact for a more secure grip. The rotating swivel pads automatically adjust to different angles and surfaces, distributing clamping force evenly to help hold materials without slipping
Key Features of C-Clamps
- Rigid frame: Resists spreading when the clamp is used within its rated capacity.
- Threaded screw: Gives controlled pressure for closing small gaps and holding parts against stops.
- Replaceable or swiveling pad: Helps the jaw sit more evenly on angled or uneven surfaces.
- Welding-friendly finish: Copper plating or spatter-resistant components can make cleanup easier.
Applications in Welding
Use C-clamps to hold brackets to plate, secure work to a table, keep a lap joint flat, or hold a temporary strongback against a panel. Use blocks, shims, or soft metal jaw protectors when you need to spread force or avoid marks.
Advantages Over Other Clamps
C-clamps are simple, durable, and available in many capacities. They usually provide more controlled screw pressure than light one-handed clamps. Their main limits are slower adjustment, restricted throat depth, and the need for room around the screw and frame.
F-Clamps: Best for Large Workpieces
F-clamps, also called bar clamps, use a fixed jaw, a sliding jaw, and a long rail. They are useful when a C-clamp does not have enough opening or reach for a panel, frame, long bar, or wide assembly.
The long bar increases capacity, but it does not automatically spread pressure across the work. Use more than one clamp or add a straight caul, strongback, or backing bar when you need to hold a broad edge flat.
Versatile Clamping Solutions
- Fast sizing: Slide the movable jaw close to the work before tightening the screw.
- Deep reach: Select the throat depth needed to place pressure near the joint rather than only at the edge.
- Large capacity: Long rails can span frames, panels, and fixtures that smaller clamps cannot reach.
- Multiple jaw options: Swivel pads and V-pads help grip flat, square, or round stock.
Strong Grip and Stability
Place the rail so it does not sag into the weld area or block your body position. On long work, use clamps on both sides of the joint and verify the assembly with a square, straightedge, or diagonal measurement before tacking.
Locking Pliers: Best for Tight Spaces
Locking pliers use an adjustable over-center mechanism that stays locked after you squeeze the handles. “Vise-Grip” is a well-known brand name, but the general tool category is locking pliers or locking clamps.
They work well for small brackets, sheet-metal edges, tabs, flange joints, and repairs where a larger clamp frame will not fit. Long-reach, C-jaw, U-jaw, sheet-metal, and chain-jaw versions solve different access problems.
- Compact access: Reaches crowded joints and narrow flanges.
- Fast setup: Locks and releases more quickly than many screw clamps.
- Special jaw shapes: Curved jaws grip round stock, while wide or swivel pads reduce point loading.
- Hands-free holding: Maintains pressure without constant hand force.
Set the adjustment screw before locking the handles. Excessive pressure can dent tubing, mark aluminum, distort sheet metal, or damage the tool’s linkage. Heat-treated alloy-steel construction is common in quality locking tools, as shown in IRWIN’s locking-tool range.
Warning: Keep handles, release levers, plastic grips, and moving joints away from the weld path. Spatter and radiant heat can damage the clamp, and a clamp placed too close can block the gun, torch, electrode, or escape path.
Pipe and Tube Clamps: Best for Round Work
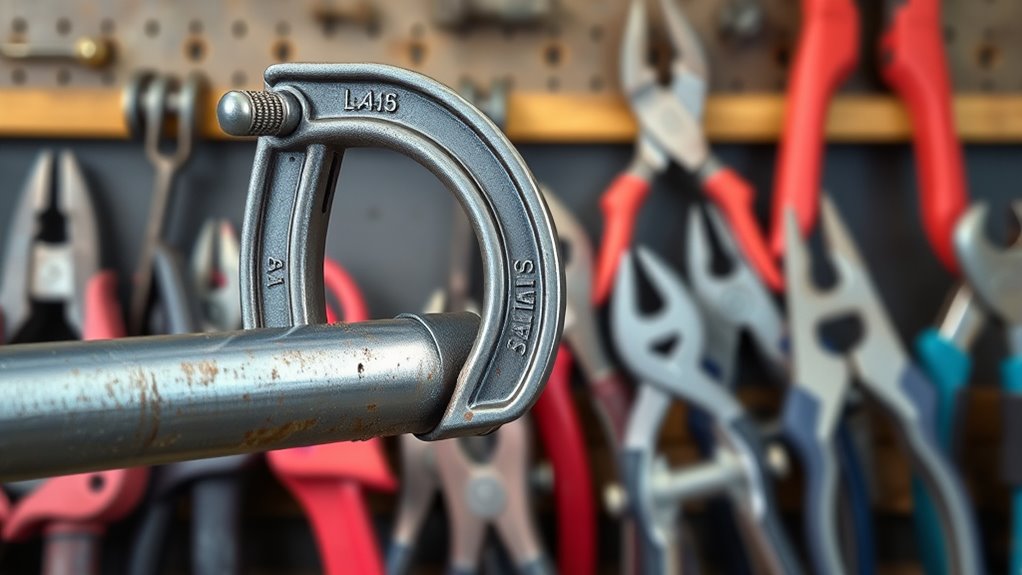
The phrase “pipe clamp” can describe two different tools. A bar-style pipe clamp uses a length of threaded pipe as its rail and is mainly useful for long clamping spans. A pipe-welding alignment clamp is shaped to center round pipe or tube at a butt joint, branch, or fitting.
For long rectangular frames or broad assemblies, a bar-style pipe clamp can provide useful reach. For round pipe fit-up, choose an external cage clamp, chain clamp, internal alignment clamp, or pipe pliers with V-shaped pads sized for the outside diameter.
Do not rely on flat jaws alone to center round material. V-pads, saddles, chain jaws, or dedicated alignment rings reduce slipping and make it easier to check root opening and hi-lo before tacking.
Note: Pipe-alignment tools can hold concentricity, but the required root gap, internal mismatch, bevel, and tack procedure still come from the applicable drawing, welding procedure, code, or manufacturer instruction.
Benefits of Quick-Release Clamps
Quick-release clamps reduce setup time when you repeatedly position and remove parts. This group includes one-handed trigger clamps, lever clamps, locking clamps, and toggle clamps.
- One-handed positioning: Useful when your other hand supports the workpiece.
- Fast repetition: Helpful for fixtures, mock-ups, and small production runs.
- Controlled pressure: Many designs let you set or repeat clamping force.
- Easy release: Speeds inspection, repositioning, and removal after tacking.
Not every quick clamp belongs near hot work. Lightweight woodworking clamps may have plastic bodies, pads, or handles that soften, burn, or release fumes. Use an all-metal or welding-rated model where heat and spatter can reach the tool.
Pro Tip: Use fast clamps for layout and initial positioning, then add stronger screw, locking, or fixture clamps before welding if the joint may pull under tack shrinkage or heat.
Angle Welding Clamps: Best for Precise Joints
Angle welding clamps hold two workpieces at a fixed or adjustable angle. They are especially useful for frames, boxes, brackets, railings, and repeatable corner assemblies.
A fixed 90-degree corner clamp is simple and fast. An adjustable angle clamp handles acute, obtuse, and mixed-shape joints. Some designs use independent locking pliers, swivel pads, or V-pads to hold flat plate, square tube, and round tube of different thicknesses. For example, Strong Hand Tools lists adjustable angle positions and mixed-shape clamping on its JointMaster welding clamp.
Check the joint with a square or angle gauge after clamping and again after the first tacks. A clamp can hold the initial position, but uneven tack size or sequence can still pull the joint out of alignment.
Magnetic Welding Clamps: Secure and Convenient
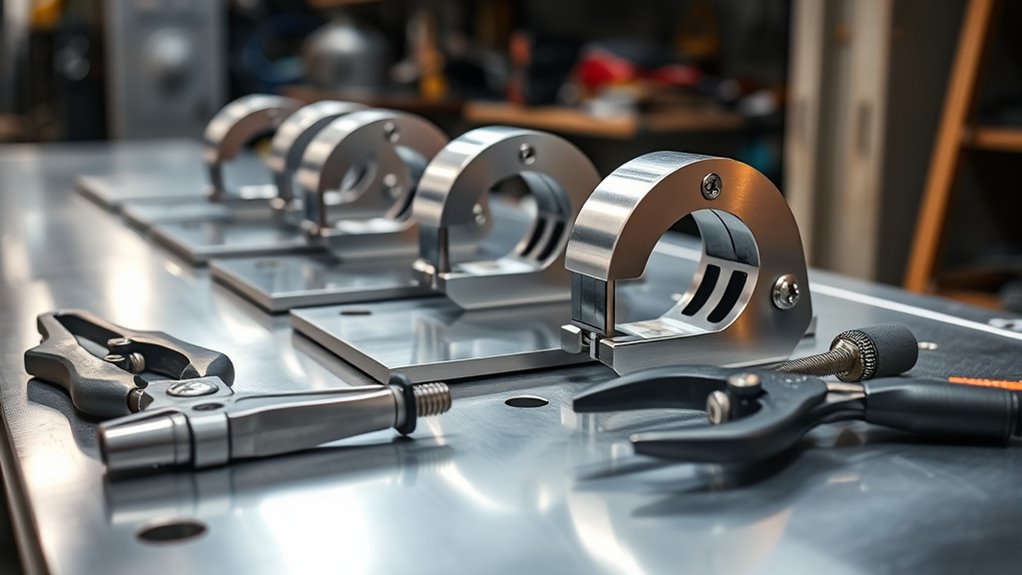
Magnetic welding holders position ferromagnetic workpieces without a screw or jaw. They are fast for light steel parts, temporary tabs, small frames, and common angles such as 45, 90, and 135 degrees when the specific holder is built for those positions.
- Fast positioning: Place and move the holder quickly during layout.
- Open access: A magnet can support a part when a conventional clamp has no edge to grip.
- Useful angle references: Fixed-angle models help with rough positioning before final measurement.
- Switchable options: On/off magnets are easier to clean and reposition than always-on holders.
Magnets do not grip aluminum, copper, or brass. Austenitic stainless steels may have little magnetic attraction, while ferritic, martensitic, duplex, or cold-worked stainless can respond differently. Test the actual material rather than assuming all stainless behaves the same.
Magnetic fields can deflect a welding arc, especially in DC welding. Lincoln Electric’s guidance on preventing arc blow explains how magnetic fields and the work connection can affect arc direction. If the arc wanders, remove or move the magnetic holder, change the work-clamp position, or use a mechanical clamp.
Note: Treat magnetic holders as setup aids, not precision measuring tools. Confirm the angle with a square or gauge, place tacks, and remove the magnet before the full weld whenever practical.
Unique Applications of Specialty Welding Clamps
Specialty clamps solve fit-up problems that general C-clamps and F-clamps cannot handle efficiently. The best option depends on workpiece shape, access, repetition, and whether you need to pull parts together, push them apart, or hold them against a fixture.
| Clamp Type | Best Use |
|---|---|
| Corner Clamp | Holding frame members at 90 degrees while leaving part of the joint open for tacks. |
| Magnetic Welding Clamp | Fast temporary positioning of small ferromagnetic parts. |
| Pipe-Alignment Clamp | Centering round pipe or tube and controlling hi-lo before tacking. |
| Toggle Clamp | Fast, repeatable clamping on jigs and production fixtures. |
| Fixture-Table Clamp | Locating work through table holes, slots, stops, and modular accessories. |
| Sheet-Metal Clamp | Spreading pressure across thin flanges while reducing dents and edge curl. |
| Chain Clamp | Gripping large round, irregular, or curved workpieces. |
| Expansion or Spreader Clamp | Pushing parts apart or holding an internal dimension. |
| Spring Clamp | Light, temporary holding away from direct heat and heavy tack shrinkage. |
How to Select the Right Clamp for Your Welding Project
Start with the joint and the forces acting on it, not with the clamp already in your toolbox. Use this checklist before you tighten anything:
- Match the workpiece shape: Flat pads suit plate; V-pads, saddles, or chain jaws suit round material; wide pads help protect sheet metal.
- Check opening and throat depth: The clamp must span the material and place pressure close enough to the joint or fixture stop.
- Choose enough holding force: Light clamps are fine for positioning. Heavy assemblies, springy parts, and joints under tack shrinkage need stronger or multiple clamps.
- Protect the material: Use clean pads, copper or aluminum shims, or sacrificial blocks on soft, polished, painted, or thin material.
- Plan weld access: Leave room for the torch, gun, electrode angle, filler rod, chipping, and inspection.
- Consider heat and spatter: Prefer all-metal, welding-rated clamps near the arc. Keep plastic and rubber components outside the hot zone.
- Check repeatability: Angle clamps, stops, toggle clamps, and fixture-table systems are better when several parts must match.
- Read the rating: Stay within the manufacturer’s stated capacity and clamping force. A workholding clamp is not a lifting clamp unless it is specifically rated for lifting.
A clamp should hold a correctly fitted joint in position—not force badly cut parts into a shape they cannot keep after the clamp comes off.
Products Worth Considering

LIGHT-DUTY SIZE & SPECS : This 4PCS Bar Clamps set is a must-have clamping kit featuring a 12" max jaw opening, 3.15" throat depth, and 450LBS holding capacity. Built for demanding shop work, each f clamp provides stable pressure used for woodworking assemblies, welding setups, and daily garage projects
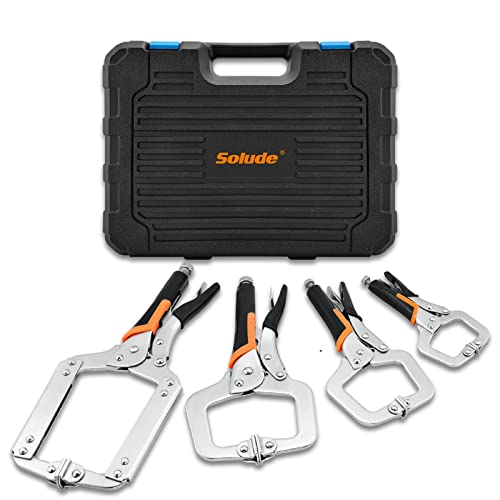
【ERGONOMIC NON-SLIP HANDLE】Our vise grip locking pliers have ergonomic rubberized soft grip with anti-slip surface texture design,reduces slipping and eliminates the possibility of pinching. Classic trigger lock release makes it convenient and effortless to lock the pliers in place while you work.

Heat-Treated Carbon Steel: Evertools 6-piece vice grips pliers set is built from high-quality carbon steel with heat-treated jaws, providing wear resistance and maintaining strength over time. Perfect for tough materials without bending or deforming
How to Clamp a Joint Before Tack Welding
- Clean and prepare the joint. Remove scale, rust, oil, coating, and burrs where they affect fit-up, welding, or the work-clamp connection.
- Support the assembly. Use a flat table, blocks, stops, or a fixture so the clamps are not carrying the entire weight.
- Set the gap and alignment. Use spacers, squares, straightedges, or gauges required by the drawing or procedure.
- Apply clamps gradually. Alternate between clamps so one side does not pull the joint out of square.
- Recheck measurements. Confirm diagonals, angle, flatness, root gap, and edge alignment after tightening.
- Place balanced tacks. Tack opposite sides or spaced locations to control movement, following the applicable welding procedure.
- Inspect before releasing. Make sure the tacks are sound and sufficient to hold the assembly before removing or relocating clamps.
Pro Tip: Mark the clamp positions on a repeated job. Consistent stops, clamp locations, and tack order make it easier to reproduce the same dimensions from part to part.
Common Welding Clamp Mistakes
- Overtightening: Dents tube, bows plate, twists frames, and can crack or permanently spread a clamp.
- Forcing poor fit-up: Stores stress in the assembly and may cause the joint to spring out of position after release.
- Clamping too far from the joint: Allows the joint edge to lift or the root gap to change.
- Blocking weld access: Forces a poor travel angle or makes it difficult to complete and inspect the weld.
- Using too few clamps: Lets long parts bow or rotate between pressure points.
- Using magnets as final gauges: Produces corners that look square but are not verified by measurement.
- Leaving plastic clamps near heat: Damages pads and handles and may contaminate the work area.
- Welding against the clamp: Can fuse the clamp to the work, damage the spindle, or send current through an unintended path.
- Releasing too soon: Allows weak or hot tacks to crack and the assembly to move.
Welding Clamp Care and Maintenance
Brush off loose spatter after the clamp cools. Keep threads, pivots, sliding rails, and release mechanisms clean and lightly lubricated according to the manufacturer’s instructions. Do not put oil, grease, or silicone products where they can reach the weld joint or surfaces that will be painted.
Inspect frames for cracks or spreading, rails for bends, pads for mushrooming, threads for damage, and locking mechanisms for slipping. Retire a clamp that no longer holds securely or has been overheated, welded to, modified, or used beyond its rating.
Store clamps dry and with light spring pressure released. Keep magnetic holders free of steel dust, and protect precision angle faces from grinding damage.
Frequently Asked Questions
Which welding clamps should a beginner buy first?
A useful starter set includes two or more all-metal C-clamps or locking C-clamps, one medium F-clamp, locking pliers, and a 90-degree corner clamp. Add magnetic holders for steel setup and pipe-alignment tools only when your projects require them.
Can I weld while a magnetic clamp is attached?
You can often use a magnet for positioning and tacking steel, but it may attract spatter or disturb a DC arc. Confirm the joint with a square, place enough tacks to hold it, and remove or move the magnet before the full weld whenever practical.
Can woodworking clamps be used for welding?
They may be suitable for cool layout work, but many have plastic pads, handles, or bodies that are not made for welding heat and spatter. Use all-metal or welding-rated clamps near the arc, and keep combustible clamp parts outside the hot-work zone.
How tight should a welding clamp be?
Tighten it only enough to seat the work against the stop, close the intended gap, and resist movement. If the material dents, bows, twists, or the clamp frame spreads, the force is excessive or the clamp and jaw shape are wrong for the job.
Do welding clamps prevent warping?
Clamps can resist movement and hold parts against a fixture, but they do not eliminate heat distortion. Joint design, fit-up, tack sequence, weld sequence, heat input, restraint, and cooling all affect the final shape.
Is a welding work clamp the same as a workholding clamp?
No. The workholding clamp positions the parts. The electrical work clamp connects the work lead to the workpiece or approved worktable and completes the welding circuit. Use each tool only for its designed purpose and rating.
Sources
- OSHA 29 CFR 1910.252: General Requirements — hot-work fire prevention, eye protection, and protective clothing.
- Miller: Welding Safely in the Home Shop — work-area setup and clean metal-to-metal work-clamp contact.
- Lincoln Electric: Grounding and Arc Welding Safety — difference between the welding work connection and equipment grounding.
- Lincoln Electric: Prevent Arc Blow — magnetic-field effects and work-connection placement.
- BESSEY: C-Clamps — welding-oriented clamp construction and copper-plated spindles.
- Strong Hand Tools: Adjustable JointMaster Welding Clamp — adjustable-angle and mixed-shape workholding examples.