
A wire cup brush can remove rust, loose paint, weld scale, and surface contamination quickly, but it can also throw sharp wire pieces and debris at high speed. Safe use starts before the grinder is switched on. You must match the brush to the tool, identify the material or coating, install the guard and side handle, secure the work, and use light, controlled passes.
Quick Answer
To use a wire cup brush safely, choose a brush approved for your grinder’s size, mounting system, guard, and no-load RPM. Secure the workpiece, wear eye and face protection, use both handles, test-run the brush for one minute, and clean with light pressure. Let the brush stop completely before setting the grinder down.
Key Takeaways
- The brush’s maximum RPM must meet or exceed the grinder’s no-load RPM.
- Confirm the brush diameter, spindle thread or mounting system, guard clearance, and grinder approval before installation.
- Wear safety glasses under a face shield, hearing protection, well-fitting gloves, protective clothing, and suitable respiratory protection when required.
- Keep the side handle and guard installed, secure the workpiece, and direct debris away from yourself and other people.
- Use a light touch and a shallow angle so the wire tips—not the sides of the wires—perform the cleaning.
- Stop using a brush that has loose wires, long-wire breakage, cracks, severe wear, wobble, or an unreadable speed rating.
At a Glance
| Time Required | About 10–45 minutes for a small cleaning job, plus setup and cleanup time |
| Difficulty | Beginner to intermediate; training and close attention to tool control are required |
| Tools Needed | Compatible angle grinder, approved wire cup brush, guard, side handle, wrench if required, clamps or vise, and appropriate PPE |
| Cost | Low if you already own the grinder and PPE; total cost varies by brush, guard, dust controls, and respiratory protection |
How to Use Wire Cup Brushes Effectively
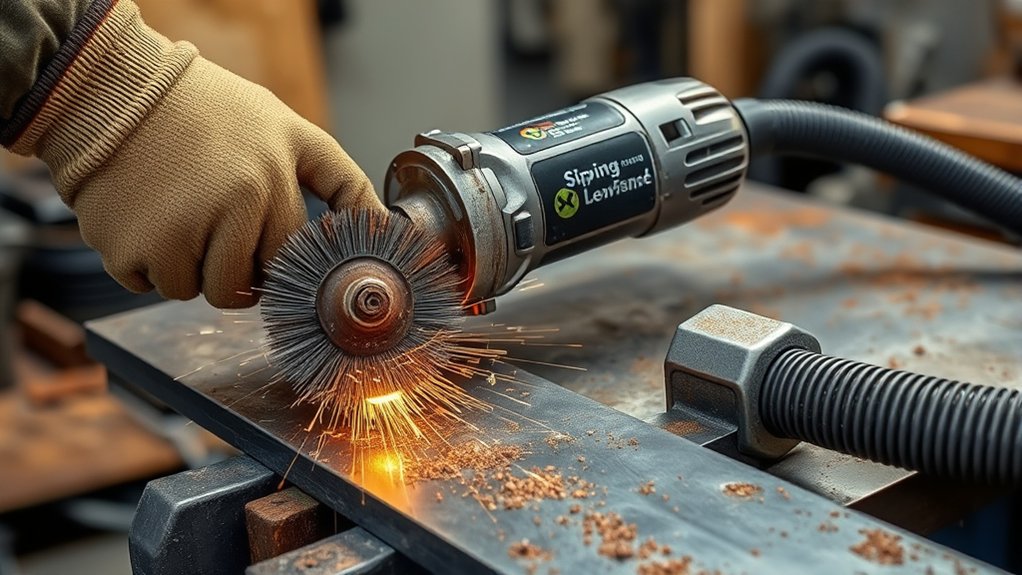
Using a wire cup brush effectively starts with compatibility, safety, and technique. Read the angle grinder manual, the brush label, and the safety information included with the brush. A brush that physically threads onto the spindle may still be the wrong diameter, speed rating, mounting type, or guard configuration for the tool.
Check the maximum RPM printed on the brush. It must be equal to or higher than the grinder’s no-load RPM. Do not use a brush when its speed marking is missing or unreadable. Also confirm that the grinder manufacturer permits the brush type and that the installed guard does not touch the brush.
Install the side handle and hold the grinder with both hands. Secure the workpiece with clamps or a vise, clear unnecessary people from the area, and direct the expected stream of debris away from your body, nearby workers, windows, vehicles, and flammable materials.
Use the lightest pressure that removes the contamination. Excessive pressure bends the wires, creates heat, increases wire breakage, shortens brush life, and makes the grinder harder to control. The wire tips should strike the surface and perform the cleaning.
Warning: Never mount a wire cup brush when the grinder’s no-load RPM is higher than the brush’s maximum RPM. Do not remove the guard or use an improvised adapter merely to make an oversized or incompatible brush fit.
Products Worth Considering

Cost-Effective 6 Pcs Angle Grinder Wire Wheel: WENORA Angle grinder brushes are made of high strength hardened carbon steel wire for better performance than comparable products. Wire brush sets for angle grinders are a better value than buying from your local tool store.

3x 5/8-11 Knotted cup brush, carbon steel, Knotted wire is for heavy material removal

Compatibility -- Fits all 4-1/2" angle grinders and grinders with 5/8"-11 threaded arbors. Easy to mount wire wheel for angle grinder for both professionals and DIY users. Do wear protective gear before operation for safe rust removal and cleaning!!!
Safety Gear and Precautions Before Using Wire Cup Brushes
Power brushes can release rust, paint chips, scale, sparks, workpiece debris, and broken wire filaments with considerable force. Everyone who remains in the work area needs suitable protection, not only the person holding the grinder. Manufacturer safety guidance recommends safety glasses with side protection under goggles or a full face shield during power-brush work.
Wear the following personal protective equipment before starting:
- Safety glasses and a face shield: The face shield supplements the safety glasses; it does not replace them.
- Well-fitting work gloves: Use gloves that protect against sharp edges while allowing a secure grip. Avoid loose cuffs or oversized gloves.
- Hearing protection: Use earplugs or earmuffs suitable for the grinder, work area, and exposure time.
- Protective clothing: Wear long sleeves, long pants, and sturdy footwear. Use non-melting or flame-resistant clothing where sparks are possible.
- Respiratory protection: Control dust with ventilation or extraction and use a properly selected, NIOSH-approved respirator when the hazard assessment requires one.
Keep loose clothing, jewelry, hair, extension cords, and other objects away from the spinning brush. Make sure the grinder switch is off before connecting power. Position the cord behind the tool and away from the cleaning path.
Keep the guard between your body and the brush as far as the tool design permits. Use the side handle supplied or approved for the grinder. Do not operate the tool one-handed, and do not modify the guard, handle, spindle, or brush.
Warning: Do not power-brush an unknown coating until you know what it contains. Grinding or removing lead-containing paint can create lead dust. Other coatings may also contain hazardous substances. Stop and obtain appropriate testing, dust controls, respiratory guidance, or professional help when the coating is unknown or suspected to be hazardous.
Clear paper, fuel, solvents, sawdust, oily rags, gas cylinders, and other combustible materials from the spark path. Do not use an angle grinder in a flammable or explosive atmosphere. Shield nearby people and property when debris cannot be fully contained.
After installation, run the brush at operating speed in a protected area for at least one minute before applying it to the workpiece. Keep the guard installed, hold the grinder securely, and stand outside the brush’s plane instead of directly in front of or in line with it. Stop immediately if you notice flutter, wobble, rubbing, unusual noise, or excessive vibration.
How to Install Wire Cup Brushes on Your Angle Grinder
Unplug a corded grinder or remove the battery from a cordless grinder before touching the accessory. Confirm that the switch is off and wait for the spindle to stop completely. Never press the spindle lock while the spindle is moving.
Products Worth Considering

4"X5/8"-11 HP.014 CARBNCRIMPWIRECUPBRUSH

Versatile Wire Cup Brush Set: This comprehensive set includes 4inch crimped wire cups with 0.3mm wire, providing a versatile solution for surface preparation tasks.

Boost Grinding Performance – The twisted-angle grinder wire wheel operates at a maximum speed of 12500 RPM, designed for angle grinders featuring a 5/8" 11 NC threaded shank. It enables easy and smooth polishing of heavy rust, corrosion, paint, and scale
Check Brush and Grinder Compatibility
- Maximum speed: The brush rating must meet or exceed the grinder’s no-load RPM.
- Brush diameter: Do not exceed the accessory size approved in the grinder manual.
- Mounting system: Match the brush’s spindle thread, arbor hole, or proprietary tool-free mount to the grinder.
- Guard clearance: The approved guard must fit and remain clear of the brush at every position.
- Tool approval: Confirm that the grinder manual permits wire cup brushes of that type and size.
- Brush condition: Reject a brush with rust damage, cracks, damaged threads, loose wires, missing wires, distortion, severe wear, or an unreadable label.
Mount the Brush Correctly
For a threaded wire cup brush, remove only the wheel hardware that the grinder and brush instructions tell you to remove. Thread the brush squarely onto the clean spindle. Tighten it using the wrench flats or approved method specified by the manufacturer. Do not cross-thread the brush or force it against damaged spindle threads.
For an arbor-hole brush, use only the exact flanges, backing parts, and locking hardware approved for that grinder and brush. Install each component in the specified direction. Do not substitute washers, stack adapters, or use homemade hardware.
For an X-LOCK or other proprietary tool-free system, use only accessories designed and marked for that system. Confirm that the accessory locks completely before reconnecting power.
Reinstall or adjust the approved guard so it sits between you and the brush without touching the wires or cup. Install the side handle in the position that gives you the strongest two-handed control. Rotate the brush by hand to check for contact where the manufacturer permits this inspection.
Reconnect the power only after the brush sits square and secure. Perform the protected one-minute test run before beginning work. If the brush wobbles, stop, disconnect the tool, clean the mounting surfaces, and reinstall it. Replace the brush or have the grinder inspected if the problem continues.
Effective Cleaning Techniques With Wire Cup Brushes
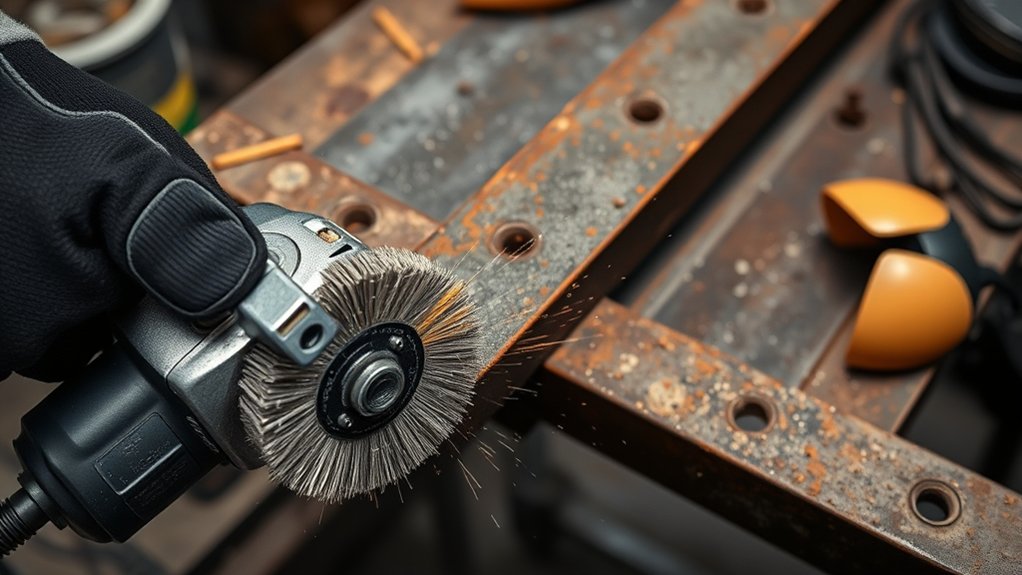
Good cleaning depends on brush selection, speed, working angle, pressure, movement, and control. Choose the least aggressive brush that removes the unwanted material without damaging the base surface.
Effective Techniques Overview
- Prepare the area. Identify the base material and coating, remove combustibles, provide ventilation or dust extraction, and keep unprotected people away.
- Secure the workpiece. Clamp it to a stable bench or hold it in a vise. Do not support a small part with one hand while operating the grinder with the other.
- Inspect the setup. Check the brush, guard, side handle, switch, cord or battery, and speed compatibility.
- Take a balanced stance. Stand with stable footing and keep your body outside the expected path of debris.
- Start without surface contact. Hold the grinder with both hands and allow it to reach the selected operating speed before touching the work.
- Use a light first pass. Bring the wire tips to the surface gradually. Do not strike, drop, or jam the brush into the workpiece.
- Hold a shallow angle. Many cup-brush manufacturers recommend approximately 5–15 degrees so the wire tips contact the surface. Follow the exact brush instructions when they specify a different orientation.
- Keep the grinder moving. Use smooth, overlapping passes. Avoid staying in one spot, which can create heat, scratches, discoloration, or distortion.
- Watch the brush and surface. Stop if the grinder pulls sharply, chatters, overheats, sheds long wires, or produces an uneven finish.
- Shut down safely. Lift the brush from the surface, release the switch, and maintain a two-handed grip until the brush stops completely. Set the tool down only after all rotation has ended.
The wire tips should do the cleaning. Pressing harder bends the wires onto their sides, increases heat and breakage, and usually does not improve the result.
Use a crimped wire cup brush for lighter rust, surface oxidation, loose paint, and irregular areas. Use a knotted wire cup brush for heavier rust, weld scale, slag, and tougher deposits on suitable steel. Test a hidden area first when appearance or surface dimensions matter.
Pro Tip: Make several light, overlapping passes instead of one forceful pass. If the brush cleans too slowly, change to a more suitable brush rather than adding pressure.
Safety Gear Essentials During Cleaning
Do not relax your safety controls after the first pass. Wire shedding can happen during normal operation, and the direction of flying debris can change when the brush reaches an edge, weld bead, hole, or curved section.
- Keep eye and face protection on until the grinder and nearby debris have stopped moving.
- Maintain a two-handed grip and keep your hands behind the guard.
- Reposition the workpiece instead of overreaching. Disconnect the grinder before changing clamps or moving the work.
- Approach edges carefully. Reduce pressure and do not jam the wires into corners or sharp openings.
- Control dust at the source. Do not depend on a face covering alone when the material may contain a hazardous substance.
Choose the Right Wire for the Material
| Brush Type | Best Uses | Important Limit |
| Crimped carbon-steel wire | Light rust, loose scale, paint edges, and general cleaning on compatible carbon steel | Can scratch soft or finished surfaces and contaminate stainless steel |
| Knotted carbon-steel wire | Heavy rust, weld scale, slag, and stubborn deposits on suitable steel | More aggressive; may gouge, thin, heat, or distort delicate material |
| Stainless-steel wire | Stainless steel and compatible aluminum or nonferrous work when approved by the brush manufacturer | Keep it separate from carbon-steel brushes and dust to prevent cross-contamination |
Note: Use a dedicated, clearly labeled stainless-steel brush for stainless work. A carbon-steel brush can transfer iron contamination that later appears as rust staining.
What to Watch Out For When Using Wire Cup Brushes
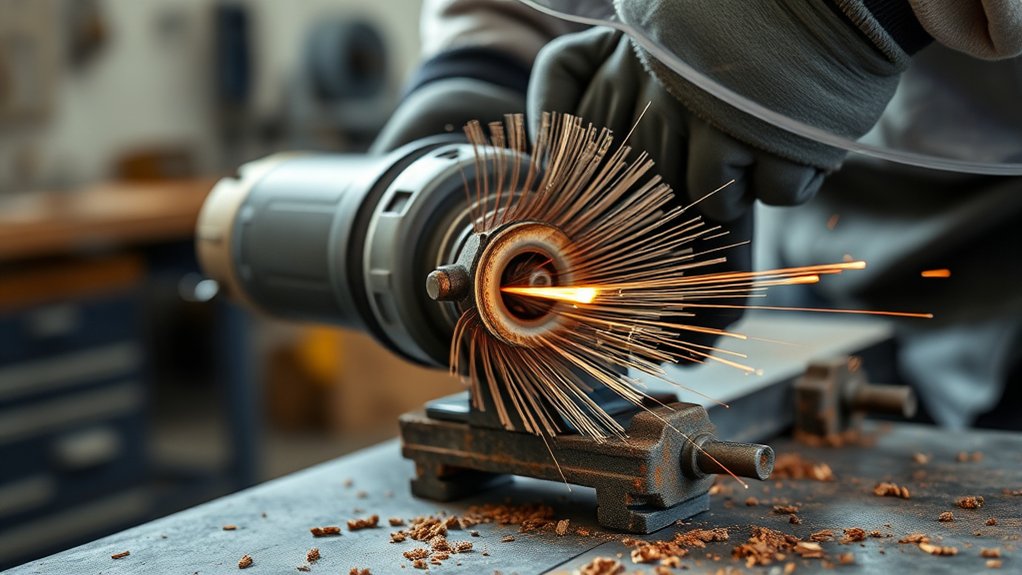
Check the wire brush rating and condition before every job. The maximum RPM must meet or exceed the grinder’s no-load RPM, and the brush must fit without touching the guard. Do not use a brush with an unreadable speed rating, damaged threads, a cracked cup, severe corrosion, missing wires, uneven wear, or visible distortion.
Some wire shedding can occur during normal power-brush use, which is why eye, face, skin, and bystander protection are essential. Stop using the brush when you see frequent or long-wire breakage, rapid loss of diameter, loose wire bundles, or a sudden change in vibration.
Watch the surface as you work. Heavy pressure or an aggressive brush can scratch softer metal, smear contamination, remove coatings unevenly, round edges, or heat thin sheet enough to distort it. A wire brush is a cleaning accessory, not a cutting wheel or a substitute for an abrasive grinding wheel.
Be alert when the brush reaches an edge, hole, corner, weld toe, or protrusion. The wires can catch, causing the grinder to pull or change direction. Reduce pressure, maintain stable footing, and reposition the work instead of twisting your body into a weak stance.
Stop immediately if the brush contacts the guard, the grinder overheats, the motor slows sharply under light pressure, the switch behaves incorrectly, the side handle loosens, or the tool produces unusual sound or vibration. Disconnect the power before inspecting or adjusting anything.
How to Maintain Your Wire Cup Brush for Longer Life
A well-maintained wire cup brush lasts longer and cleans more consistently. Inspect it before and after each use, and replace it before wear begins to affect control or safety.
- Inspect the wires: Replace the brush when wires are loose, badly bent, missing in groups, breaking in long pieces, or worn unevenly.
- Inspect the cup and mount: Look for cracks, distortion, damaged threads, corrosion, or looseness.
- Use light pressure: Excess force bends the wires, builds heat, and shortens brush life.
- Keep it moving: Avoid long dwell time in one spot.
- Use the correct speed: Operate only within the grinder and brush manufacturers’ approved range, and never exceed the marked maximum RPM.
- Keep grinder vents clear: Disconnect the tool and follow its manual when removing dust from ventilation openings.
- Store the brush dry: Protect it from moisture, impact, chemical exposure, and contact with incompatible metal dust.
- Separate materials: Store stainless-steel brushes away from carbon-steel brushes and grinding dust.
After use, allow the brush and workpiece to cool. Disconnect the grinder before removing packed debris or inspecting the wires. Do not strike the brush against a bench, scrape it with your hands, or attempt to repair loose wire bundles.
Do not use the brush as a grinder wheel. Wire cup brushes clean and strip surfaces, but they are not designed to cut metal, reshape a weld, or remove large amounts of base material.
Troubleshooting Issues With Wire Cup Brushes and Angle Grinders
If the wire cup brush or angle grinder feels unstable, release the switch, keep control until rotation stops, disconnect the power, and inspect the setup before continuing.
| Problem | Likely Cause | Safe Response |
| Wobble or excessive vibration | Brush is not seated squarely, mounting surfaces are dirty, hardware is incorrect, or the brush or spindle is damaged | Disconnect power, reinstall with approved hardware, and replace the brush or service the grinder if vibration remains |
| Brush touches the guard | Wrong brush diameter, incompatible guard, poor mounting, or distorted brush | Do not run the grinder; use an approved brush and guard combination |
| Rapid wire shedding | Excessive pressure, edge abuse, incorrect speed, unsuitable brush, or worn accessory | Stop, inspect the brush, reduce pressure, verify speed, and choose a more suitable brush |
| Cleaning is too slow | Brush is worn, too fine, at the wrong angle, or unsuitable for the deposit | Keep light pressure and change to the correct wire style or diameter instead of forcing the tool |
| Surface is deeply scratched | Brush is too aggressive, pressure is excessive, or the surface is too soft | Stop, test a finer compatible brush, reduce pressure, or use another cleaning method |
| Grinder or workpiece overheats | Too much pressure, long dwell time, blocked vents, or an unsuitable accessory | Stop, allow cooling, inspect the tool and brush, clear vents as directed by the manual, and use lighter passes |
| Rust staining appears on stainless steel | Carbon-steel contamination from the brush, work area, or nearby dust | Use a dedicated stainless-steel brush and keep stainless tools and storage separate from carbon-steel dust |
Best Surfaces and Jobs for Wire Cup Brushes
Wire cup brushes work best on compatible metal surfaces that need rust, loose paint, weld scale, slag, oxidation, or surface contamination removed. They can prepare steel before welding, priming, coating, inspection, or repair. Their broad contact area makes them useful on flat and gently curved surfaces.
Use extra care on the following materials:
- Thin sheet metal: Heat and pressure can distort the panel or remove more material than intended.
- Stainless steel: Use a dedicated stainless-steel brush to prevent carbon-steel contamination.
- Aluminum and nonferrous metals: Use only a brush approved for the material, apply light pressure, and test first because the surface can scratch or smear.
- Galvanized or coated metal: Identify the coating and control the resulting dust. Do not assume a general dust mask is adequate.
- Decorative or finished metal: Test in a hidden area because wire marks may remain visible.
A wire cup brush is usually a poor choice for wood, plastic, rubber, fragile castings, precision surfaces, or material that can catch and tear. Do not use it on live electrical equipment, pressurized containers, unknown coatings, combustible surfaces, or in a flammable atmosphere.
Key Rules for Successful Use of Wire Cup Brushes
Successful wire brushing depends on choosing the right accessory and controlling the tool rather than forcing it. The brush style affects cleaning speed, surface finish, reach, heat, and wire life. Use the least aggressive brush that completes the work.
- Read the grinder manual, brush label, package warnings, and manufacturer instructions.
- Use only a brush approved for the grinder’s diameter, mounting system, guard, and speed.
- Never exceed the maximum RPM printed on the brush.
- Keep the guard and side handle installed.
- Secure the workpiece and maintain stable footing.
- Wear safety glasses under a face shield and protect your hearing, hands, skin, feet, and lungs as the hazard requires.
- Use a dedicated stainless-steel brush for stainless work.
- Test-run the brush in a protected area for at least one minute before applying work.
- Use light pressure, a shallow approved angle, and smooth overlapping passes.
- Stop when you notice wobble, long-wire breakage, guard contact, overheating, unusual sound, or loss of control.
- Wait for the brush to stop completely before setting the grinder down.
- Disconnect power before mounting, adjusting, cleaning, or inspecting the brush.
Frequently Asked Questions
When should you use a wire brush on metal?
Use a compatible wire brush to remove rust, loose paint, oxidation, weld scale, slag, or surface contamination. It can also prepare metal before welding, inspection, priming, or coating. Do not use it as a cutting wheel or for removing large amounts of base metal.
What does a wire brush do on an angle grinder?
A powered wire brush cleans and strips a metal surface faster than hand brushing. The rotating wire tips strike rust, paint, scale, slag, and dirt. Because the brush can release debris and broken wires, the guard, side handle, secure workholding, and full eye and face protection are essential.
How do you properly use a wire cup brush?
Match the brush to the grinder, secure the workpiece, install the guard and side handle, and test-run the brush for one minute in a protected area. Hold the grinder with both hands, use light pressure, keep the brush moving, and stop if you feel wobble, strong pulling, overheating, or unusual vibration.
How do you choose the right angle grinder for a wire cup brush?
Choose a grinder whose manual permits the brush type and diameter. Match the spindle thread, arbor, or tool-free mounting system, confirm guard clearance, and make sure the brush’s maximum RPM equals or exceeds the grinder’s no-load RPM. A variable-speed grinder can improve control only when used within the approved speed range.
Can a wire cup brush remove paint?
Yes. A wire cup brush can remove loose or aged paint from compatible metal. Identify the coating before disturbing it, because old or industrial coatings may contain lead or other hazardous substances. Use suitable dust controls and respiratory protection, and do not proceed with an unknown coating without an appropriate safety plan.
Can you use a wire cup brush without the grinder guard?
Do not remove the guard merely to fit a brush. Use the guard and accessory combination approved by the grinder manufacturer, and position the guard to help direct debris away from your body. If the brush touches the guard or will not fit with the guard installed, it is not an acceptable setup.
Why does a wire cup brush shed wires?
Occasional wire loss can occur during normal use, but rapid shedding or long-wire breakage often points to excessive pressure, edge abuse, incorrect speed, poor brush selection, damage, or advanced wear. Stop, disconnect the grinder, and inspect the brush whenever wire loss increases or the tool begins to vibrate.
Can you use a carbon-steel wire brush on stainless steel?
You should use a dedicated stainless-steel brush for stainless work. A carbon-steel brush can transfer iron particles to the surface, causing contamination and later rust staining. Store stainless brushes separately from carbon-steel brushes and grinding dust.
Safety Disclaimer: This article is for general informational purposes and does not replace hands-on training, a workplace hazard assessment, the angle grinder manual, the brush manufacturer’s instructions, or applicable safety rules. Stop and consult a qualified professional when you cannot confirm accessory compatibility, coating hazards, respiratory requirements, or safe tool condition.
Sources
- Norton Abrasives: Do’s and Don’ts of Power Wire Brushes — brush inspection, one-minute test runs, guards, side handles, pressure, RPM limits, and PPE.
- Weiler Abrasives: Product Safety Information — power-brush PPE, accessory inspection, RPM compatibility, mounting checks, and pre-use testing.
- Weiler Abrasives: Extending Wire Brush Life — light pressure, wire-tip contact, inspection, and the typical 5–15 degree cup-brush working angle.
- Weiler Abrasives: Common Wire-Brush Challenges — brush selection and prevention of carbon-steel contamination on stainless steel.
- NIOSH: Guide to Respirators Used for Dust in Construction — respirator selection, certification, correct use, and workplace respiratory-protection requirements.
- NIOSH: Understanding Your Risk for Lead Exposure — lead-dust risks from grinding metal and disturbing lead-containing coatings.
Conclusion
A wire cup brush works best when the brush, grinder, guard, mounting system, speed, and material are all compatible. Inspect the setup, secure the workpiece, protect everyone in the area, and perform a protected one-minute test run before cleaning. Use both hands, light pressure, and smooth passes, then keep control until the brush stops completely. These habits improve cleaning results, reduce wire breakage, and make problems easier to spot before they cause an injury.