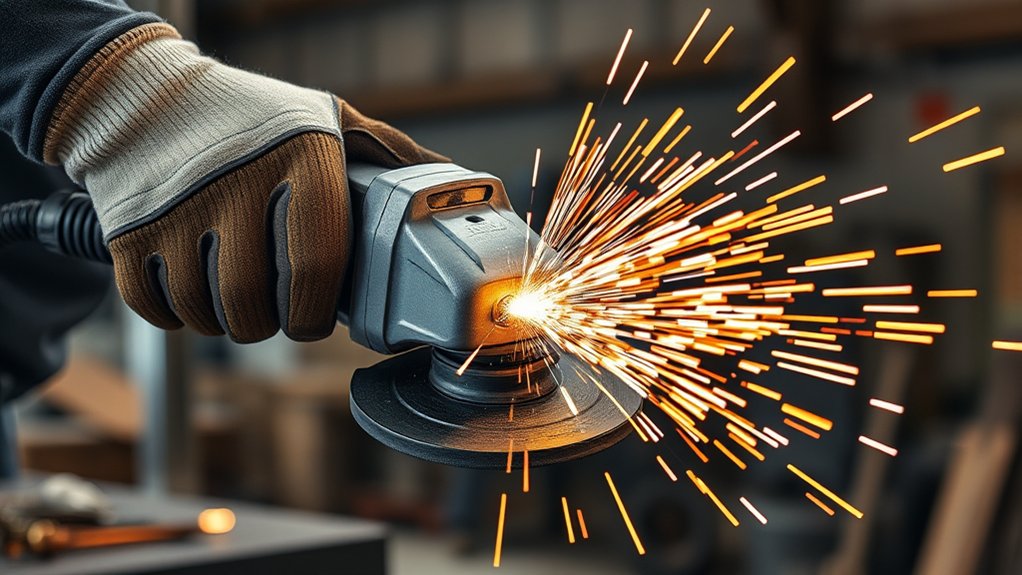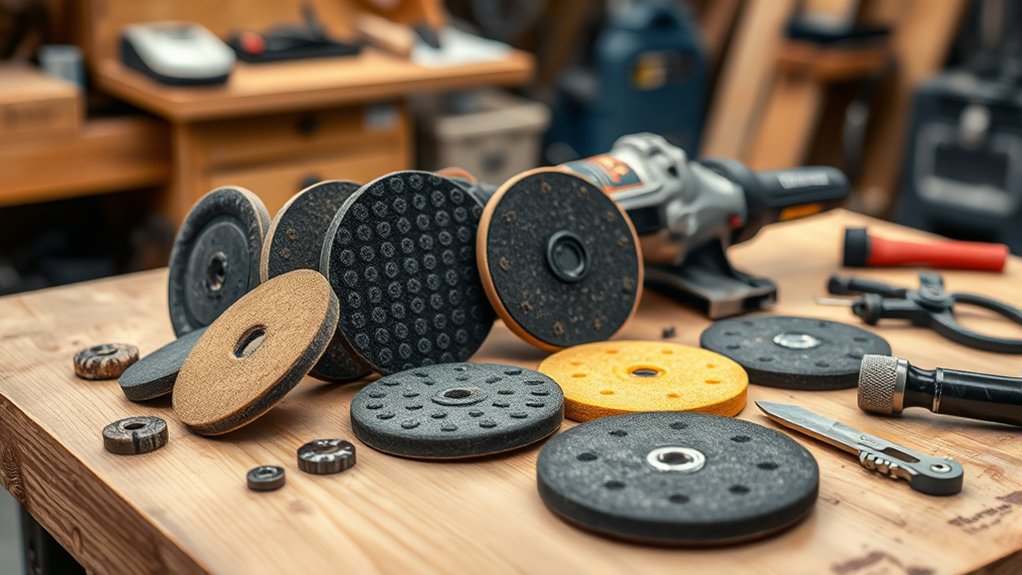
An angle grinder backing pad supports a flexible sanding or resin-fiber disc and transfers the tool’s rotation to the abrasive. The right pad can improve control, surface contact, and finish quality, but the wrong thread, fastening system, diameter, or speed rating can cause severe vibration or disc failure. This guide explains how to choose, install, use, inspect, and troubleshoot a compatible backing pad safely.
Quick Answer
An angle grinder backing pad supports a compatible sanding or resin-fiber disc and transfers the grinder’s motion to the abrasive. Choose the pad by the grinder’s rated speed, spindle or fastening system, approved disc size, and required firmness. Install it exactly as the tool manual shows; never exceed the lowest RPM rating in the setup.
Key Takeaways
- Match the pad to the grinder, abrasive disc, spindle thread, fastening hardware, and intended application.
- A 5/8-11 UNC spindle and an M14 × 2 spindle are different and must not be forced together.
- The pad and disc do not always have identical diameters; use the exact pairing specified by the accessory manufacturer.
- Every rotating component must be rated for at least the grinder’s rated or maximum no-load speed.
- Stop immediately if the pad wobbles, overheats, cracks, loses its grip, or allows the disc to shift.
At a Glance
| Time Required | About 5–10 minutes for selection checks and installation |
| Difficulty | Easy, provided all components are confirmed compatible |
| Tools Needed | Grinder manual, compatible pad and disc, specified clamp nut or adapter, lock-nut wrench if required, side handle, and suitable PPE |
| Cost | Pad and abrasive cost only; price varies by diameter, density, brand, and attachment system |
Warning: Never use a pad or abrasive disc with a speed rating below the grinder’s rated or maximum no-load speed. Disconnect the plug or remove the battery before changing accessories, and do not operate a setup with an unreadable rating, damaged pad, loose disc, mismatched thread, or unapproved adapter.
How Angle Grinder Backing Pads Enhance Performance
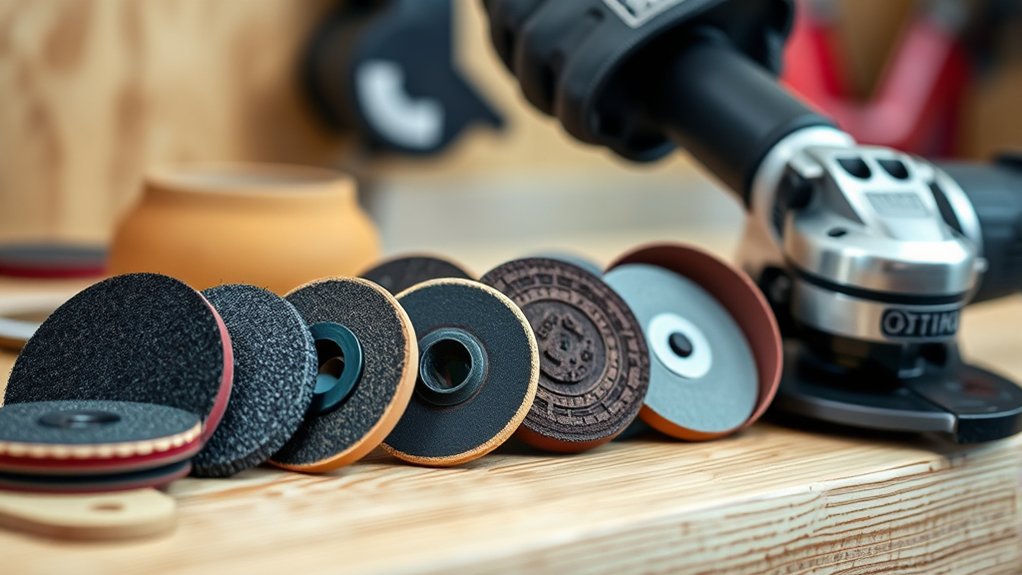
A backing pad supports a flexible coated-abrasive disc while the grinder is running. Depending on its firmness and design, it can help the disc follow a flat surface, rounded edge, weld contour, or painted panel more consistently.
The pad also spreads contact pressure across the supported portion of the abrasive. A firm pad concentrates the cut and is often used for faster stock removal on flatter surfaces. A softer pad follows contours more easily and can reduce the chance of cutting deep grooves during finish work.
A correctly centered pad may reduce chatter and unnecessary vibration. It cannot compensate for a bent spindle, damaged disc, incorrect mounting hardware, or excessive operating speed. Persistent vibration is a stop-work condition, not something to tolerate by applying more pressure.
Treat the grinder, backing pad, abrasive disc, clamp nut, and adapter as one rated system. The lowest speed rating controls the entire setup.
Key Features of Backing Pads
Backing pads differ in more ways than diameter. Check all of the following features before choosing one:
- Maximum operating speed: The pad must be rated for at least the grinder’s marked speed.
- Mounting system: Common systems include a threaded hub, a rubber pad retained by a clamp nut, hook and loop, and pressure-sensitive adhesive.
- Spindle thread: Threaded pads must exactly match the grinder, such as 5/8-11 UNC or M14 × 2.
- Pad firmness: Soft pads follow contours; medium pads balance cut and flexibility; hard or ribbed pads support aggressive work on flatter surfaces.
- Disc compatibility: The pad face, center hole, nut, and abrasive construction must be designed to work together.
- Diameter and profile: Use the manufacturer-approved pad-and-disc combination for the grinder’s capacity.
- Vent or dust-hole pattern: Openings may assist airflow or dust extraction only when the pad, disc, and extraction system are designed to align.
Note: Paper, cloth, film, and vulcanized fiber usually describe the abrasive disc’s backing material. They are not interchangeable names for the grinder’s supporting backing pad.
Different Types of Backing Pads and Their Applications
Choose the pad system first, then select the appropriate density and abrasive. Do not assume that every hook-and-loop or PSA pad is suitable for a high-speed angle grinder.
| Backing-Pad Type | Typical Use | Key Compatibility Check |
|---|---|---|
| Rubber or resin-fiber disc pad | Metal sanding, weld blending, rust removal, and stock removal with an approved fiber or abrasive disc | Correct center hole, clamp nut, firmness, disc pairing, and RPM |
| Threaded hook-and-loop pad | Fast abrasive changes, paint correction, blending, or finish sanding | Exact spindle thread and a speed rating high enough for the tool |
| PSA pad | Adhesive-backed discs where a flat, clean mounting face is needed | Pad speed, disc adhesive, surface cleanliness, and operating temperature |
| Soft or foam pad | Contours, rounded panels, blending, and fine finishing | Approved abrasive type and adequate speed rating |
| Hard or ribbed pad | Faster stock removal on flatter surfaces with a compatible fiber disc | Correct working angle, pressure, disc size, and pad condition |
| Vented or multi-hole pad | Matched sanding or extraction systems designed to move air or collect dust | Matching hole pattern, extractor compatibility, and manufacturer approval |
Hook-and-loop pads make disc changes quick, but their hooks can wear or melt if the system is overloaded. PSA pads provide direct adhesive contact, but dust, old adhesive, heat, or repeated repositioning can weaken the bond. Neither system is automatically safer or more aggressive than the other.
Products Worth Considering

【Compatible Models】Angle grinder backing pad compatible with Makita, Metabo, DEWALT, KIMO, PORTER-CABLE, BLACK+DECKER, and other brands angle grinder

High-Performance Sandpaper Material: Crafted from premium aluminum oxide abrasive, these sandpaper discs deliver superior abrasion resistance and a long service life. Designed for use as an angle grinder sander attachment, they provide an excellent surface finish on metal, wood, and rubber without easy clogging. A reliable sanding disc choice for both grinder and drill sander projects.

Components: the set includes a plastic back pad and a 5/8 in.-11 clamping nut. The nut ensures secure mounting of the pad on sanding disc for uninterrupted sanding operations
How to Properly Install an Angle Grinder Backing Pad
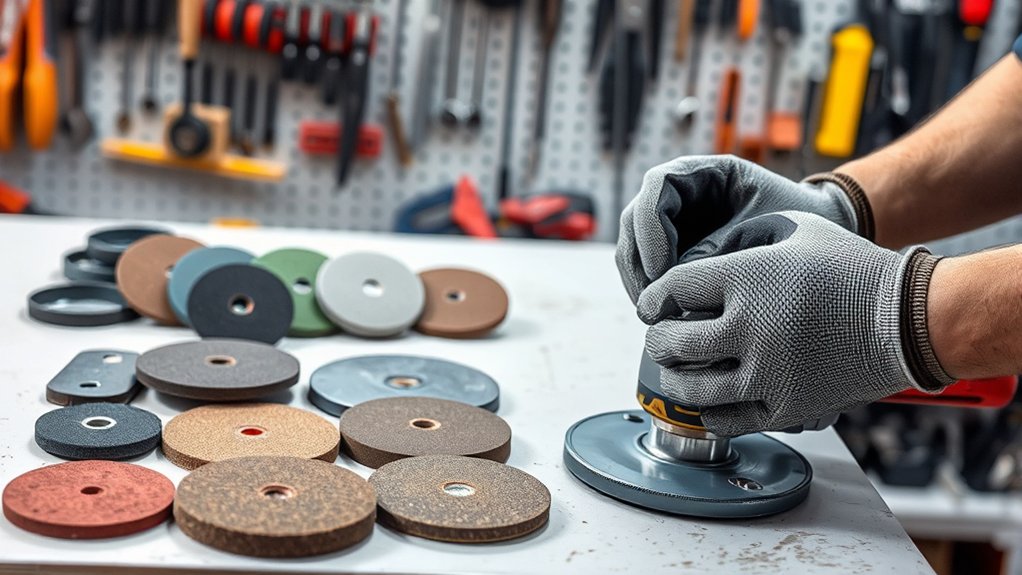
The exact assembly order depends on the grinder and accessory system. Review the grinder manual and the pad instructions before installation. Manufacturer diagrams take priority over a general procedure.
Choosing the Right Backing Pad
Confirm every item in this checklist before mounting the pad:
| Check | What Must Match |
|---|---|
| Tool capacity | Pad and disc must be approved for the grinder’s stated accessory diameter and application. |
| Speed | Pad, disc, nut, protector, and adapter ratings must each equal or exceed the tool’s marked speed. |
| Spindle or mount | The threaded hub, flange, tool-free interface, or approved adapter must fit without force. |
| Disc attachment | Hook-and-loop, PSA, center-nut, and other systems must not be mixed unless the manufacturer specifically approves the combination. |
| Pad and disc pairing | Use the specified pad diameter and disc size; do not create excessive or unsupported overhang. |
| Guard and handle | Use the side handle and the guard configuration required by the tool, accessory, workplace rules, and local regulations. |
A pad marked M14 must not be forced onto a 5/8-11 spindle, and a 5/8-11 pad must not be forced onto M14 threads. A 7/8-inch or 22.23 mm marking often describes a disc’s center hole rather than the grinder’s threaded spindle. Some grinders also use proprietary tool-free systems.
Step-By-Step Installation Guide
- Disconnect all power. Unplug a corded grinder or remove the battery from a cordless model. Wait for the spindle to stop completely.
- Inspect the parts. Do not use a pad with cracks, missing pieces, stripped threads, a warped body, melted hooks, or a loose hub. Check the disc for tears, moisture damage, contamination, or an unreadable RPM rating.
- Clean the mounting surfaces. Remove dust and debris from the spindle, flange, pad, center hole, and clamp nut. Foreign material can prevent the assembly from seating flat.
- Install the side handle. Secure it in the position recommended by the grinder manufacturer so the tool can be controlled with two hands.
- Set the approved guard configuration. Do not remove or alter a guard merely for convenience. Follow the exact grinder and accessory instructions.
- Mount the pad using the correct method. Follow the threaded-pad or clamp-nut procedure below.
- Center the abrasive disc. Hook-and-loop and PSA discs should sit evenly on the pad. Center-nut discs must align with the pad and retaining hardware.
- Rotate the assembly by hand. Confirm that it turns freely, sits flat, and does not touch the tool housing or guard.
- Prepare the work area. Clamp the workpiece, remove combustible material, control nearby access, and put on appropriate eye, face, hearing, respiratory, clothing, and footwear protection.
- Perform a controlled start. Hold the grinder with both hands, keep the accessory away from the workpiece, stand out of the disc’s direct plane, and allow the tool to reach operating speed. Stop immediately if it wobbles, rubs, or sounds abnormal.
Mounting a Pad That Uses a Clamp Nut
Place the manufacturer-specified rubber or backing pad onto the spindle in the orientation shown in the grinder manual. Place the abrasive disc over it, align the center hole, and install the specified clamp nut. On designs with a raised pilot, the pilot must enter the disc and pad center correctly.
Engage the spindle lock only after the spindle has stopped. Tighten the nut until the assembly is snug and secure without crushing, distorting, or warping the pad. The DEWALT DWE4100/DWE4120 manual and the Makita 9557NB manual show examples of clamp-nut sanding-disc assemblies.
Mounting a Threaded Hook-and-Loop or PSA Pad
Verify the thread marking on both the pad and grinder. Start the pad by hand and turn it without forcing the threads. Stop if it binds after the first turn. Seat and tighten it only as directed by the pad or grinder manufacturer; do not add an improvised washer or thread adapter.
For hook-and-loop discs, press the abrasive onto the pad with the edges evenly centered. For PSA discs, make sure the face is clean and dry, remove the release liner, and press the disc evenly from the center outward. Replace a PSA disc that has lost adhesion instead of adding tape or glue.
Pro Tip: Write the pad’s maximum RPM and thread type on its storage container. This makes it easier to prevent a lower-speed polishing or PSA pad from being fitted to a faster fixed-speed grinder.
How to Maintain Your Backing Pad for Best Performance
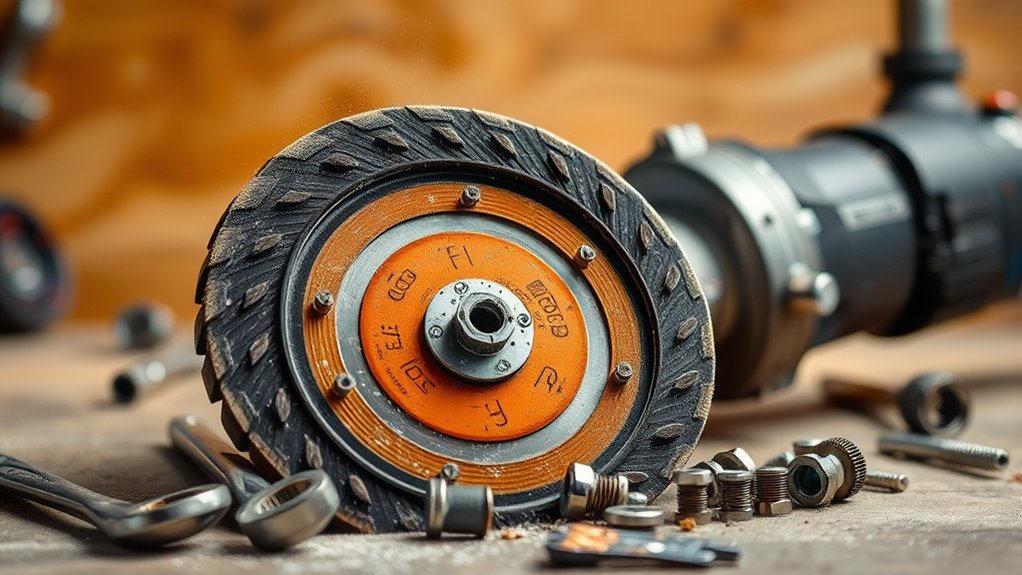
Inspect the pad before and after each use. Look for cracks, missing material, a loose center hub, stripped threads, a bent profile, melted areas, damaged hooks, hardened adhesive, or uneven wear. Remove the pad from service if it cannot hold the disc flat and securely.
Clean a hook-and-loop face with a soft nylon brush or suitable vacuum. Remove loose dust from rubber or ribbed pads without gouging the surface. Clean a PSA face only with a method approved by its manufacturer because harsh solvents can soften the pad, attack the adhesive surface, or damage rubber components.
Store pads flat in a clean, dry area away from direct sunlight, high heat, moisture, oils, and sharp objects. Do not leave a heavy tool resting on a soft pad because long-term compression can distort it.
When to Replace a Backing Pad
Replace the pad when any of the following appears:
- Visible cracks, cuts, tears, or missing chunks
- A warped or permanently deformed face
- Stripped, cross-threaded, or loose mounting threads
- A loose hub, insert, or center fitting
- Hook material that no longer grips the disc uniformly
- Heat damage, melting, glazing, or a strong burnt odor
- Persistent wobble after the pad and mounting surfaces are cleaned and remounted
- A rating or identification label that is no longer readable
Choosing the Right Size for Your Angle Grinder Backing Pad
Pad selection starts with the grinder’s approved accessory capacity, but the pad and abrasive disc do not always have identical measured diameters. Use the pad and disc combination listed by the tool or accessory manufacturer.
Products Worth Considering

Use with a resin fibre sanding disc on an angle grinder
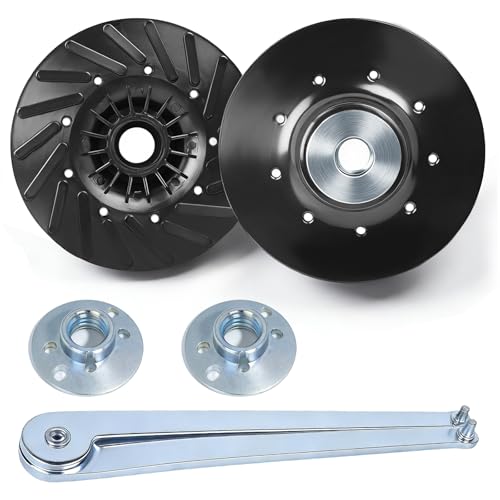
Wide Compatibility: Compatible with most 4-1/2" grinders with 5/8"-11 spindles, the angle grinder backing pad is suitable for diverse grinding and polishing applications such as metalworking and woodworking. Ensure stable installation and high - efficiency operation
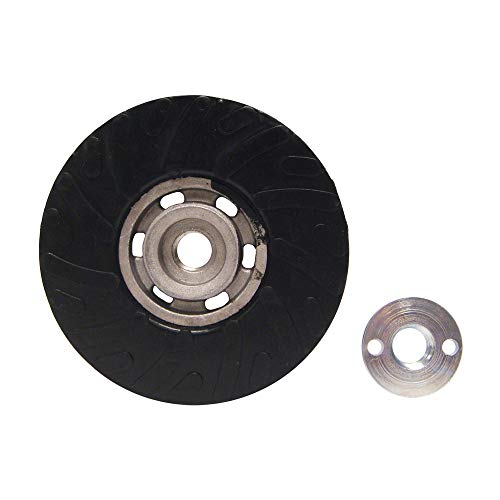
Use with semi-flexible discs on an angle grinder
Matching Disc Diameter Precisely
A pad must support the disc as its manufacturer intended. It must not be so large that the pad contacts the workpiece, and the abrasive must not extend farther beyond the pad than the product instructions allow.
For example, Makita lists an actual 3-13/16-inch rubber pad for use with 4-1/2-inch resin-fiber abrasive discs. That is an approved pairing rather than an exact diameter match. See the Makita 4-1/2-inch rubber backing-pad specifications.
| Size Question | Safe Rule |
|---|---|
| Can a larger pad be fitted to a smaller grinder? | No, unless the grinder manufacturer explicitly lists that pad and accessory size. |
| Must the pad equal the disc’s printed diameter? | Not always. Use the pairing specified by the pad or abrasive manufacturer. |
| Can sanding paper hang far beyond the pad? | No. Excessive overhang can snag, tear, cut the operator, or contribute to kickback. |
| Can an undersized pad be improvised for tight spaces? | Use a smaller approved tool and system instead of improvising an unsupported combination. |
Understanding RPM Limitations
Check the marked maximum speed of the pad, disc, protector, adapter, and retaining hardware. Each component must be rated for at least the grinder’s rated or maximum no-load speed. The OSHA portable-powered-tool regulation requires the machine’s spindle speed to be checked so it does not exceed the wheel’s marked maximum operating speed.
Do not assume that a pad designed for a polisher or random-orbit sander can run on an angle grinder. For example, one 3M five-inch threaded contact pad is limited to 7,000 RPM, while a common 4-1/2-inch Makita grinder is listed at 11,000 RPM. Those ratings make that example pad unsuitable for that example fixed-speed grinder.
If a pad or disc has no readable speed marking and the manufacturer’s specification cannot be confirmed, do not use it.
Considering Application Requirements
| Task | Typical Pad Choice | Main Technique |
|---|---|---|
| Fast stock removal on flat metal | Hard or ribbed pad with a compatible resin-fiber disc | Light, controlled pressure; do not dwell in one spot |
| Weld blending | Medium-density pad | Blend gradually and avoid catching exposed edges |
| Curved or contoured surfaces | Soft or foam pad | Let the pad conform without forcing it flat |
| Paint or finish correction | Speed-rated hook-and-loop pad | Use the approved speed and keep the pad moving |
| Repeated use of adhesive-backed discs | Compatible PSA pad | Keep the face clean and replace discs with weak adhesive |
Pad firmness and abrasive grit are separate choices. A hard pad changes how firmly the disc is supported, while the abrasive grit controls how coarse or fine the cut is. Do not compensate for the wrong grit or pad by pushing harder.
How to Match Backing Pad Types With Your Angle Grinder
- Identify the required abrasive system. Determine whether the task calls for a resin-fiber disc, hook-and-loop sanding disc, PSA disc, polishing pad, or a different accessory that does not use a backing pad.
- Read the grinder label and manual. Record the tool capacity, maximum or rated no-load speed, spindle thread, flange system, and permitted applications.
- Choose pad firmness. Use a harder pad for controlled stock removal on flatter surfaces and a softer pad for contours or finish work.
- Verify the complete assembly. Confirm disc size, center hole, nut orientation, guard configuration, pad rating, disc rating, and thread before connecting power.
Do not install a bonded grinding wheel, cut-off wheel, wire wheel, diamond blade, or flap disc on a backing pad unless that exact assembly is specified by the accessory and tool manufacturers. Most of those products use dedicated flanges, guards, hubs, or mounting systems.
How to Use a Backing Pad Safely
Hold the grinder with both hands and establish balanced footing before starting. Bring the tool to operating speed before touching the workpiece. For a conventional sanding backing pad, a shallow working angle is normally used; the DEWALT grinder manual gives a range of approximately 5 to 15 degrees for its specified sanding-pad setup.
Apply light pressure and keep the tool moving in a controlled line. Holding the disc in one place can create burn marks, swirl marks, heat buildup, deep gouges, and premature pad failure. Approach corners and edges carefully because the abrasive can snag or tear.
Remove the disc from the workpiece before switching the tool off. Keep holding the grinder until the accessory stops completely, then place it where the pad cannot be bent or contaminated.
Warning: Sanding concrete, brick, mortar, engineered stone, or similar materials can release respirable crystalline silica. Coatings and plated metals may also produce hazardous dust. Identify the material first, use effective dust controls, and select respiratory protection under applicable workplace requirements. See OSHA’s crystalline silica guidance.
Direct sparks and debris away from yourself, bystanders, cords, hoses, vehicles, glass, and combustible materials. Never sand near flammable vapor, fuel, gas cylinders, or unprotected fire hazards.
Understanding the Role of Pad Protectors
A pad protector is a sacrificial interface placed between some hook-and-loop backing pads and abrasive discs. Its main purpose is to reduce wear on the pad’s hook face, especially when discs are changed frequently or when mesh abrasives are used.
A protector can slightly change the pad’s firmness, edge profile, hole alignment, and heat behavior. It should be used only when the pad and abrasive manufacturer permit it. The protector must fit the pad correctly, align with any extraction holes, and have a suitable speed rating.
Pad protectors are not required for every backing pad. They do not repair damaged hooks, correct an incompatible disc, or make an underspeed pad safe for a faster grinder.
Troubleshooting Common Backing Pad Issues
Stop the tool and disconnect power before inspecting any backing-pad problem.
| Problem | Likely Causes | Corrective Action |
|---|---|---|
| Disc slips or detaches | Dirty hooks, weak PSA adhesive, worn pad face, wrong clamp nut, poor centering, excessive heat, or incompatible disc | Clean or replace the correct component and remount the manufacturer-approved disc. Never add glue or tape. |
| Excessive vibration or wobble | Warped pad, damaged disc, debris, cross-threading, off-center mounting, bent spindle, or loose hub | Remove the assembly, inspect each part, clean the mounting faces, and replace damaged parts. Have the grinder serviced if the bare spindle appears to run out. |
| Burning or swirl marks | Excessive pressure, dwelling in one area, wrong speed, clogged abrasive, or unsuitable grit | Reduce pressure, keep the pad moving, use the approved speed, and replace or change the abrasive. |
| Disc tears at the edge | Excessive overhang, steep angle, snagging a corner, damaged pad edge, or wrong disc size | Confirm the specified pairing, reduce the working angle, and approach edges carefully. |
| Pad becomes unusually hot | Too much pressure, prolonged dwell, overspeed, clogged vents, slipping adhesive, or an unsuitable pad | Stop and allow the system to cool. Verify all ratings and replace heat-damaged parts before continuing. |
| Pad will not thread onto the spindle | M14 versus 5/8-11 mismatch, damaged threads, contamination, or a proprietary mount | Stop immediately. Identify the exact thread or mounting system and obtain the correct pad; never force it. |
| Uneven finish | Wrong pad firmness, uneven pressure, tilted pad, worn abrasive, or unsupported disc area | Use a suitable density, recenter the disc, maintain a consistent angle, and replace worn abrasives. |
Frequently Asked Questions
What Is the Difference Between Type 1 and Type 27 Cutting Discs?
The type number mainly identifies wheel shape. A flat cut-off wheel is commonly marked Type 41, formerly Type 1. A Type 27 wheel has a depressed-center shape and may be designed for grinding or, in some products, cutting. Read the wheel label and use the guard specified for that exact wheel. Never use the side of a cut-off wheel for surface grinding.
What Size Arbor or Spindle Do Most Angle Grinders Have?
There is no single worldwide size. Many North American grinders use a 5/8-11 UNC threaded spindle, while many metric-market grinders use M14 × 2. Some discs have a 7/8-inch or 22.23 mm center hole that fits over a flange rather than threading onto the spindle. Tool-free systems such as X-LOCK also exist. Check the exact grinder model before buying a pad.
What Is a Type 27 Flap Disc?
A Type 27 flap disc has overlapping abrasive flaps arranged on a relatively flat face. It is normally used at a shallow working angle for blending and surface finishing. The flap disc has its own backing plate and approved mounting system, so it is not normally placed on a separate sanding backing pad.
Are 9-Inch Angle Grinders Banned?
Nine-inch angle grinders are not universally banned. Some employers and worksites prohibit or restrict them because their size, power, kickback, and gyroscopic forces can make incidents more severe. Follow local regulations, workplace rules, and the required risk assessment. A smaller, more controllable tool should be used when it can complete the task safely.
Can a Backing Pad Be Smaller Than the Sanding Disc?
Yes, when the manufacturer specifies that pairing. Some resin-fiber disc systems use a support pad that is slightly smaller than the abrasive. The difference must be intentional and documented. Do not create additional overhang by combining unrelated pad and disc sizes.
Can I Use a Hook-and-Loop Pad on an 11,000 RPM Grinder?
Only when the hook-and-loop pad, abrasive disc, protector, adapter, and grinder manual all permit that speed and application. Many polishing and sanding pads have maximum speeds below 11,000 RPM. A lower-rated pad must not be used even if it fits the spindle.
Should the Grinder Guard Stay Installed When Using a Backing Pad?
Use the guard configuration required by the grinder manual, backing-pad instructions, workplace rules, and applicable regulations. Different sanding systems may have different approved arrangements. Do not remove, modify, or defeat a guard merely because it obstructs an incompatible accessory.
Conclusion
The best angle grinder backing pad is not simply the one with the same advertised diameter as the disc. It must be approved for the grinder’s capacity, speed, spindle or mounting system, abrasive type, hardware, and application. Select the correct firmness, mount every part in the specified order, use light controlled pressure, and stop at the first sign of wobble, heat damage, or disc movement. Regular inspection and proper storage will improve finish quality while reducing avoidable equipment and safety problems.
Sources
- OSHA 29 CFR 1910.243 — Guarding of Portable Powered Tools — wheel inspection, speed compatibility, mounting, and guarding requirements
- OSHA Hand and Power Tools — general power-tool, PPE, inspection, and abrasive-tool safety guidance
- DEWALT DWE4100/DWE4120 Grinder Manual — backing-pad installation and sanding technique
- Makita 9557NB Grinder Manual — rubber-pad assembly, side-handle use, and accessory mounting
- Norton Abrasives — Grinding Wheel Guard Guidance — Type 27 and flat cut-off wheel guard distinctions
- SafeWork SA — Angle Grinders — kickback controls and context for worksite restrictions on nine-inch grinders