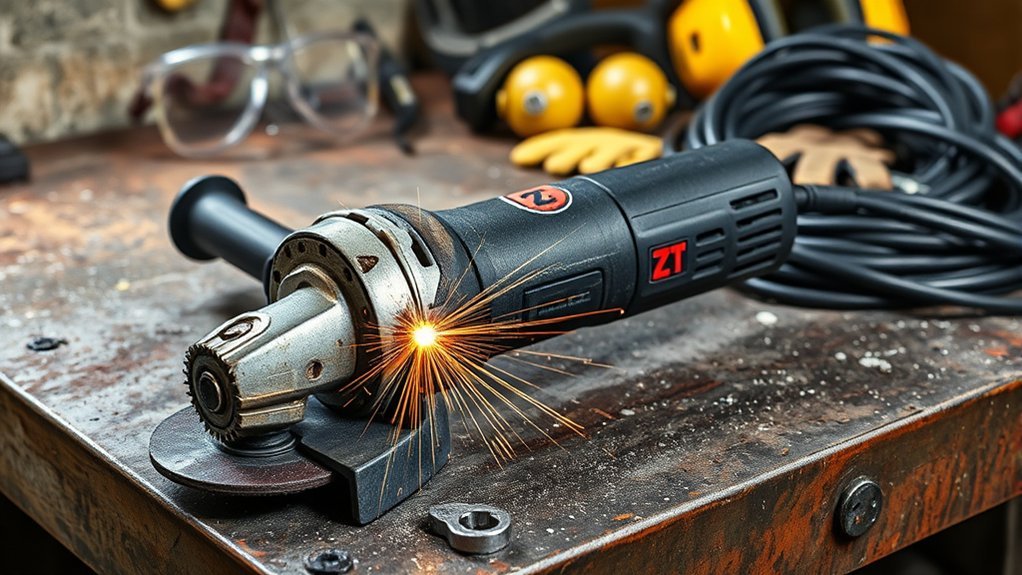
A rattling angle grinder is a warning to stop and inspect the tool before the noise turns into loss of control, wheel damage, or a failed internal part. The cause may be as simple as a loose guard or dirty flange, but it may also be a worn bearing, damaged gear, bent spindle, or motor problem.
Quick Answer
Stop the grinder, unplug a corded model or remove the battery, and inspect the wheel, flanges, guard, side handle, spindle, and fasteners. Clean and refit only compatible parts. If the grinder still rattles, wobbles, overheats, smells strongly burnt, or sounds rough with a known-good wheel, stop using it and arrange qualified repair.
Key Takeaways
- Disconnect the power before touching the wheel, guard, flanges, spindle, or fasteners.
- A wheel must match the grinder’s diameter, mounting system, intended use, and maximum speed.
- Loose hardware, debris between mounting faces, a damaged wheel, or incorrect flange assembly can cause immediate rattling and wobble.
- Persistent noise with different compatible wheels points more strongly to spindle, bearing, gear, brush, motor, or switch trouble.
- Do not add oil or grease unless the exact model’s manual tells you where, what type, and how much to use.
At a Glance
| Time Required | 10–20 minutes for external checks; longer if a repair shop must diagnose the tool |
| Difficulty | Beginner for inspection and correct wheel fitting; advanced for internal bearing, gear, wiring, or motor repair |
| Tools Needed | Owner’s manual, supplied wrench, clean soft brush, flashlight, PPE, and a known-good compatible wheel if available |
| Cost | Usually $0 for inspection; replacement wheels, flanges, guards, bearings, and professional labor vary by model |
What Causes Rattling Noises in Angle Grinders?
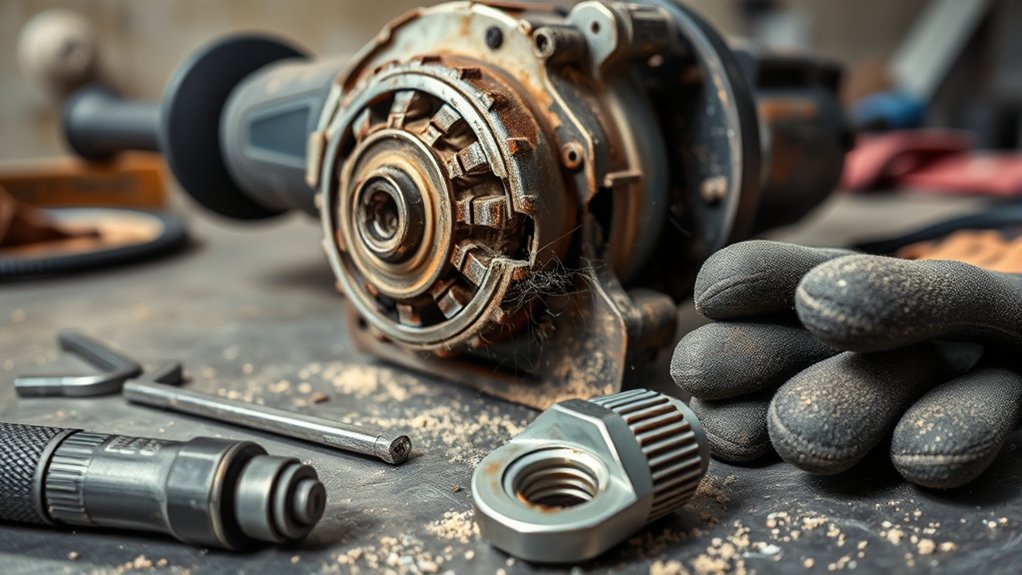
Rattling usually starts in one of three areas: the mounted accessory, the external hardware, or the grinder’s internal drive system. The timing of the noise helps narrow the cause.
| When the Rattle Happens | Likely Areas to Check | Safest Next Step |
|---|---|---|
| Only with one wheel or disc | Cracked, warped, contaminated, mismatched, or poorly seated accessory | Remove it, inspect it, and replace it if damage or doubtful fit is found |
| Immediately at startup | Loose nut, incorrect flange orientation, unsecured guard, loose handle, or wheel mounted off-center | Disconnect power and repeat the mounting checks in the manual |
| With every compatible accessory | Spindle runout, worn bearing, damaged gear, loose internal part, or motor issue | Stop testing and arrange service if external checks do not find the cause |
| Only under load | Wheel binding, excessive pressure, unsupported work, damaged gears, weak power supply, or a failing battery | Stop, support the work securely, and correct the cause before restarting |
A wheel with the wrong arbor dimensions can run out of balance and vibrate heavily. A wheel that exceeds the grinder’s capacity or has a speed rating below the tool’s maximum speed is also unsafe. Manufacturer instructions and OSHA guidance for portable abrasive-wheel tools call for correct mounting, secure guards, close wheel inspection, and an accessory speed rating that is suitable for the tool.
A rattling grinder is not a noise problem to mask. It is a fit, wear, or damage problem to identify before the wheel reaches operating speed.
Stop Using the Grinder Immediately If You Notice These Signs
Do not keep running the tool to “see if the noise clears.” Disconnect it and remove it from service when any of these signs appear:
- Visible wheel cracks, chips, warping, missing segments, or separation
- Strong wobble, shaking, or a wheel that does not run true
- A guard, side handle, flange, or fastener that will not stay secure
- A bent spindle, damaged spindle threads, or obvious flange damage
- Persistent grinding, knocking, or rattling after the wheel is correctly refitted
- Strong or persistent burning odor, smoke, overheating, repeated shutdowns, or severe loss of power
- A cut, crushed, frayed, or exposed power cord
- A cracked housing, failed switch, leaking or damaged battery, or signs of impact damage
Warning: Never run an angle grinder with a cracked or questionable wheel, missing or incorrect guard, loose side handle, damaged cord or battery, or a wheel whose rated speed is below the grinder’s maximum speed.
How to Inspect a Rattling Angle Grinder Safely
Use the following sequence so you address the easiest and most common causes before considering internal repair.
- Disconnect all power. Unplug a corded grinder. Remove the battery from a cordless grinder. Confirm the switch is off, wait for all movement to stop, and let the tool cool.
- Read the model-specific instructions. Check the manual for the approved wheel types, diameter, thickness, arbor or thread, guard, flange orientation, and tightening method. Similar-looking grinders do not always use the same mounting system.
- Remove and inspect the wheel. Look for cracks, chips, warping, uneven wear, missing diamond segments, contamination, impact marks, or an enlarged mounting hole. Discard any questionable accessory.
- Inspect the guard, handle, and fasteners. The guard must lock in position, the side handle must tighten securely, and housing screws must not be missing or loose. Do not operate the grinder if a safety part cannot be secured.
- Clean the mounting surfaces. Brush dust and grit from the backing flange, locking flange or nut, spindle shoulder, and wheel faces. The clamping surfaces should be clean and seat flat.
- Check the spindle by hand. With power disconnected and the wheel removed, rotate the spindle slowly. Roughness, catching, scraping, excessive side movement, or a visibly bent spindle suggests internal wear or damage.
- Refit a compatible wheel exactly as shown in the manual. Use the correct guard and flanges. Tighten the nut only by the specified method; excessive force can damage the wheel or flange. Never press the spindle-lock button while the spindle is moving.
- Perform a guarded no-load check only when the manual permits it. Wear eye and face protection, keep the guard installed, keep yourself and bystanders out of the wheel’s plane, hold the grinder with both hands, and run it for the period stated by the manufacturer. Stop immediately if it rattles or wobbles.
The mounting dimensions of the accessory must match the grinder’s hardware. The DEWALT DCG407/DCG408 manual, for example, warns that mismatched arbor holes can make accessories run out of balance, vibrate excessively, and cause loss of control. Always follow the manual for your own make and model.
Pro Tip: Photograph the flange order and wheel-label side before removal when the manual is not in front of you. Then verify the arrangement against the manual before reassembly rather than relying on memory.
Products Worth Considering


[7PCS 5/8"-11 Angle Grinder Nut Wrench Replacement Kit] 1 piece angle grinder wrench and 6 angle grinder nuts (3 inner flange nuts, 3 outer flange nuts) for lock nut removal, wheel/disc replacement.Compatible with most arbor grinders and lock nuts, Perfect for home DIY, workshop projects, and professional grinder parts replacement

【Value Sets】The grinder nut set includes 1 angle grinder wrench and 6 angle grinder nuts (3 inner flange nuts, 3 outer flange nuts). Please check size and compatibility before ordering. Please contact us with any questions or concerns. We prioritize your satisfaction .
Diagnosing Electrical and Motor Issues
Electrical or motor trouble is more likely when rattling occurs with power loss, repeated stopping, overheating, a failed switch, strong odor, smoke, or unusually heavy and irregular sparking. A brushed grinder may show some brush sparking, while a brushless grinder has no carbon brushes to replace, so the model type matters.
Power Supply Inspection
For a corded grinder, verify that the plug and outlet are undamaged and fit securely. Inspect the entire cord for cuts, fraying, crushed sections, melted insulation, or exposed conductors. Do not cover exposed wire with tape and continue working; have the cord replaced correctly.
Use an outdoor-rated extension cord when working outdoors and choose a wire gauge and length that meet the grinder manual’s requirements. A long or undersized cord can contribute to poor performance and heat. If a ground-fault circuit interrupter is required for the location or jobsite, use a protected supply.
For a cordless grinder, inspect the battery rails, terminals, latch, and battery case. Stop using a battery that is cracked, swollen, leaking, unusually hot, or unable to lock securely. Test with a known-good approved battery only if the tool and battery show no damage.
| Inspection Focus | Action | Remove From Service When |
|---|---|---|
| Outlet and plug | Check for a firm connection, scorching, looseness, and damage | The plug, outlet, or prongs are damaged or become hot |
| Power cord | Inspect the full length and strain relief | Insulation is cut, crushed, melted, or exposes conductors |
| Battery | Check the case, latch, terminals, temperature, and fit | It is swollen, cracked, leaking, overheating, or will not latch |
| Motor and switch | Listen for unstable speed and watch for repeated shutdowns | There is smoke, strong odor, severe sparking, overheating, or unreliable switch action |
Noise Documentation Techniques
Record when the noise starts: at startup, full speed, under load, during coast-down, or only with one accessory. Note whether the sound is a rattle, knock, scrape, squeal, or repeated click. Also record the wheel type, material, battery or extension cord used, and whether the tool was dropped or jammed recently.
A short video recorded from a safe distance can help an authorized service center, but do not keep operating a dangerous tool just to capture the sound. The label’s model and type number are more useful than the tool’s color or wheel diameter alone.
Mechanical Failures That Can Cause Rattling
If the wheel, flanges, guard, handle, and external screws are correct and secure, the noise may come from the drive system. Common possibilities include:
- Worn spindle bearings: May cause rough rotation, side play, growling, or vibration that changes with speed.
- Damaged bevel gears: May create rhythmic knocking, grinding, or a rattle under load.
- Bent spindle or damaged threads: Can prevent the wheel and flanges from running true.
- Loose internal fastener or broken component: May produce a rattle that remains even after accessories are changed.
- Worn carbon brushes or commutator trouble on brushed models: May accompany unstable speed, poor starting, or abnormal sparking.
- Cooling-fan or motor damage: May cause scraping, imbalance, overheating, or a sudden change in sound.
Opening the gear case or motor housing can expose electrical parts, springs, wiring, and components that require model-specific tools, grease, torque values, and alignment. Unless the manual clearly lists the repair as user-serviceable and you are qualified to do it, use an authorized or qualified repair service.
Note: Do not use the spindle-lock button as a brake. Engaging it while the spindle is turning can damage the lock or allow an accessory to loosen.
Diagnosing Wheel, Disc, and Blade Issues
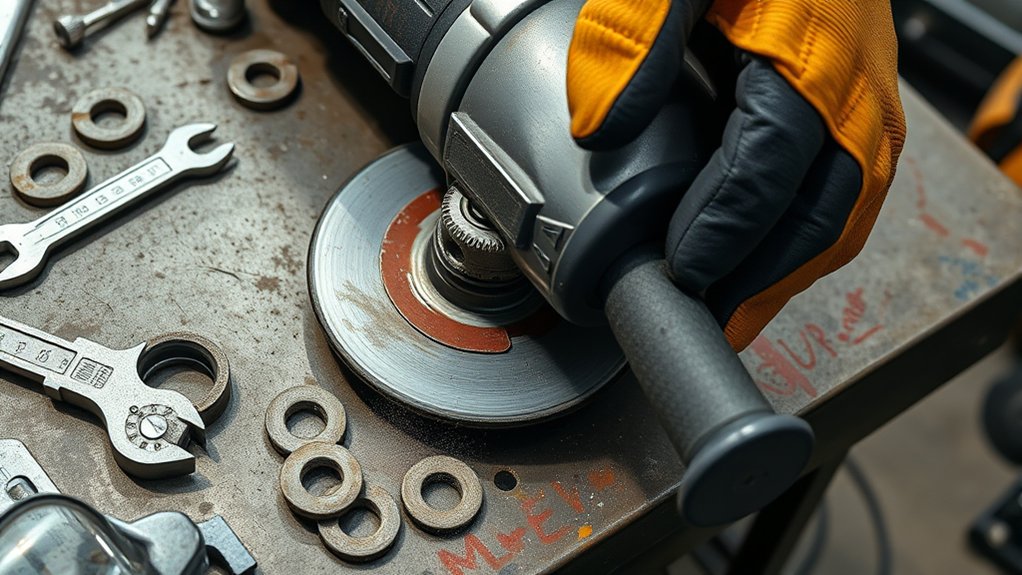
Angle grinders can use abrasive grinding wheels, thin cut-off wheels, flap discs, wire accessories, backing pads, and certain diamond wheels or blades. Each accessory requires the approved guard, mounting hardware, size, and operating method.
Check all of the following before installation:
- The accessory is approved for the grinder and the planned task.
- Its outside diameter and thickness are within the tool’s capacity.
- Its maximum rated speed is at least equal to the maximum speed marked on the grinder.
- The arbor hole, threaded hub, or X-LOCK-style interface matches the tool exactly.
- The wheel is clean, dry, undamaged, and not expired where the manufacturer provides an expiry date.
- The backing and locking flanges are the correct type, size, orientation, and condition.
- The correct grinding or cutting guard is installed and positioned between the operator and the wheel as the manual directs.
Do not use a thin cut-off wheel for side grinding. Side loading can damage a wheel designed to cut only on its edge. Do not force a wheel onto the spindle, substitute improvised washers, use a worn wheel from a larger grinder, or mount a toothed wood-cutting blade unless the grinder manufacturer expressly designed and approved the tool for that accessory.
Products Worth Considering

Structural Components: A Cut off wheel typically comprises an abrasive, a binder, and air holes. The abrasive cuts, the binder shapes and strengthens, and the air holes remove swarf and dissipate heat to prevent damage to the cutting disc from overheating

Premium and Value: This 10-pack 4-1/2 x 7/8-inch metal/stainless steel cut-off wheel set is specially formulated for fast cutting in metals and stainless steel

[High-Performance Cutting] Designed for cutting metal & stainless steel, these cut off wheels 4 1/2 inch work efficiently with any angle grinder wheel, supporting speeds up to 13,300 RPM.
Should You Lubricate a Rattling Angle Grinder?
Do not treat lubricant as a general cure for rattling. Many modern angle grinders are lubricated at the factory, and their manuals direct users to keep vents and exterior parts clean rather than add oil or grease. The Bosch GWS18V-10 manual, for example, states that the tool is properly lubricated and ready for use.
Spraying oil into vents, applying grease to wheel-clamping faces, or packing the gear case without the correct specification can attract abrasive dust, contaminate the wheel mount, damage seals, or create an unsafe clamping condition. Use this safer process:
- Disconnect power: Unplug the tool or remove the battery.
- Clean only accessible exterior areas: Use a soft brush or the cleaning method specified in the manual. Do not push sharp objects into vents.
- Check the manual: Look for an exact lubricant type, service interval, location, and amount for your model.
- Do not improvise: If the manual does not direct the owner to lubricate the part, do not add lubricant.
- Arrange service when needed: Bearing or gear-case lubrication and repair are commonly service tasks, especially when rattling is already present.
If cleaning and correct assembly do not stop the noise, lubrication is unlikely to solve a damaged bearing, gear, spindle, fan, or motor.
Essential Safety Checks Before Using Your Grinder
Complete these checks before every grinding or cutting job, not only after a noise develops.
Visual Inspection Checklist
- Tool condition: Inspect the housing, switch, cord or battery, vents, spindle lock, and labels.
- Accessory fit: Verify wheel type, diameter, thickness, mounting dimensions, condition, and speed rating.
- Safety parts: Secure the correct guard and side handle. Keep the guard between you and the wheel.
- Workpiece control: Clamp or support the work so it cannot shift, pinch the wheel, or fall.
- Work area: Remove flammable materials, control sparks, provide ventilation, and keep bystanders clear.
- PPE: Wear safety glasses with side protection and use a face shield, hearing protection, gloves, protective clothing, and suitable respiratory protection as the task requires. A face shield does not replace safety glasses.
- Dust control: Use compatible extraction when grinding concrete, masonry, coatings, or other dusty materials. Match respiratory protection to the hazard.
- Body position: Keep both hands on the tool, maintain stable footing, and stay out of the wheel’s plane during startup.
OSHA’s portable-tool guarding rule requires the top half of the wheel to remain enclosed on applicable portable grinders, while the exact guard and exposure limits depend on the wheel and operation. Always follow the stricter applicable rule and the manufacturer’s instructions.
Power Cord Examination
Inspect the complete cord, including the plug and the strain-relief areas where the cord enters the plug and tool. A cord can be damaged internally even when the outer jacket shows only a sharp bend or crushed spot.
Do not carry the grinder by its cord, pull the plug by the cord, route the cord through sparks or sharp metal, or let the wheel contact it. Store the cord in loose loops rather than tight bends. A damaged cord should be replaced using the proper part and procedure by a qualified person.
Preventive Maintenance Tips for a Quieter, Safer Grinder
- Inspect before each use: Check the wheel, guard, handle, flanges, cord or battery, and switch.
- Clean after the job: Remove dust from the guard, spindle area, and vents using the method in the manual.
- Store accessories correctly: Keep wheels dry, protected from impact, and supported so they do not warp.
- Use the correct accessory: Match the task, material, wheel dimensions, mounting system, guard, and speed rating.
- Avoid overload and binding: Let the wheel work at the correct angle and pressure. Support large workpieces near the cut.
- Track changes: Stop and inspect when vibration, sound, heat, smell, or performance changes.
- Follow the service schedule: Use the maker’s guidance for brush inspection, vent cleaning, gear service, and replacement parts.
Do not blow dust toward your face or other people. When compressed air is allowed by the manufacturer, use appropriate eye and respiratory protection and follow workplace rules for pressure and dust control.
When to Seek Professional Repair Services
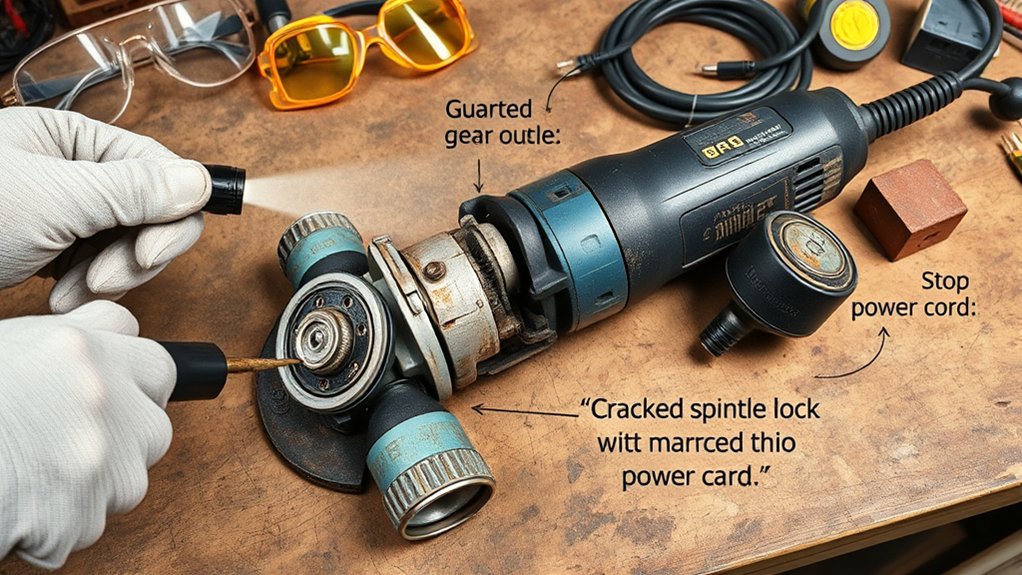
Seek qualified repair when the grinder still rattles after the wheel, flanges, guard, handle, mounting surfaces, and power source have been checked. Internal bearing, gear, spindle, fan, switch, wiring, or motor problems should not be guessed at while the tool is running.
Professional service is also the right choice when:
- The spindle has side play, roughness, damaged threads, or visible runout.
- The gear case leaks, becomes unusually hot, or produces grinding or knocking sounds.
- The switch works intermittently or the tool restarts unexpectedly.
- A cord, internal wire, electronic control, or battery interface is damaged.
- The tool was dropped, flooded, heavily jammed, or struck by wheel fragments.
- The repair requires opening a sealed housing, removing pressed bearings, setting gear mesh, or using model-specific grease and torque values.
Use the manufacturer’s repair network when possible. For example, Makita lists factory and authorized service centers, and other major manufacturers provide similar model-specific support. Compare the written repair estimate with the price, age, condition, and safety features of a suitable replacement grinder.
Frequently Asked Questions
Why is my grinder making a rattling noise?
Common causes include a damaged or poorly seated wheel, incorrect flanges, a loose guard or handle, debris on mounting surfaces, spindle wear, worn bearings, damaged gears, or a motor component that has loosened or failed.
What are the signs that an angle grinder needs repair?
Repair is likely needed when rattling remains after correct external checks, the spindle feels rough or loose, speed is unstable, the tool overheats, the switch is unreliable, or there is strong odor, smoke, severe sparking, repeated shutdown, or heavy vibration.
How can I tell if an angle grinder disc is bad?
Do not use a disc or wheel with cracks, chips, warping, missing segments, an enlarged arbor hole, impact damage, contamination, separation, or uneven wear. Replace it if it cannot be positively identified as compatible or if it produces wobble during a properly guarded test.
How do I make an angle grinder quieter?
Correct the cause rather than masking the sound. Clean and refit the mounting parts, secure the correct guard and handle, use an undamaged compatible wheel, and follow the manual’s maintenance instructions. Persistent rattling requires repair or replacement, not extra lubricant.
Can a loose angle grinder disc cause rattling?
Yes. A loose or incorrectly clamped wheel can rattle, wobble, slip, or break. Disconnect power, remove the wheel, clean the mounting faces, verify the flange order and wheel compatibility, and tighten it only as the model’s manual directs.
Can worn bearings make an angle grinder rattle?
Yes. Worn spindle or motor bearings can cause rough rotation, side play, growling, rattling, heat, and vibration. If the spindle feels rough or loose with the power disconnected, stop using the tool and arrange qualified service.
Is a little gear noise normal in an angle grinder?
Gear sound varies by model, and electronic brakes can change the sound during coast-down. However, a new, worsening, irregular, or vibration-producing rattle should not be treated as normal. Compare it with the manual and stop using the tool when in doubt.
Conclusion
A rattling angle grinder needs inspection before it goes back to work. Begin with the wheel, flanges, guard, side handle, spindle, fasteners, cord or battery, and mounting surfaces. Confirm every accessory and guard against the model-specific manual.
If correct cleaning and assembly do not stop the noise, remove the grinder from service. Bearing, gear, spindle, motor, switch, wiring, and fan problems require qualified diagnosis. A stable grinder with the right wheel and guard is easier to control, safer to operate, and less likely to damage the work.
Sources
- OSHA: Safe Use of Portable and Hand-Held Power Tools — abrasive-wheel inspection, guarding, mounting, speed, PPE, and power-disconnection guidance
- OSHA 29 CFR 1910.243: Guarding of Portable Powered Tools — portable grinder guard and wheel-mounting requirements
- OSHA-supported Angle Grinder Safety toolbox talk — correct wheel selection, rated speed, inspection, two-handed control, PPE, and spark hazards
- DEWALT DCG407/DCG408 Instruction Manual — accessory fit, guards, side handle, flange seating, no-load test, and spindle-lock precautions
- Bosch GWS18V-10 Angle Grinder Manual — factory lubrication, vent cleaning, accessory storage, and maintenance limits