If your angle grinder is leaving swirl marks, it might be due to excessive pressure, low-quality abrasives, or inconsistent techniques. To fix this, maintain light, even pressure, use high-quality sandpaper, and guarantee proper grit progression. Avoid rushing the process and keep the workspace clean to manage dust effectively. Always conduct safety checks before use, such as inspecting the grinder and wearing PPE. By mastering these techniques, you’ll enhance your finishing skills and improve results even further.
Understanding Swirl Marks: What Causes Them?
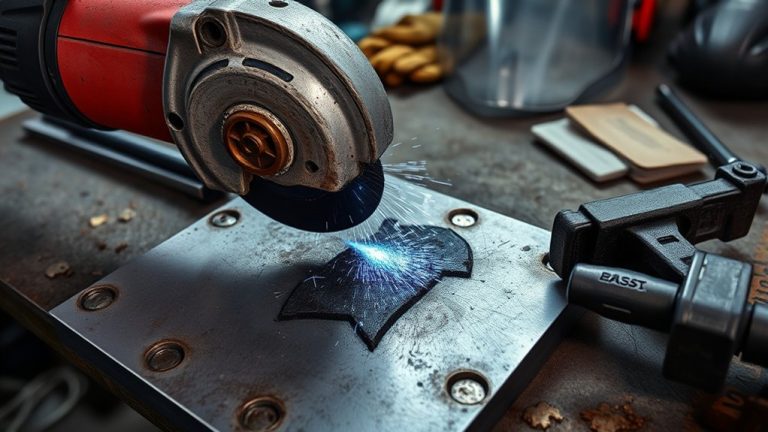
Swirl marks can be frustrating, especially when they compromise the surface finish of your workpiece. These imperfections often arise from excessive pressure while using an angle grinder, generating friction and heat that mar the material. Low-quality or worn-out sandpaper can introduce chips, leaving unsightly marks on the surface. Skipping grits during the sanding process hinders the removal of deeper scratches, resulting in visible swirl patterns. Additionally, rapid movements of the grinder stretch marks into longer spirals, so you need to adopt a slower, more deliberate speed for a clean finish. Finally, dirt and debris on the surface can act like ball bearings, worsening the appearance of swirl marks. By understanding these causes, you can take proactive measures to guarantee a smooth, flawless finish. With the right techniques and tools, you can liberate your work from the restraints of swirl marks.
Common Mistakes That Cause Swirl Marks
When using an angle grinder, incorrect speed settings can disrupt the sanding process, leading to unwanted swirl marks. Additionally, choosing the wrong abrasive material exacerbates the issue, as it may not provide consistent results. Applying inconsistent pressure during operation further complicates the finish, creating visible imperfections in your work.
Incorrect Angle Grinder Speed
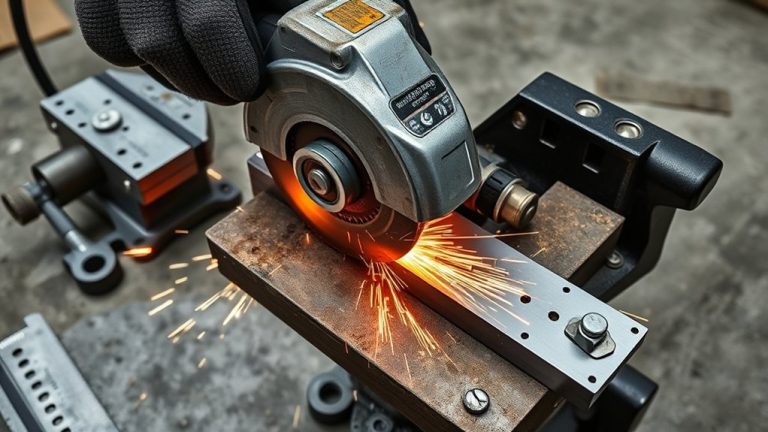
Using an angle grinder at the wrong speed can lead to significant surface defects, including unsightly swirl marks. Operating at an incorrect angle grinder speed—either too high or too low—can cause overheating, excessive friction, and uneven surface contact. High speeds often result in melted materials and elongated spiral marks, detracting from a smooth finish. It’s essential to match the grinder’s RPM to the material; softer materials necessitate lower speeds to minimize defects. Always adhere to the manufacturer’s recommended settings to guarantee peak performance. Consistent, controlled movement at about one inch per second promotes a uniform finish, effectively preventing swirl marks. By mastering speed control, you liberate your craftsmanship from frustrating surface imperfections.
Improper Abrasive Selection
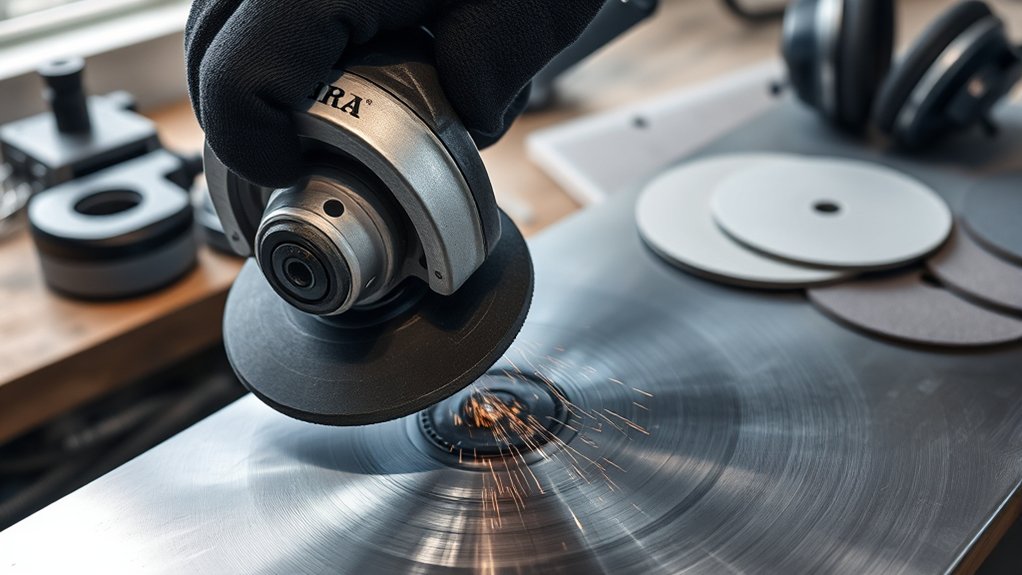
Operating an angle grinder effectively requires not just speed control but also a careful choice of abrasives. Improper abrasive selection can lead to deep scratches and swirl marks, undermining your efforts. Always progress through grit sizes sequentially; skipping levels increases the risk of surface damage. Avoid low-quality abrasives, as they often contain inconsistent grit sizes or chips that can mar the finish. For metal surfaces, select appropriate materials—like aluminum oxide for ferrous metals—to minimize swirl marks. Coarser grits may remove material too aggressively, so opt for finer grits when polishing. Regularly inspect and replace worn abrasives to maintain peak performance and reduce the chances of swirl marks caused by ineffective cutting.
Inconsistent Pressure Application
Inconsistent pressure application during grinding can greatly compromise the quality of your finish, leading to unsightly swirl marks. When you apply excessive force, you generate friction and heat, softening the abrasive material and creating deeper, more pronounced marks on your workpiece. To achieve a smoother finish, maintain moderate, consistent pressure, allowing the tool’s weight to do the work. Rushing the grinding process often results in quick, uneven movements that stretch swirl marks into longer, visible patterns. Regularly check and adjust your grip pressure to avoid the mistake of lifting the grinder while it’s still spinning, which introduces additional swirl marks. By mastering pressure application, you can liberate your work from imperfections and achieve a flawless finish.
Proper Techniques to Avoid Swirl Marks
To effectively avoid swirl marks, start by selecting high-quality sandpaper that minimizes debris embedding during the grinding process. Next, maintain consistent pressure throughout your work, ensuring an even finish that reduces the chance of imperfections. By focusing on these techniques, you can achieve a smoother surface with minimal risk of swirl marks.
Sandpaper Quality Matters
Choosing high-quality sandpaper is vital for avoiding swirl marks during sanding. Low-quality options often have rough textures and inconsistent grit distribution, increasing the likelihood of imperfections. Always progress through grits sequentially; skipping can leave deep scratches that lead to unwanted marks. Regularly inspect your sandpaper for chips or debris, as these contaminants can embed into the surface and create additional issues. Proper surface preparation is also essential; clean the workpiece with compressed air or a vacuum after each grit to eliminate loose particles. Finally, apply consistent and gentle pressure while sanding. Let the tool’s weight do the work, as excessive force can exacerbate swirl marks. Prioritizing sandpaper quality will greatly enhance your sanding results.
Consistent Pressure Techniques
High-quality sandpaper sets the stage for effective sanding, but proper techniques are just as important. Applying consistent pressure while using an angle grinder helps achieve an even finish and reduces swirl marks. Let the tool’s weight do the work; excessive pressure generates heat and deeper marks. Maintain a steady hand to avoid jerky movements, guaranteeing the grinder’s orbit overlaps effectively. When changing grits, consistently wipe or vacuum the surface to remove debris. Practice slow, controlled movements at about one inch per second for ideal material removal without sacrificing surface quality.
| Technique | Description | Benefits |
|---|---|---|
| Consistent Pressure | Let the tool’s weight guide you | Reduces swirl marks |
| Steady Hand | Avoid jerky movements | Guarantees even surface contact |
| Controlled Speed | Move at one inch per second | Maintains surface quality |
Essential Tools to Prevent Swirl Marks
Using the right tools can markedly reduce the risk of swirl marks during grinding. First and foremost, invest in high-quality sandpaper with the appropriate grits for your specific project. This guarantees a smoother finish and minimizes imperfections. Additionally, connecting a dust extraction system is vital; it prevents dust buildup that can lead to scratches and swirl marks on your workpiece.
You’ll also need to maintain consistent, light pressure while using your angle grinder. Let the tool’s weight do the work, and avoid excessive friction that can cause unwanted marks. Move the grinder slowly—about one inch per second—to assure even coverage, thereby preventing long, stretched swirl marks.
Lastly, regularly inspect your grinding wheel for wear and chips. Replacing it as necessary will help maintain peak performance and finish quality, further contributing to your arsenal of essential tools to prevent swirl marks.
Importance of Dust Extraction in Sanding
Maintaining a clean work environment during sanding is essential for both the quality of your finish and your health. Effective dust extraction prevents inhalation of harmful particles, safeguarding lung health. When dust accumulates on surfaces, it can lead to scratches and a compromised finish, making dust extraction critical for achieving high-quality results. Loose particles act like ball bearings, worsening your finish and increasing the likelihood of swirl marks.
To enhance dust management, connect a vacuum or dust collection canister directly to your sander. This greatly reduces airborne debris and prolongs the life of your sandpaper. Regularly cleaning or replacing sandpaper when dust builds up is crucial; it maintains effectiveness and prevents defects in your final finish. By prioritizing dust extraction, you not only improve the aesthetics of your work but also promote a healthier and more efficient sanding process.
The Right Grit Progression for Smooth Surfaces
To achieve a truly smooth surface, understanding the right grit progression is vital. Start with 80/100 grit to tackle major imperfections, then shift to finer grits like 120/150. Finally, finish with 180/220 for a polished surface. Skipping grits can result in visible deep scratches, as each level is intended to replace deeper marks with shallower ones. It’s important not to jump more than one grade in the grit series; this guarantees thorough surface preparation and minimizes the risk of swirl marks.
Between grit changes, clean the surface using a vacuum or cloth to eliminate dust and debris that could create further imperfections. Maintaining consistent grit progression not only enhances the finish but also reduces excessive sanding later, saving you both time and effort. By following this methodical approach, you’ll achieve a liberated, pristine finish that meets your project’s demands.
Troubleshooting Swirl Marks: Quick Fixes
While tackling swirl marks from an angle grinder, you need to address several key factors for a quick fix. First, avoid excessive pressure; let the tool’s weight guide your movements instead of forcing it down. This helps maintain a consistent finish. Next, make certain you follow the appropriate grit progression; skipping grits can create deep scratches that lead to more swirl marks. Regularly inspect and replace worn or chipped grinding discs, as debris can transfer onto the surface, leaving unwanted marks. Maintain a consistent speed, ideally moving the grinder at about one inch per second. This allows for effective overlap of the grinding pattern, reducing the chances of swirl marks. Finally, always clean the surface between grits using a vacuum or cloth to eliminate dust and debris, which can contribute to those pesky swirl marks during the finishing process.
Safety Checks Before Using Your Angle Grinder
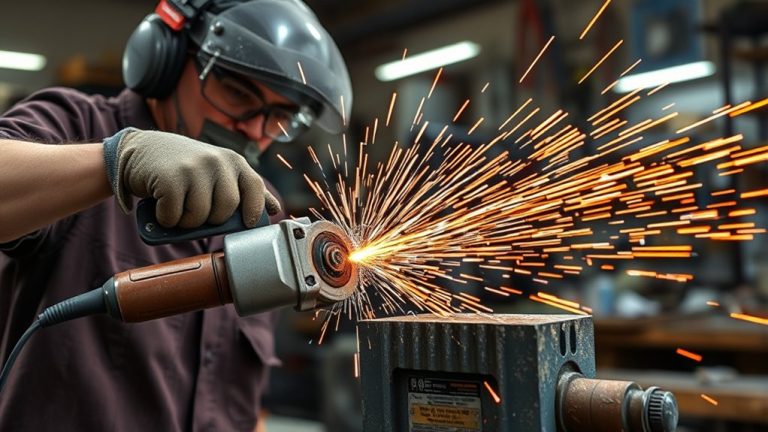
Before you start using your angle grinder, conducting a thorough safety check is essential. This step guarantees not just your safety, but also the effectiveness of your work. Here are four critical safety checks to perform:
- Inspect the Grinder: Look for any visible damage, particularly on the power cord and housing.
- Check the Grinding Disc: Verify it’s properly attached and free from damage to avoid hazards during operation.
- Examine the Guard: Confirm that the guard is in place and adjusted correctly to shield you from debris and sparks.
- Wear PPE: Equip yourself with safety goggles, gloves, and a dust mask to protect against flying particles and dust.
Additionally, make certain your workspace is organized and free from clutter or flammable materials. Following these safety checks will help you work confidently and efficiently with your angle grinder.
Final Sanding Techniques for a Flawless Finish
Once you’ve completed the initial grinding and verified your angle grinder is safe to use, the next step is focusing on final sanding techniques to perfect your surface finish. Start with hand sanding to effectively remove any swirl marks left by the grinder. Use slow, consistent sanding motions, applying even pressure to avoid generating new marks.
Follow a proper grit progression, beginning with a coarser grit to eliminate deeper scratches, then moving to finer grits for a smoother surface. Remember to clean the surface between grit changes to eliminate dust and debris that could mar your finish.
Finally, conduct a thorough inspection of the surface to identify any remaining imperfections. This step guarantees you achieve a flawless finish before applying any coatings or finishes. By mastering these final sanding techniques, you liberate your project from imperfections, allowing for a professional-quality outcome.
Frequently Asked Questions
How Do I Get Rid of Swirl Marks?
To get rid of swirl marks, use high-quality sandpaper, maintain consistent pressure, and hand sand after grinding. Follow proper grit progression and clean surfaces regularly for effective swirl prevention and a flawless finish.
How to Buff Without Leaving Swirl Marks?
To buff without leaving swirl marks, use high-quality pads, maintain a consistent speed, apply light pressure, and keep surfaces clean. Start and stop the buffer while in contact for ideal polishing techniques and flawless results.
What Causes Swirl Marks From Sanding?
Swirl marks from sanding often stem from improper sanding techniques, like excessive pressure or skipping grits. Make certain you use consistent pressure, progress through grits sequentially, and maintain your sandpaper for a smoother finish.
What Causes Swirl Marks When Buffing?
Swirl marks when buffing often stem from poor buffer technique, like using worn pads, applying too much pressure, skipping grits, or buffing too quickly. Guarantee proper technique to achieve a flawless, liberated finish.
Conclusion
To achieve a flawless finish, focus on technique, maintain your tools, and guarantee proper dust extraction. Avoid common mistakes, use the right grit progression, and troubleshoot swiftly when swirl marks appear. Prioritize safety checks before each use, and refine your final sanding methods for the best results. By paying attention to these details, you’ll not only enhance your work quality but also improve your efficiency, guaranteeing a smooth, professional outcome every time you use your angle grinder.