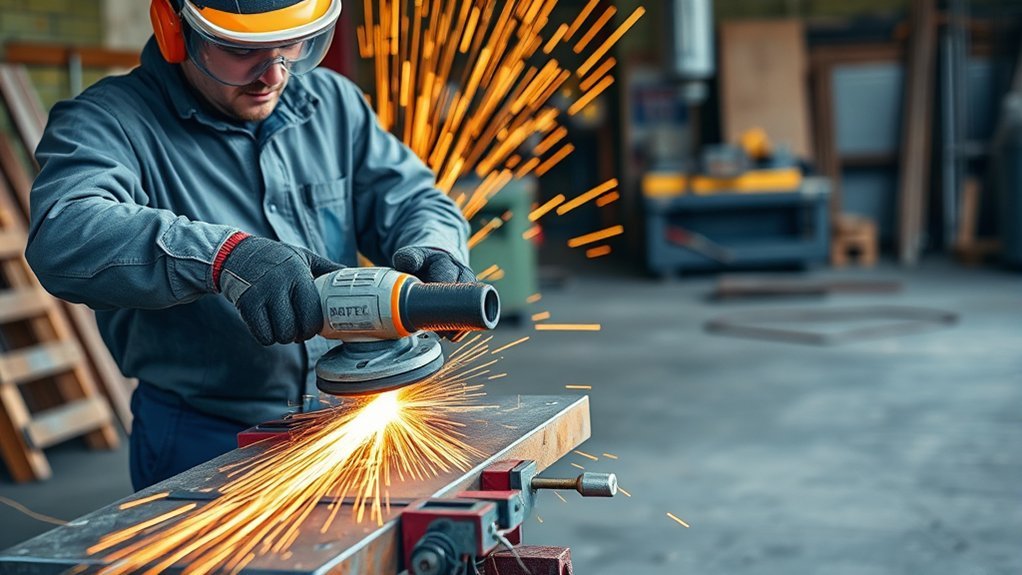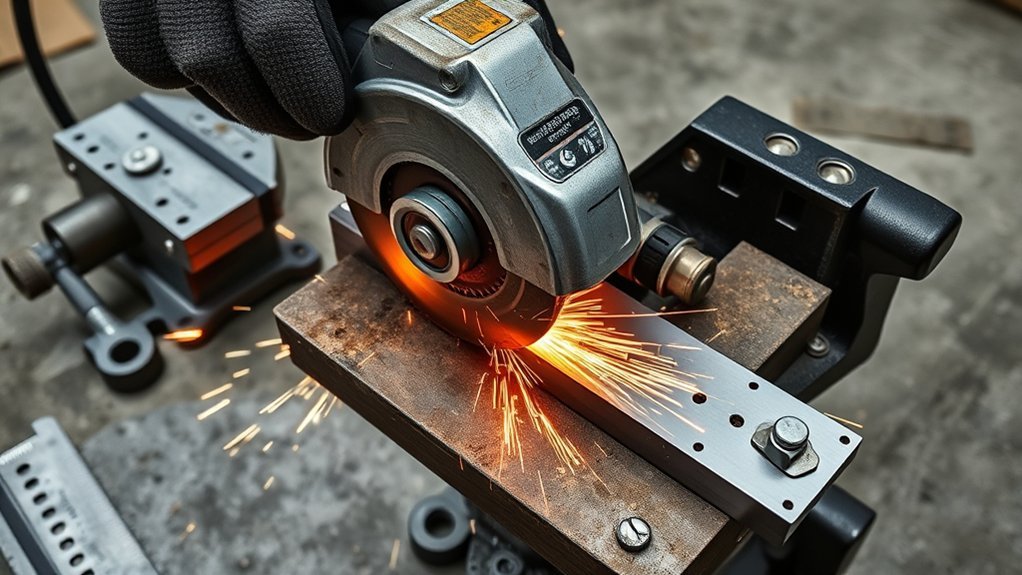
If your angle grinder binds during a cut, stop forcing it. Binding means the cut-off wheel is being pinched, twisted, overloaded, or blocked from spinning freely. Because a trapped wheel can create sudden kickback or break, the safe response is to release the trigger, hold the tool still until the wheel stops, disconnect power, and correct the setup before restarting.
Quick Answer
An angle grinder usually binds because the wheel is pinched by a closing cut, twisted sideways, pushed too hard, damaged, or mismatched to the material. Stop immediately, let the wheel stop, disconnect power, inspect it, support the work so the kerf stays open, and restart outside the cut with light, steady pressure.
Key Takeaways
- Most binding comes from a closing kerf, poor work support, side pressure, excessive feed pressure, or the wrong wheel.
- Never pull, twist, or restart a grinder while the wheel is trapped in the workpiece.
- Match the wheel type, diameter, thickness, arbor, guard, flange, and rated speed to the grinder and task.
- Clamp and support the work so the offcut cannot drop, rotate, flex, or squeeze the wheel.
- Replace cracked, chipped, warped, badly worn, contaminated, or heat-damaged wheels before use.
At a Glance
| Time Required | 5 to 15 minutes for inspection and setup correction; longer if the tool needs service |
| Difficulty | Beginner to intermediate, depending on the material, cut position, and cause of binding |
| Tools Needed | Correct wheel and guard, wheel wrench, clamps, stable supports, side-shield safety glasses, face protection, hearing protection, snug work gloves, and suitable dust controls |
| Cost | Usually low for a replacement wheel or better support; higher if the guard, cord, switch, spindle, bearings, gears, or motor need repair |
Common Causes of Angle Grinder Binding During Cuts
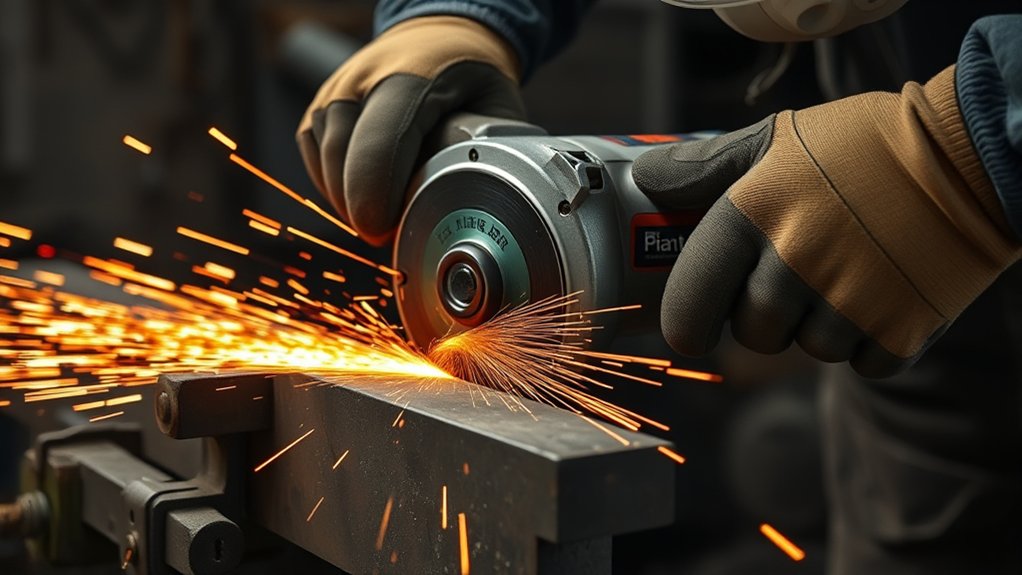
Binding starts when the rotating wheel can no longer move freely through the kerf. The wheel may slow, stop, climb out of the cut, or force the grinder in the direction opposite the wheel’s movement at the pinch point. Manufacturer safety instructions describe this pinch-and-stall reaction as a common cause of kickback.
Misalignment and side pressure are common causes. A thin cut-off wheel is designed to cut on its edge, not grind on its side. Twisting the grinder, steering while the wheel is buried, or widening the kerf with side pressure can crack the wheel or make it grab.
A closing kerf can trap the wheel even when your technique is good. Long stock, sheet metal, pipe, tile, and masonry may sag, rotate, or shift as the cut nears completion. If the offcut moves toward the wheel, the kerf closes and pinches it.
Excessive pressure also increases binding risk. Pushing harder loads the wheel, raises heat, and makes twisting more likely. If the grinder loses substantial speed, the better response is to reduce pressure and check the wheel, power supply, and setup.
A damaged, worn, or unsuitable wheel may drag instead of cutting cleanly. Cracks, chips, warping, heavy glazing, contamination, incorrect thickness, the wrong abrasive, or an arbor that does not fit the mounting hardware can cause vibration, slow cutting, and loss of control.
Power loss can feel like binding. A weak battery, undersized extension cord, damaged cord, overloaded circuit, blocked cooling vents, or failing motor may make the wheel slow or stop under a normal load. That is a power or tool fault, even if it first appears during a cut.
Warning: A pinched wheel can kick the grinder toward or away from you, depending on wheel rotation and the pinch point. Do not stand directly in line with the wheel, force a stalled cut, remove the guard, or use a toothed wood-saw blade on an angle grinder.
Binding, Stalling, and Overload: How to Tell the Difference
The symptoms can overlap, but the likely cause changes what you should inspect.
| Symptom | Likely Cause | First Check |
|---|---|---|
| Wheel stops suddenly in one spot | Pinched or twisted wheel | Kerf support, wheel alignment, and wheel damage |
| Tool slows throughout the cut | Too much pressure, dull or wrong wheel, low power | Feed pressure, wheel label, battery charge, and cord size |
| Electronic grinder shuts off | Overload or anti-kickback system activated | Remove the wheel from the cut, correct the cause, then follow the manual’s reset procedure |
| Heavy vibration with no load | Damaged wheel, incorrect mounting, bent spindle, bad flange, or bearing wear | Stop using the tool until the cause is found |
Key Safety Checks for Your Angle Grinder
Before every cutting or grinding session, inspect the grinder, wheel, guard, mounting hardware, power source, workpiece, and surrounding area. The OSHA portable-tool standard requires proper guarding and states that the machine speed must not exceed the wheel’s marked maximum operating speed.
A one-minute inspection is faster than dealing with a broken wheel, damaged grinder, or kickback injury.
- Tool condition: Check the switch, cord, plug, battery, grinder body, spindle lock, side-handle mount, vents, and guard for cracks, burns, loose parts, or exposed wiring.
- Correct wheel: Confirm the wheel is approved for the task and matches the grinder’s diameter, thickness, arbor, and speed. The wheel’s rated speed must equal or exceed the grinder’s maximum speed.
- Wheel condition: Do not use a cracked, chipped, warped, contaminated, moisture-damaged, badly worn, or heat-damaged bonded abrasive wheel. Follow any use-by date or storage limit printed by the wheel manufacturer.
- Correct guard: Use the guard required for that accessory. A thin cut-off wheel may require a closed or Type 1 cut-off guard rather than the open grinding guard supplied with some grinders.
- Correct flanges: Use the wheel flanges, backing flange, and lock nut specified by the grinder manufacturer. Make sure the contact surfaces are clean, flat, undamaged, and assembled in the correct direction.
- Side handle: Install and tighten the auxiliary handle. Hold the grinder with both hands and keep a balanced stance.
- Eye and face protection: Wear impact-rated safety glasses with side protection. Add a face shield when sparks, fragments, or wheel failure could strike your face. OSHA requires suitable eye or face protection for flying-particle hazards.
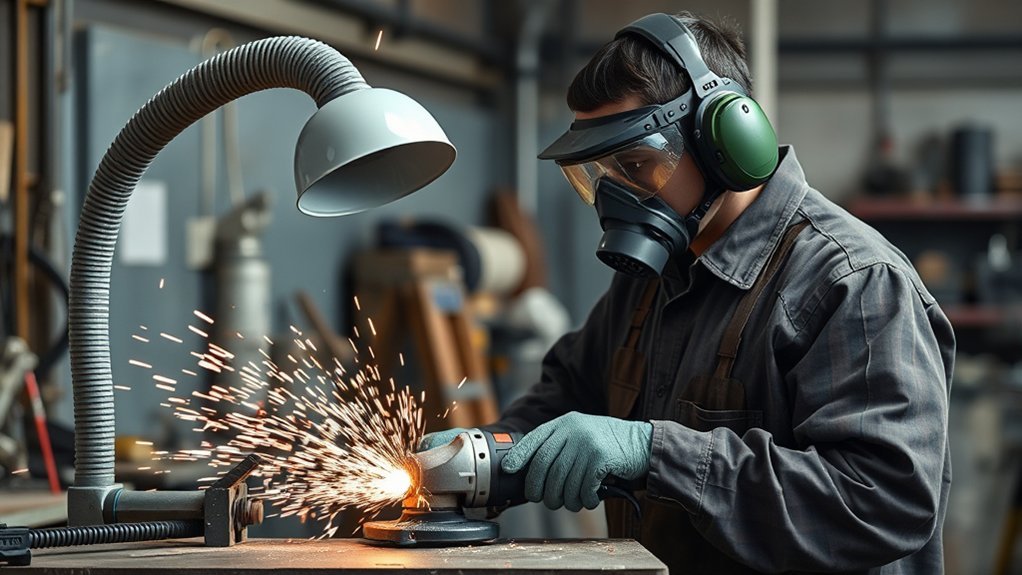
- Other PPE: Use hearing protection, snug-fitting work gloves, nonflammable work clothing, and suitable respiratory protection when the hazard assessment calls for it. Tie back long hair and remove loose clothing and jewelry.
- Work area: Move flammable materials out of the spark path, keep bystanders away, route cords clear of the wheel, and check for hidden wiring, gas lines, and water pipes before blind cuts.
- Workpiece support: Clamp the material to a stable surface and place supports so the kerf stays open. Do not hold small work by hand or against your body.
After installing a wheel, stand out of its plane, keep bystanders clear, and run the grinder at no-load speed for the period specified in the tool and wheel instructions. Stop if you see wobble, hear unusual noise, or feel excessive vibration.
Products Worth Considering

Included: (1) DeWalt N441218 Angle Grinder Guard Replacement for Angle Grinder DCG414B
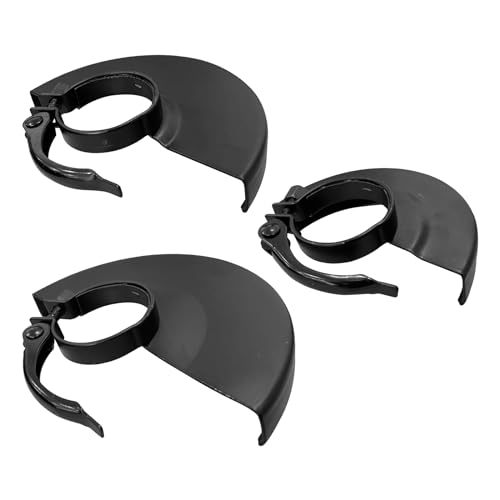
HIGH QUALITY MATERIAL: Angle grinder protective cover is made of iron material with good wear resistance and durability.

Genuine, OEM DeWalt Replacement Part
Proven Techniques to Avoid Angle Grinder Binding
Safe technique begins before the wheel touches the material. Plan the cut, check where the offcut will move, and position your body outside the likely kickback path.
Use the correct wheel and guard. Metal cut-off wheels are made for ferrous metal; stainless-rated wheels reduce unwanted contamination; aluminum needs an accessory designed to resist loading; and concrete, brick, stone, and tile require a compatible masonry abrasive or diamond wheel. Never assume that a wheel is safe merely because it fits the spindle.
Let the grinder reach full speed before contact. Enter the work gradually and keep the wheel in the same plane as the cut. Do not turn the grinder to steer while the wheel is buried. To correct the line, withdraw the wheel, let it stop, and start again from a controlled position.
Use light, steady feed pressure. The wheel should cut without a large drop in motor speed. If the grinder strains, slow your feed instead of leaning harder on the tool. Deep materials may require several controlled passes rather than one forced plunge.
Support both the main piece and the offcut without placing a support directly under the wheel path. Arrange the supports so gravity opens the kerf rather than closing it. Near the end of the cut, reduce pressure because the offcut can shift suddenly.
Control heat and debris. Pause when the tool or workpiece becomes unusually hot, keep the cooling vents clear, and replace a loaded or glazed thin cut-off wheel rather than attempting an improvised cleaning method. Dress a grinding wheel only when the wheel and manufacturer’s instructions allow it.
Pro Tip: Treat slowing, squealing, smoke, discoloration, wandering, chatter, or repeated electronic shutdown as an early warning. Stop before the wheel becomes fully trapped.
What to Do When Your Grinder Binds
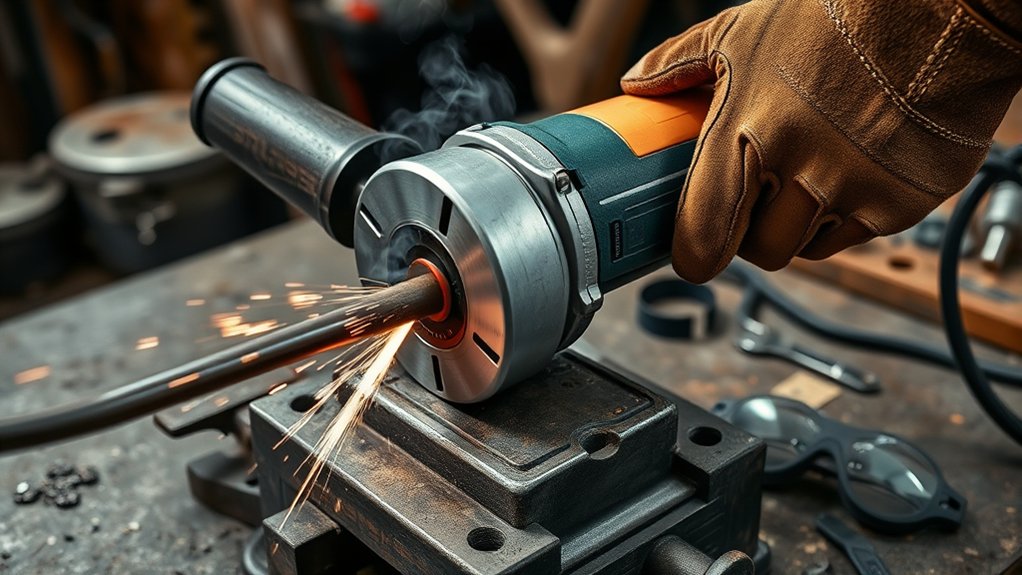
When the wheel binds, do not jerk the grinder out of the cut. The DEWALT grinder safety manual instructs users to switch off the tool, hold it motionless until the wheel stops, correct the cause, and avoid restarting while the wheel is still in the workpiece.
- Release the trigger. Keep both hands on the grinder and hold it still. Do not twist or pull while the wheel is moving.
- Wait for a complete stop. Keep your body out of the wheel’s plane and do not set the grinder down while the accessory is coasting.
- Disconnect power. Unplug the corded grinder or remove the battery before touching the wheel, guard, flanges, or workpiece.
- Relieve the pinch safely. Support or clamp the workpiece so it cannot spring, roll, or drop. Open the kerf with the work fully supported; never pry against the wheel.
- Remove and inspect the wheel. Replace it if it is cracked, chipped, warped, overheated, contaminated, glazed, or worn beyond the manufacturer’s limit.
- Correct the cause. Improve support, choose the correct wheel and guard, clear debris, reduce cutting depth, or change the cut direction.
- Restart outside the kerf. Reconnect power, stand clear of the wheel’s plane, let it reach full speed, and carefully reenter the cut with the wheel aligned.
If the wheel cannot be removed without bending it, disassembling a loaded setup, or putting your hands in a spring-loaded cut, stop and change the support arrangement. A trapped wheel is replaceable; a hand injury is not.
Note: Anti-kickback electronics, clutches, and brakes can reduce tool reaction, but they do not make a pinched wheel safe. You still need correct support, alignment, guarding, and two-handed control.
Maintenance Tips to Prevent Future Binding Issues
Regular maintenance helps the grinder hold speed, run smoothly, and keep the wheel aligned. Always disconnect power before inspection or cleaning.
Keep the air vents clear with the method specified in the tool manual. Metal dust can collect inside a grinder and contribute to overheating or electrical problems. Do not direct debris deeper into the housing, and do not open the tool unless the manufacturer allows user service.
Inspect the guard, spindle, flanges, lock nut, and side-handle mount. Stop using the grinder if the spindle is bent, the flange faces are damaged, the guard will not lock, or the wheel continues to wobble after correct installation.
Store bonded abrasive wheels in a dry area where they cannot be dropped, crushed, exposed to chemicals, or distorted by heat and moisture. Keep diamond wheels protected from impact. Follow the wheel maker’s storage and date-marking instructions.
For corded grinders, use an extension cord with enough wire capacity for the tool’s nameplate amperage and the cord length. An undersized cord can cause voltage drop, loss of power, and overheating. For cordless grinders, use a compatible battery in good condition and allow overheated batteries or tools to cool as directed.
If repeated binding continues with a fresh, correctly mounted wheel and a well-supported cut, do not keep testing under load. The grinder may have bearing, gear, spindle, electronic-control, switch, brush, cord, battery-interface, or motor problems.
Signs You Need Professional Help With Your Angle Grinder
Stop using the grinder and arrange qualified service when any of these problems remain after basic wheel and setup checks:
- Frequent overheating, smoke, or arcing: These can indicate blocked cooling, damaged wiring, worn brushes, motor trouble, or an overloaded electrical connection.
- Grinding, rattling, scraping, or squealing inside the tool: Internal bearings, gears, spindle parts, or the motor may be damaged.
- Persistent vibration or wheel wobble: If a new wheel and correct flanges do not solve it, the spindle, bearings, or mounting surfaces may be unsafe.
- Power loss under normal pressure: The tool may have a cord, battery, switch, electronic-control, brush, or motor fault.
- Burning electrical smell: Stop immediately and disconnect power.
- Cracked housing or loose guard or handle mount: Do not use the grinder until those safety-critical parts can be secured or replaced.
- Unexpected restarting or a switch that sticks: Remove the battery or unplug the tool and have it repaired.
Use a qualified repair technician or an authorized service center, especially for internal electrical work, spindle repair, electronic controls, or safety-guard mounting damage.
How to Select the Right Grinding Disc for Your Project
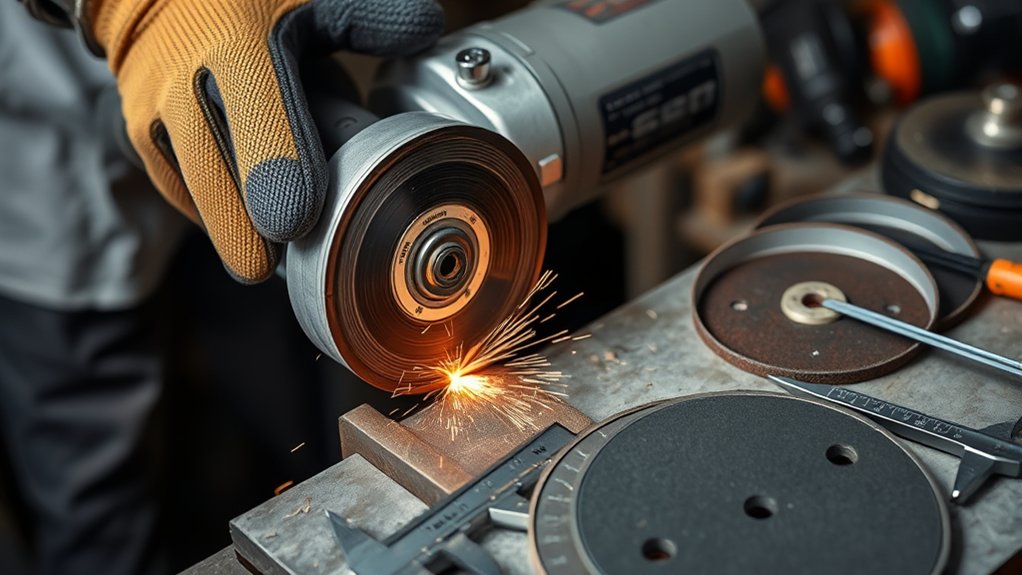
Wheel selection affects cutting speed, heat, finish quality, control, and breakage risk. Start with the grinder manual and the wheel label rather than relying on appearance alone.
- Task: Use a cut-off wheel for cutting, a grinding wheel for edge grinding and stock removal, a flap disc for blending and finishing, and a compatible diamond wheel for approved masonry, concrete, stone, or tile work.
- Material: Choose a wheel labeled for steel, stainless steel, aluminum, masonry, concrete, stone, tile, or the exact material you are working on.
- Diameter and thickness: Stay within the grinder’s capacity and use the matching guard. Thin cut-off wheels cut narrow kerfs but tolerate very little side pressure.
- Rated speed: The wheel’s maximum RPM must equal or exceed the grinder’s maximum or no-load speed.
- Arbor and mounting system: The wheel must fit the spindle, flange, or X-LOCK-style interface exactly. Do not use makeshift bushings or stack washers.
- Flanges and guard: Use the hardware and guard type specified for that wheel. Cut-off and grinding wheels may require different flanges or guards.
Common abrasive families include aluminum oxide for many ferrous-metal jobs, zirconia or ceramic abrasives for demanding metal removal, specialized formulations for aluminum and stainless steel, silicon carbide for some masonry and nonferrous applications, and diamond segments or rims for approved hard construction materials. The label and manufacturer instructions take priority over general abrasive descriptions.
Products Worth Considering

Premium and Value: This 10-pack 4-1/2 x 7/8-inch metal/stainless steel cut-off wheel set is specially formulated for fast cutting in metals and stainless steel

【Fits All 4-1/2 Inch Angle Grinders】 PRETEC Cut Off Wheel is compatible with all 4-1/2 inch angle grinders with 7/8 inch arbor. The high rotating speed of up to 13,300 RPM, more than common 13,000 RPM, ensure maximum efficiency.

Material-Specific Binding Tips
Different materials move, load the wheel, and create hazards in different ways. Adjust the support, wheel, and cutting method to the workpiece.
Cutting Metal
Support metal so the cut opens as it progresses. Keep sparks aimed away from people, cords, fuel, solvents, sawdust, rags, and finished surfaces. Painted, plated, or coated metal may create hazardous fumes or dust, so identify the coating and use suitable controls before cutting.
Cutting Pipe
Pipe can rotate or pinch the wheel near the far wall. Secure it against rolling and work around the circumference in controlled sections instead of forcing one deep plunge. Confirm the pipe is depressurized, drained, and safe to cut; never assume an old line is empty.
Cutting Tile, Stone, or Masonry
Use a wheel approved for the material and grinder. Concrete, mortar, brick, granite, and many stones can release respirable crystalline silica. The NIOSH silica guidance recommends engineering controls such as water delivery or vacuum dust collection where suitable, but water must be used only with a tool and accessory specifically designed for wet operation.
Cutting Sheet Metal
Clamp sheet close to the cut and support both sides to reduce vibration and flexing. Keep the wheel straight, use a suitable thin wheel, and reduce pressure near the end because the strip or offcut may curl into the wheel.
Dust, Sparks, and Hidden-Hazard Controls
Binding prevention is only one part of a safe cut. Grinding and cutting can also expose you to flying fragments, hot sparks, noise, toxic coatings, and hazardous dust.
For silica-containing materials, use the engineering controls and respiratory-protection approach required for the job. OSHA’s respirable crystalline silica standard for construction lists control methods for handheld grinders, including integrated water delivery or manufacturer-recommended dust collection for specified tasks. A disposable dust mask is not automatically adequate for every exposure.
For metal, inspect both sides of the cut and the full spark path. Sparks can travel farther than expected and may ignite flammable material after the cut appears finished. Keep an appropriate fire extinguisher accessible and check the area after hot work when site rules require it.
Before cutting walls, floors, tanks, ducts, or pipes, verify what is hidden or contained. The wheel can contact live wiring, pressurized lines, fuel, refrigerant, gas, or stored energy. Use a safer inspection or cutting method when the contents are uncertain.
When a Different Tool Is Safer
An angle grinder is versatile, but it is not the best tool for every cut. Choose another tool when it offers better control or keeps the wheel from being buried in a pinch-prone kerf.
- Use a band saw or properly guarded chop saw for repeated straight cuts in bar, tube, or pipe.
- Use a nibbler or metal shear for thin sheet when distortion and sparks are concerns.
- Use a tile saw or wet-cutting system when the tool, blade, water delivery, and electrical protection are designed to work together.
- Use a reciprocating saw or another controlled method in demolition areas where hidden utilities make a spinning abrasive wheel hazardous.
- Use a purpose-built masonry saw for deep, long, or highly controlled concrete cuts.
If the grinder must be forced, the guard will not fit, the required wheel exceeds the tool’s capacity, or you cannot support the work safely, stop and select a better method.
Common Mistakes That Make Binding Worse
Many binding problems come from small habits that seem harmless. Avoid these mistakes:
- Restarting inside the cut: The wheel may bind, climb, or kick back before it reaches full speed.
- Pushing harder when speed drops: More pressure adds heat, load, and twisting force.
- Steering with the wheel buried: Thin cut-off wheels are not designed for side loading.
- Using a damaged or poorly mounted wheel: Cracks, wobble, incorrect flanges, or an ill-fitting arbor can lead to breakage and loss of control.
- Using the wrong guard or removing it: The guard helps contain fragments and separate the operator from the wheel.
- Skipping the side handle: Two-handed control helps resist startup torque and kickback reaction.
- Cutting unsupported material: Sagging, rolling, or flexing work can close the kerf.
- Ignoring dust and sparks: A smooth cut can still create serious respiratory, fire, or hidden-utility hazards.
Frequently Asked Questions
Why does my grinder keep jamming?
The wheel is probably being pinched, twisted, overloaded, or slowed by a poor wheel or weak power supply. Check whether the offcut closes the kerf, confirm the wheel and guard match the task, reduce feed pressure, and replace any damaged or badly worn wheel.
What are two common grinding wheel faults?
Two common faults are physical damage, such as cracks or chips, and uneven running caused by wear, contamination, incorrect mounting, or imbalance. Either problem can create vibration, poor cutting, binding, or wheel failure, so stop and replace or remount the wheel as appropriate.
Why does my angle grinder keep stopping?
It may be pinched, overloaded, overheated, underpowered, or shutting down through an electronic protection system. Remove it from the cut, inspect the setup, check the battery or cord, reduce pressure, and follow the manual’s reset procedure. Seek service if normal cutting repeatedly causes shutdown.
How do I prevent angle grinder kickback?
Use the correct wheel and guard, hold the grinder with both hands, stand outside the wheel’s plane, support the work so the kerf stays open, avoid side pressure, and do not force the cut. Stop as soon as the wheel slows, snags, or starts to bind.
Can a dull cutting disc cause binding?
Yes. A worn, glazed, contaminated, or unsuitable wheel can cut slowly and build heat, which encourages excessive pressure. Replace it if cutting speed drops sharply, the wheel wanders, or the grinder strains despite correct support and technique.
Should I use water to cool an angle grinder cut?
Only when the grinder, wheel, guard, water-delivery system, and electrical protection are designed for wet cutting. Do not add water to a standard dry grinder or use an accessory that requires liquid coolant on a tool not approved for it. Use manufacturer-approved dust and heat controls instead.
Can I restart the grinder while the wheel is still in the cut?
No. A wheel started inside the kerf may bind, climb, or kick back before it reaches full speed. Remove it from the cut after it has stopped and power is disconnected, correct the cause, then restart outside the workpiece and reenter carefully.
Does an anti-kickback brake make binding harmless?
No. Electronic kickback control, a clutch, or a brake may reduce reaction torque or stop the wheel faster, but it cannot prevent every kickback or wheel failure. Use the same guard, wheel, support, stance, and two-handed control required for a grinder without those features.
Conclusion
An angle grinder that binds is warning you that the wheel, work support, alignment, feed pressure, power supply, or tool condition needs attention. Stop immediately, wait for a complete stop, disconnect power, free the work without prying on the wheel, and inspect the setup. Correct wheel selection, the proper guard and flanges, stable support, straight cutting, light pressure, dust control, and regular maintenance will prevent most repeat jams. If the grinder still overheats, vibrates, loses power, or makes unusual noises, remove it from service and have it inspected.
Sources
- OSHA 29 CFR 1910.243 — Guarding of Portable Powered Tools — guard placement, wheel inspection, mounting, and rated-speed requirements.
- DEWALT Small Angle Grinder Instruction Manual — binding, kickback, restarting, wheel selection, support, PPE, and liquid-coolant warnings.
- Makita 9564CV/9565CV Angle Grinder Instruction Manual — cut-off guard use, side pressure, flanges, extension cords, and maintenance.
- OSHA 29 CFR 1910.133 — Eye and Face Protection — protection from flying particles and side-shield requirements.
- OSHA 29 CFR 1926.1153 — Respirable Crystalline Silica — construction dust-control requirements for silica-containing materials.
- NIOSH Safe Work Practices for Silica — engineering controls, wet methods, vacuum collection, and exposure prevention.