
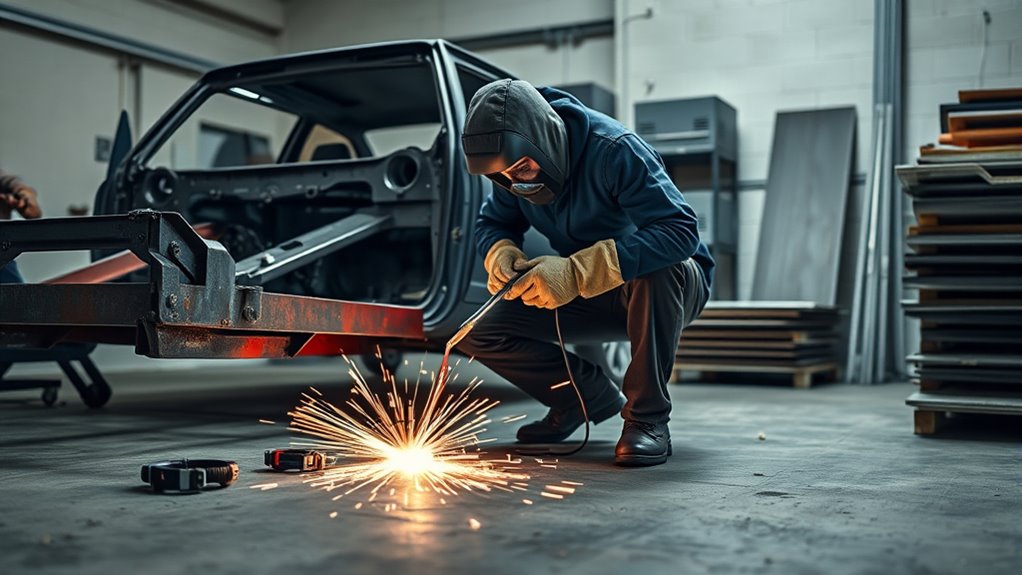
Automotive welding lets you join, repair, and fabricate vehicle metal using processes like MIG, TIG, resistance spot, and laser welding. You’ll usually work with mild steel, advanced high-strength steel, aluminum, stainless steel, or galvanized panels, so the right process, filler, shielding gas, and heat control matter. MIG handles many repair and fabrication jobs quickly, while TIG and spot welding suit precision work, thin sheet metal, and factory-style panel joints. Always wear proper PPE, control fumes, remove fire hazards, protect vehicle electronics, and follow the vehicle maker’s repair procedures before welding structural parts.
Quick Answer
Automotive welding is the use of MIG, TIG, resistance spot, laser, and related joining methods to build, repair, or modify vehicle metal. MIG is the most common repair process, TIG gives cleaner control on thin aluminum or stainless, and spot welding is common for overlapping body panels. Safety, OEM procedures, and heat control decide whether the repair is sound.
Key Takeaways
- Use MIG for most mild-steel auto repair and fabrication, but match wire size, gas, settings, and joint prep to the metal thickness.
- Use TIG when you need clean, precise control on aluminum, stainless steel, exhaust parts, or high-value visible welds.
- Use resistance spot welding for overlapping body panels when the OEM procedure calls for spot welds and you have the correct equipment access.
- Never guess on structural repairs. Check the OEM service procedure for sectioning locations, weld type, adhesive use, and corrosion protection.
- Control fumes, fire risk, and electrical damage before striking an arc, especially around galvanized metal, stainless steel, fuel lines, modules, trim, and seam sealer.
Warning: Automotive welding can create fire, shock, burn, eye, and fume hazards. Remove or shield combustibles, use local exhaust or strong ventilation, wear proper PPE, disconnect and protect vehicle electronics as directed by the service information, and do not weld near fuel, brake, airbag, or battery components unless the repair procedure says it is safe.
What Automotive Welding Includes
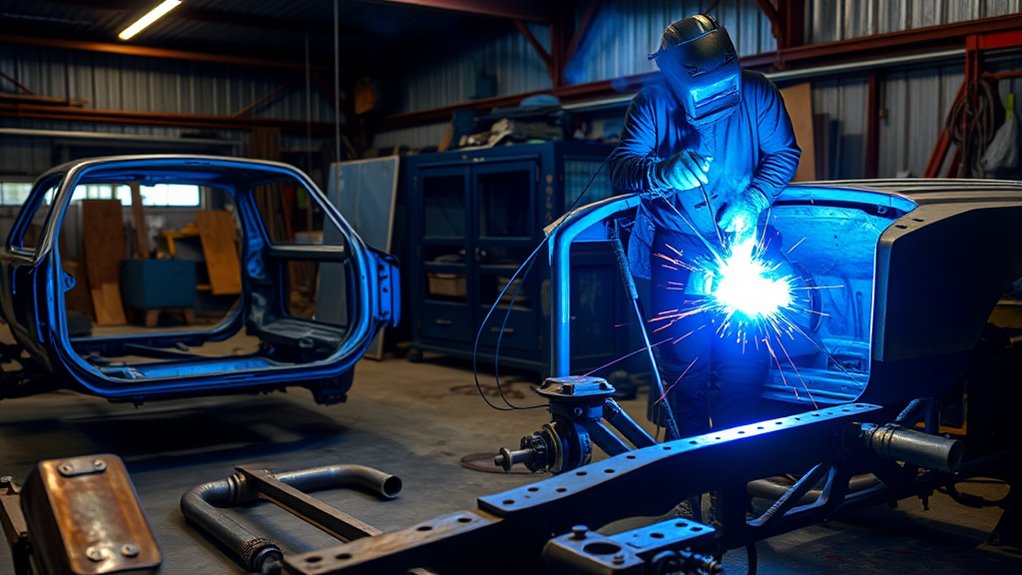
Automotive welding covers the joining methods used in vehicle manufacturing, collision repair, restoration, and custom fabrication. The main processes include MIG welding, TIG welding, resistance spot welding, laser welding, plug welding, seam welding, and, in some repair procedures, MIG brazing or adhesive-assisted joining.
You use these methods on mild steel, advanced high-strength steel, aluminum alloys, stainless steel, and coated steel. Each material reacts differently to heat. Mild steel is forgiving, aluminum moves heat fast, stainless holds heat and can distort, and galvanized coatings can release zinc fumes if handled poorly.
In automotive applications, you balance speed, penetration, appearance, corrosion resistance, and the original crash structure. Good welds are not just neat beads. They need the correct joint design, clean metal, proper shielding, enough fusion, and limited heat damage around the repair.
You’ll see these processes in mass production, custom fabrication, motorsport work, body shops, exhaust repair, frame repair, and vintage restoration. Skilled work means handling thin sheet metal, complex shapes, overlapping flanges, and mixed materials without warping the panel or weakening the structure.
Strong automotive welds come from the right process, clean fit-up, controlled heat, and a repair plan that matches the vehicle maker’s procedure.
You also inspect fit-up, joint prep, weld quality, and corrosion protection after the bead cools. For safety, the work area should follow recognized OSHA welding, cutting, and brazing requirements, and your shop setup should support safe welding safety protocols.
How to Choose the Right Automotive Welding Process
The right automotive welding process depends on the metal, thickness, joint design, access, finish, and whether the part is structural. A rocker panel patch, exhaust bracket, aluminum intercooler pipe, and factory body flange may all need different joining methods.
| Process | Best Use | Watch Out For |
| MIG / GMAW | Body patches, brackets, mild-steel fabrication, plug welds, and general repair | Burn-through, spatter, poor penetration, wrong gas, too much heat on thin panels |
| TIG / GTAW | Aluminum, stainless, visible exhaust welds, thin specialty parts, precise repairs | Slower travel, more skill required, tungsten contamination, heat buildup |
| Resistance Spot Welding | Overlapping body flanges and OEM-style panel replacement | Access, electrode fit, coating thickness, wrong squeeze pressure, weak nuggets |
| Laser Welding | Automated manufacturing, high-speed precision seams, specialized structural joints | Special equipment, tight fit-up, training, and strict process control required |
| Stick / SMAW | Heavy brackets, farm repairs, thick non-cosmetic steel parts | Too hot and rough for most thin body panels |
| MIG Brazing | Some OEM-specified repairs on coated or high-strength panels | Not a substitute unless the OEM procedure allows it |
When the part affects crash performance, do not choose a process by habit. Read the service information first. The procedure may specify squeeze-type resistance spot welds, plug weld size, adhesive, sectioning location, backing strip, weld spacing, or a “replace only” rule.
Products Worth Considering

Highly Durable Design: The shell of stud welder kit is made of high-quality ABS body, has good stability under high temperature conditions, withstand temperature of 93-118℃, and the movement is pure copper electrode. This welder stud kit is wear-resistant, strong and sturdy.

Professional Dent Removal: VEVOR Stud Welder Dent Puller offers a fast and efficient solution for removing dents from car body, all while providing precise dent pulling and controlled force for a professional-grade dent repair every time.

Professional Dent Removal: VEVOR Stud Welder Dent Puller offers a fast and efficient solution for removing dents from steel car body panels, all while providing precise dent pulling and controlled force for a professional-grade dent repair every time.
Common Types of Automotive Welding
Common automotive welding falls into five practical categories: production, repair, custom fabrication, restoration, and general-purpose work.
In production, you’ll see high-volume assembly methods built for speed and repeatability, especially resistance spot welding, robotic MIG, laser welding, laser brazing, clinching, rivets, and adhesive bonding.
In repair, you restore damaged structure and keep the vehicle within safety specs by matching the joining method to the OEM procedure. That may mean MIG plug welds in one area, resistance spot welds in another, and adhesive plus rivets somewhere else.
Custom fabrication gives you room to build brackets, exhaust parts, mounts, cages, tabs, and patch panels, but it asks for careful fit-up and controlled heat. Restoration work focuses on older vehicles, so you often deal with rust, thin panels, lap joints, butt welds, and metal finishing.
General-purpose welding covers MIG, TIG, and stick processes that you adapt to different thicknesses and metals. Understanding MIG welding on stainless steel can help you choose the process that serves the metal, joint, and finish.
MIG Welding for Auto Repair
MIG welding is often the go-to process for auto repair because it feeds wire continuously, is easy to learn compared with TIG, and works well on many mild-steel panels, brackets, and fabrication jobs. With the right machine, wire, gas, and joint prep, it can handle very thin sheet metal and thicker stock, but the setup must match the job.
MIG welding is fast and practical for auto repair, but thin body panels still need small wire, short welds, clean fit-up, and careful heat control.
For mild-steel auto body work, many welders use 0.023-inch or 0.030-inch ER70S-6 wire with a 75/25 argon-CO2 shielding gas. Thicker brackets or frame-related steel may need larger wire, more amperage, joint beveling, and multiple passes. Always test on scrap that matches the vehicle metal before welding the car.
- Keep wire stickout short and consistent, often around 1/4 to 3/8 inch for short-circuit MIG.
- Use clean, bare metal at the weld zone and remove paint, rust, seam sealer, undercoating, and zinc coating as directed.
- Use tack welds, skip welding, and cooling pauses on thin panels.
- Adjust voltage and wire speed with a test coupon before welding the repair.
- Wear a helmet, gloves, respiratory protection when needed, and fire-resistant clothing every time.
When you practice welding techniques with steady hands and correct settings, you can repair panels, brackets, and non-critical frame sections with better control. Maintaining proper MIG settings helps prevent burn-through, cold lap, and weak welds.
Pro Tip: Before welding a car panel, make two practice welds on scrap from the same thickness. Cut or bend one test piece, then adjust settings until the weld fuses without blowing through.
Stay aware of fumes and sparks, and let the process do the work. If you have to force the puddle, the panel fit-up, machine settings, or travel speed likely need adjustment.
When to Use TIG, Spot, and Laser Welding
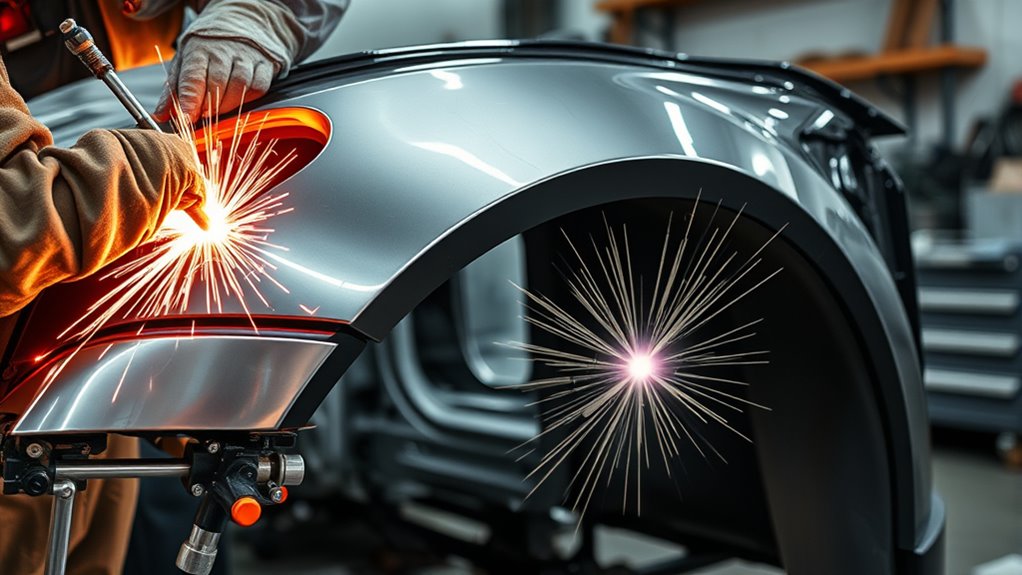
You’ll use TIG welding when you need precision on thin aluminum or stainless steel and want minimal spatter with a clean finish. Use spot welding for fast, repeatable joining of overlapping sheet metal flanges when the OEM repair allows it. Choose laser welding for manufacturing or highly specialized joints that need high speed, tight control, and a small heat-affected zone. You can also study heat input control to understand why process choice changes with material and thickness.
TIG for Precision Work
For precision automotive work, TIG welding is often the best choice when you need clean, controlled welds on thin aluminum, stainless steel, chromoly tubing, or visible exhaust joints. You guide a non-consumable tungsten electrode and add filler by hand, so you control the puddle, filler amount, and heat more closely than with many other processes.
That gives you real TIG advantages:
- Tight heat input on delicate parts
- Clean beads with minimal spatter
- Strong control over filler addition
- Better visibility for exact fit-up
- Good results on aluminum and stainless when the surface is clean
Use TIG when you’re chasing detail, cosmetic finish, or repair accuracy on high-value parts. The tradeoff is speed. TIG is slower than MIG, and it demands clean metal, steady torch angle, and good foot-pedal or fingertip amperage control.
Spot Welding for Assembly
Spot welding is the go-to process for automotive assembly when you need to join overlapping thin sheet metal quickly and repeatably. A resistance spot welder clamps the panels between electrodes, passes current through the joint, and forms a weld nugget between the sheets.
The main benefits are speed, repeatability, low filler cost, and limited surface cleanup. It is common on body flanges, door openings, quarter panels, roof rails, and factory body-in-white production.
But know the spot welding limitations. It needs access to both sides of the joint, the right electrode shape, enough squeeze force, clean mating surfaces, and the correct settings for the metal stack. It also will not work for every material or joint design.
When a repair calls for factory-style spot welds but access is blocked, the service procedure may allow MIG plug welds or other alternatives. Do not substitute without checking the procedure.
Laser Welding for Critical Joints
Laser welding becomes the better choice when a joint needs precision, speed, and minimal distortion, especially in controlled production environments. A focused laser beam puts energy into a narrow area, which can create a small heat-affected zone and a clean seam.
Use these precision techniques when material selection includes high-strength steels, aluminum alloys, or complex shapes:
- You need tight tolerances and clean seams.
- You want better heat management than a wider arc process can provide.
- You’re scaling production and need automation benefits.
- You’re handling specialized welding applications in structural zones.
For most home garages and body shops, laser welding is not a practical everyday repair process. It belongs mainly in manufacturing lines or specialized repair facilities with the right equipment, fixtures, training, and safety controls.
Common Automotive Metals and Materials
You’ll work most often with steel and aluminum, so you need to match your process to each metal’s strength, weight, coating, and heat response.
Coated steels, such as galvanized body panels, can release zinc fumes and contaminate the weld if you do not prep and ventilate correctly. Stainless steel shows up in exhaust and corrosion-critical parts, and it needs tighter heat control and fume control to keep welds clean and safe. When cutting stainless, using the right gas and process matters; for example, nitrogen plasma gas can improve cut quality on some stainless setups.
Steel and Aluminum
Mild steel welds predictably with standard MIG or TIG procedures, but modern vehicles often include high-strength and ultra-high-strength steels. These steels may lose strength if heated in the wrong zone or joined with the wrong method. That is why OEM repair instructions matter.
Aluminum cuts mass and helps efficiency, but you’ll face aluminum challenges like fast heat flow, oxide buildup, and higher cleanliness demands.
- Steel welds predictably when the grade, thickness, and coating are known.
- Advanced high-strength steel may require special sectioning or “do not weld” rules.
- Aluminum needs clean surfaces, correct filler, and tight heat control.
- Too much heat can warp body panels and weaken some structural metals.
- Good fit-up keeps joints strong and efficient.
If you want reliable repair work, learn each metal’s thermal behavior before you strike an arc. Match your process to the material, or you can get weak joints, distortion, corrosion problems, and wasted time.
Coated and Stainless
Coated steel and stainless steel show up often in automotive work, but each demands a different welding approach. When you weld galvanized panels, watch for coated steel challenges: zinc burns off fast, can contaminate the joint, and requires clean prep, tight fit-up, and strong ventilation. Stainless resists corrosion, but it holds heat differently, so you need stainless steel techniques that limit warping and preserve bead control.
| Material | Key Issue | Your Response |
| Coated steel | Zinc fumes | Remove coating where allowed, use source capture, ventilate, wear proper respiratory protection |
| Coated steel | Weld contamination | Clean edges thoroughly and restore corrosion protection after welding |
| Stainless steel | Heat distortion | Use lower heat, short welds, and good tack spacing |
| Stainless steel | Fume and oxide control | Keep shielding gas steady and use proper fume extraction |
| Both | Thickness range | Match process, filler, gas, and amperage to the gauge |
Choose settings to suit the actual part, not a generic chart alone. When the part is structural, use the service manual as the final authority.
Before You Weld: Prep, Fit-Up, and OEM Procedures
Most automotive welding problems begin before the arc starts. Dirty metal, wide gaps, wrong clamp pressure, poor access, hidden sealers, and skipped service information can ruin a repair even when the bead looks good.
- Check the OEM procedure: Confirm whether the part may be welded, where it may be sectioned, what process is allowed, and whether adhesive, rivets, or spot welds are required.
- Identify the metal: Mild steel, AHSS, aluminum, galvanized steel, and stainless steel need different procedures.
- Clean the weld zone: Remove paint, rust, oil, seam sealer, undercoating, and coatings as directed, while controlling fume and fire risk.
- Fit the joint tightly: Big gaps cause burn-through, excess filler, and weak welds.
- Clamp the work: Use panel clamps, magnets, clecos, locking pliers, or screws as appropriate so the joint cannot move.
- Protect nearby parts: Shield glass, trim, wiring, modules, brake lines, fuel lines, upholstery, and sound deadener.
- Test first: Weld scrap of the same thickness and inspect the back side or perform a bend test.
After welding, grind only as much as needed, then restore corrosion protection with epoxy primer, weld-through primer where specified before assembly, seam sealer, cavity wax, and paint system steps that match the repair area.
Why Thin Sheet Metal Is So Hard to Weld
Thin sheet metal is hard to weld because it responds to heat very quickly. The small thermal mass lets temperatures spike fast, which can cause warping, distortion, and burn-through if heat is not tightly controlled.
You need tight heat management and disciplined welding parameters to keep the bead from overpowering the panel. Warping prevention starts with short welds, balanced sequence, and joint design that spreads stress instead of trapping it.
- Low voltage helps limit excess input on thin sheet.
- Faster travel speed can reduce burn-through when fusion is still adequate.
- Tacks and stitch welds control heat better than long continuous beads.
- Skipping around the panel lets heat spread instead of collecting in one area.
- Dissimilar metals demand extra attention to thermal expansion and filler choice.
When you weld thin sheet, every second matters. Too much heat pulls the metal, while too little heat leaves weak fusion. Preheating can matter for materials such as cast iron or thick specialty parts, but it is usually not the answer for ordinary auto body sheet metal. For that contrast, see these cast iron welding techniques.
Because automotive panels often mix materials and coatings, match process settings to the part, not the other way around. Control the puddle, control the distortion, and you’ll keep the structure intact.
Essential Automotive Welding Skills
| Skill | What You Do | Why It Matters |
| Distortion control | Tack, stitch, skip, and cool in sequence | Reduces warping and panel shrinkage |
| Welding positions | Practice flat, horizontal, vertical, and overhead welds | Improves access on real vehicles |
| Material control | Match technique to metal grade and coating | Protects strength and corrosion resistance |
| Fit-up | Trim, clamp, and align panels before welding | Prevents gaps, stress, and weak welds |
| Inspection | Check fusion, bead shape, backside heat marks, and test coupons | Finds weak welds before the part goes back on the road |
Practice wire stickout, torch angle, travel speed, and feed speed until your puddle stays consistent. You should also adapt to aluminum and high-strength steels because each one responds differently to heat. Understanding flux core welding can help you build broader welding control, but gas-shielded MIG is usually cleaner for thin auto body work.
Automotive Welding Safety Basics
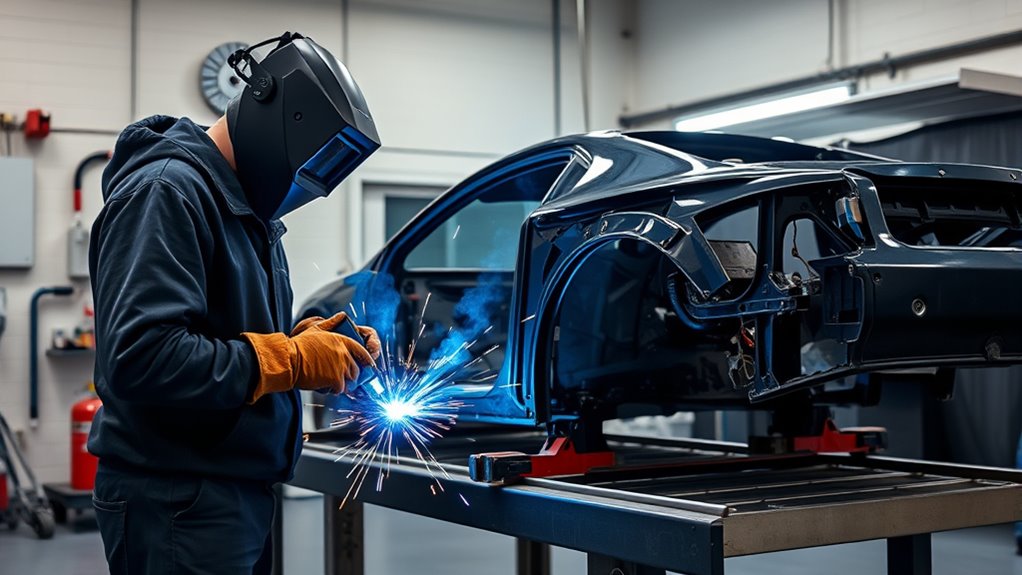
Before you weld, wear proper PPE: a welding helmet with the right shade, gloves, eye protection, hearing protection when needed, and fire-resistant clothing. Keep the work area ventilated, remove flammables, and keep a fire extinguisher close. OSHA requires welding areas to control fire hazards and provide suitable eye and personal protection for exposed workers.
Disconnect the vehicle’s negative battery terminal when the repair information calls for it, and place the ground clamp close to the weld so current does not travel through bearings, modules, sensors, or wiring. Also inspect for hidden seam sealer, foam, undercoating, fuel vapors, brake lines, airbags, and interior trim before striking an arc. Keep the area free from combustibles to reduce fire risks.
Protective Gear Essentials
Protective gear is your first line of defense in automotive welding. Choose welding helmet features such as auto-darkening shade control so your eyes stay shielded from UV and infrared radiation. Select sturdy leather gloves for heat resistance and a firm tool grip.
- Wear a leather apron or fire-resistant jacket to block sparks.
- Use respiratory protection matched to the hazard, especially with stainless, galvanized, coated, or painted metals.
- Keep sleeves, cuffs, and collars closed so hot metal cannot slip inside.
- Wear safety glasses under the hood for grinding, chipping, and setup work.
- Ground your setup properly to reduce electrical risk.
Respirator choice should be based on the material, coating, ventilation, and shop safety program. A dust mask is not a universal welding fume solution.
Fire and Fume Control
Good fire and fume control starts with a clean, well-ventilated workspace. Welding fumes vary with the base metal, coating, filler, gas, and surface contamination, so painted, galvanized, stainless, and oily parts need extra care.
Use fume extraction at the source whenever possible because it removes harmful gases and metal particles before they reach your breathing zone. General shop airflow helps, but local exhaust near the arc is better when fumes are heavy or the metal is coated.
Keep flammable rags, solvents, carpet, trim, insulation, sound deadener, paper, and fuel vapors away from the work. Place a welding blanket or steel shield behind the weld area to catch sparks and molten spatter.
For fire safety, stage an extinguisher within reach and know how to use it before you strike an arc. Set a fire watch when welding near hidden cavities, coated panels, interiors, or other areas where heat can smolder after the bead is done.
Note: OSHA requires a fire watch for certain welding and cutting conditions and says the watch must continue for at least 30 minutes after completion when required. Treat hidden body cavities, seam sealer, and undercoating as delayed fire risks.
Vehicle Electrical Precautions
Even with the key off, a vehicle’s electrical system can be damaged by welding current or heat. Before welding, check the service information for battery disconnect steps, high-voltage system precautions on hybrids and EVs, module protection, and required wait times for airbag systems.
Follow these safety protocols:
- Disconnect the battery or isolate the system as directed by the OEM procedure.
- Ground the clamp close to the weld.
- Check wiring harnesses, sensors, ECUs, airbag parts, and modules near the weld zone.
- Use welding blankets over exposed components.
- Move or shield fuel lines, brake lines, vapor lines, and plastic clips.
You need clear access, but stay away from ECUs, sensors, and harnesses. Map the vehicle’s electrical layout first, then weld with control and precision.
Good equipment maintenance matters too. Inspect leads, clamps, gas hoses, torch parts, and insulation before every job. When your gear is sound and your setup is isolated, you lower the risk of shock, fire, porosity, and costly damage.
Tools and Equipment You’ll Need
To handle automotive welding effectively, you’ll need equipment that matches the work: a MIG welder for general repairs, a TIG welder for precision work, or a spot welder when OEM panel replacement calls for it. A plasma cutter, cutoff wheel, grinder, body saw, clamps, and measuring tools help you prepare and finish the joint.
| Tool | Purpose | Why It Matters |
| Calipers | Measure thickness | Helps select wire, amperage, and joint prep |
| Squares and straightedges | Check alignment | Keeps brackets, patches, and frames true |
| 75/25 shielding gas | Shield mild-steel MIG welds | Produces a smoother arc than straight CO2 for many thin-sheet jobs |
| Auto-darkening helmet | Protect eyes and face | Improves visibility and arc starts |
| Gloves and FR clothing | Block heat and sparks | Reduces burns and fire risk |
| Panel clamps | Hold gaps and alignment | Prevents shifting and uneven welds |
Use quality wire with the right shielding gas for the metal. For mild steel, a 75/25 argon and CO2 mix is a common choice for short-circuit MIG. Aluminum, stainless steel, and flux-cored wire may need different gas, polarity, and feeding equipment.
Products Worth Considering

True Color Clear View: A 3.64" x 1.67" viewing area with 1/1/1/1 optical clarity delivers a true color view for improved visibility and reduced eye strain.

【FASTER AUTO-DARKENING】Features high-end auto-darkening lenses with 4 premium arc sensors, switching from light to dark in 1/25000 sec. Easily adjust the shade and sensitivity of the lenses for different working environments, perfect for TIG/MIG/ARC welding. Dark state level: 4/9-13.
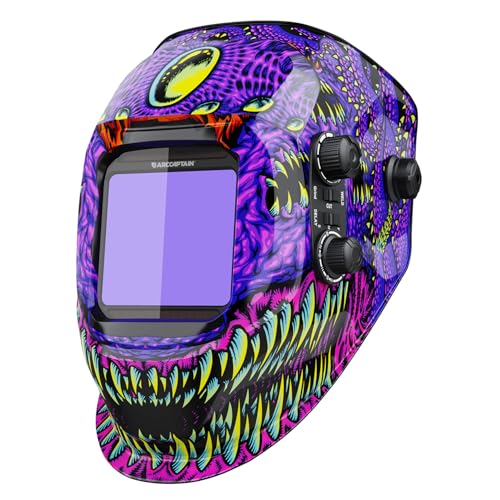
AUTO DARKENING FILTER - This welding helmet comes with high-end auto-darkening lens and 4 premium arc sensors which let you adapt to different working environments by adjusting the lens's shade and sensitivity while you are operating ARC/MIG/TIG Welding. DIN4 on light state, DIN5-9/9-13 on dark state.
How to Inspect and Troubleshoot Automotive Welds
A weld can look clean on top and still be weak underneath, so inspection matters. Start with visual checks, then test coupons when strength matters. For body panels, also check the surrounding metal for shrinkage, oil-canning, cracks, pinholes, and overheated areas.
| Problem | Likely Cause | Fix |
| Burn-through | Too much heat, slow travel, wide gap | Lower heat, tighten fit-up, use short tacks, add backing if appropriate |
| Porosity | Dirty metal, bad gas coverage, wind, coating contamination | Clean metal, check gas flow, block drafts, trim contaminated welds out |
| Cold lap or lack of fusion | Too little heat, poor angle, moving too fast | Increase heat carefully, improve torch angle, test on scrap |
| Warping | Long beads, heat buildup, poor sequence | Skip weld, cool between tacks, plan bead sequence |
| Cracking | Wrong filler, high restraint, contamination, wrong heat cycle | Confirm material, filler, prep, and OEM procedure before rewelding |
For plug welds, look for full fusion around the hole edge and a solid tie-in to the lower sheet. For butt welds, look for even penetration without excessive crown or undercut. If a weld is structural and you cannot verify it, stop and get a qualified inspection.
Career Paths in Automotive Welding
Automotive welding opens several career paths, so you can focus on the work that fits your skills and goals. You can enter manufacturing, collision repair, custom fabrication, motorsport, exhaust work, or restoration welding, and each path rewards different strengths.
Production jobs often give you stable work because vehicle building and repair never stop. Entry-level roles let you build skill fast, then move into MIG, TIG, resistance spot, robotic, or laser welding for career advancement.
Production welding offers steady practice, repeatable procedures, and a path into MIG, TIG, resistance spot, robotic, or laser specialization.
- Manufacturing welding for steady plant work
- Collision repair for body shop service and structural procedures
- Custom fabrication for unique, high-value builds
- Restoration welding for classic vehicle preservation
- Motorsport fabrication for cages, brackets, aluminum, and stainless parts
If you earn industry certifications, you can boost your credibility and pay, especially in specialized shops. You’ll also need ongoing training, since materials, repair procedures, and joining methods keep changing. Understanding safety precautions for galvanized steel is one example of how material knowledge supports safer work.
Frequently Asked Questions
How do I choose the right wire for automotive welding?
Choose wire that matches the base metal and thickness. ER70S-6 is common for mild-steel MIG work, stainless needs stainless filler, and aluminum needs the right aluminum alloy wire or rod. Match the wire diameter, shielding gas, polarity, and machine settings, then test on scrap before welding the car.
What shielding gas works best for beginner auto repairs?
For mild-steel MIG auto repair, a 75/25 argon-CO2 mix is a common beginner-friendly choice because it gives a stable arc and cleaner bead than straight CO2 in many short-circuit jobs. Set gas flow around the range recommended by your welder and adjust for drafts, nozzle size, and spatter.
How do I prevent warping on body panels?
Prevent warping by fitting the panel tightly, using tack welds instead of long beads, skipping around the joint, and letting the metal cool between welds. Keep heat input low, use a copper backing spoon when helpful, and avoid grinding aggressively in one spot.
Can I weld galvanized steel safely?
You can weld galvanized steel only with the right precautions. Remove zinc coating from the weld zone when the repair procedure allows it, use strong ventilation or source extraction, wear suitable respiratory protection, and avoid confined spaces unless they are properly controlled. Do not breathe zinc fumes.
How do I know if my weld penetration is strong enough?
Look for full fusion at the joint edges, consistent bead shape, no visible gaps, and proper backside heat evidence where accessible. For practice or procedure setup, weld a test coupon from the same thickness, then cut, bend, or etch it to confirm fusion before welding the vehicle.
Can I weld structural automotive parts at home?
Only weld structural parts if you have the right training, equipment, and the OEM repair procedure allows that weld. Modern vehicles often use advanced steels, aluminum, adhesives, and special sectioning locations. Guessing on rails, pillars, rockers, suspension mounts, or crash zones can create an unsafe repair.
What should I do after welding an auto body panel?
Inspect the weld, correct defects, grind only as needed, and protect the metal from corrosion. Use epoxy primer, seam sealer, cavity wax, and paint steps that match the repair. Bare welded seams can rust quickly if you leave the backside unsealed.
Conclusion
Automotive welding brings your repair work together, from MIG and TIG to spot and laser methods. You choose the right process by matching the metal, joint, access, finish, and OEM repair procedure. If you build solid skills, use the proper tools, and follow safety practices, you can make cleaner, stronger, safer welds. Start with scrap practice, control heat on thin panels, inspect every weld, and protect the metal from corrosion after the repair.
Sources
- OSHA 1910.252: Welding, Cutting, and Brazing General Requirements — fire prevention, eye protection, ventilation, zinc-coated metal, stainless cutting, and welding safety requirements.
- OSHA 1910.132: Personal Protective Equipment — general PPE requirements for workplace hazards.
- OSHA Hexavalent Chromium — health risks and control context for chromium exposure, relevant to stainless steel welding and cutting.
- IARC Monographs List of Classifications — carcinogenic hazard classification for welding fumes and ultraviolet radiation from welding.
- American Welding Society Standards — welding standards, codes, recommended practices, and qualification resources.




