
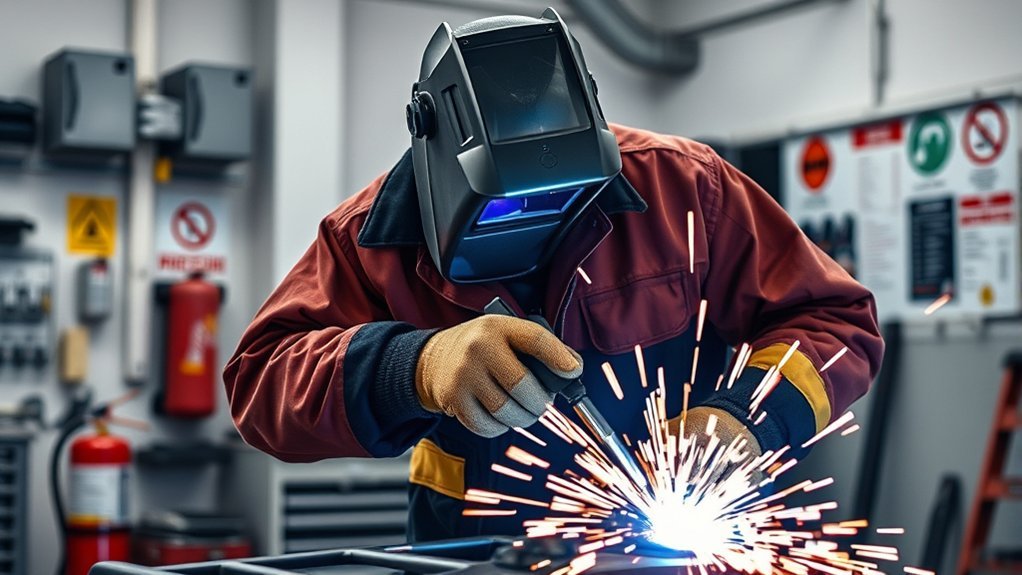
Automotive welding safety starts before you strike an arc. A vehicle body can hide fuel vapors, seam sealer, wiring, airbags, trim, sound-deadening foam, coatings, and control modules near the weld zone. Before welding, inspect the repair area, follow the vehicle maker’s service information, wear the right PPE, control fumes, remove fire risks, and keep a trained fire watch ready.
Quick Answer
For safe automotive welding, wear a welding helmet, flame-resistant clothing, dry insulated gloves, safety glasses, hearing protection, and the right respirator when fumes require it. Disconnect and protect vehicle electronics, remove flammables, clean coatings from the weld zone, clamp the ground to clean bare metal, ventilate the area, and keep fire watch after welding.
Key Takeaways
- Treat welding on a vehicle as hot work because sparks, slag, radiant heat, and hidden combustibles can start a fire.
- Use PPE that matches the process, amperage, material, position, and fume risk.
- Remove or shield fuel lines, wiring, trim, foam, seam sealer, carpets, and painted surfaces near the weld zone.
- Use ventilation and source capture to keep welding fumes out of your breathing zone.
- Follow OEM repair procedures, especially on high-strength steel, aluminum, airbags, sensors, hybrids, and EVs.
At a Glance
| Time Required | 10 to 30 minutes for setup and inspection before welding, plus at least 30 minutes of fire watch when fire risk conditions exist. |
| Difficulty | Moderate to high. Vehicle welding adds hidden fire, fume, electrical, and structural risks. |
| Tools Needed | Welding PPE, extinguisher, fire blanket or welding curtain, fume extractor or ventilation, grinder or wire brush, clean ground clamp, inspection light, and OEM repair information. |
| Cost | Varies by PPE and shop setup. Do not cut costs on helmet quality, flame-resistant clothing, respiratory protection, or fire control. |
Why Welding Safety Matters in Automotive Repair
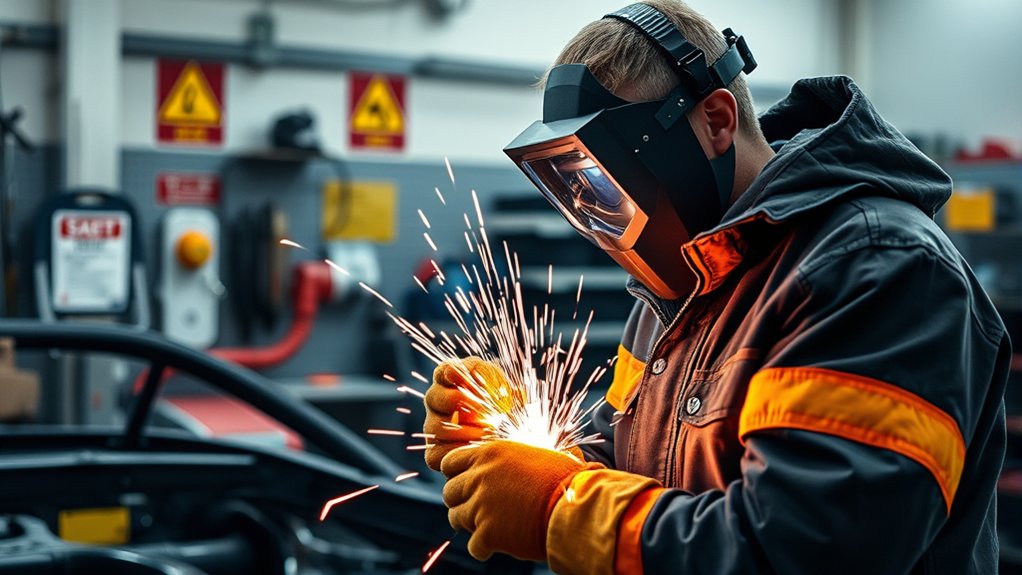
Welding safety matters in automotive repair because you are not just joining metal. You are working around paint, adhesives, undercoating, foam, upholstery, wiring, fuel systems, electronics, and sometimes high-voltage parts. Heat can travel through panels, sparks can land behind trim, and fumes can come from both the metal and the coating on it.
OSHA treats welding, cutting, and brazing as work that needs fire prevention, eye protection, protective clothing, and ventilation controls. Its welding standards say movable fire hazards should be moved away when possible, and hazards that cannot be moved should be shielded from heat, sparks, and slag. You can review the general welding requirements in OSHA 29 CFR 1910.252.
Warning: Do not weld on or near fuel tanks, fuel lines, sealed cavities, used containers, or unknown coated metal until the area has been properly cleaned, isolated, vented, and approved by the correct repair procedure. Fuel vapor and hidden combustibles can ignite even when the area looks safe.
Automotive Welding Safety Checklist Before You Start
Use this checklist before any vehicle welding job. It helps you catch the hazards that are easy to miss when you focus only on the weld bead.
- Read the OEM repair procedure. Confirm whether the panel can be welded, where welds are allowed, and whether the part requires MIG, resistance spot welding, brazing, bonding, or replacement.
- Identify the metal. Mild steel, high-strength steel, galvanized steel, aluminum, and stainless steel each create different heat and fume risks.
- Disconnect and protect electrical systems. Disconnect the 12-volt battery as directed by the service manual, then protect or remove nearby modules, sensors, wires, and connectors.
- Check for airbags and pyrotechnic devices. Keep heat, weld current, and cutting tools away from SRS wiring, inflators, seatbelt pretensioners, and crash sensors.
- Move or shield combustibles. Remove carpets, insulation, seam sealer, foam, trim panels, adhesive, paper, rags, solvents, and plastic parts near the work area.
- Clean the weld zone. Strip paint, undercoating, galvanizing residue where required, rust, oil, and solvent residue from the weld area and the ground point.
- Plan ventilation. Keep fumes away from your breathing zone with airflow, fume extraction, and body positioning.
- Set up fire control. Keep a suitable extinguisher nearby, use welding blankets or metal shields, and assign fire watch when needed.
- Inspect your PPE. Check the helmet, lenses, gloves, jacket, boots, safety glasses, hearing protection, and respirator before welding.
Note: A vehicle repair manual can override general advice. If the OEM procedure says to remove a component, use a specific weld type, avoid heat in a zone, or recalibrate a system after repair, follow that procedure.
Must-Have PPE for Safe Welding
Personal protective equipment is your last line of defense, not your only safety measure. You still need a clean work area, ventilation, correct grounding, and fire control.
- Welding helmet: Use a helmet or hand shield for arc welding. Choose a filter shade that matches the welding process and amperage. OSHA’s eye and face protection rule includes minimum protective shade guidance.
- Safety glasses: Wear safety glasses with side protection under the helmet. This protects your eyes during grinding, chipping, brushing, and helmet lift-up moments.
- Flame-resistant clothing: Wear a welding jacket or sleeves made for sparks and heat. Avoid synthetic clothing that can melt onto skin.
- Dry insulated gloves: Use welding gloves that fit well and stay dry. Wet gloves raise shock risk and reduce control.
- Leather boots: Use sturdy leather boots that cover the ankle. Keep pant cuffs over the boot tops so sparks do not fall inside.
- Hearing protection: Wear earplugs or earmuffs when grinding, cutting, hammering, or welding in enclosed areas where noise reflects.
- Respiratory protection: Use the respirator required by the material, coating, fume level, and shop safety plan. A dust mask is not a substitute for a properly selected respirator.
For more shop protection context, you can also review essential plasma cutting safety gear, but always match PPE to the actual automotive welding process you are using.
Pro Tip: Start with a helmet shade that is too dark to see the weld zone, then move lighter only until you can see the puddle clearly without going below the minimum shade for the job.
Products Worth Considering

[SUPERIOR QUALITY] Made of 100% cotton 6.5 oz FR material. Lightweight, soft, breathable and skin friendly.

Long lasting quality

𝐏𝐫𝐨𝐟𝐞𝐬𝐬𝐢𝐨𝐧𝐚𝐥-𝐆𝐫𝐚𝐝𝐞 𝐋𝐞𝐧𝐬 𝐂𝐨𝐚𝐭𝐢𝐧𝐠: Compared to standard safety glasses, our premium coating delivers superior performance: impact-resistant, scratch-resistant, and acid/alkali-resistant on the outside, with an advanced anti-fog treatment on the inside to maintain clear vision in changing temperature and humidity conditions. Durable and easy to clean – simply rinse with water and wipe dry.
Preparing a Safe and Organized Workspace
A clean workspace reduces burns, trips, fires, fume exposure, and poor weld quality. Start by removing clutter from the floor and workbench. Put tools where you can reach them without stepping over cables or hoses. Keep welding leads, extension cords, and air lines out of walk paths.
Cover painted panels, exposed interiors, glass, and trim with welding blankets or spark-resistant shields. Do not rely on a thin towel, cardboard, or plastic sheet. Sparks can burn through weak covers and start smoldering behind a panel.
Make sure your fire extinguisher is charged, visible, and easy to reach. Everyone in the work area should know where it is and how to call for help. If your shop uses hot-work permits, complete the permit before welding.
Products Worth Considering

【100% PREMIUM FIBERGLASS】: Each 0.5 mm thick and 500 g, this fire blanket is tough and durable, resisting burn-through and withstanding heat up to 1076°F(580℃). Made to meet CE safety standard (EN 1869:2019) for reliable protection.

Made of Flame Retardant Fiberglass

PREPARED HERO EMERGENCY FIRE BLANKET: Extinguish small fires quickly and easily with no mess (unlike common fire extinguishers). Simply deploy the blanket by pulling down the tabs.
Essential Precautions for Flammable Materials
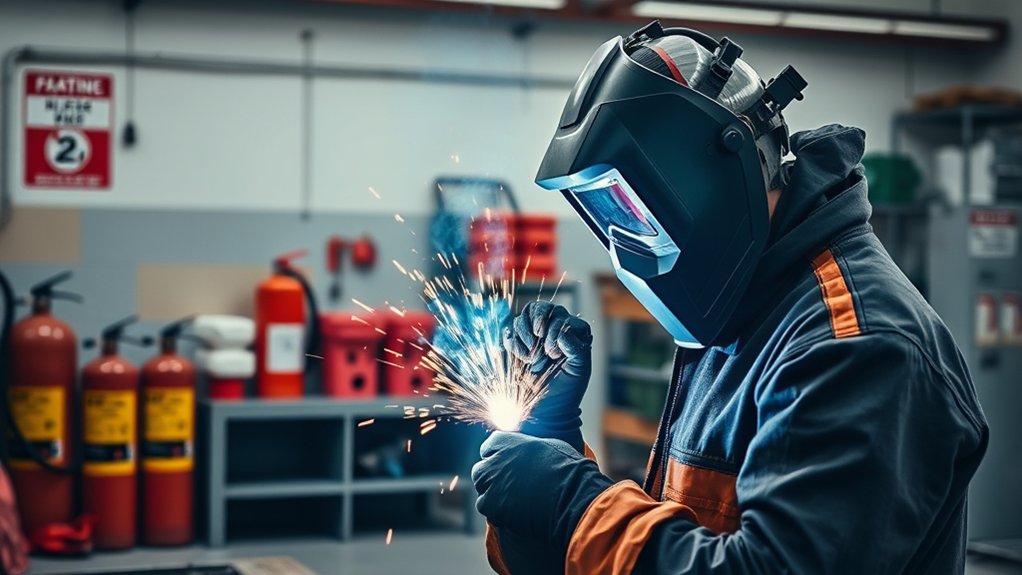
Automotive welding often happens near materials that burn or release harmful fumes. Common hidden fire hazards include seam sealer, sound-deadening pads, foam, adhesive, carpet, insulation, undercoating, plastic clips, fuel residue, brake cleaner, and solvent-soaked rags.
Safe Workspace Maintenance
Before welding, inspect both sides of the panel whenever possible. Sparks can pass through holes, seams, cracks, and open body cavities. Heat can also conduct through metal and ignite material on the opposite side.
- Move combustible items away from the welding area whenever practical.
- Use welding blankets, sheet metal shields, or approved barriers for items that cannot be moved.
- Check the back side of panels, pillars, rockers, floor pans, and trunk areas before welding.
- Remove solvent containers, aerosol cans, oil-soaked rags, paper towels, and cardboard from the bay.
- Keep the floor clean and dry, but do not create an electric shock hazard by standing in water.
OSHA notes that combustibles should be relocated at least 35 feet from welding or cutting where practical. When they cannot be moved, they should be protected with flameproof covers or other shielding. For related shop fire and fume basics, see this guide on proper ventilation.
Proper Material Storage
Store flammable liquids, cleaners, adhesives, and aerosols in approved storage areas away from welding. Keep caps closed. Do not leave open solvent pans, soaked rags, or adhesive tubes on the welding bench.
Label containers clearly and read the safety data sheet before heating any coated or cleaned surface. Some cleaners and coatings can produce dangerous gases when heated. Clean the area and let vapors clear before welding.
Fire Watch and Hot Work Control
A fire watch is a person who watches for smoke, flame, sparks, or smoldering material during and after welding. This job matters in automotive repair because trim, insulation, seam sealer, and foam can smolder out of sight.
- Assign fire watch when combustibles are close, hidden, or hard to remove.
- Watch both sides of the weld area when heat can transfer through the panel.
- Keep extinguishing equipment ready and know how to sound an alarm.
- Continue fire watch after welding. OSHA requires at least a half hour after welding or cutting when fire watch is required.
- Recheck cavities, carpets, insulation, and nearby panels before leaving the job.
Warning: Never weld if you smell fuel, solvent, or burning insulation. Stop, ventilate, find the source, and correct the hazard before work continues.
Welding Safety: Electrical System Precautions
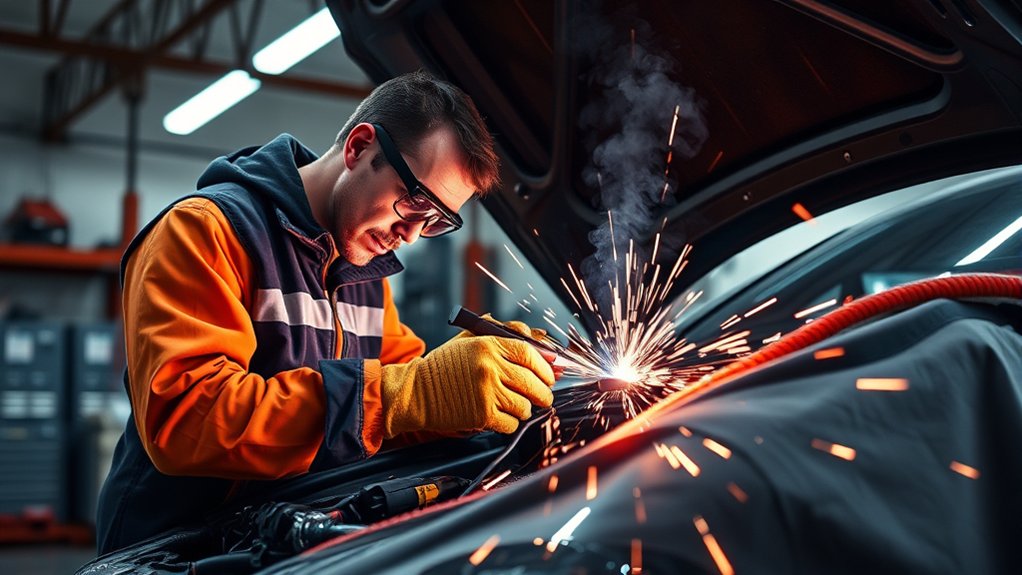
Modern vehicles contain sensitive control modules, sensors, wiring, batteries, antennas, cameras, radar units, airbags, and high-current circuits. Welding current and heat can damage these parts if the job is not set up correctly.
- Disconnect the 12-volt battery as the service manual directs.
- Protect or remove nearby modules, sensors, connectors, harnesses, and trim.
- Keep the welding ground close to the weld zone so current does not travel through bearings, hinges, electronics, or cables.
- Do not place the ground clamp on painted, rusty, dirty, or loose metal.
- Keep welding leads away from sharp edges, wet floors, fuel lines, and moving parts.
- Follow OEM precautions before welding near ADAS sensors, cameras, radar brackets, battery trays, or structural reinforcements.
Grounding problems can cause erratic arcs and equipment issues. This related guide on proper grounding explains why clean electrical contact matters.
EV and Hybrid Welding Safety
Electric and hybrid vehicles need extra care. Their high-voltage systems can cause severe injury or death if handled incorrectly. Do not rely on normal 12-volt battery disconnection alone.
- Identify whether the vehicle is gas, hybrid, plug-in hybrid, or full electric.
- Use the OEM high-voltage disable procedure before repair work near high-voltage parts.
- Verify isolation and wait times exactly as the service information requires.
- Do not weld, cut, drill, or grind near a battery pack, orange high-voltage cable, inverter, DC-DC converter, onboard charger, or high-voltage junction box unless the OEM procedure allows it.
- Use insulated tools, barriers, and qualified high-voltage training when the repair requires it.
Note: If you are not trained and equipped for high-voltage vehicle work, stop and refer the job to a qualified technician.
Ensure Proper Ventilation to Reduce Fume Risks
Welding fumes can contain harmful metal particles and gases. OSHA’s welding fume fact sheet lists metals such as aluminum, cadmium, chromium, copper, iron, lead, manganese, nickel, and zinc, along with gases such as ozone, carbon monoxide, nitrogen oxides, and phosgene.
Fume risk depends on the welding process, base metal, filler metal, coating, cleaner residue, location, airflow, and your head position. Welding outdoors or in a large bay does not always mean the air is safe. Keep your face out of the plume and use local exhaust ventilation when possible.
- Remove paint, oil, adhesive, undercoating, seam sealer, and solvent residue before welding.
- Use a fume extractor, fume hood, or vacuum nozzle close to the plume source when the job allows it.
- Position the work so fumes move away from your breathing zone.
- Read the SDS for wire, rods, coatings, cleaners, and materials being heated.
- Use respiratory protection when ventilation and work practice controls do not keep exposure low enough.
- Do not weld in confined spaces without proper ventilation, testing, rescue planning, and required procedures.
CDC/NIOSH notes that welding fumes are made of metals and usually contain some manganese. It also notes that prolonged exposure to high manganese levels may lead to a Parkinsonian syndrome known as manganism. Stainless steel, chromate coatings, and some consumables can also create hexavalent chromium, which OSHA describes as highly toxic and cancer-causing. For more on fume capture, see this internal guide to local exhaust ventilation.
Good ventilation is not just “having the door open.” The goal is to keep fumes out of your breathing zone and below applicable exposure limits.
How to Ground Equipment for Electrical Safety
Grounding affects both weld quality and safety. A poor ground can create heat, unstable arcs, stray current paths, and electrical faults.
- Attach the work clamp to clean, bare metal close to the weld area.
- Remove paint, rust, primer, undercoating, and seam sealer from the clamp point.
- Do not clamp to a loose panel, suspension part, bearing path, painted bracket, or rusty edge.
- Inspect the cable for cuts, burns, loose lugs, and damaged insulation.
- Keep the cable size suitable for the welding current and duty cycle.
- Disconnect power before changing electrodes, tips, or damaged leads.
When grinding or cleaning the ground point, use the correct wheel or disc for the tool. Grinder safety also matters, so review grinder-rated accessories before using cutting or grinding attachments.
Post-Weld Inspection and Cleanup
The job is not done when the arc stops. Many welding fires start after the welder walks away, and many weld defects show up only after the area cools and is cleaned.
- Keep fire watch active as required and inspect nearby cavities, trim, insulation, and the back side of panels.
- Mark or guard hot metal so no one touches it by mistake.
- Inspect the weld for cracks, porosity, lack of fusion, burn-through, and missed areas.
- Remove slag or spatter as needed, then clean and protect bare metal against corrosion.
- Reconnect electrical components only after the area is cool, clean, and safe.
- Check for damaged wiring, melted insulation, heat marks, or loose connectors.
- Perform required scans, calibrations, leak checks, or corrosion-protection steps listed by the OEM procedure.
Equipment safety continues after the weld. Overheated tools, overloaded grinders, and damaged cords should be handled before the next job. This guide on overload damage can help you spot tool problems early.
Advancing Your Welding Safety Knowledge
Welding safety improves with training and repetition. Even experienced welders can miss hidden automotive hazards if they rush the setup. Build a routine that includes PPE checks, fire checks, fume controls, electrical precautions, and post-weld inspection.
Safety Training Programs
Good training should include more than bead technique. It should cover hot-work fire prevention, PPE selection, respirator basics, SDS review, fume control, electrical shock prevention, first aid, and emergency response.
- Practice setting up welding blankets and fire shields.
- Learn how to inspect helmets, gloves, leads, and ground clamps.
- Review how to use a fire extinguisher before an emergency.
- Study welding fumes from galvanized steel, stainless steel, aluminum, coatings, and cleaners.
- Learn the OEM repair information system used by your shop.
Staying Updated Regularly
Vehicle designs change often. New body structures, advanced high-strength steels, aluminum panels, adhesives, airbags, sensors, and EV battery layouts can change how a repair should be welded. Stay current with OSHA guidance, CDC/NIOSH health information, shop policies, and OEM repair procedures.
When to Stop Welding Immediately
Stop welding and correct the hazard if any of these problems appear:
- You smell fuel, solvent, burning plastic, burning insulation, or smoke from a hidden area.
- A fume plume moves into your breathing zone and cannot be controlled.
- The ground clamp becomes hot, loose, or unstable.
- You discover wiring, an airbag component, a fuel line, or a high-voltage cable near the weld zone.
- Your helmet, gloves, respirator, or ventilation system is not working correctly.
- Coatings, cleaners, or unknown residues remain on the metal.
- The OEM repair procedure does not allow welding in that location.
Frequently Asked Questions
What are the symptoms of welding-related health issues?
Short-term fume exposure can cause eye, nose, and throat irritation, dizziness, nausea, coughing, or trouble breathing. Heat stress can cause headache, weakness, cramps, dizziness, or confusion. Long-term exposure to certain welding fumes can affect the lungs and nervous system. Move to fresh air and seek medical help if symptoms are serious or do not improve.
How often should welding equipment be inspected?
Inspect your helmet, leads, ground clamp, regulator, hoses, torch, gun, plugs, and cables before each use. Do a deeper shop inspection on a regular schedule based on use, manufacturer instructions, and shop policy. Remove damaged equipment from service until it is repaired or replaced.
Can I use my regular clothes for welding?
No. Regular clothes can burn, melt, or leave skin exposed. Wear flame-resistant welding clothing, dry insulated gloves, safety glasses, a proper welding helmet, and leather boots. Avoid polyester, nylon, and other synthetic fabrics because they can melt from sparks or heat.
What first aid measures should I know for welding injuries?
For minor burns, cool the area with clean cool water and cover it with a sterile dressing. Do not pop blisters. For eye pain after arc exposure, chemical exposure, electrical shock, deep burns, heavy bleeding, breathing trouble, or suspected heat illness, seek urgent medical care. Move anyone with fume symptoms to fresh air right away.
How can I identify potential hazards in my workspace?
Walk the area before welding. Look for fuel, solvents, seam sealer, foam, wiring, airbags, sensors, coated metal, poor ventilation, trip hazards, wet floors, damaged leads, and combustibles behind the panel. Check both sides of the repair area and use the OEM procedure to confirm hidden components.
Is welding near a car battery safe?
Do not weld near a connected battery. Disconnect and protect the 12-volt battery as directed by the service manual. On hybrids and EVs, follow the high-voltage disable procedure and do not weld near high-voltage cables or battery parts unless the OEM repair procedure allows it.
Do I need a respirator for automotive welding?
You may need one depending on the material, coating, ventilation, and exposure level. Ventilation and fume extraction should come first, but respiratory protection may be required when those controls do not reduce exposure enough. Use the respirator type required by the SDS, shop plan, and applicable safety rules.
Conclusion
Automotive welding safety is a step-by-step habit. Wear the right PPE, clean the metal, control fumes, protect electronics, remove combustibles, use a clean ground, and keep fire watch when needed. Most problems start when the setup is rushed. Slow down before welding, follow the OEM repair procedure, and inspect the area after the weld cools. That protects you, the vehicle, and everyone who rides in it.
Sources
- OSHA 29 CFR 1910.252, Welding, Cutting and Brazing — fire prevention, fire watch, eye protection, protective clothing, confined spaces, and ventilation rules.
- OSHA 29 CFR 1910.133, Eye and Face Protection — eye and face PPE requirements and welding shade guidance.
- OSHA Fact Sheet: Controlling Hazardous Fume and Gases during Welding — welding fume contents, health effects, hexavalent chromium, ventilation, and respiratory protection.
- CDC/NIOSH: Welding Fumes and Manganese — manganese exposure, neurological effects, confined-space exposure risk, and occupational exposure limits.




