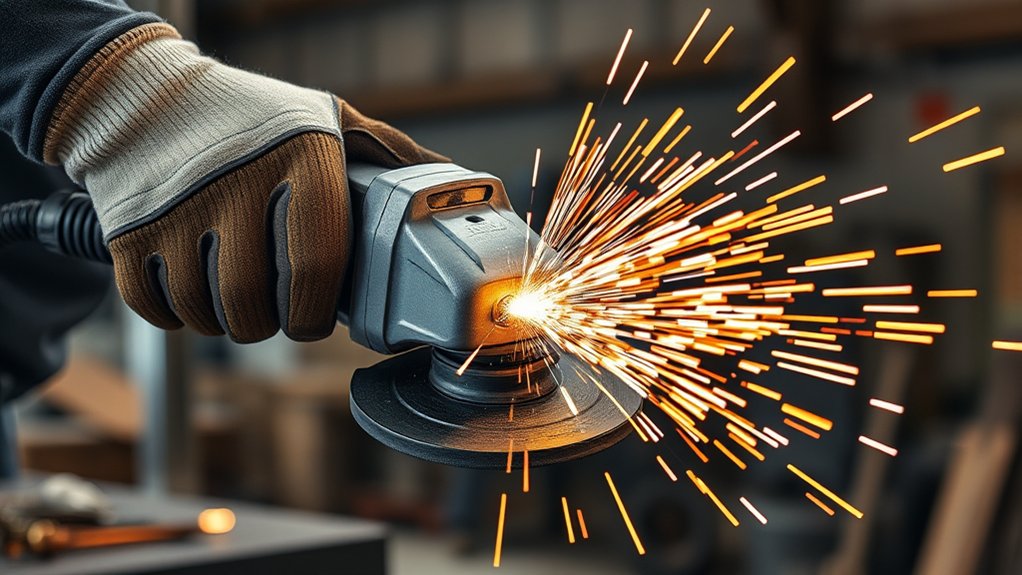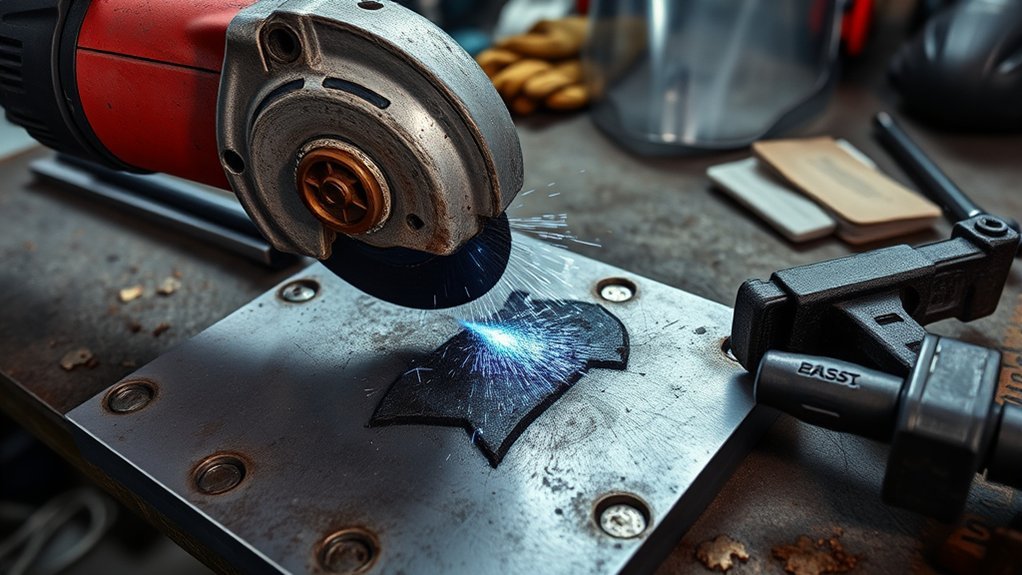
If your angle grinder gouges the workpiece, stop before the mark becomes deeper. The accessory may be too aggressive, damaged, mounted incorrectly, held at the wrong angle, or being forced into unsupported material. Disconnect the power, inspect the complete setup, and test your correction on scrap before returning to the finished part.
Quick Answer
An angle grinder gouges when too much force becomes concentrated on a small part of the disc. Common causes include the wrong accessory, excessive pressure, a steep or incorrect working angle, wheel damage, poor mounting, vibration, and an unsupported workpiece. Stop, disconnect power, correct the setup, and restart with light, moving passes.
Key Takeaways
- Use an accessory labeled for the grinder, material, task, arbor, guard, flange system, and tool speed.
- Never use a cracked, chipped, dropped, badly worn, vibrating, or unidentified wheel.
- Use the working angle specified for the accessory. A hard grinding wheel is normally held steeper than a flap disc.
- Apply minimum pressure and keep the grinder moving so one edge cannot dig into the surface.
- Clamp and support the workpiece so it cannot shift, chatter, sag, or flex into the disc.
At a Glance
| Time Required | About 5 to 15 minutes to diagnose; longer if an existing gouge must be blended |
| Difficulty | Moderate; requires familiarity with angle-grinder safety and control |
| Tools Needed | Angle grinder, compatible accessory and guard, correct flanges, clamps or vise, PPE, straightedge, marker, and similar scrap material |
| Cost | No added cost when technique or support is the problem; otherwise, the cost of a compatible replacement accessory or guard |
Identify Common Causes and Solutions for Gouging in Angle Grinders
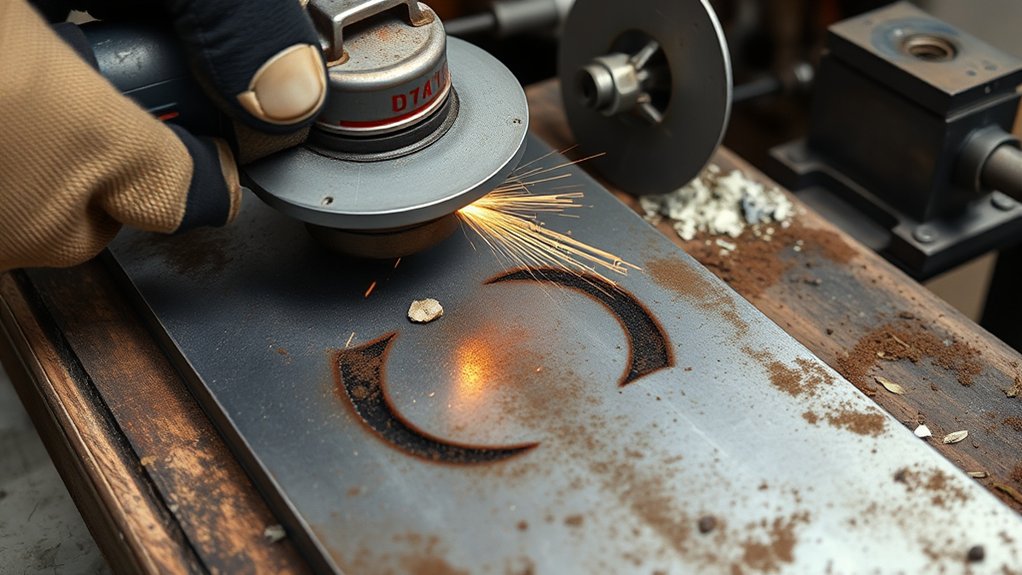
When an angle grinder digs into the workpiece, do not keep pushing through the problem. Release the switch, wait for the accessory to stop, and unplug the grinder or remove its battery before inspecting it. Gouging usually comes from one or more of these conditions:
- Wrong accessory for the job: A cut-off wheel used with side pressure, a coarse wheel on thin material, or an accessory not labeled for the workpiece can grab, chatter, or remove material too quickly.
- Too much pressure: Heavy force slows the accessory, increases heat, and makes its edge more likely to bite.
- Incorrect working angle: Holding a hard grinding wheel too upright concentrates force on a narrow edge. Holding some flap discs too steeply can do the same.
- Damaged or poorly mounted wheel: Cracks, chips, uneven wear, contaminated mounting faces, incorrect flanges, or a loose locking nut can create wobble and deep marks.
- Loose or flexible workpiece: Thin sheet, pipe, narrow strips, and small parts can move or flex into the rotating accessory.
- Incorrect speed rating: The accessory’s maximum rated speed must be at least equal to the grinder’s maximum marked speed.
- Staying in one place: Dwelling over one spot creates a low area and can overheat or discolor the surface.
- Catching an edge: Corners, unsupported edges, holes, and sharp transitions can snag the accessory and produce a sudden gouge or kickback.
What the Gouge Pattern Can Tell You
| Mark or Symptom | Likely Cause | First Correction |
|---|---|---|
| One deep trench | Steep angle, sudden contact, excessive pressure, or stopping in one place | Reduce the angle and pressure; begin moving before full contact |
| Repeated scallops or chatter marks | Loose workpiece, damaged accessory, dirty flange, worn bearing, or uneven pressure | Stop and inspect the wheel, mounting hardware, grinder, and support |
| Blue, brown, or burned area | Excess heat from heavy pressure, a loaded accessory, or excessive dwell | Let the work cool, replace or correct the accessory, and use lighter passes |
| Damage near an edge or opening | Accessory caught an unsupported edge or entered a pinch point | Add backing support and approach the feature cautiously without bouncing |
Warning: Never remove a required guard to gain access. Use the guard specified by the grinder manufacturer for the accessory and operation. OSHA requires the guard on a typical right-angle portable grinder to be positioned between the operator and wheel, and some cutting wheels require a closed, two-sided cutting guard.
Choosing the Right Wheel, Guard, and Flanges
The fastest way to prevent gouging is to match the complete setup to the task. Do not choose only by disc diameter. Read the accessory label and grinder manual for the material, intended operation, thickness, arbor or thread, maximum speed, direction arrow, required guard, and flange arrangement.
| Accessory Type | Best Use | Gouging and Safety Notes |
|---|---|---|
| Grinding wheel | Removing weld reinforcement, heavy rust, scale, and excess metal | High stock-removal rate; can gouge when forced, held too steeply, or left in one place |
| Flap disc | Blending, smoothing, deburring, and finishing metal | Usually more forgiving, but coarse grit or a steep angle can still remove material quickly |
| Cut-off wheel | Straight cutting with the wheel edge | Do not apply side pressure or use it for surface grinding; use the required cutting guard |
| Wire wheel or cup brush | Removing loose rust, paint, and scale | Lower stock removal than a grinding wheel, but it can scratch soft surfaces and eject wires |
| Diamond or masonry accessory | Only the concrete, brick, stone, tile, mortar, or other materials stated on its label | Can chip or gouge if forced or used on the wrong material; silica dust control is a separate requirement |
For metal finishing, a flap disc is often more forgiving than a hard grinding wheel. For heavy stock removal, use a suitable grinding wheel and keep it moving. For cutting, use a cut-off wheel only as labeled and in a straight cutting path. SafeWork SA warns that the wrong disc can shatter or grab the workpiece and cause kickback.
Products Worth Considering
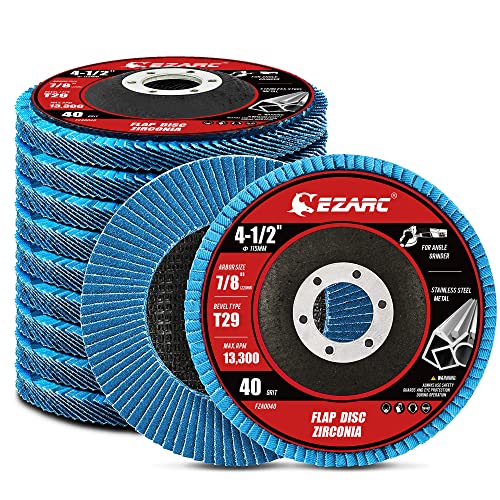
【Great Performance】EZARC flap sanding discs are made of hard zirconia material which lasts longer than standard aluminum oxide abrasive material, built for a more robust and economical grinding wheel

Package Include 24 pcs grinding wheels 4 1/2 inch grit 40 60 80 120,6 of each

STRONGEST FIBER BACKING THAN OTHER PRODUCTS:4 1/2 grinding wheels made for TOP-LEVEL Hard zirconia.Good material for griding wheel. This Flap Disc is constructed of industrial grade high density premium zirconia material, increased durability than standard flap discs, built for a more robust and economical grinding wheel
Disc, Guard, and Flange Compatibility Check
- Confirm the accessory diameter does not exceed the grinder’s rated capacity.
- Confirm its arbor hole or threaded hub fits the spindle without improvised adapters.
- Confirm its maximum rated speed is at least equal to the grinder’s maximum marked speed.
- Use the guard type specified for that accessory and operation.
- Use the correct backing flange and locking flange or nut in the required orientation.
- Clean grit, rust, and debris from all mounting faces before assembly.
- Do not mount an accessory whose label, rating, or intended use cannot be confirmed.
Note: A wheel that physically fits the spindle is not automatically safe. The grinder, accessory, guard, flanges, speed rating, and intended operation must all be compatible.
How to Maintain Consistent Pressure to Prevent Gouging
Focus on control rather than force. Let the abrasive do the cutting. If the grinder slows sharply, jumps, vibrates, or begins digging, release pressure and stop if the behavior continues. Do not use extra force to compensate for a glazed, loaded, worn, or unsuitable accessory.
| Technique | How It Prevents Gouging |
|---|---|
| Use both hands | Improves control and helps you resist startup movement and kickback. |
| Apply minimum pressure | Allows the accessory to maintain speed instead of grabbing and digging. |
| Use the correct working angle | Keeps the intended abrasive area in contact instead of concentrating force on an edge. |
| Keep the grinder moving | Prevents heat buildup, trenches, and low spots in one area. |
| Practice on scrap | Lets you confirm the accessory, angle, pressure, direction, and finish before touching the final part. |
Pro Tip: Make two or three controlled passes instead of one heavy pass. Stop between passes to check flatness, temperature, and remaining material.
Recognizing Wheel Damage and Replacement Signs
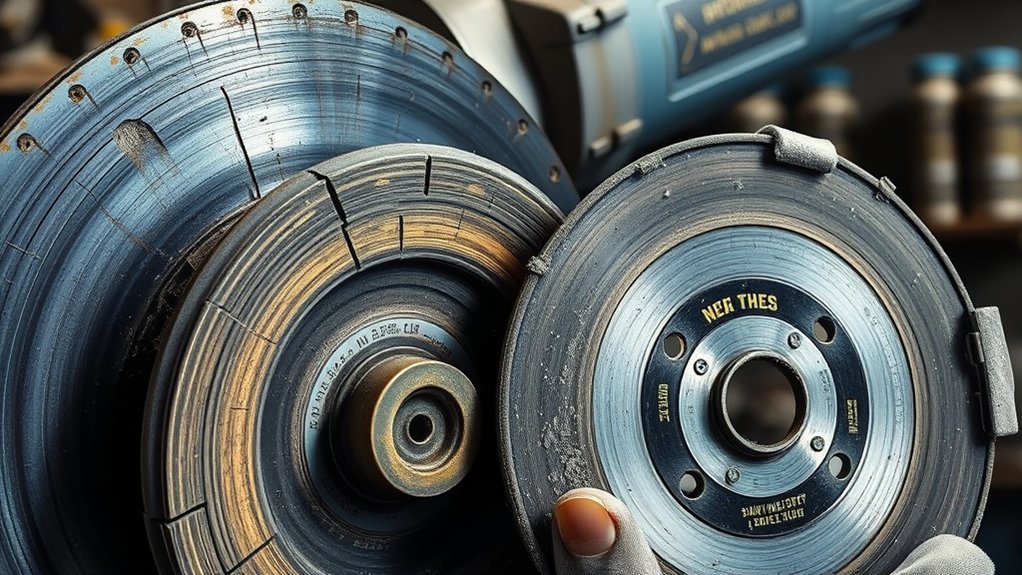
A damaged wheel can gouge the workpiece and create a severe wheel-breakage hazard. Inspect every accessory before mounting and before each use. OSHA 1910.215 requires abrasive wheels within its scope to be inspected before mounting and requires the machine speed to remain within the wheel’s marked maximum operating speed.
Signs of Wheel Wear
Remove the accessory from service if you find any of these conditions:
- Cracks, chips, or missing pieces: Do not use the wheel.
- Uneven wear or an out-of-round shape: It can create chatter, vibration, and alternating high spots.
- Glazing or loading: A shiny, smooth, or clogged face may skate, overheat, or cut unpredictably.
- Missing or unreadable label: Do not use it when you cannot confirm type, size, material, or speed rating.
- Excessive vibration: Stop immediately and inspect the accessory, flanges, nut, spindle, guard, and tool.
- Wrong accessory type: Do not use a cut-off wheel for side grinding or a wheel on an unapproved material.
- Drop or impact damage: A wheel that has been dropped, bumped hard, or suspected of damage should not be mounted.
- Moisture, solvent, or storage damage: Follow the abrasive manufacturer’s storage and disposal instructions.
When to Replace Wheels
Replace an angle-grinder wheel when it is damaged, out of round, excessively worn, glazed, loaded beyond safe cleaning, vibrating, contaminated, dropped, or no longer cutting normally. Do not rely on a fixed number of working hours. A wheel may become unsafe after one impact or deteriorate gradually through use and poor storage.
| Sign | Action |
|---|---|
| Visible cracks, chips, or missing chunks | Replace immediately and dispose of it so it cannot be reused |
| Wheel vibrates, wobbles, or chatters | Stop, disconnect power, and inspect the complete mounting system and grinder |
| Wheel is glazed, loaded, or cuts poorly | Clean or dress it only when the manufacturer approves that procedure; otherwise replace it |
| Speed rating is below grinder speed | Do not mount the accessory |
| Wheel was dropped or may have been damaged | Do not mount or reuse it |
Note: Do not assume every angle-grinder wheel can be checked by listening for a clear metallic ring. OSHA notes that organic-bonded wheels do not sound like vitrified wheels, and Norton Abrasives says ring testing is primarily applicable to vitrified products. Follow the wheel manufacturer’s inspection instructions.
Techniques to Avoid Gouging During Grinding
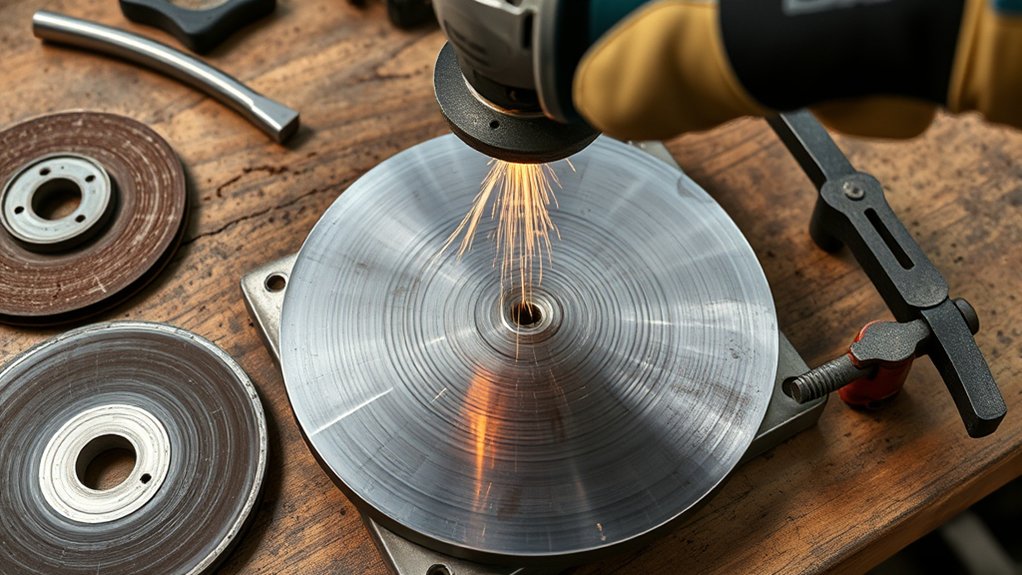
Good grinding technique is steady, light, and controlled. Start the grinder away from the workpiece, allow it to reach operating speed, and bring it into contact gently. Never bump the rotating accessory against the surface.
Proper Wheel Selection
Use the accessory label and grinder manual as your guide. Match the disc to the material, grinder size, spindle or arbor, guard, flanges, speed, and operation. If the label is missing or unreadable, replace the accessory instead of guessing.
Use the Correct Working Angle
There is no single angle for every accessory. The current DeWalt DCG410 instruction manual, for example, specifies the following angles for that grinder. Always use the values in your own tool and accessory instructions when they differ.
| Operation | Example Manual Angle | Control Point |
|---|---|---|
| Hard grinding wheel | 20–30 degrees | Avoid standing the wheel nearly upright or pressing one edge into the surface |
| Flap disc | 5–10 degrees | Keep it flatter so the intended abrasive area shares the load |
| Sanding disc with backing pad | 5–15 degrees | Keep the disc moving in controlled lines to prevent heat and swirl marks |
| Wire brushing | 5–10 degrees | Do not force the wires or allow the brush to strike the guard |
Consistent Workpiece Support
Consistent support is critical for clean grinding. Secure the workpiece with clamps or a vise so it cannot move. Thin sheet, narrow strips, pipe, and small parts may need a backing plate or support close to the grinding area because they can flex into the accessory and create a deep gouge.
Make Controlled, Overlapping Passes
- Start the grinder clear of the work and allow it to reach full speed.
- Establish a balanced stance and hold the grinder with both hands.
- Touch the accessory to the work gently at the correct angle.
- Move in smooth forward-and-back or crossing passes without dwelling.
- Overlap each pass slightly instead of trying to remove everything in one track.
- Lift the grinder from the surface before switching it off.
- Wait for the accessory to stop completely before setting the tool down.
How to Keep Your Workpiece Steady While Grinding
The workpiece should feel solid before the grinder touches it. If it vibrates, bounces, sags, rings loudly, or shifts under light contact, stop and improve the setup.
- Clamp the workpiece to a stable bench or hold it in a suitable vise.
- Place supports close enough to the work area to prevent bending without obstructing the accessory.
- Support both sides of a cut so the kerf cannot close and pinch a cutting wheel.
- Use a backing plate beneath thin sheet when the process and material allow it.
- Keep both hands on the grinder, including the auxiliary handle.
- Stand outside the likely kickback path and keep a balanced footing.
- Direct sparks away from your body, cords, batteries, fuel, rags, dust, glass, and bystanders.
- Make smooth passes and inspect the result frequently with a straightedge or good lighting.
Note: If the material is thin, decorative, already near final thickness, or easily distorted by heat, switch to a finer flap disc, hand sanding, a file, or another less aggressive finishing tool.
How to Fix a Gouge You Already Made
If the angle grinder has already left a gouge, do not keep grinding hard at the bottom of the depression. That usually makes the low area wider and deeper.
- Stop and inspect the damage. Clean the area and mark the deepest point and the limits of the depression.
- Determine whether repair is cosmetic or structural. Do not remove more material from a frame, lifting component, pressure-retaining part, vehicle suspension part, tool, guard, or other safety-critical item without qualified assessment.
- Switch to a less aggressive abrasive. A compatible flap disc or finer abrasive normally offers more blending control than a hard grinding wheel.
- Feather the surrounding high edges. Blend a broad area instead of chasing the deepest point.
- Use light cross-passes. Change pass direction so you do not create another trench.
- Check thickness and flatness frequently. Use a straightedge, contour gauge, caliper, or other suitable measuring method.
- Finish gradually. Move to a finer grit only after the shape is even and sufficient material remains.
Warning: Blending can improve appearance, but it does not automatically restore lost strength. Stop and obtain qualified repair guidance when the gouge affects structural thickness, a weld design, a pressure boundary, a load path, or a safety-critical component.
Safety Checks Before Operating Your Angle Grinder
Complete these checks before every grinding or cutting session:
- Confirm the required guard is installed, secure, and positioned between you and the accessory.
- Confirm the auxiliary handle is tight and placed for two-handed control.
- Inspect the accessory for cracks, chips, deformation, loading, contamination, and excessive wear.
- Confirm the accessory’s rated speed is at least equal to the grinder’s maximum marked speed.
- Confirm the diameter, arbor, thread, flanges, locking nut, guard, and operation are compatible.
- Check that the accessory’s direction arrow matches the tool when a direction is specified.
- Inspect the cord, plug, battery, switch, spindle lock, housing, and ventilation slots.
- Remove flammable liquids, rags, vapors, combustible dust, fuel, and other ignition hazards from the spark path.
- Use screens or barriers to protect nearby people from sparks and fragments.
- Wear safety glasses with side protection and an appropriate face shield, hearing protection, fitted clothing, suitable footwear, and well-fitting gloves that preserve your grip.
- Use dust extraction, ventilation, and suitable respiratory protection when the material or coating can create hazardous dust.
Silica, Paint, and Coating Hazards
When grinding concrete, brick, stone, block, mortar, or similar materials, dust is not merely a cleanup problem. OSHA explains that grinding these materials can generate respirable crystalline silica associated with silicosis, lung cancer, chronic obstructive pulmonary disease, and kidney disease. Use engineering controls, work practices, and respiratory protection that meet the material, exposure, and applicable workplace rules.
Old or unknown paint can also contain hazardous substances, including lead. Avoid dry grinding, sanding, or wire brushing an unidentified coating until its composition and required controls are known. Keep children, pregnant people, food, and drinks away from a contaminated work area, and use cleanup methods intended for the specific hazard rather than blowing dust into the air.
Ventilation-Slot and Metal-Dust Check
Metal dust can collect inside the grinder and around its air vents. Follow the manufacturer’s maintenance instructions and keep ventilation slots unobstructed. Disconnect power before cleaning, and do not introduce liquids or conductive objects into the tool.
When and How to Replace Your Angle Grinder Wheel
Replace the wheel whenever it is damaged, unsuitable for the task, incompatible with the guard or flanges, below the required speed rating, or producing abnormal vibration or results. Do not try to finish the job with a questionable accessory.
- Disconnect power. Unplug the grinder or remove its battery before touching the accessory.
- Wait for a complete stop. Never operate the spindle lock or set the grinder down while the accessory is rotating.
- Remove the old accessory with the correct tool. Do not strike, pry, or improvise a tightening method that can damage the wheel or spindle.
- Inspect the grinder and mounting parts. Check the guard, spindle, backing flange, locking flange or nut, and all contact surfaces.
- Check the replacement accessory. Confirm its type, material rating, diameter, thickness, arbor or thread, direction, speed rating, and required guard.
- Mount it exactly as instructed. Use the correct flanges and manufacturer-supplied tightening method without overtightening.
- Perform the protected run-up test. With the guard installed, position yourself and bystanders outside the plane of the accessory. Unless your tool or accessory instructions specify another procedure, run it at maximum no-load speed for one minute without touching the work.
- Stop if anything is abnormal. Disconnect power and recheck the setup if you detect wobble, vibration, rubbing, cracking sounds, or unusual noise.
- Test on scrap. Confirm the working angle, pressure, direction, and finish on similar material before returning to the final workpiece.
A smooth grind comes from a compatible accessory, the correct guard and flanges, minimum pressure, steady support, continuous movement, and a wheel that is safe to use.
Products Worth Considering


[7PCS 5/8"-11 Angle Grinder Nut Wrench Replacement Kit] 1 piece angle grinder wrench and 6 angle grinder nuts (3 inner flange nuts, 3 outer flange nuts) for lock nut removal, wheel/disc replacement.Compatible with most arbor grinders and lock nuts, Perfect for home DIY, workshop projects, and professional grinder parts replacement

【Value Sets】The grinder nut set includes 1 angle grinder wrench and 6 angle grinder nuts (3 inner flange nuts, 3 outer flange nuts). Please check size and compatibility before ordering. Please contact us with any questions or concerns. We prioritize your satisfaction .
Frequently Asked Questions
What causes an angle grinder to stop working?
An angle grinder can stop because of a disconnected supply, drained battery, overload protection, overheating, blocked vents, worn brushes, damaged wiring, a faulty switch, a jammed accessory, or internal failure. Disconnect power before checking the battery or cord, vents, wheel, guard, and spindle area. Have electrical or internal faults repaired by a qualified service provider.
What is the ball gouge on an angle grinder?
A ball gouge is a rounded carving attachment used for shaping, hollowing, and sculpting approved materials. It is different from an accidental gouge. Use one only when its manufacturer specifically approves your grinder size, spindle, speed, material, mounting method, operating technique, and protective setup.
What is the cause of faulty wheel dressing?
Faulty dressing can result from the wrong dresser, uneven movement, poor support, excessive dressing force, or an already damaged wheel. Many portable angle-grinder accessories are consumable products that should be replaced rather than dressed. Dress an accessory only when its manufacturer provides an approved procedure.
What are the common problems with grinding?
Common grinding problems include gouging, chatter, overheating, glazing, loading, uneven finish, excessive vibration, discoloration, rapid accessory wear, unsafe sparks, and poor control. Typical causes are an unsuitable accessory, excess pressure, incorrect working angle, weak support, mounting errors, or wheel damage.
Can I use a cutting disc for grinding?
No. A normal cut-off wheel is designed for edge cutting, not side pressure. Side grinding can overstress and shatter it. Use a grinding wheel, flap disc, or another accessory specifically labeled for surface grinding, together with its required guard and flanges.
Why does my grinder leave chatter marks?
Chatter marks usually indicate vibration from a loose or flexible workpiece, an out-of-round accessory, dirty or incorrect flanges, uneven pressure, a steep angle, or a worn grinder component. Stop, disconnect power, secure the work, and inspect the full setup before continuing.
What flap-disc grit is best for avoiding gouges?
The best grit depends on the material and how much stock must be removed. Coarser grits cut faster and are easier to overuse, while finer grits offer more control for blending. Start with the least aggressive grit that can complete the work efficiently and test it on scrap first.
Why does the angle grinder pull across the workpiece?
The wheel’s rotation creates a reaction force, and snagging an edge can increase it suddenly. Excess pressure, poor body position, an unsupported edge, or an unsuitable accessory can make the pull stronger. Use both hands, stay outside the kickback path, apply minimum pressure, and avoid bouncing into edges.
Can an angle-grinder gouge be repaired completely?
A shallow cosmetic gouge can often be blended if enough material remains. A deep gouge may permanently reduce thickness or strength. Structural, pressure-retaining, load-bearing, vehicle, lifting, or other safety-critical parts require qualified evaluation before additional material is removed or a repair is attempted.
How long should I test-run a newly installed grinder wheel?
Follow the grinder and accessory manuals. A common manufacturer procedure is to install the correct guard, stand with bystanders outside the accessory’s plane, and run the grinder at maximum no-load speed for one minute. Stop immediately if you notice wobble, vibration, rubbing, or unusual noise.
Conclusion
Preventing gouges with an angle grinder comes down to compatibility, control, and support. Use the correct accessory, guard, and flanges; verify the speed rating and wheel condition; secure the workpiece; and use the working angle stated by the manufacturer. Apply minimum pressure, keep the grinder moving, and stop whenever it vibrates, grabs, or cuts unpredictably. A lighter, well-supported pass is safer and normally produces a flatter finish than forcing the tool.
Sources
- OSHA 29 CFR 1910.243 — Guarding of Portable Powered Tools — supports portable abrasive-wheel guarding, guard position, wheel inspection, and speed checks.
- OSHA 29 CFR 1910.215 — Abrasive Wheel Machinery — supports wheel inspection, mounting, ring-test guidance, flanges, and maximum operating speed.
- SafeWork SA — Angle Grinders — supports correct disc selection, guard use, two-handed operation, minimum pressure, workpiece support, and grinding-disc angle guidance.
- DeWalt DCG410 Angle Grinder Instruction Manual — supports accessory-specific working angles, guard and flange selection, one-minute testing, two-handed control, and lead-paint precautions.
- OSHA — Crystalline Silica Overview — supports the silica warning for grinding concrete, brick, stone, block, and mortar.
- Norton Abrasives — Proper Handling and Storage of Grinding Wheels — supports dropped-wheel disposal, storage guidance, one-minute test running, and ring-test limitations.