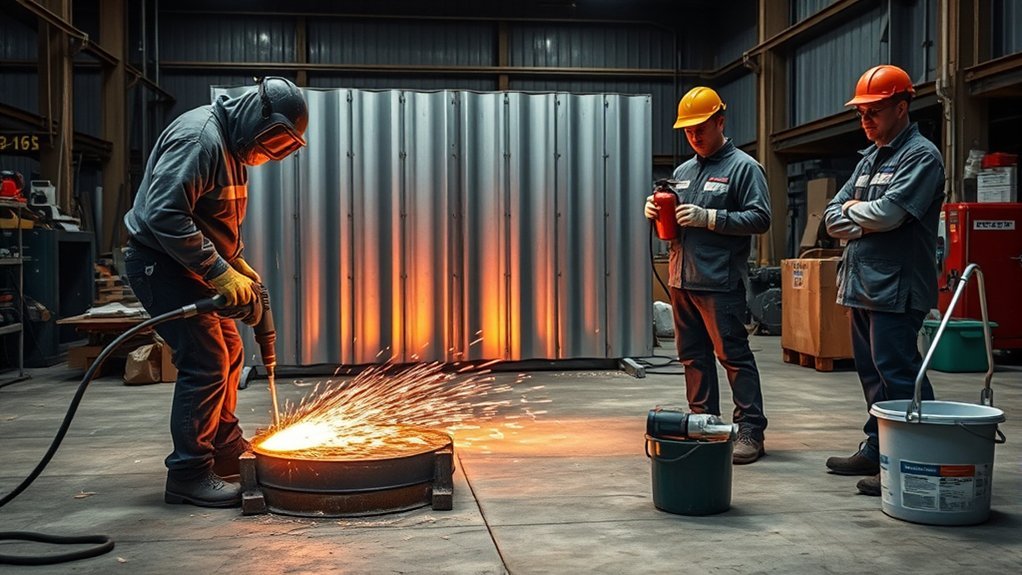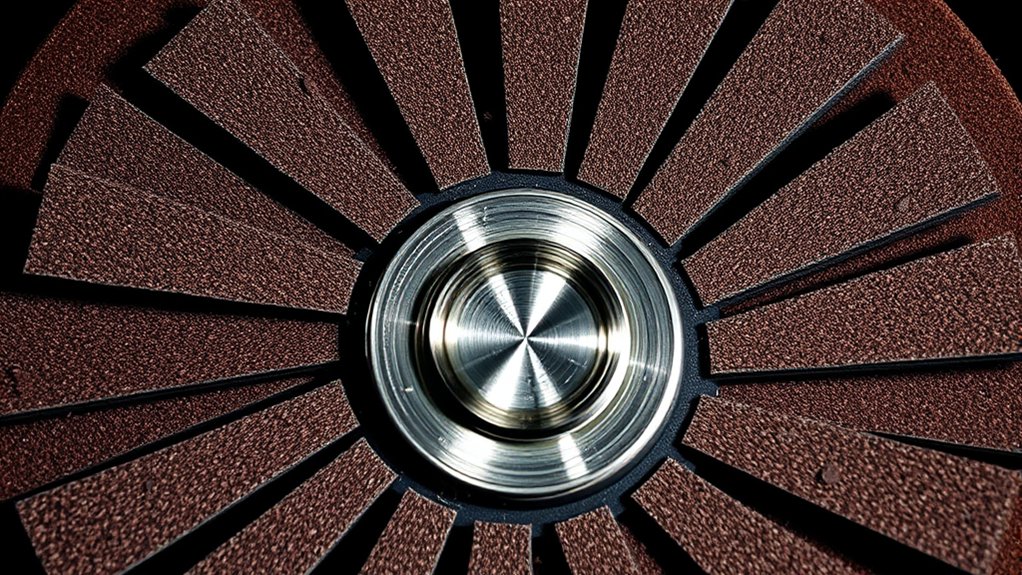
An angle grinder flap disc can grind, blend, deburr, and finish metal with one accessory. The best choice depends on the job, the workpiece, and the grinder. Match the grit, Type 27 or Type 29 shape, abrasive grain, diameter, arbor, and maximum RPM before you start. Then use the guard, side handle, correct working angle, and light-to-moderate pressure for a controlled finish.
Quick Answer
Use 36–40 grit for fast stock removal, 40–60 grit for weld blending, and 80–120 grit for surface prep and finishing. Choose Type 27 for flatter work at about 0–15 degrees and Type 29 for more aggressive grinding at about 15–25 degrees. Always match the disc’s size, arbor, material rating, and maximum RPM to the grinder.
Key Takeaways
- Lower grit numbers cut faster but leave deeper scratches; higher numbers remove less material and leave a finer finish.
- Type 27 discs suit flatter surfaces and shallow angles; Type 29 discs suit steeper angles, contours, and faster stock removal.
- Aluminum oxide is economical, zirconia alumina is durable for general fabrication, and ceramic grain is suited to demanding, higher-productivity work.
- Never exceed the disc’s maximum RPM, remove the grinder guard, use an oversized disc, or use a flap disc for cutting.
- Use only a flap disc that its manufacturer approves for the workpiece material, especially on aluminum, stainless steel, masonry, wood, or composites.
At a Glance
| Time Required | A few minutes for a small weld blend or edge cleanup; longer for large surfaces or multi-grit finishing |
| Difficulty | Beginner to intermediate; practice on scrap before working on a visible surface |
| Tools Needed | Compatible angle grinder, rated flap disc, guard, side handle, clamps or vise, eye and face protection, hearing protection, gloves, and dust control or respiratory protection as required |
| Cost | Varies by disc diameter, abrasive grain, flap density, attachment style, and brand |
Understanding Flap Discs: What They Are and How They Work
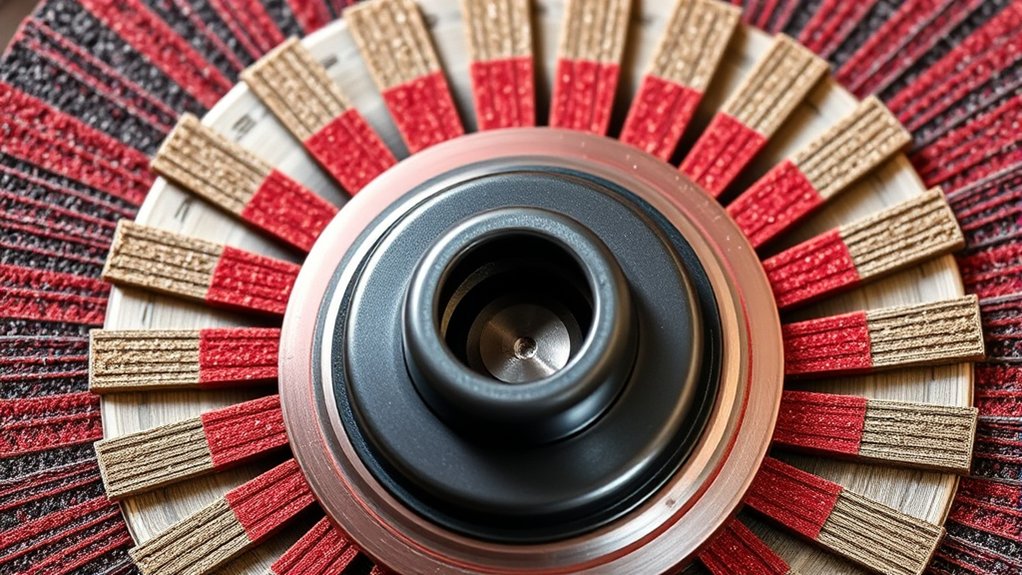
Flap discs are coated-abrasive tools made from overlapping abrasive-cloth flaps bonded to a backing plate. As the outer abrasive wears, new grain is exposed. This design lets a flap disc remove material while leaving a more blended scratch pattern than many hard grinding wheels.
Common jobs include weld removal, weld blending, deburring, edge chamfering, rust or coating removal, and surface preparation. A flap disc can also follow light contours, but it is not a cut-off wheel and should never be used to slice through metal. For examples of current Type 27 and Type 29 products, see 3M’s flap disc overview.
Flap Disc vs. Grinding Wheel vs. Fiber Disc
| Accessory | Best Use | Main Tradeoff |
| Flap disc | One-step grinding and blending, weld leveling, deburring, and surface prep | Less aggressive than some hard wheels but easier to control and blend |
| Grinding wheel | Heavy stock removal, beveling, and hard edge work | Can leave a rougher finish and remove base metal quickly |
| Fiber disc | Fast grinding and blending with a separate backing pad | Requires the correct pad and can be less forgiving at edges |
How to Pick the Right Flap Disc Grit
Grit choice controls the balance between cutting speed and finish quality. Lower numbers have larger abrasive particles, so they remove material quickly and leave deeper scratches. Higher numbers cut more slowly and leave a finer scratch pattern. The ranges below are practical starting points, not universal rules; the material, disc design, pressure, and finish requirement can change the best choice.
| Grit | Typical Use | Expected Finish |
| 36 | Heavy weld removal, beveling, and fast stock removal | Deep, visible scratch pattern |
| 40 | Aggressive weld grinding and edge cleanup | Coarse finish that usually needs another step |
| 60 | Weld blending, deburring, and general fabrication | Balanced cut and finish |
| 80 | Light blending, coating prep, and scratch refinement | Finer, more uniform finish |
| 120 | Final refinement and light finishing where the disc is approved | Smooth scratch pattern with limited stock removal |
Start only as coarse as necessary. Every deep scratch made with a 36- or 40-grit disc must be removed during the later finishing steps.
Pro Tip: Test the disc on scrap from the same material. Check the cut rate, heat, and scratch pattern before touching the finished workpiece.
Flat vs. Conical Flap Discs: Why Shape Matters
Disc shape changes the contact area and working angle. A Type 27 disc is nearly flat and is usually the better choice for broad, flat surfaces, outside edges, and controlled blending. A Type 29 disc is conical, so it concentrates pressure and cuts more aggressively on welds, edges, and contours.
- Type 27 (flat): Use at a shallow angle, commonly about 0–15 degrees, unless the disc maker specifies otherwise.
- Type 29 (conical): Use at a steeper angle, commonly about 15–25 degrees, unless the disc maker specifies otherwise.
Do not run either style flat against the work if the manufacturer does not permit it, and do not grind on the thin outer edge. Excessive angle can expose the backing plate, damage the bond, snag the flaps, or gouge the work.
Products Worth Considering

DURABLE: Our 10 pack 40 grit flap disc 4-1 2 inch abrasive wheels are constructed of industrial grade premium blue zirconia for strength, durability, and extended disc life.

PREMIUM QUALITY: These flat flap discs, also known as cut off wheels 4 1/2 inch, are constructed with industrial grade premium zirconia abrasive for strength, durability, and extended disc life as it holds up to high temperatures and pressure.

PREMIUM QUALITY: These angled flap discs, also known as cut off wheels 4 1/2 inch, are constructed with industrial grade premium zirconia abrasive for strength, durability, and extended disc life as it holds up to high temperatures and pressure.
Selecting the Best Abrasive Material for Your Flap Disc
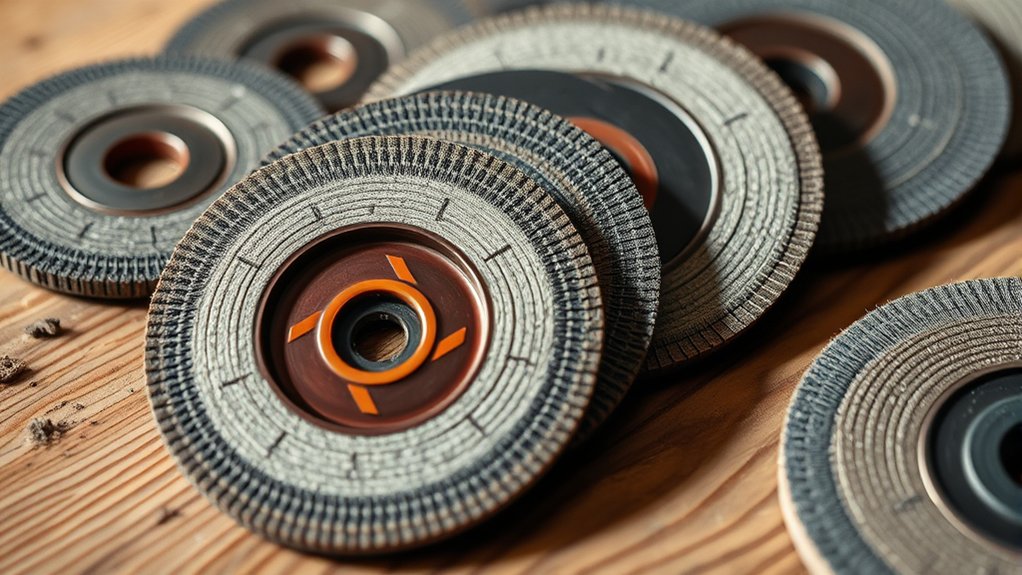
The abrasive grain affects cutting speed, pressure requirements, heat, and service life. Always follow the material list printed on the disc or stated by its manufacturer.
- Aluminum oxide: An economical general-purpose choice. Depending on the product, it may be intended for carbon steel, paint or rust removal, wood, or selected nonferrous materials.
- Zirconia alumina: A durable, self-renewing grain commonly used for weld removal, deburring, and stock removal on carbon steel and stainless steel. It usually performs best with steady pressure.
- Ceramic alumina or precision-shaped ceramic grain: A premium option for demanding fabrication, harder alloys, and higher productivity. It can cut efficiently with less heat than a dull conventional abrasive, but it does not eliminate the risk of overheating.
- Silicon carbide and specialty grains: Available on some application-specific discs for nonferrous metals, composites, or other substrates. Use them only when the product is expressly rated for that material.
Products Worth Considering

HIGH-DENSITY JUMBO DESIGN: Type 29 flap discs with a high-density jumbo layout support surface blending, beveling, grinding, deburring, and edge chamfering. Curved profile aids finishing, stock removal, and rust cleanup for pros and DIY enthusiasts

【Grinding Specialist】10 pieces 80 grit high density grinding disc. Constructed of industrial grade premium zirconia aluminium coating to provide more grinding material than standard flap discs and exceed by packing 25 to 50% more abrasive on each snippet
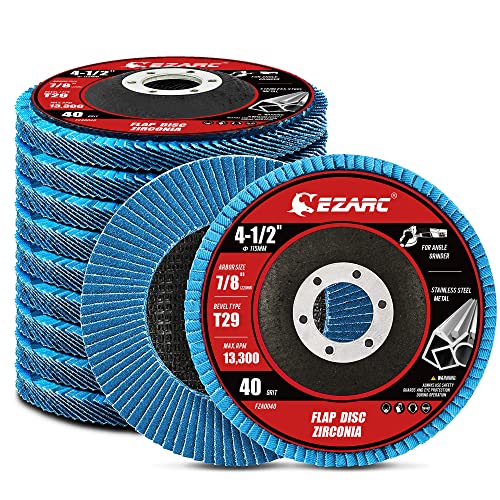
【Great Performance】EZARC flap sanding discs are made of hard zirconia material which lasts longer than standard aluminum oxide abrasive material, built for a more robust and economical grinding wheel
Backing Plate and Flap Density
Fiberglass backings are rigid and common for general metalwork. Plastic or composite backings may be lighter or trimmable. Only trim a disc that is specifically sold as trimmable, and follow its instructions. Standard-density discs expose fresh grain quickly and suit general work. High-density discs contain more abrasive material and can last longer in sustained grinding, but they may feel less flexible.
Note: For stainless steel, use a disc approved for stainless and keep it dedicated to stainless work. A disc previously used on carbon steel can carry iron particles that may later rust on the stainless surface.
Match Disc Size, Arbor, and Speed Rating to Your Grinder
Before grinding, compare the markings on the flap disc with the grinder’s nameplate and manual. The accessory must fit the tool without forcing, improvised spacers, or an oversized guard opening.
- Diameter: Use only a disc diameter the grinder is designed to accept. Never remove the guard to fit a larger disc.
- Arbor or attachment: Match the grinder spindle and flange system. Common U.S. options include a 7/8-inch center hole and a 5/8-11 threaded hub, but the exact fit must match your tool.
- Maximum RPM: The disc’s maximum operating speed must equal or exceed the grinder’s no-load RPM.
- Guard and side handle: Install and position both as the grinder manufacturer directs. The guard should sit between you and the disc and deflect debris away.
- Material and application rating: Confirm that the disc is approved for the workpiece and for grinding or finishing—not cutting.
Warning: A disc with a lower RPM rating than the grinder can fail at speed. Do not use a damaged, dropped, cracked, distorted, wet, contaminated, or incorrectly mounted flap disc.
How to Set Up and Use a Flap Disc Safely
- Disconnect the power. Unplug a corded grinder, remove the battery, or isolate the air supply before changing the disc.
- Inspect the grinder. Check the guard, side handle, spindle, flanges, cord, switch, and vents. Do not use a damaged tool.
- Inspect the disc. Look for missing or loose flaps, cracks, chips, warping, damaged threads, moisture, contamination, or an expired service limit stated by the maker.
- Confirm compatibility. Match diameter, arbor, maximum RPM, disc type, and workpiece material.
- Mount the disc correctly. Follow the grinder and disc instructions. Tighten it securely without over-tightening or using makeshift adapters.
- Secure the workpiece. Clamp it to a stable bench or hold it in a vise. Do not hold a small workpiece in one hand while grinding with the other.
- Prepare the area. Remove flammables, route the cord away from the disc, control bystanders, and provide suitable ventilation or dust extraction.
- Wear PPE. Use safety glasses plus a face shield, hearing protection, suitable gloves and clothing, and respiratory protection when the hazard assessment calls for it.
- Test at no load. Stand out of the disc’s plane, start the grinder with the disc clear of the work, and let it reach full speed. Stop if you notice unusual vibration or noise.
- Grind with two hands. Use the correct working angle, apply controlled pressure, and keep the disc moving. Let the abrasive cut instead of forcing it.
- Finish safely. Lift the disc from the work before switching off, wait for a complete stop, and place the grinder where the disc cannot contact anything.
Warning: Grinding creates sparks, hot particles, dust, noise, and possible kickback. Keep the area clear of fuel, solvent, sawdust, grain dust, and other combustible material. Aluminum and magnesium dust can create severe fire or explosion hazards; use work practices and dust collection designed for combustible metal dust.
Best Practices for Achieving a Smooth Finish With Flap Discs
A smooth finish comes from using the least aggressive disc that will do the work, controlling heat, and refining the scratch pattern in planned steps. Do not chase a low spot by holding the grinder in one place; that creates heat and can thin the base metal.
Selecting Appropriate Grit Size
- Use 36–40 grit only when heavy stock removal justifies the deeper scratches.
- Use 40–60 grit for weld grinding and blending where you need a balance of cut and control.
- Use 80–120 grit for scratch refinement, light surface preparation, or a smoother finish when the disc is approved for the material.
- When changing grit, clean the workpiece and inspect the scratch pattern. Skip only the steps that the test piece proves are unnecessary.
Optimal Grinding Technique
Keep the disc at the angle specified for its shape—typically 0–15 degrees for Type 27 and 15–25 degrees for Type 29. Use light-to-moderate, even pressure. Sweep across the work in overlapping passes and keep moving to avoid grooves and hot spots. Work from the high weld bead toward the surrounding surface, and stop before removing sound base metal.
Excessive pressure can glaze or overheat the abrasive, bend the flaps, expose the backing early, and make the grinder harder to control. Too little pressure can also reduce the self-sharpening action of some zirconia or ceramic products. The correct pressure is the lowest pressure that produces a steady cut without chatter, burning, or stalling the grinder.
Control Heat, Loading, and Cross-Contamination
- Heat: Use fresh abrasive, moving passes, and short pauses. Heat tint on stainless or discoloration on thin sheet means you should reduce pressure or dwell time.
- Loading: Soft metals, paint, adhesives, and some plastics can clog a disc. Use a product designed to resist loading on that material.
- Stainless steel: Keep abrasives and brushes separate from carbon-steel tools to reduce iron contamination.
- Thin metal: Use a finer grit, lighter pressure, and broader passes to reduce gouging and distortion.
Avoid These Common Mistakes When Using Flap Discs
- Choosing the wrong grit: A disc that is too coarse removes base metal and creates extra finishing work; one that is too fine may overheat or polish instead of cutting.
- Using the wrong angle: Type 27 and Type 29 discs have different working ranges. Excessive angle can damage the backing or snag the flaps.
- Using excessive pressure: More pressure does not always mean faster work. It can cause gouging, heat, premature wear, and loss of control.
- Ignoring the RPM rating: Never mount a disc whose maximum RPM is below the grinder’s no-load speed.
- Removing the guard: The guard is part of the grinder’s protection system and must remain installed and correctly positioned.
- Grinding with the disc edge: A flap disc is designed to work on its face at the specified angle, not as a cut-off disc.
- Using one disc on every material: Confirm the disc is rated for the metal or other substrate. Do not assume a general metal disc is safe for concrete, glass, ceramic tile, or plastic.
- Working with a worn or damaged disc: Stop when flaps loosen or separate, the backing is damaged, the disc is distorted, vibration develops, or the manufacturer’s wear limit is reached.
When to Replace and How to Store Flap Discs
There is no reliable “hours of use” lifespan for a flap disc. Life changes with grit, grain, flap density, pressure, grinder speed, workpiece hardness, edge exposure, heat, and storage. Replace the disc based on condition and performance, not a time estimate.
Stop using the disc if it has missing or lifting flaps, a cracked or chipped backing, damaged threads or center hole, contamination, moisture damage, severe glazing, unusual vibration, or poor cutting that does not improve with correct pressure. Do not trim a standard backing plate; trim only a disc designed and labeled for that procedure.
Store flap discs dry, flat, and protected from impact, crushing, direct sunlight, and temperature extremes. Keep them in their original packaging or a clean cabinet, and follow any shelf-life or storage instructions printed by the manufacturer.
Frequently Asked Questions
Can I use flap discs on materials other than metal?
Only when the specific disc is approved for that material. Some flap discs are rated for wood, paint removal, composites, or selected nonferrous metals. A general metal flap disc should not be assumed safe or effective for concrete, stone, glass, ceramic tile, drywall, or plastic. Those jobs may require a dedicated abrasive or diamond accessory.
How long do flap discs typically last?
There is no dependable lifespan in hours. Disc life depends on the abrasive grain, grit, flap density, pressure, speed, material, edge contact, heat, and storage. Replace the disc when it is damaged, unstable, no longer cuts normally, or reaches the manufacturer’s wear limit.
Is it safe to use a flap disc without protective gear?
No. Use safety glasses and a face shield, hearing protection, suitable gloves and clothing, and respiratory protection when dust or fumes require it. Keep the grinder guard and side handle installed, and secure the workpiece before starting.
Can flap discs be used on curved surfaces?
Yes, when the disc manufacturer lists contour work as an intended use. Type 29 discs often provide stronger contact on contours, while flexible Type 27 products can blend broad curves. Keep the approved angle, avoid catching an edge, and use controlled passes.
How should I store flap discs?
Keep them dry, flat, clean, and protected from impact, crushing, moisture, direct sunlight, and temperature extremes. Original packaging or a dedicated cabinet helps prevent damage and contamination.
What flap disc grit is best for grinding welds?
A 40- or 60-grit disc is a common starting point. Use 36 grit only for heavy weld removal where deep scratches are acceptable. Move to 80 grit or finer when the final surface needs additional refinement.
Can I cut metal with a flap disc?
No. A flap disc is intended to grind and finish on its face at a controlled angle. Use a cut-off wheel that is specifically rated for cutting, with the correct guard and tool setup.
Can I use a flap disc without the grinder guard?
No. Use the guard required by the grinder and accessory manufacturer. Position it between your body and the disc so it helps deflect sparks, fragments, and debris away from you.
Conclusion
Mastering flap discs starts with matching the accessory to the job. Choose the grit for the amount of material you must remove, select Type 27 or Type 29 for the working angle, and use a grain and backing approved for the workpiece. Then verify the diameter, arbor, and RPM before mounting the disc.
Good results come from steady two-handed control, moderate pressure, overlapping passes, and planned grit changes. Performance differences between flap discs can be substantial, but any percentage claim depends on the named product, material, grinder, pressure, and test method. Treat broad, unsourced improvement figures as marketing—not a universal expectation.
Sources
- OSHA 29 CFR 1910.243: Guarding of Portable Powered Tools — portable grinder guarding requirements
- OSHA Angle Grinder Safety Talk — disc speed, guard, clamping, PPE, spark, and dust precautions
- Norton: Do’s and Don’ts of Flap Discs — Type 27 and Type 29 working angles and misuse hazards
- Norton Abrasive Selection for Welding and Metal Fabrication — grit and abrasive guidance for weld removal, deburring, and blending
- Weiler Abrasives Flap Disc Guide — backing plates, flap density, and trimmable designs
- OSHA: Hazards Associated With Aluminum Grinding — combustible metal dust and fire hazards