How to Use a Sliding Stand for Precise Angle Grinder Cuts
What’s in This Article
- What a sliding stand does for grinder precision
- What you need for a smart sliding cutting setup
- Choosing discs and settings for cleaner cuts
- Alignment and calibration checklist before the first cut
- Step-by-step: How to run a guided sliding cut
- Making long cuts accurate: support, stops, and anti-sag
- Common mistakes that ruin precision with a grinder
- Safety essentials for guided grinder cutting
- Frequently Asked Questions
- Key takeaways
A crooked grinder cut can waste material fast, especially on long bars, tubing, or sheet stock. A stable sliding stand gives your grinder a guided path, so you can cut straighter with less drift. This guide explains what the setup does, what parts you need, how to align it, and how to cut safely.
Quick Answer
A sliding stand helps an angle grinder make straighter cuts by holding the tool on a guided path. You still need the right disc, firm clamping, steady feed pressure, and careful alignment. For best results, test the setup on scrap before you cut finished material.
Key Takeaways
- A sliding stand improves straightness by guiding the grinder along a fixed travel path.
- Clean cuts depend on disc choice, rail alignment, clamping, and steady feed pressure.
- Long workpieces need support near the cut and at the off-cut end to prevent sag.
- A test cut helps you confirm squareness before you cut critical parts.
- Safe grinder use requires guards, eye protection, hearing protection, and secure workholding.
🔧 What a sliding stand does for grinder precision
A typical angle grinder handheld setup depends on your grip, stance, and feed control. A sliding stand adds support and keeps the tool moving along a straighter path.
- Guidance: The grinder moves along a controlled path instead of a freehand arc.
- Repeatability: You can reuse the same height, travel distance, and alignment for several cuts.
- Stability: Tool support and firm work positioning reduce chatter and wandering.
- Safety: A more predictable cutting path helps you keep your hands away from the disc.
The result is a cleaner edge, a straighter kerf, and less time spent correcting miscuts.
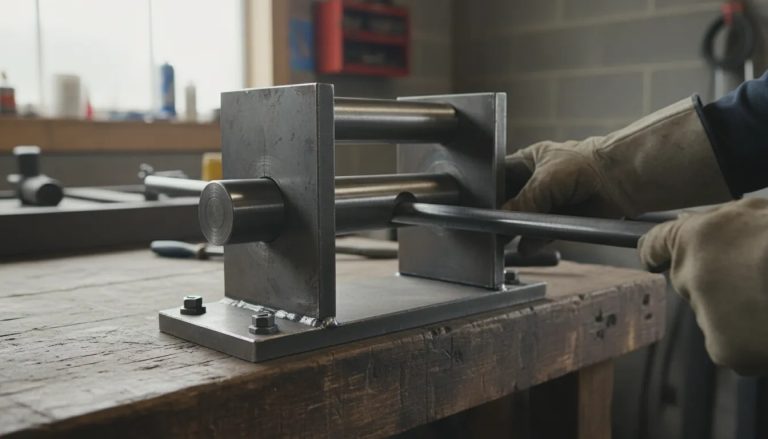
🧰 What you need for a smart sliding cutting setup
You can buy a purpose-built guided stand or build a custom sliding system. Either approach needs the same basic parts.
Products Worth Considering

【Value Sets】The grinder nut set includes 1 angle grinder wrench and 6 angle grinder nuts (3 inner flange nuts, 3 outer flange nuts). Please check size and compatibility before ordering. Please contact us with any questions or concerns. We prioritize your satisfaction .

【Wide Compatibility】: Designed to be suitable for different types of angle grinders with a maximum cut capacity of 100mm, 115mm,125mm, offering versatility in tool selection.

The package includes: you will receive 2 precision machined connectors, 8 special screws to prevent over tightening, and 1 3mm hex wrench. Help you open the packaging and start working immediately without the need for any additional tools.
Estimated time
Plan on 30 to 60 minutes to assemble, align, and test a basic sliding setup. A custom DIY build can take longer because rail alignment and bracket rigidity need more tuning.
Core components
- Angle grinder with a cutting disc rated for your material
- Sliding base or carriage that supports the grinder securely
- Guide rails that keep the grinder moving in a straight line
- Mounting plate or bracket that locks the grinder rigidly to the carriage
- Return or tension mechanism to help keep feed motion controlled
- Work stop and clamping system for repeatable positioning
Consumables and accessories
- Cutting discs matched to material type and thickness
- Spare fasteners and thread-lock where the mount requires it
- Measuring tools such as calipers, a square, a tape, and a marking jig
- Dust control and personal protective equipment
⚙️ Choosing discs and settings for cleaner cuts
Precision depends on more than the stand. Disc selection, speed control, and feed pressure all affect kerf quality, heat, and straightness.
Products Worth Considering

Specifications: Revvstark diamond cutting wheel diameter 4-1/2 in (115 mm), hole diameter 7/8 in (22.23 mm), thickness 0.047 inch (1.2 mm); The maximum safe operating speed is 13,300 RPM


【LONG LIFE & SMOOTH CUTTING】Merryland Cut off Wheel 4.5 inch Metal Stainless Steel Cutting for Angle Grinder. Made of German Phenolic Resin, Refined Calcined & White Corundum. Bravo-Line. High Quality and Long Life!
Pick the right cutting disc
- For metal, use discs designed for ferrous metal or stainless steel as needed.
- For thicker stock, use a disc suited to the material and avoid forcing the cut.
- For long cuts, use a steady feed approach that limits heat buildup.
Use steady speed and light pressure
- Let the disc do the work. Heavy pressure can cause binding and wandering.
- Keep the feed consistent. Sudden speed changes can leave uneven kerf walls.
- Inspect disc wear. A chipped or uneven disc can make rough, crooked cuts.
Warning: Never use a damaged cutting disc because it can break during the cut.
📐 Alignment and calibration checklist before the first cut
Accuracy starts before the disc touches the work. Spend time calibrating the stand once, then use the same setup for repeat cuts.
1) Level the base and confirm rail straightness
- Place the base on a flat, firm surface.
- Check that the rails run straight and parallel to the cutting line.
- Remove any side play that could let the carriage drift.
2) Set grinder height to control kerf depth
- Set the disc so it reaches the target cut depth without cutting into the base.
- Confirm that the grinder clears the work and fixture through the full travel range.
3) Square the cutting path to the work stop
- Use a try square or machinist square to check the disc path against the work stop.
- Make small alignment changes, then check the path again.
4) Add positive workholding
- Use clamps that stop the material from shifting during cutting.
- Use a stop block or fence when you need repeatable placement.
- Support both ends of long pieces to prevent sag and angled cuts.
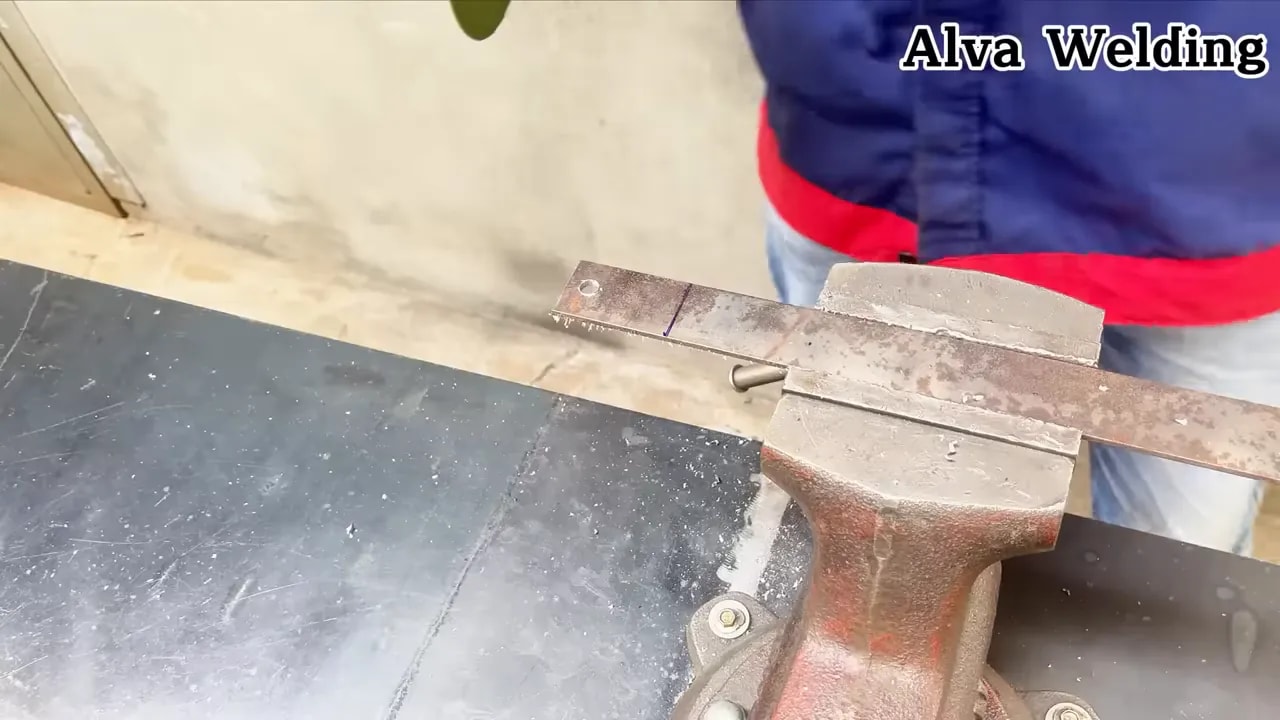
5) Do a test cut and measure
- Cut a scrap piece with the same thickness and orientation.
- Measure the kerf, edge squareness, and cut length.
- Adjust the stand before you move to critical cuts.
Pro tip: Mark one test piece as your setup sample, so you can compare future cuts against it.
🧱 Step-by-step: How to run a guided sliding cut
Once you align the system, the cutting process becomes easier to repeat. Use the same order each time so your setup stays predictable.
- Mark the cut line on the workpiece and account for the disc kerf.
- Position the work against the stop, then tighten the clamps firmly.
- Set the grinder on the carriage and confirm it can travel without interference.
- Start the disc and wait until it reaches stable rotation.
- Begin the cut gently with light pressure so the disc seats cleanly.
- Feed the grinder steadily along the rails without twisting the carriage.
- Complete the stroke in one smooth pass when the setup allows it.
- Let the disc stop fully before you release the workpiece.
For repeat parts, keep your clamps and stops in the same positions. Don’t re-sight the work line each time unless you change the setup.
📦 Making long cuts accurate: support, stops, and anti-sag
Long and wide materials can shift even when the grinder moves on a straight rail. Sag, vibration, and off-cut movement can still pull the cut out of line.
Support strategies
- Support near the cut line: Place support close to where the disc enters the material.
- Support the far end: Keep the off-cut side from dropping during the cut.
- Use roller stands or more clamps: Keep long stock stable through the full stroke.
Use a repeatable fence
- A fixed fence reduces measuring errors across repeated cuts.
- A stop block helps you cut identical lengths without marking each piece again.
Note: A straight rail can’t correct a workpiece that moves during the cut.
🛑 Common mistakes that ruin precision with a grinder
Many cuts fail because one part of the setup moves, flexes, or binds. Check these issues before you blame the stand.
- Side-loading the disc: Twisting the tool can make the kerf wander.
- Weak clamping: A small shift can leave an uneven cut.
- Worn or damaged discs: Chipped discs cut unpredictably.
- Poor support: Sag and vibration can turn a straight feed into a crooked kerf.
- Overfeeding: Heavy pressure can cause binding and disc deflection.
- No test cut: Skipping measurement can repeat the same error across several parts.
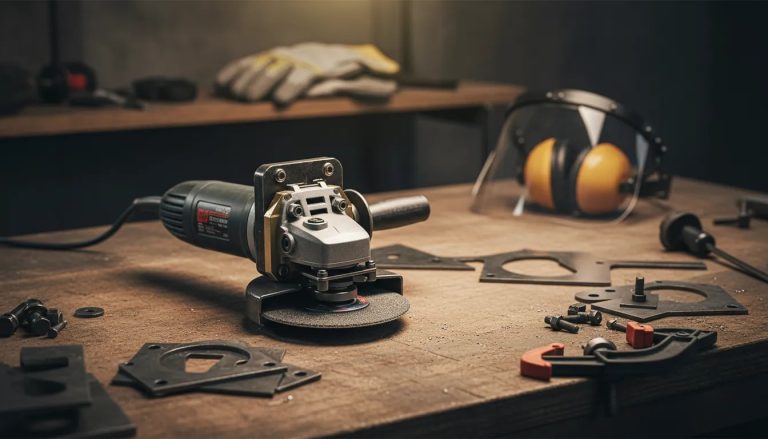
🧯 Safety essentials for guided grinder cutting
Angle grinders create sparks, noise, dust, and kickback risk. A sliding stand improves control, but it does not remove those hazards.
- Protect your eyes and face: Wear safety glasses and use a face shield when the job calls for it.
- Protect your hearing: Use hearing protection because grinder noise can be intense.
- Secure the setup: Tighten mounts and check that the carriage moves smoothly.
- Keep hands clear: Place your hands away from the cutting path and spark stream.
- Use proper guards: Keep the grinder guard fitted and adjusted.
- Control dust and fumes: Use ventilation and respiratory protection when the material requires it.
❓ Frequently Asked Questions
Do I need a special angle grinder for a sliding setup?
Not always. Many standard angle grinders can work if they mount securely to a rigid carriage and match the stand’s disc size and guard clearance. The key requirement is firm mounting with smooth, straight travel.
What materials can you cut accurately with a guided grinder stand?
You can cut materials that match the rating of your cutting disc. Common examples include steel, stainless steel, aluminum with the right disc, and many types of metal stock. Accuracy still depends on disc choice, clamping, support, and feed control.
How can you tell if the stand alignment is off?
Look for a kerf that angles across the work, an edge that is not square, or a disc that binds in the cut. Make a test cut on scrap, then check it with a square and calipers. If the same error repeats, check rail alignment and fence squareness.
Why does the cut look wavy even though the grinder moves on rails?
Waviness often comes from a dull or chipped disc, too much pressure, poor clamping, unsupported material, or side play in the carriage. Check those issues first because each one can reduce cut quality.
Can a guided grinder stand replace a chop saw?
A guided grinder stand can make straight, controlled cuts, but it may not match a dedicated chop saw for speed or repeatability. The final result depends on mounting rigidity, alignment, disc quality, and work support.
✅ Key takeaways
- A sliding, guided stand improves precision by keeping the grinder on a consistent cutting path.
- Clean cuts require good alignment, the right disc, firm support, and steady feed pressure.
- A calibration routine and test cut help you confirm squareness before critical jobs.
- Side-loading, weak clamps, damaged discs, and poor support can ruin an otherwise good setup.
A sliding grinder setup works best when you treat alignment and workholding as part of the cut. Check the rails, clamp the material, support long pieces, and test the setup before the final pass. With careful setup and safe technique, you can make straighter, more controlled grinder cuts in your workshop.