How to Build a Mini Hydraulic Press From a Bottle Jack
What’s in This Article
A bottle jack can apply serious force, but it needs a strong frame before you use it as a press. In this project, you’ll turn a common hydraulic bottle jack into a compact mini press for small shop jobs.
You can use it to press bearings, flatten thin pipe, and bend small metal parts with better control. This guide walks you through the materials, planning, build steps, testing, maintenance, and key safety checks.
Quick Answer
You can build a mini hydraulic press by making a rigid steel frame, mounting a bottle jack upright, and adding a stable press plate or ram adapter. Keep the jack centered, support the workpiece well, and use thick plates that can handle the load. Treat the press as a high-force tool, not a simple clamp.
Key Takeaways
- Use a strong steel frame that matches the jack’s rated force.
- Keep the jack, ram plate, and workpiece aligned before you apply pressure.
- Use thick press plates or arbor plates to spread the load.
- Wear eye and face protection because pressed parts can slip or shatter.
- Inspect the jack, welds, bolts, and handle before each use.
🛠️ What You Need (Materials and Tools)
Below are the parts and tools used to make a reliable mini press from a hydraulic jack. You can adapt the sizes based on your jack, metal stock, and shop space.
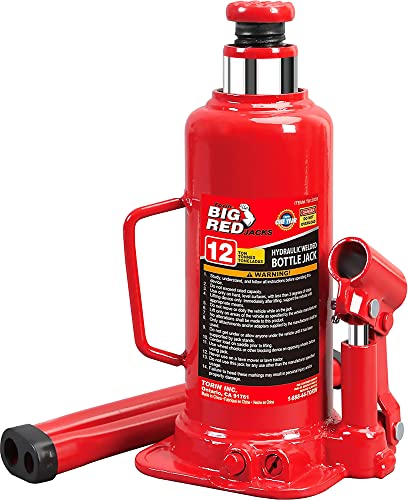
- Hydraulic bottle jack (1.5 to 12 tons, based on your force needs)
- Steel square tubing or angle iron for the frame
- Flat steel plate for the press bed and top plate (arbor plates preferred)
- Welding equipment (MIG or stick, based on your setup)
- Metal cutting tools (cut-off wheel, bandsaw, or plasma cutter)
- Grinder and files for finishing sharp edges
- Bolts and nuts for removable parts
- Hammer handle or wooden/metal handle to adapt to the jack lever
- Clamps and measuring tools
- Safety gear: welding helmet, gloves, respirator, ear protection, eye protection, and face shield
Products Worth Considering

Designed for residential and commercial use that can be widely used for cars, trucks, and SUV's; Serrated, heat treated saddle provides generous lifting area and secure grip
Hydraulic bottle jack designed for residential and commercial use; Serrated, heat treated saddle provides generous lifting area and secure grip

Hydraulic bottle jack designed for residential and commercial use; Serrated, heat treated saddle provides generous lifting area and secure grip
Before You Begin
Estimated total time: Plan for a half day to a full day, depending on your cutting, welding, and finishing setup.
Check your bottle jack’s rated capacity, stroke length, handle design, and release valve location before you cut steel. Your frame must support the jack’s force without twisting, spreading, or lifting during use.
Do not build this project unless you can weld safely and inspect load-bearing joints. If you are new to welding, ask an experienced welder to check the frame before you test it.
Warning: A hydraulic press can eject parts with force, so stand clear of the press line and use shielding when needed.
🔩 Basic Design and Planning
The design uses a rigid frame to hold the hydraulic jack upright. The jack pushes against a stable press plate while the bed supports the workpiece from below.
A compact frame helps focus the jack’s force, but small size does not reduce the risk. You need clean alignment, strong welds, and enough clearance for the jack stroke.
- Measure the jack base and stroke length so the frame allows full travel.
- Set the bed height so you can use different dies or supports under the press head.
- Keep access to the release valve, pump lever, and fill plug for simple use and maintenance.
- Leave enough space around the work area so your hands stay clear of the press path.
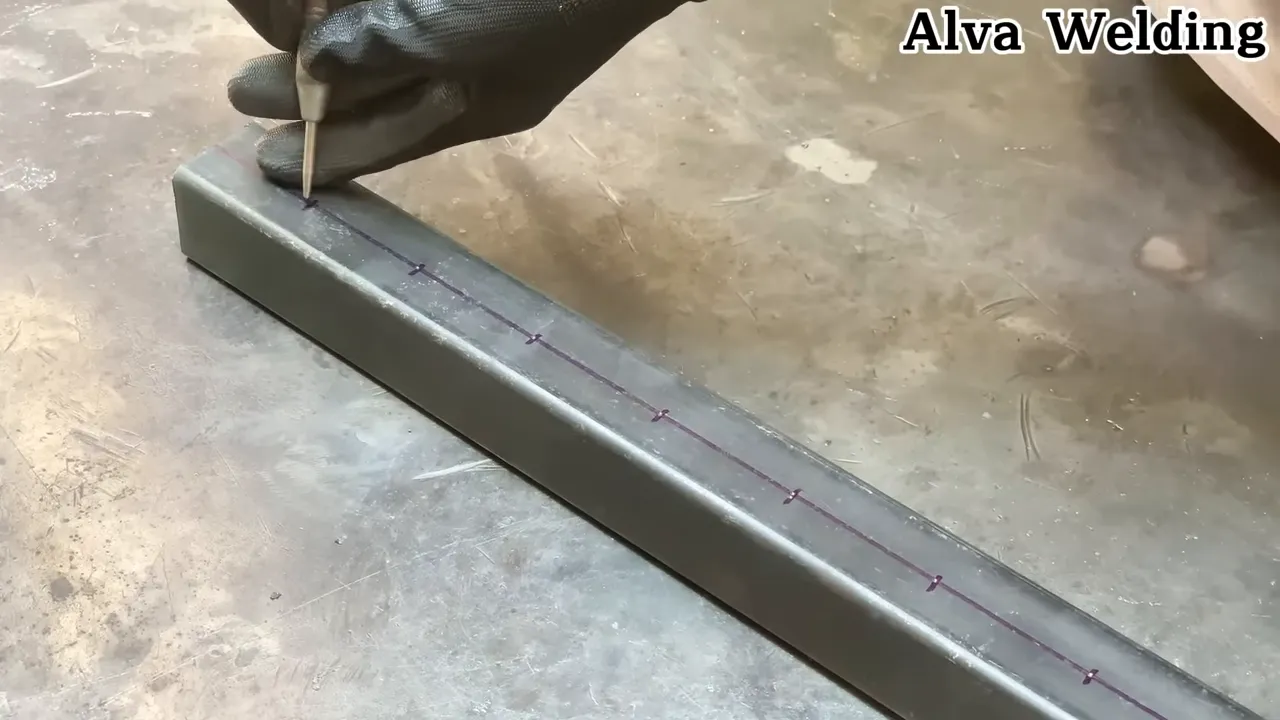
🧱 Building the Frame
Use square tubing for a compact, stiff frame. Cut the vertical posts and cross members to size, then clamp the parts on a flat surface.
Tack-weld the frame first, then check for square before you finish the welds. Small errors at this stage can cause the press plate to bind or push at an angle.
- Weld the base first and check for flatness so the press does not rock.
- Place the jack in the center of the frame or slightly offset it if your work style needs more front access.
- Add removable bed supports with bolted plates so you can change working heights quickly.
- Grind sharp corners and remove burrs after the frame cools.
- Inspect each weld before you mount the jack or test the press.
Make every load-bearing weld strong and clean. Avoid thin tack-only welds, decorative beads, or welds that do not fuse both pieces fully.
Products Worth Considering

Applicable size:The size of the square tubing end caps is 25mmx25mm (1in*1in), suitable for square pipes with an outer diameter of 25mmx25mm(1in*1in ) (not inside hole diameters ,not inside hole diameters)Designed to fit inside hole diameters from 0.83in-0.93in.with a wall thickness 0.020" - 0.060".

HOW TO FIT: Fits 1-1/4" (1.25) Od Square Tubing (1.25X1.25) With Inside Hole Diameters (Id) From 1" To 1 3/16" (1.00" - 1.18") and wall thickness of .040" - .122" (10-20 Gauge).

APPLICATION: The aluminum tubes can be used for a wide range of applications, including structural support, furniture making, machinery parts, DIY projects, and more. Aluminum tubing has excellent heat dissipation properties, making them great for use in applications where heat is a concern.
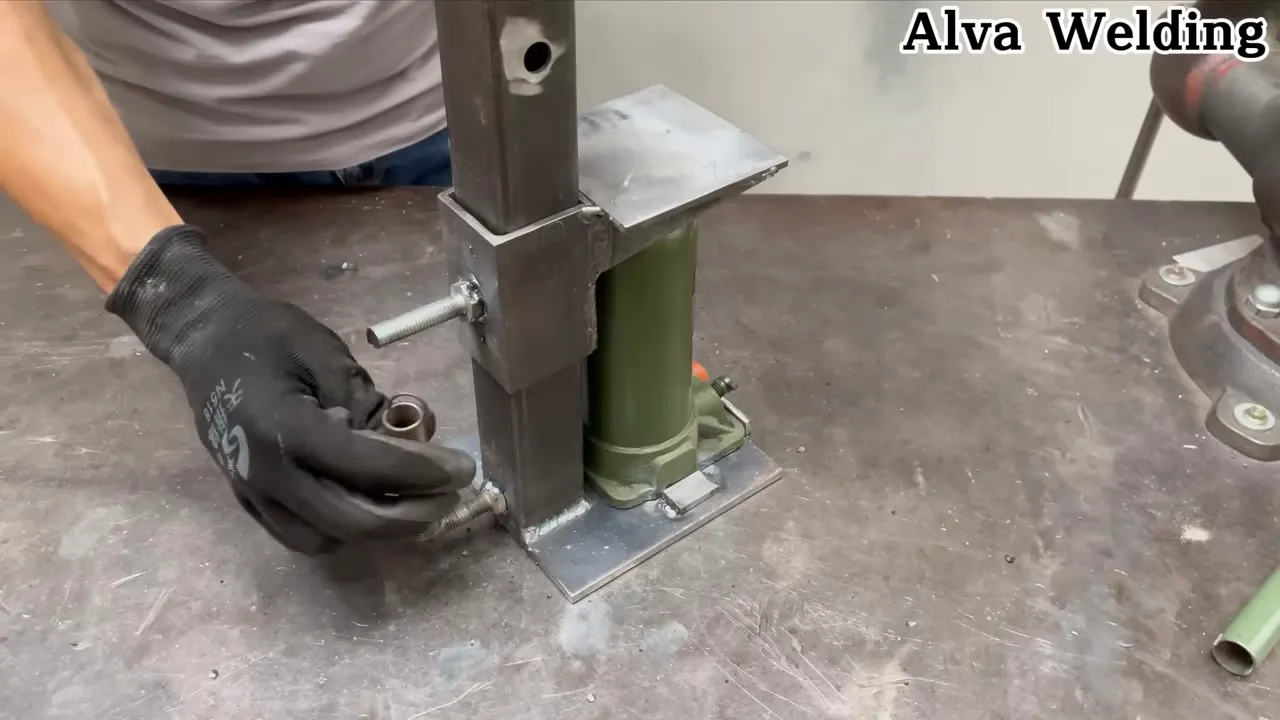
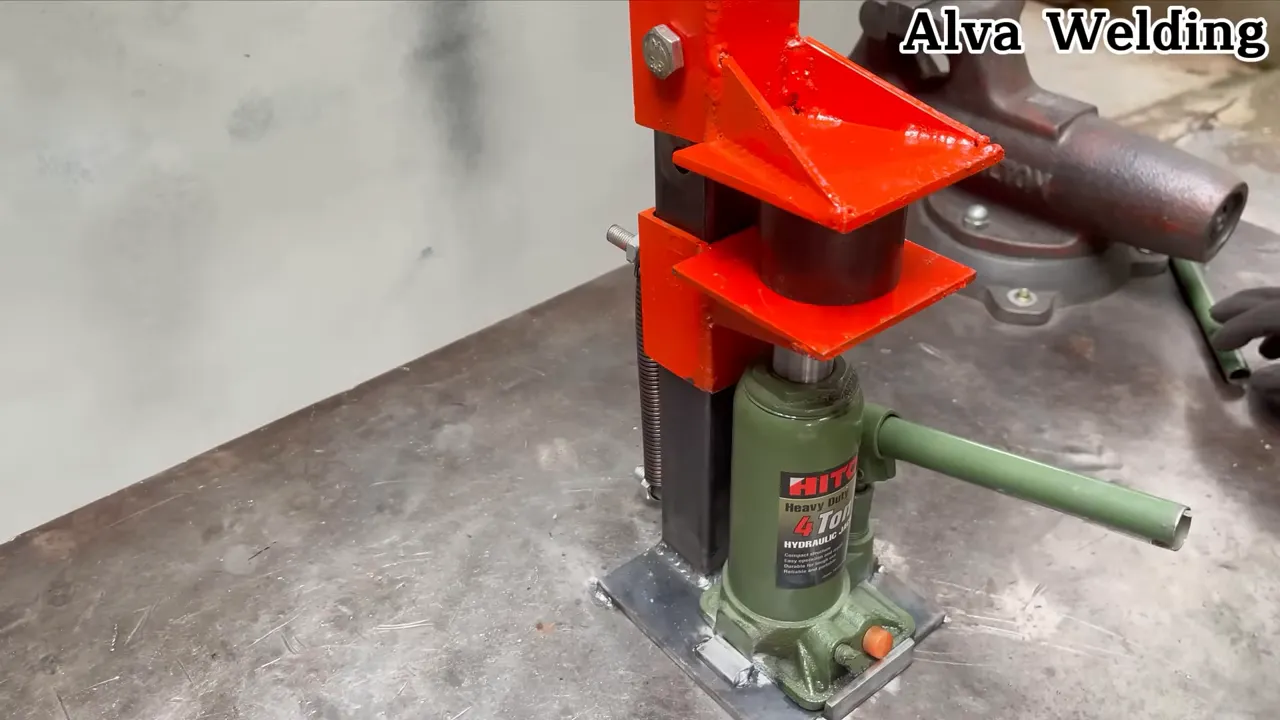
🔧 Mounting the Jack and Adding the Press Plate
Once the frame is ready, set the jack in place and fit a top plate or ram adapter that sits on the jack ram. Use a thick plate that spreads the force evenly across the work area.
I used a short guide tube to help the plate move straight down without tilting. Good alignment protects the jack, the frame, and the part you are pressing.
- Use a cup or cradle that matches the jack ram for stable contact.
- Bolt the jack to the base if you want positive retention, but keep it removable for maintenance.
- Weld a small stop under the top cross member so the ram cannot press into the frame.
- Use dual guides or give the guide enough clearance and lubrication to reduce binding under load.
Pro tip: Test the plate travel without a workpiece first so you can spot rubbing, tilt, or binding.
🛠️ Adding a Hammer Handle to the Lever
You can make the jack easier to pump by fitting a longer handle. I used a hammer handle, shaped the end to fit the jack’s pump lever, and secured it with a set screw.
The longer handle gives you better leverage and smoother control when you press slowly. Do not use handle length as a way to force the jack beyond its rating.
- Make sure the handle fits tightly and cannot slip during use.
- Check a wooden handle for cracks before you install it.
- Keep oil away from wood so the handle stays firm and easy to grip.
- Follow the jack maker’s handle limits and do not bypass the overload or relief valve.
⚙️ Tests: Crushing Bearings, Flattening Pipe, and Bending Metal
After assembly, test the press with low-risk scrap before you use it on a real part. Start with light pressure, watch the frame, and stop if anything shifts.
- Press old bearings only when you can contain grease and metal fragments.
- Flatten small sections of thin pipe between flat plates.
- Bend short pieces with a simple die and adjustable bed supports.
The jack-based press can produce strong force for its size. Small parts that resist hand tools can move quickly, so apply pressure slowly and stay focused.
🧯 Safety Tips and Best Practices
A hydraulic press concentrates a lot of energy in a small area. Treat every press job as a controlled risk, even when the part looks simple.
- Wear safety glasses and a face shield when parts can crack, slip, or shatter.
- Keep your hands clear of the press path and use tools to position small parts.
- Inspect the jack and frame often for leaks, cracks, bending, or loose parts.
- Do not exceed the jack’s rating or the strength of your frame.
- Do not use the press for lifting people or unsupported loads.
- Use thick, flat press plates or arbor plates to spread the load.
- Keep the jack upright during use so the pump intake stays submerged.
- Never press springs, sealed items, pressurized items, batteries, gas struts, ammunition, or unknown parts.
- Use proper welding and metalworking safety equipment during construction.
Stand to the side when you apply pressure. If a part slips, the safest place is away from the direct line of force.
🔁 Maintenance and Tweaks
After a few uses, inspect the press and fix small issues before they become dangerous. Pay close attention to the handle, bolts, jack base, bed supports, and welded joints.
- Check and tighten bolts, nuts, and handle fittings.
- Bleed the jack and check the hydraulic fluid if the pump feels spongy.
- Add removable dies or adapters to expand what the press can do.
- Add return springs if you want the ram to retract faster when you open the release valve.
- Clean grease, metal chips, and oil from the press bed after use.
Common Mistakes to Avoid
Do not use a weak frame, thin press plates, or loose work supports. These parts carry the full load, so shortcuts can make the press unsafe.
Do not press parts at an angle unless your die design calls for it. Off-center force can bend the frame, damage the jack, or throw the workpiece out.
Do not keep pumping after the part stops moving. Stop, release pressure, and check alignment before you continue.
❓ Frequently Asked Questions
What size hydraulic jack should I use for a mini press?
Choose a jack capacity based on the force you need. For general small-shop use, a 2- to 6-ton jack can work well. For heavier pressing and crushing, a 10- to 12-ton jack gives more force, but the frame must match that load.
Is welding the frame necessary or can I bolt it together?
Welding gives a stiffer, more compact frame and works well for this style of build. A bolted frame can work if you design it for the load, use thick materials, add gussets, and check bolt torque often.
Can I use this press to remove bearings and bushings?
Yes, this press can remove and install bearings and bushings when you use proper supports and sleeves. Support the workpiece well, press on the correct race, and apply force slowly to avoid damage.
How do I make dies for specific jobs?
You can make dies from thick steel plate or machined blocks shaped for the job. For bending, use a V-block and a matching top piece. For flattening, use flat plates that fully support the work.
Is it safe to crush sealed bearings and similar parts in the press?
Crushing bearings can release grease and metal fragments. Wear eye and face protection, use shielding, and contain the debris. Avoid crushing any part that may contain hazardous material, stored pressure, or unknown contents.
Why does my bottle jack press feel spongy?
A spongy feel often points to air in the hydraulic system or low fluid. Follow the jack maker’s instructions to bleed the jack and check the fluid level before you use the press again.
Can I use a bottle jack press for forging?
You can use a small bottle jack press for light forming tasks, but it is not the same as a purpose-built forging press. Heat, scale, off-center loads, and fast force changes can add risk, so use proper dies and stay within the jack and frame limits.
Safety Disclaimer: This article is for informational purposes only and does not replace professional welding, engineering, or shop safety advice. Build and use a hydraulic press only if you understand the risks, inspect your work, and follow the jack maker’s safety instructions.
✅ Final Thoughts
A bottle jack mini press gives you strong pressing force in a compact shop tool. Build the frame strong, keep the load aligned, and inspect the press before each use.
Start with simple test pieces before you press valuable parts. With careful planning and safe habits, your mini press can handle many small bending, flattening, and bearing jobs.

