Everyday life in the workshop, at home, or on a small job site throws up the same problems: awkward clamps, unreliable measurements, inefficient heating, and tools that are almost right but not quite. Over the years I found myself inventing simple, repeatable tweaks and homemade tools to bridge those gaps. These are practical, low-cost hacks and DIY tools that make real tasks faster, safer, and sometimes even fun.
Below you will find nine of my favorite hacks and homemade tools — each explained step by step with materials, construction tips, safety notes, and suggested uses. I write in a straightforward, hands-on way because I want you to be able to reproduce these quickly and confidently. Along the way I drop small reminders, like when to pause and think, and yes, I do say “so” and “um” as I set things up — little markers of working through a problem in real time.
1. Quick Adjustable Angle Gauge for Accurate Welding Angles 🔧
Getting the angle right is one of the most underrated parts of a clean weld or a precise DIY build. Whether you are tacking two pieces of square tube or aligning a bracket for a gate hinge, a simple adjustable angle gauge saves time and reduces rework.
Materials
- Thin steel strip or aluminum flat stock (about 1/8 inch thick, 1 inch wide, length 12 to 18 inches)
- Two small hinge bolts or a welding pin joint
- Small locking nut or wing nut for locking angle
- Marker and scribe for angle markings
How it works
This gauge is basically two strips joined with a pivot. One strip rests on one workpiece and the other on the mating workpiece. By opening or closing the pivot you can match and lock the exact angle. I usually mark common angles (45, 60, 30) along the strip so I can quickly set it visually and then fine-tune with the weld clamps.
Step-by-step
- Cut two strips of flat stock of equal length. Deburr the edges.
- Drill a hole at one end of each strip and assemble with a bolt to form a pivot. Leave enough clearance so the strips can rotate freely.
- On one strip, scribe a scale of angles empirically by matching to a known square or using a protractor and marking points.
- Add a small locking nut or wing nut on the pivot so, once you set the angle, you can hold it while tacking pieces in place.
Tips
- For quick jobs, a non-threaded pin with a cotter pin works faster than a bolt and nut.
- If precision is critical, use a dial protractor to transfer angles to the gauge and weld small pins where the marks are to make recurring setups exact.
- Use this to pre-check fit-up for thin metals to avoid warping from over-clamping or overheating.
Why I like it
It is fast and portable. You can carry this simple device to a site or throw it in your toolbox and set up welds faster than fiddling with multiple clamps or guesswork. For beginners, it’s a confidence builder — you see the angle and lock it.
2. Magnetic Sliding Stop for Repetitive Cuts and Brackets 🧲
Repetitive tasks are the best place to save time. If you are making multiple brackets or trimming pipes to identical lengths, a magnetic sliding stop on your square or chop saw makes every cut consistent without a tape measure for each piece.
Materials
- Small but strong neodymium magnets (with countersunk holes if possible)
- Short length of thin flat steel or aluminum strip (acts as the sliding stop)
- Rubber or vinyl cap to protect finished parts
- Screws or rivets
How to build
- Attach a magnet to the steel strip. If magnets are countersunk, use a countersink so the screw head sits flush.
- Place the strip along your saw’s fence and run a test piece. The magnet will hold the strip in place on ferrous fences while you clamp or mark the position.
- Finish the contact edge with a vinyl cap or thin rubber to avoid marring stock.
Usage tips
- Always test with a scrap piece before batch cuts.
- On non-ferrous fences, use a clamping block with a screw clamp and mark the stop as a reference.
- For tubing, add a small lip weld to the stop so round stock can seat against it properly.
Safety note
Magnets do not replace mechanical stops for heavy or high-speed operations. Ensure the stop cannot shift under the force of the saw or during vibration. For extra security, clamp it in place after initial positioning. Keep magnets well away from active weld zones to avoid arc blow and porosity.
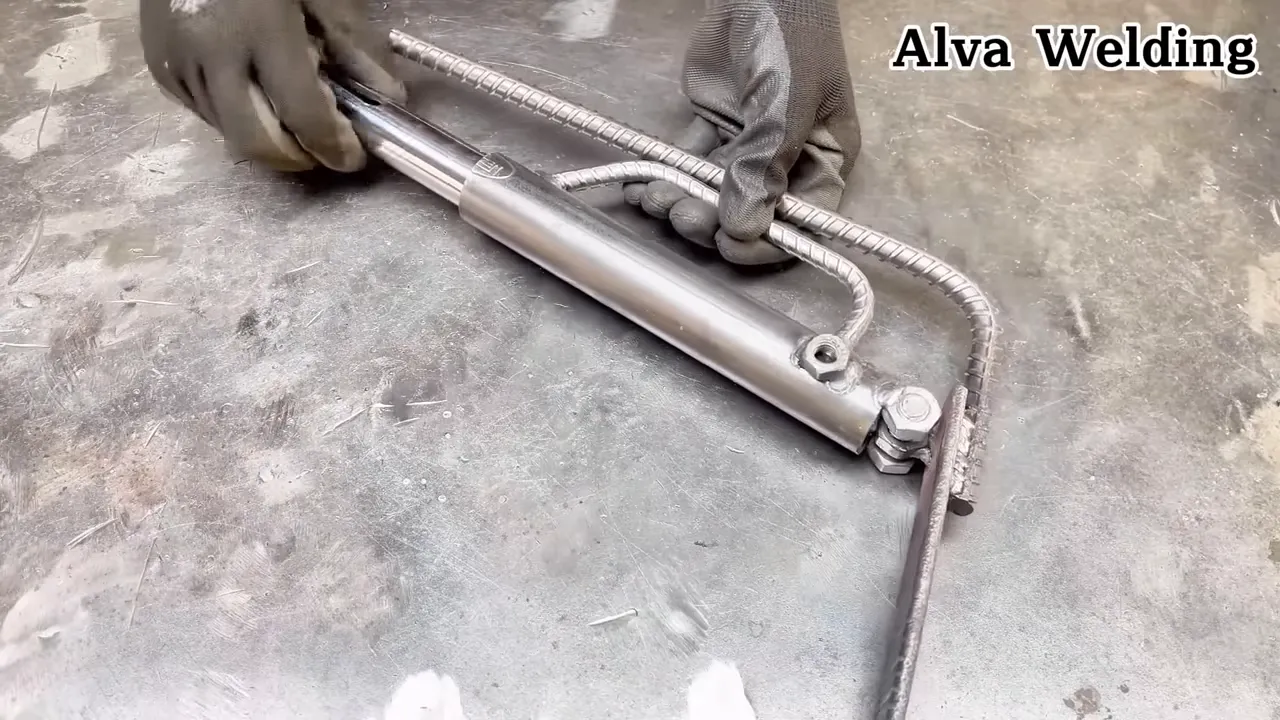
3. Simple Heat Block for Controlled Shrinking and Painting Prep 🔥
Controlling heat in welding and fabrication is an art. Sometimes you need to shrink a bent metal back into place or dry paint and coatings in a focused way. A small heat block that concentrates flame or hot air provides control without heating the entire part.

Materials
- Short length of black pipe or steel tube (acts as a heat shield)
- Metal plate for base
- Screws or small welds
- Optional: small ceramic tile to focus heat
Construction
- Weld or bolt the short tube to the base plate at an angle so the opening directs heat precisely where you need it.
- Add a ceramic tile inside the tube if you want to reflect heat forward for a hotter, more concentrated effect.
- Use with a small torch or heat gun, keeping the base plate to protect the workbench.
Common uses
- Shrinking a warped panel after welding by heating a small area and quenching if required.
- Drying paint or kiln-type coatings in a tight spot without affecting nearby paint.
- Loosening small seized bolts by heating only the threads, not the entire assembly.
Safety
Heat is obvious but dangerous. Keep flammables away, wear appropriate gloves and eye protection, and use fire-resistant surfaces. I always have a fire extinguisher nearby for shop use. Avoid quenching high-carbon or hardened parts; quenching can increase hardness and brittleness—prefer controlled air cooling unless the metallurgy is known.
4. Low-Cost Weld Fume Diverter and Air Guide 🌀
Welding fumes can be nasty and you do not need an expensive fume extraction system to improve air immediately around the weld. A simple diverter built from a shop vac adapter and a short length of ducting channels fumes away from your breathing zone.
Parts
- Shop vac (used on suction/inlet) with HEPA cartridge or a small inline extraction fan
- Flexible metal or high-temperature ducting
- Stainless steel or mild steel nozzle adapter
How to assemble
- Attach the ducting to the shop vac inlet and shape the nozzle so it opens near your weld zone.
- Secure the ducting to a magnetic base or articulated arm so you can position it precisely.
- Turn on the vac before striking the arc to make sure the airflow is established and pulls fumes away from your face.
Tips
- For MIG or TIG, keep the nozzle a few inches (~100–150 mm / 4–6 in) from the weld — too close and the suction may disturb shielding gas. For stick welding, you can afford to be a little closer.
- If working indoors, vent the exhaust to a safe area. If the shop vac lacks proper filtration, swap a HEPA-grade filter to avoid releasing particles back into the shop. Note that HEPA captures particulates, not gases; use activated carbon or proper local exhaust ventilation for gases, and vent outdoors whenever possible.
- Use metal ducting and a spark arrestor where practical to keep hot sparks from damaging hoses or filters.
- Place the work clamp on the workpiece, not on any ducting or the nozzle.
- When in doubt, wear a P100 respirator and follow local regulations for fume control.
Why this is useful
It is not perfect, but for spot work and small projects, it dramatically reduces the immediate fume exposure and is portable enough to use across different benches.
5. Reversible Clamp Plate for Odd Shapes 🪛
Clamping odd shapes is frustrating: round pipes, angle iron, and sheet stacks each need different contact faces. A reversible clamp plate with interchangeable inserts solves that quickly.

Materials
- Flat steel plate (3/16 or 1/4 inch)
- Interchangeable inserts: small blocks of steel shaped for pipe, V-groove, flat
- Screw holes and bolts to mount inserts
Design concept
Make one clamp plate with threaded holes. Create multiple inserts: one with a V-groove for round stock, one flat for plates, and one curved for larger pipes. Screw the appropriate insert into the plate and clamp as usual. When you need to change, unbolt and swap inserts in under a minute.
Build steps
- Cut and drill the clamp plate to match your clamp jaw size.
- Mill or grind inserts to shape and drill holes that align with the plate.
- Heat-treat or harden inserts if you plan to use them under high force to reduce wear.
Use cases
- Holding pipe for tacking and welding without using expensive specialty pipe clamps.
- Quick changeovers when moving from sheet work to tube work on the same project.
6. Simple Corner Jig for Box Fabrication 📐
Square, flat boxes are deceptively tricky to get right. A lightweight corner jig assures consistent right angles and keeps pieces aligned while you tack weld.
Materials
- Steel angle iron (1 inch or 1.5 inch)
- Two pieces of flat stock for the clamping faces
- Bolts to hold the assembly together and clamp to workpiece
How it helps
The jig holds two members at 90 degrees and provides a third face to align the outside of the box so the edges are flush. It acts as a mini-fixture you can clamp and move along the edge as you tack the box at each corner.
Build and use
- Weld or bolt the angle iron to a flat base, adding faces at the correct offset for your material thickness.
- Drill through holes in the base for bolts so you can clamp the jig to the parts if required.
- Place your piece in the jig, clamp, tack, move the jig to the next corner, and repeat.
Pro tips
- For thin metals, use minimal heat and short tacks to avoid distortion and keep the box square.
- Use the corner jig in tandem with the adjustable angle gauge to verify corners after tacking but before full welds.
7. Cheap Edge Guide for Straight Plasma or Angle Cuts ✂️
Not every shop has an expensive guide for plasma cutters or grinders. A DIY edge guide made from steel strip and a screw clamp keeps your tool at a consistent distance from the edge for straight cuts.

Materials
- 1/8 inch steel strip long enough to span the cut length
- Small clamp and adjustable bolt
- Rubber or leather strip to prevent slipping
How to use
- Clamp the strip to the workpiece so the outer edge of the strip is the zero point for your tool.
- Run the cutting tool along the strip so the tool rides against the guide for a straight path.
- When doing internal cuts, use two guides: one to measure from and one to guide the tool through the cut, moving the first guide forward as you progress.
Safety note
Place the work clamp on the workpiece (not the guide), expect the guide to get hot, and wear appropriate gloves. Keep the guide insulated from the arc path.
Why it matters
Maintaining a consistent distance prevents jagged edges and reduces rework. It is especially useful for beginners learning to control a plasma torch or grinder and for repeat cuts where consistency matters.
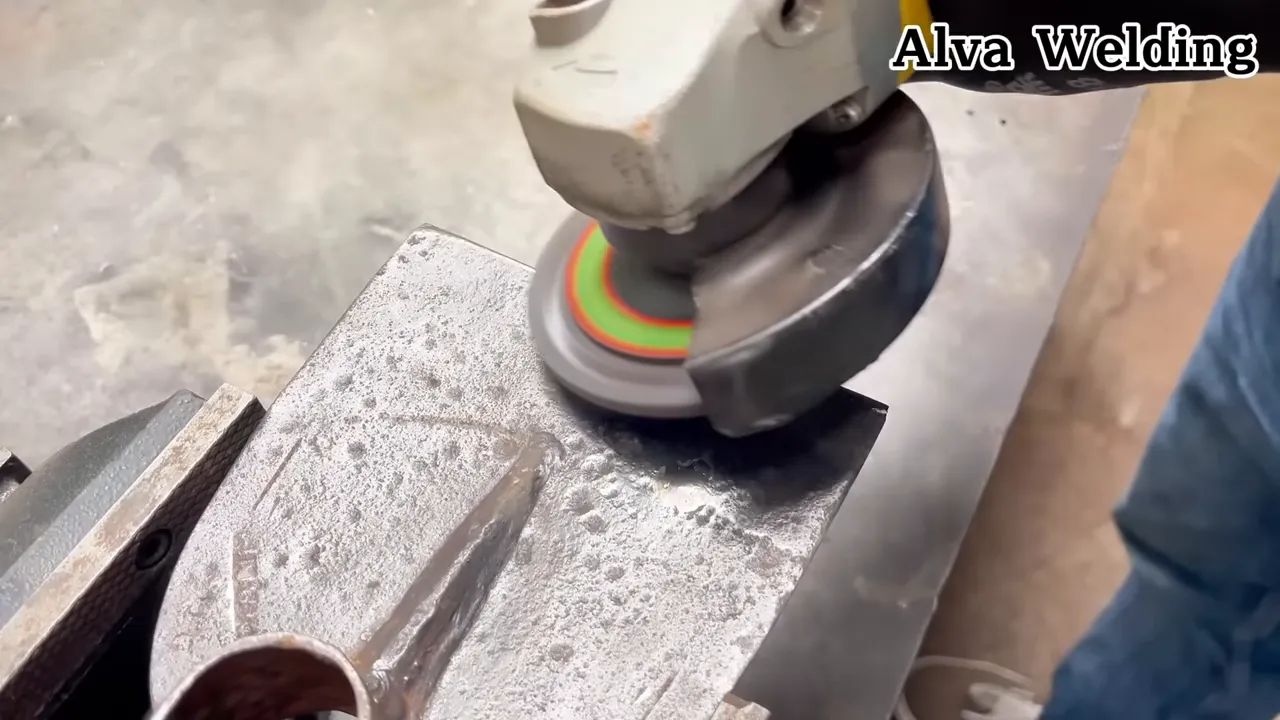
8. Portable Vibration Damping Mat for Finishing Work 🧽
Finishing operations like sanding, polishing, or filing can suffer from vibration and chatter, especially on lightweight benches. A small portable damping mat creates a stable surface on which to finish parts, improving surface quality.
Materials
- Piece of dense rubber matting
- Sheet of plywood or thin steel for backing
- Adhesive to bond mat to backing
Construction
- Cut the rubber mat to the desired size and glue it to the backing sheet.
- Add a thin rim or non-slip tape to the back to keep it steady during work.
- Use the mat as a small workstation for finishing pieces by hand or power tools.
Benefits and usage
- Reduces vibration so sandpaper or polish pads ride smoothly over the surface.
- Protects finished surfaces from marring by the bench.
- Makes handheld finishing easier for small parts like brackets, decorative pieces, or thin metals.
9. Multi-Function Welding Spacer and Gap Gauge 🧰
Tighter gaps are easier to weld cleanly. A small wedge-shaped spacer with a set of notches acts as a gap gauge and temporary filler for small joints. It also doubles as a distance holder for repetitive installations.
Materials
- Thin steel strip or flat stock with a wedge cut
- Notches cut to represent common gap widths
- Paint or marker to label the widths
How to use
- Insert the gauge between two mating parts to set the gap. The notches help you quickly choose common gaps like 0.5, 1.0, or 1.5 millimeters or 1/32, 1/16 inches, etc.
- Once tacked, remove the gauge and finish the weld.
- Use it as a repetitive spacer for brackets and fastened assemblies to keep consistent fastener gaps across many parts.
Why it is practical
A gauge like this prevents guesswork and reduces the time spent measuring each joint, especially across a batch of identical parts. It is easy to make and more durable than thin card gauges.
Why these hacks work and how to choose the right one for your job 🧠
There is a pattern in these hacks: simplicity, repeatability, and adaptability. I design each tool to be made with common shop stock and a few fasteners. They are not replacements for commercial tools but companions that fill gaps when a specialized tool is not available or when speed matters more than ultimate precision.
How to choose the right hack for your job
- Start by identifying the pain point. Are you losing time on measurement? Are fumes an issue? Is clamp contact inconsistent? Each of the nine options maps to common workshop frustrations.
- Consider frequency. For repeated tasks that occur daily, invest time to build a more robust version. For once-off problems, a simpler, quick-to-assemble approach often suffices.
- Think about safety first. For anything involving heat, fumes, or structural holds, do no harm — ensure your improvised solution does not introduce new hazards.
These hacks work because they address specific mechanical problems with low-tech solutions:
- Angle gauge and corner jig remove guesswork from alignment.
- Magnetic stops and edge guides make repetitive cutting faster and more consistent.
- Heat blocks and fume diverters focus energy or remove hazards locally without extensive equipment.
Practical examples and project scenarios 🛠️
To show how these tools come together in real work, here are a few scenarios where I use a combination of the hacks to save time and improve quality.
Building a garden gate from square tubing
For a typical 36-inch gate built from 1.5-by-1.5 square tube and flatbar bracing, I use:
- Angle gauge to set the brace angles and confirm corner squareness.
- Corner jig for tacking the four corners before removing for final welds.
- Magnetic sliding stop on the cutoff saw for repeated lengths of bracing.
- Reversible clamp plate when tacking round handle mounts to avoid crushing or deforming the handle surface.
Sequence
- Cut all tubes with the magnetic stop. Use edge guide for any plasma cuts on the panels.
- Assemble the frame in the corner jig and tack corners.
- Check diagonal measurements and adjust with the angle gauge if needed before finish welding.
- Weld bracing and attachments using the clamp plate to protect shape and alignment.
Repairing a small rusted bracket on a trailer
I often use the heat block and fume diverter here. Heat the specific area lightly to break loose a stuck bolt, then weld on a small patch with the spacer gauge to maintain a controlled gap so the patch sits flush while tacking. The damping mat provides a steady platform for finishing the patch with a grinder.
Batch production of simple brackets
When making many identical brackets, the magnetic sliding stop, gap gauge, and reversible clamp plate save hours. Set the stop, clamp a stack using the clamp plate insert that matches the bracket shape, and use the gap gauge to ensure all weld seams are identical for a consistent finish and fit.
Materials, tools, and shop-prep checklist ✅
Before building any of these jigs or attempting the hacks, make sure you have the right materials, consumables, and safety gear. Here is a checklist I follow and recommend.
- Personal protective equipment: welding helmet, gloves, respirator for fume work, hearing protection, and proper clothing.
- Basic stock: flat steel, angle iron, a few lengths of pipe, and fasteners (bolts, nuts, wing nuts).
- Hand tools: drill, grinder with cut-off wheel, clamps, bench vise, files, measuring tape, square, scribe.
- Optional: small shop vacuum with blower mode for fume diverter, neodymium magnets, ceramic tiles for heat focusing.
Preparation steps
- Clean and de-rust stock before welding. A rusty surface makes for poor alignment and weld quality.
- Test-fit inserts and removable parts for interference before assembling permanently.
- Label everything. If you build many inserts or jigs, marking them with their intended use will save time.
Safety reminders — what I do every time ⚠️
When improvising, it’s easy to overlook hazards. Here are the practices I insist on and recommend you follow too.
- Ventilation: Always assume the job will create fumes. Use the fume diverter or an exhaust fan and a respirator for MIG and TIG use.
- Fire safety: Keep flammables away. Use a welding blanket when working near paint, and an extinguisher should be within reach.
- Electrical safety: Inspect cables, leads, and grounding before starting. An improvised fixture is not a reason to bypass ground checks.
- Mechanical safety: Make sure clamps and stops are secured before applying force. A magnetic stop should be secondary to a mechanical clamp when the operation is dangerous or high-force.
Maintenance and longevity tips 🔩
All these homemade jigs need occasional maintenance to stay useful. A few simple habits extend their life and reliability:
- Keep threaded parts lightly oiled to prevent seizing or rusting.
- Touch up contact faces that see a lot of wear, like V-grooves or clamp plates, with a quick grind or a welded shim.
- Replace magnets if they lose strength, and check adhesive-bonded rubber parts periodically.
- Store jigs off the floor in a dry place. Moisture is the enemy of small steel tools.
Answers to common questions and troubleshooting 🔍
How accurate are these homemade jigs compared to commercial tools?
For most DIY and light professional tasks, these jigs provide sufficient accuracy. They are designed for repeatability rather than micrometer precision. If your job requires high tolerance work like aerospace or precision machining, use certified commercial gauges and fixtures.
Can I use the fume diverter on MIG and TIG without affecting shielding gas?
Yes, but position the diverter a few inches back from the weld so it does not pull away shielding gas for TIG or MIG. For stick welding you can be closer. If you see porosity increase or shielding issues, move the diverter farther away or reduce airflow.
Are the angle gauge and corner jig safe to use with thin metals?
Absolutely. In fact, they help prevent over-clamping which can deform thin sheets. Use minimal clamping force and short tacks. The angle gauge lets you check and adjust before full welds that add heat and can warp thin parts.
What thickness of material should I use for the clamp plate and inserts?
For most general work, 3/16 to 1/4 inch steel for the clamp plate is strong and lightweight. Inserts depend on contact size: for pipe contact consider 1/4 inch or thicker inserts. Harden or replace inserts if they deform under repeated high force.
Do these hacks require welding skill to build?
Basic welding skills make construction quicker, but many of these can be assembled with bolts and screws if you prefer. For tacked or welded versions, basic fillet and tack-welding skills are enough. Always test the jig under load before relying on it for critical work.
Can the heat block be used for brazing?
Yes, for small brazing tasks where you need localized heat it works well. Keep an eye on surrounding areas and use flux and appropriate filler metals for brazing. The ceramic tile option helps concentrate heat if you need a hotter spot.
How do I adapt the edge guide for non-ferrous fences?
If the fence is non-ferrous or you cannot rely on magnets, use a clamping block with an adjustable bolt to lock the guide. Alternatively, tape a sacrificial strip to the fence to provide a ferrous area for magnets or add a screw clamp to the strip.
Final thoughts — why improvisation matters and where to go next ✨
Some of the best shop solutions are born out of necessity. The hacks and tools I shared are the kind you will find yourself reaching for again and again. They are inexpensive, easy to build, and tuned to real tasks most makers face every day.
Improvisation matters because it trains you to see simple physics and apply small changes that yield big results. An angle gauge is not glamorous, but it saves hours of rework. A magnetic stop is not a major investment, but it makes repetitive cuts predictable and safe. The sum of these small improvements is a shop that runs smoother, with fewer frustrating surprises.
If you try any of the builds, start small, use scrap to test, and then make refinements. Keep safety front and center. And most importantly, adapt these ideas to your workflow — that is the core of DIY: not just copying a jig but making it your own so it solves the particular problems you face.
One last simple thing I always tell beginners: take a breath, align once, and then tack. A tiny pause before the first tack can save you from having to re-do the whole thing. It is a small habit, but it is powerful.
Resources and next steps 📚
If you want to evolve these hacks into more robust fixtures or explore commercial versions, consider:
- Improving precision with a protractor or digital angle finder to calibrate your angle gauge.
- Upgrading magnetic stops with countersunk, recessed rare-earth magnets for a flush finish.
- Adding HEPA filtration to shop vacuums used for fume extraction for safer long-term air quality.
- Scanning online welding forums and communities for build variations and downloadable templates.
Whether you are a beginner learning to weld thin metals, someone fabricating square pipes and round pipes for a project, or a seasoned maker looking for small wins in efficiency, these hacks will become part of your regular toolbox. Start with one that solves your most immediate problem and expand from there. Happy building.


