I love turning trash into tools. With a handful of scrap metal, basic welding skills, and a few common workshop tools, you can build a compact, super useful workholding device that every welder and DIYer will reach for again and again. Below, I walk you through the materials, step-by-step process, safety tips, and practical uses so you can make your own from leftovers in the shop.
🧰 Materials and tools you will need
These are the essentials I use when repurposing scrap metal into a practical tool. I pick pieces that are already close to the final shape to minimize cutting and welding.
- Scrap metal: thick flat plate, angle iron, square tubing, or any solid pieces (preferably steel).
- Welder: MIG or stick welder works fine depending on the metal thickness.
- Angle grinder with cutting and grinding discs.
- Drill or drill press for mounting holes.
- Clamps, vise, and magnets to hold parts square while tack welding.
- Measuring and marking tools: square, tape measure, scribe.
- Safety gear: helmet, gloves, respirator, ear protection, and eye protection.

🔧 Step-by-step build (simple and practical)
Below is the workflow I follow to convert scrap into a heavy-duty tool. Keep the design simple so you can adapt it to what you have on hand.
- Design and measure: Decide the function — clamp, hold, or press. Sketch basic dimensions and mark scrap pieces. I aim for strong contact surfaces and robust mounting points.
- Cut and prep: Cut scrap to rough size with the grinder. Clean paint and rust from weld areas so you get good penetration.
- Fit and clamp: Dry-fit all parts using magnets and clamps to make sure everything squares up. Tack-weld opposite corners first to avoid distortion.
- Weld: Complete welds in short runs to control heat. Use multiple passes on thicker sections. Grind as needed to smooth contact surfaces.
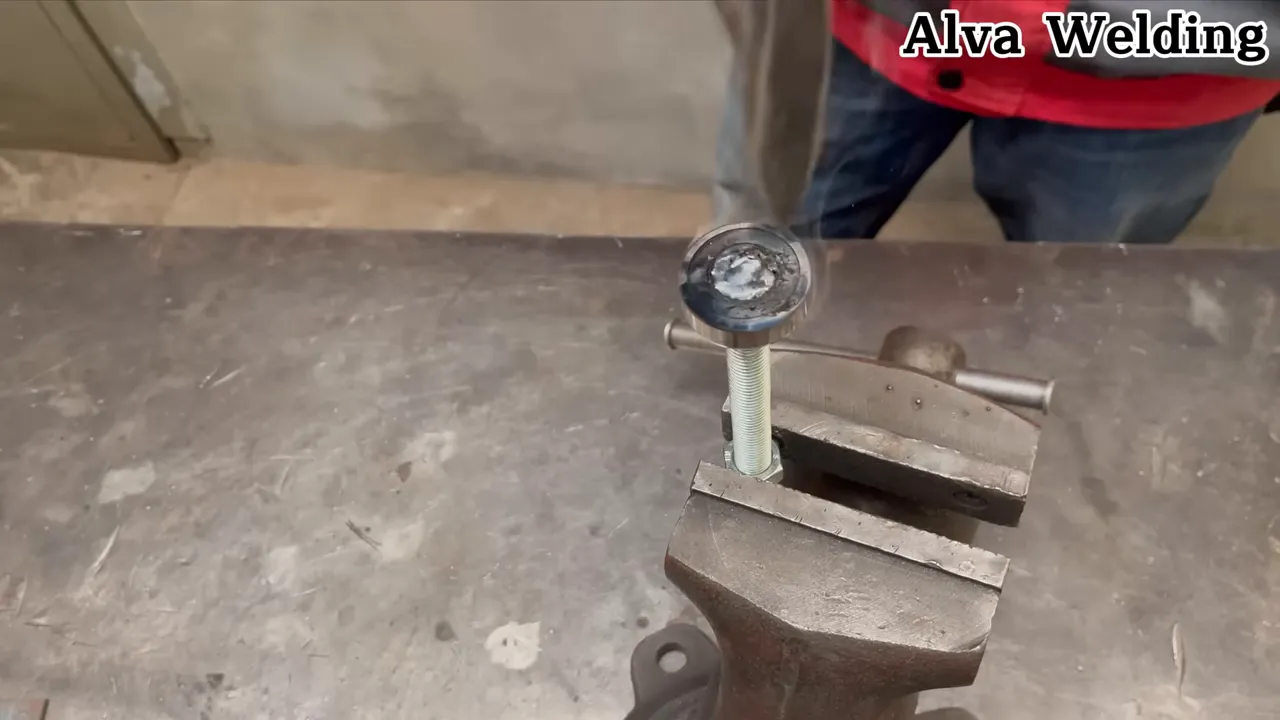
- Drill and assemble: Drill mounting or pivot holes, add bolts, pins, or threaded rods to create moving parts. Countersink or chamfer holes for a cleaner fit.
- Finish: Deburr sharp edges, paint or oil to slow rusting, and test the mechanism under load.
When building from scrap, fit matters more than perfect weld beads. If parts are tight and square, the finished tool will be strong and reliable.
Practical build notes
- If you need a heavy jaw surface, weld on a shim of thick flat stock rather than relying on thin scrap.
- Use a heat sink or alternate tack locations to minimize warping on long seams.
- Threaded inserts or welded nuts give more flexibility than permanent rivets.
🛠️ Tips, tricks, and safety reminders
Small details make a big difference. These are some of the lessons I learned from making tools out of scrap.
- Clean weld surfaces ensure stronger joints. Grind down to bare metal where you plan to weld.
- Tack strategically to keep parts aligned; remove and re-tack if something shifts.
- Control heat by welding in short stitches and alternating sides to reduce distortion.
- Wear protection at all times. Sparks and fumes from old scrap can be worse than fresh metal.
- Test incrementally: load-test the tool lightly before full use to confirm strength and function.
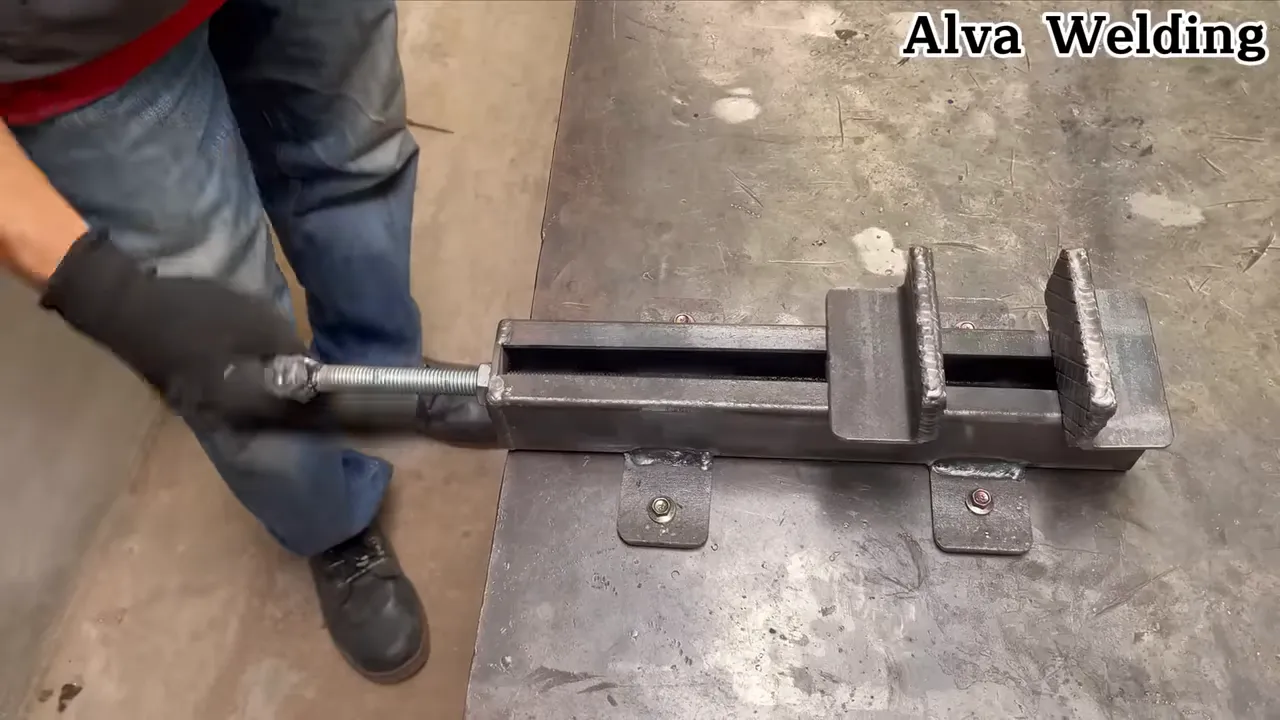
⚙️ How to test and what this tool can do
After assembly, test the new tool on realistic tasks: clamping, bending small parts, or holding pieces for tacking. The secret is to tailor the contact faces and mounting points to your typical work.
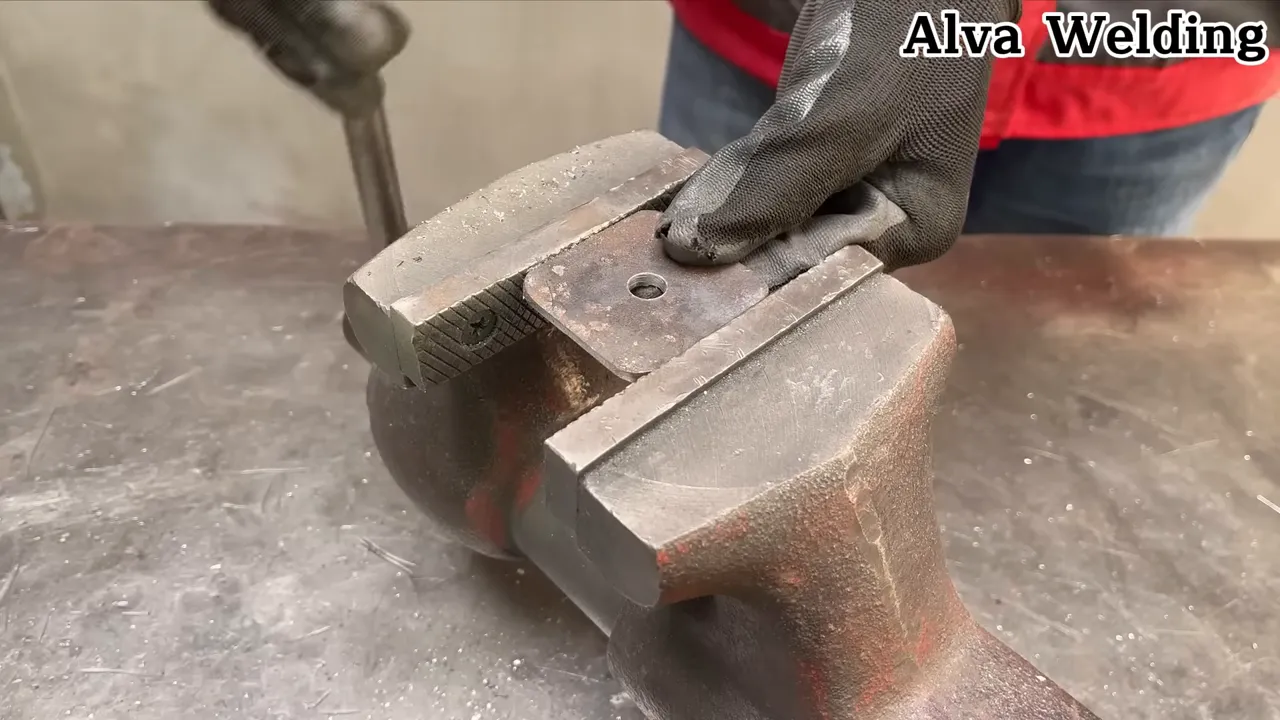
- Bench clamp: Bolt the tool to a workbench and use it like a mini vise.
- Weld fixture: Use the tool to hold odd shapes square for welding.
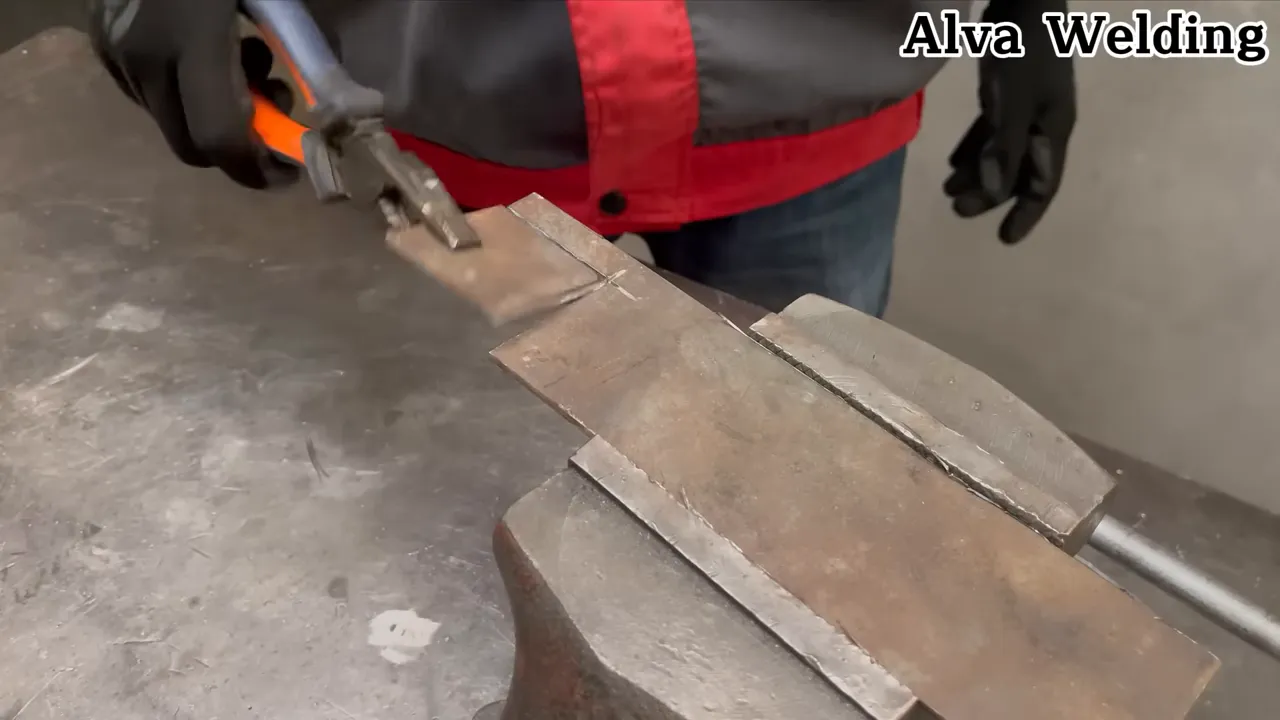
- Forming aid: Strong, short jaws can act as an anvil for small bending or flattening jobs.
Don’t throw away your scrap metal!
📌 Final thoughts
Scrap metal is not waste. With basic welding skills and a little creativity, you can convert leftover pieces into rugged, practical shop gear that saves time and money. Start small, learn how your materials behave, and soon you’ll be making custom fixtures and jigs tailored to your work.
❓FAQ
What kinds of scrap metal are best for making a shop tool?
Thick, solid steel pieces such as plate, angle iron, and tubing are ideal because they provide strength without excessive machining. Avoid heavily rusted or contaminated pieces unless you can clean them thoroughly.
How long does it typically take to build a simple tool from scrap?
A straightforward clamp or fixture can be completed in an hour or two if cuts and holes are minimal. More complex jigs with moving parts may take several hours over multiple sessions.
Do I need advanced welding skills to do this?
No. Basic MIG or stick welding skills are sufficient for many scrap-to-tool projects. Focus on good fit-up, tack welding, and controlling heat. As you gain experience, you can tackle more complex fabrications.
Can I make similar tools without welding?
Yes. If you have access to bolts, clamps, and threaded connectors you can assemble many fixtures mechanically. Welding makes the tool more compact and often stronger, but mechanical fasteners are a valid alternative.
How do I maintain a tool made from scrap metal?
Keep moving parts clean and lightly oiled, touch up welds if cracks appear, and paint or oil exposed steel to reduce rust. Periodically re-tighten bolts and check for wear on contact surfaces.