
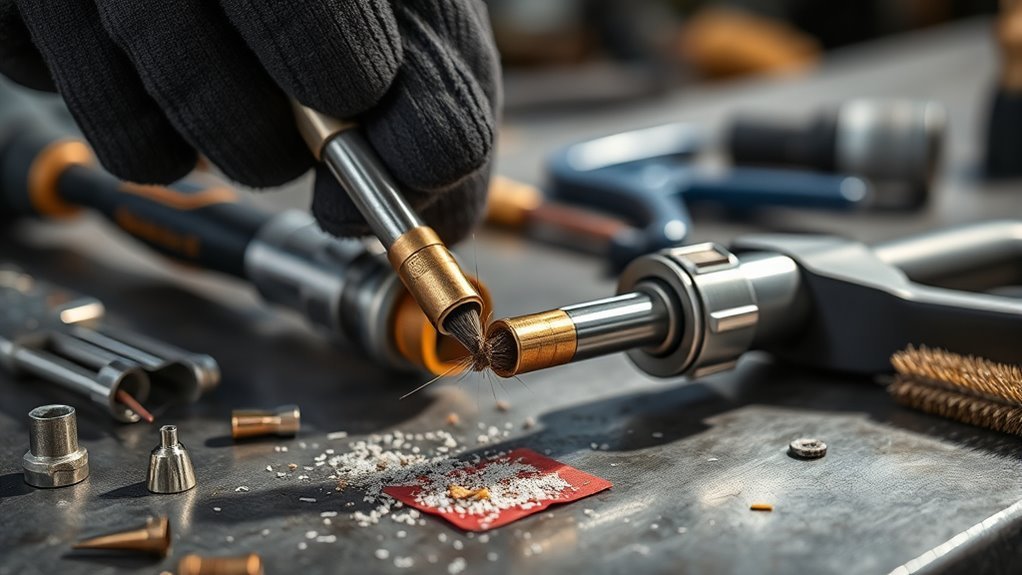
Clean MIG contact tips when spatter, soot, or wire drag starts hurting your arc, but do it gently. The contact tip is a small copper consumable, and its bore must stay round, smooth, and correctly sized for the wire. If the opening is oval, pitted, loose, burned, or enlarged, replacement is safer than trying to “save” it with aggressive cleaning.
Quick Answer
To clean MIG contact tips, turn off the welder, let the gun cool, remove the tip, brush off spatter, wipe it with electrical contact cleaner, and gently polish light residue with fine emery cloth. Do not drill, ream, or force the bore larger. Replace the tip if the hole is oval, pitted, burned, or loose.
Key Takeaways
- Clean only light spatter and residue; replace tips with oval holes, grooves, burnback damage, or poor threads.
- Use a wire brush, fine emery cloth, electrical contact cleaner, and dry air. Avoid drill bits, torch-tip files, or anything that enlarges the bore.
- Inspect contact tips during breaks or every few welding hours, especially when welding aluminum, flux-core wire, or high-spatter settings.
- A clean tip helps current transfer, wire feeding, shielding gas coverage, and arc stability, but it cannot fix wrong wire speed, stickout, liner drag, or bad gas flow.
At a Glance
| Time Required | 5–10 minutes for cleaning and inspection |
| Difficulty | Easy, but requires gentle handling |
| Tools Needed | MIG pliers, small wire brush, fine emery cloth, lint-free rag, electrical contact cleaner, dry oil-free air, spare contact tips |
| Cost | Usually $0 if you already have supplies; replacement tips are inexpensive consumables |
Warning: Turn off the welder, release the trigger, close the gas cylinder if you are doing extended service, and let the gun, nozzle, diffuser, and contact tip cool before touching them. Wear gloves and eye protection. Use cleaners only in a ventilated area, and let all solvent fully evaporate before welding again.
How To Clean MIG Contact Tips Without Damaging Them
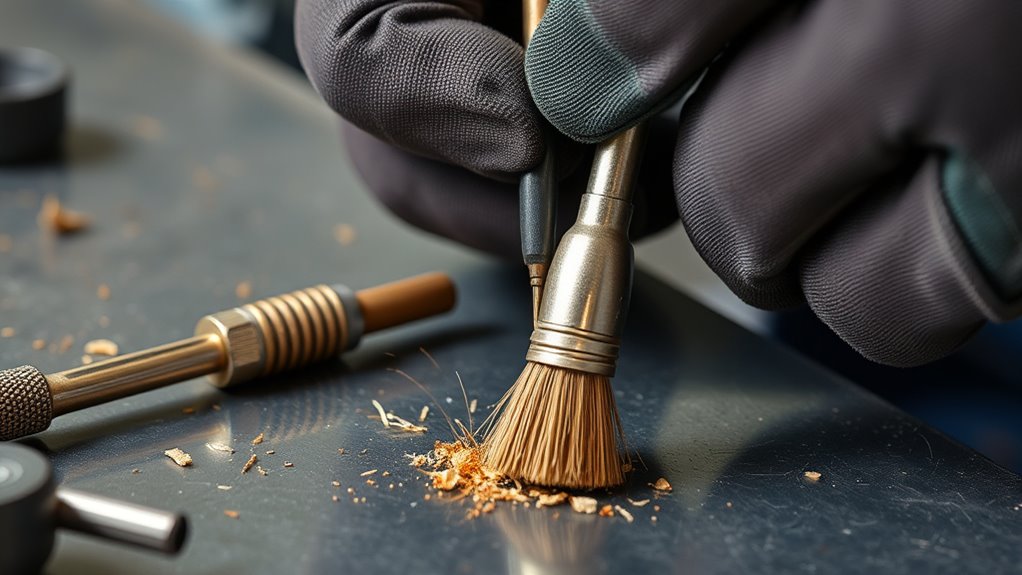
To clean MIG contact tips without damaging them, focus on removing surface contamination, not reshaping the hole. The bore must stay round and close to the wire size so the tip can transfer current and guide the wire smoothly during GMAW or MIG welding.
- Shut down and cool the gun. Turn the machine off, let the gun cool, and make sure the wire is not live or feeding.
- Remove the nozzle. Twist or pull the nozzle off, depending on your gun style. Clean heavy spatter from the nozzle first so debris does not fall back into the tip area.
- Remove the contact tip. Use MIG pliers or the correct wrench. Do not crush the tip with locking pliers.
- Inspect before cleaning. Look for an oval opening, grooves, cracks, blue discoloration, melted copper, damaged threads, or burnback inside the tip.
- Brush off spatter. Use a small wire brush or MIG pliers to remove loose spatter from the outside of the tip.
- Clean residue. Spray electrical contact cleaner onto a rag or the outside of the tip, then wipe it clean. Avoid soaking plastic gun parts or leaving solvent inside the tip.
- Polish only light deposits. Use fine emery cloth with very light pressure. If you secure the tip in a hand-drill chuck, use it only as a holder or at very low speed. Do not grind the tip or force abrasive material through the bore.
- Blow out debris. Use dry, oil-free air from the back side of the tip so loosened particles exit the front.
- Reinstall and tighten correctly. Thread the tip in by hand first, then snug it with the correct tool. A loose tip creates heat and poor current transfer.
- Test the feed. Clip the wire cleanly, reinstall the nozzle, feed wire briefly, and confirm the wire exits smoothly without grabbing.
Clean the contact tip only enough to restore smooth wire feeding and good electrical contact. If cleaning changes the bore shape, the tip is already beyond service.
This disciplined approach helps you protect weld quality, reduce erratic arc starts, and avoid downtime from preventable wire-feed problems.
What Tools Do You Need To Clean MIG Contact Tips?
You only need simple tools to clean MIG contact tips effectively. The key is to choose tools that remove spatter without cutting, reaming, or enlarging the tip opening.
| Tool | Best Use | Caution |
|---|---|---|
| MIG pliers | Remove nozzle, clip wire, loosen tip, scrape light spatter | Do not crush the tip or damage threads |
| Small wire brush | Remove loose residue from the outside | Keep brushing light and controlled |
| Fine emery cloth | Polish light oxidation or soot | Do not use coarse grit or heavy pressure |
| Electrical contact cleaner | Remove oily film and fine dust | Let it fully dry before welding |
| Dry, oil-free compressed air | Blow dust and debris out of the tip | Wear eye protection and avoid oily shop air |
| Spare contact tips | Replace damaged tips immediately | Match the tip to the wire diameter |
Note: Do not clean a contact tip with a drill bit, welding-tip cleaner, oversized file, nail, pick, or torch-tip reamer unless the manufacturer specifically allows it for that consumable. Those tools can enlarge the bore and cause wire whip, burnback, and poor current transfer.
Products Worth Considering

The blades cut away the built up spatter helping prolong the nozzle life, and reduces the chances of wire sticking.

Spiral design: Features a durable spiral design specifically engineered for effective residue removal, ensuring thorough cleaning and superior welding performance.

20Pcs Contact Tip .023'' Ø0.6mm
How Often Should You Clean MIG Contact Tips?
Inspect MIG contact tips during normal breaks and clean them when you see spatter, soot, drag, or an unstable arc. For hobby and repair work, checking after each project is usually enough. For longer sessions, inspect every few welding hours. In production, aluminum, flux-core, or high-spatter work, check more often.
Do not rely only on the clock. A tip that looks clean and feeds smoothly can keep working. A tip that is oval, loose, burned, or pitted should be replaced even if it is almost new.
- Light steel MIG work: inspect at the start and end of the session.
- Heavy spatter settings: inspect during breaks and clean the nozzle more often.
- Aluminum wire: inspect frequently because soft wire can reveal tip or liner drag quickly.
- Flux-core work: clean the nozzle and tip area more often because residue builds faster.
- Robotic or production MIG: follow the gun and consumable manufacturer’s maintenance schedule and log tip changes.
Pro Tip: Keep a small bin labeled “questionable tips.” If a cleaned tip still causes a wandering arc, wire sticking, or burnback, throw it out. Reusing one bad tip can waste more money in ruined welds than a new tip costs.
What Are The Signs A MIG Contact Tip Needs Replacement?
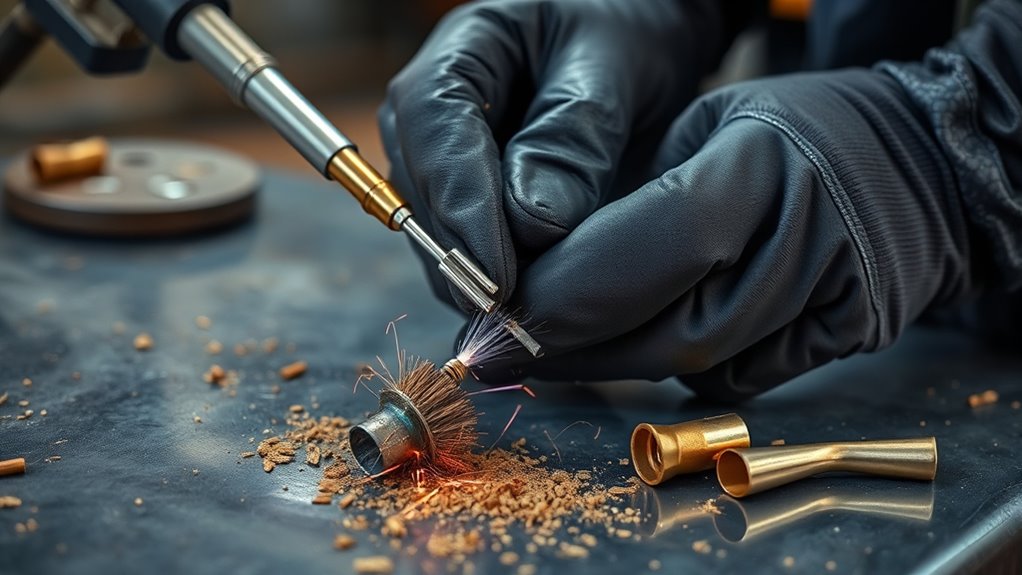
You should replace the MIG contact tip when cleaning cannot restore a round, smooth wire path. The biggest warning sign is an egg-shaped or oval bore. That shape lets the wire move side to side, which can make the arc wander and the bead look inconsistent.
Products Worth Considering

Package list: 30 pieces of 0.030 inch mig welder tips.
20Pcs Contact Tip .035'' Ø0.9mm

MIG Contact tips
Wear Patterns On The Orifice
A healthy contact tip has a clean, round opening matched to the wire size. Replace it if you see:
- An oval, egg-shaped, or visibly enlarged opening
- Grooves inside the bore
- Pitting, cracks, or rough copper around the exit hole
- Heavy spatter that cannot be removed without force
- Wire that feels tight, scratchy, or loose when fed through the tip
Do not try to “true up” the hole. Once the bore is worn, the tip cannot guide the wire accurately.
Burnback And Arcing Signs
Burnback happens when the wire melts back into the contact tip and sticks. A dirty or worn tip can contribute to burnback, but so can incorrect wire-feed speed, too little stickout, poor work lead contact, wrong voltage, or liner drag.
Replace the tip if you see a bright fused spot, melted copper, a scorched bore, or a wire end stuck inside the tip. Then check the rest of the setup before welding again. The contact-tip-to-work distance, wire speed, voltage, and gas coverage all affect stability.
Wire Feed Irregularities
Wire-feed trouble is often the clearest sign that a tip is no longer working. Watch for surging wire, birdnesting, wire sticking, a harsh arc, or frequent burnback. If the wire feeds smoothly without the tip but drags when the tip is installed, the tip is worn, blocked, undersized, or contaminated.
| Symptom | Likely Tip Issue | What To Do |
|---|---|---|
| Wire sticks to the tip | Burnback, blocked bore, wrong tip size, or overheating | Replace the tip and check wire speed, voltage, stickout, and liner drag |
| Arc wanders | Oval or enlarged bore | Replace the tip |
| Erratic arc starts | Dirty, loose, or oxidized tip | Clean lightly, reinstall tightly, or replace |
| Birdnesting at feeder | Tip blockage may be one cause | Replace tip, then inspect drive-roll tension, liner, and wire path |
| Porosity or soot | Usually gas coverage or contamination, not just the tip | Clean nozzle and diffuser, check gas flow, and clean base metal |
How Do Clean Contact Tips Improve Weld Performance?
Clean contact tips improve weld performance by giving the wire a smooth path and helping electrical current transfer consistently. The tip is part of the current path, so contamination, looseness, or wear can add heat, resistance, and instability.
Improved Current Transfer
A clean, tight contact tip helps the arc start more predictably and hold a steadier sound. When grime, spatter, or oxidation coats the tip, current transfer can become inconsistent. That can show up as sputtering, an uneven bead, and extra spatter.
For best results, match the contact tip to the exact wire diameter. A tip that is too tight can drag the wire. A tip that is too loose can let the wire whip and wander.
Reduced Burnback Issues
Clean contact tips help reduce burnback because the wire can feed without snagging and the tip can transfer current without overheating. Still, cleaning is only one part of the fix. Burnback can also come from incorrect settings, poor stickout, a kinked liner, excessive drive-roll pressure, or a bad work clamp.
If burnback returns right after a new tip is installed, do not keep blaming the tip. Check the liner, drive rolls, wire condition, ground connection, voltage, wire-feed speed, and stickout.
How Can You Prevent Buildup In Your MIG Torch?
Preventing buildup in your MIG torch starts with a simple routine. Keep the nozzle, contact tip, diffuser, and wire path clean enough that shielding gas can flow evenly and the wire can feed without drag. Spatter inside the nozzle can disturb gas coverage and lead to poor welds.
- Use the right settings. Excessive voltage, poor stickout, or wrong wire speed can create extra spatter.
- Clip the wire cleanly. A clean wire end feeds better and reduces poor starts.
- Keep the nozzle clean. Remove spatter before it blocks gas flow around the tip.
- Check the diffuser. A blocked diffuser can cause uneven shielding gas coverage.
- Use anti-spatter carefully. Apply it to the nozzle as directed, not inside the contact tip bore.
- Protect the wire spool. Dusty, rusty, or oily wire drags through the liner and contaminates the tip.
- Replace worn liners. A dirty or kinked liner can mimic contact-tip problems.
- Store spare tips clean and dry. Keep them in a closed container so grit does not enter the bore.
Note: Cleaning the tip will not fix poor shielding gas, contaminated base metal, or incorrect settings. If your weld still has porosity, soot, or heavy spatter after tip maintenance, inspect gas flow, nozzle condition, base-metal prep, wire quality, and machine settings.
What Not To Do When Cleaning MIG Contact Tips
Contact tips are consumables, so there is a point where cleaning becomes false economy. Avoid these mistakes:
- Do not drill the bore. A drill bit can remove copper and oversize the opening.
- Do not force wire through a blocked tip. This can damage the liner, feeder, or wire surface.
- Do not use oily compressed air. Oil residue can contaminate the tip and weld area.
- Do not weld while cleaner is wet. Electrical contact cleaner can be flammable until it evaporates.
- Do not reuse a loose tip. Loose threads reduce conductivity and can overheat the gun.
- Do not mix wire sizes and tips. A .030-inch wire needs a matching .030-inch tip unless your gun or wire manufacturer specifies otherwise.
Frequently Asked Questions
How often should I change the contact tip on my MIG welder?
Change the contact tip whenever the bore becomes oval, the wire sticks, the arc wanders, the tip overheats, the threads loosen, or burnback damages the copper. Time-based schedules can help in production, but visible wear and welding behavior are better replacement triggers.
Can I clean a MIG contact tip with a drill bit?
No. A drill bit can enlarge or distort the bore, which makes the wire wander and can cause unstable current transfer. Use a wire brush, fine emery cloth, contact cleaner, and dry air. Replace the tip if the bore is blocked or damaged.
Why does my MIG wire keep sticking to the tip?
Wire can stick because of burnback, a worn or dirty contact tip, wrong tip size, low wire-feed speed, too much voltage, short stickout, liner drag, or poor work clamp contact. Replace a burned tip first, then check feed tension, liner condition, settings, and stickout.
How do I stop black soot when welding aluminum?
Black soot on aluminum usually points to contamination, poor gas coverage, wrong torch angle, too much stickout, or incorrect settings. Clean the aluminum oxide layer with a dedicated stainless brush, use clean wire, confirm argon flow, check the nozzle and diffuser, and keep the contact tip matched to the wire.
Should I clean or replace a spattered MIG contact tip?
Clean it if the spatter is light and the bore is still round. Replace it if spatter is fused inside the opening, the wire drags, the copper is pitted, the tip is discolored from heat, or the threads no longer tighten securely.
Conclusion
Keeping your MIG contact tips clean helps stabilize the arc, reduce wire-feed issues, and improve weld consistency. The safest method is simple: shut the welder down, let the gun cool, remove the tip, brush away light spatter, wipe residue with contact cleaner, polish gently only when needed, and replace any tip with a worn or distorted bore. Treat contact tips as low-cost consumables, not permanent parts, and your MIG gun will feed wire more smoothly with fewer interruptions.
Sources
- OSHA Welding, Cutting, and Brazing — welding safety topic page and standards overview.
- OSHA Fact Sheet: Controlling Hazardous Fume and Gases during Welding — welding fumes, gases, GMAW/MIG overview, and exposure controls.
- OSHA 29 CFR 1910.252 General Requirements — fire prevention, eye protection, and personnel protection requirements.
- OSHA 29 CFR 1910.254 Arc Welding and Cutting — arc-welding equipment, installation, operation, and maintenance requirements.
- Miller Electric Guidelines for Gas Metal Arc Welding — archived manufacturer GMAW setup and technique guidance.
- Lincoln Electric Gas Metal Arc Welding Guidelines — archived manufacturer GMAW process reference.




