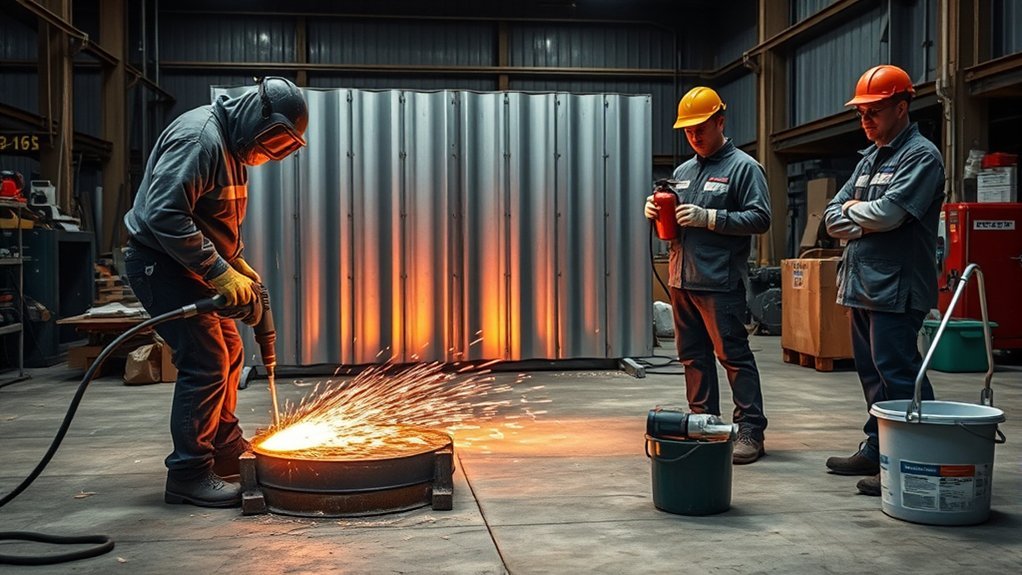
Stainless steel can discolor quickly when an angle grinder creates more heat than the cut can shed. You can limit visible heat tint by choosing a stainless-rated cut-off wheel, using the correct guard, clamping the work securely, and feeding the wheel with light, steady pressure. The goal is a straight, dry cut with minimal friction, followed by careful cleanup that does not contaminate the stainless surface.
Quick Answer
Use a thin cut-off wheel labeled for stainless steel, the guard specified for that wheel, firm clamping, and a light, steady feed. Make dry, shallow passes and pause so the metal cools naturally. Never use liquid coolant with a standard electric angle grinder unless both the tool and wheel are expressly approved for wet cutting.
Key Takeaways
- Use a clean, stainless-rated cut-off wheel whose diameter, arbor, and maximum RPM match your grinder.
- Fit the guard required for cut-off work, attach the side handle, and keep both hands on the grinder.
- Support the work so the kerf cannot close and pinch the wheel.
- Control heat with light pressure, steady movement, and dry cooling pauses, not water or cutting fluid.
- Use abrasives and brushes dedicated to stainless steel to prevent iron contamination and rust staining.
At a Glance
| Time Required | Usually 15 to 45 minutes for a small job, including setup and cleanup; thick stock and visible-finish work take longer. |
| Difficulty | Intermediate. Practice on scrap if you have not used a cut-off wheel before. |
| Tools Needed | Angle grinder, correct cut-off guard, stainless-rated wheel, side handle, marker, clamps, supports, deburring tool, and required PPE. |
| Cost | Varies by wheel, guard, and PPE. Use an existing grinder only if its manual approves the wheel and guard combination. |
Benefits of Using an Angle Grinder for Cutting Stainless Steel
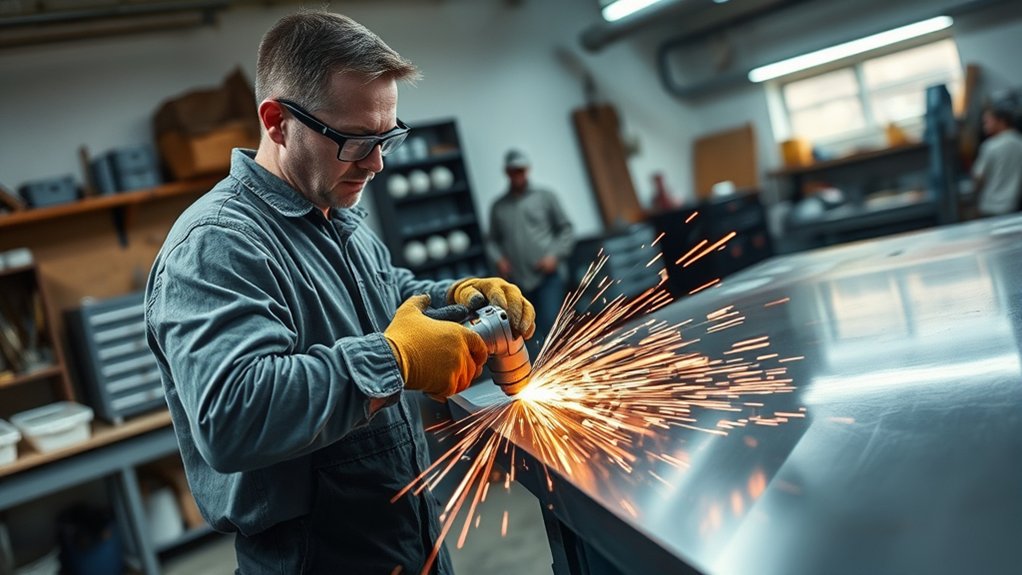
An angle grinder is useful for short cuts in stainless sheet, tubing, bar, and small sections that are awkward to place in a stationary saw. It is portable, quick to set up, and easy to guide around accessible shapes.
Corded grinders provide steady power for repeated cuts. Cordless grinders offer easier movement when a cord would interfere with the work. In either case, the wheel and guard must be approved for the grinder’s size and speed.
A thin stainless-rated cut-off wheel removes a narrow path of material. That can reduce cutting effort and heat compared with using a thicker grinding wheel, but it also makes the wheel more sensitive to twisting and side pressure.
An angle grinder is not always the best choice. Use a band saw, cold saw, nibbler, shear, plasma cutter, or another suitable tool for long precision cuts, large unsupported sheet, thick plate, repeated production work, or any job your grinder manual excludes.
Types of Angle Grinders for Cutting Stainless Steel
A 4.5-inch or 5-inch grinder handles many small shop and home projects, but grinder size alone does not determine whether a cut is safe. Check the tool manual for the approved wheel diameter, arbor, guard, and cutting capacity.
Corded grinders suit longer work sessions. Cordless models suit mobile work, but a low battery can reduce speed and tempt you to push harder. Replace or recharge the battery instead of forcing a slowing tool.
Compact grinders can be easier to position around small parts. Larger grinders can cut deeper, but they also carry larger wheels and greater kickback energy. Use the smallest approved tool that can complete the cut without exceeding its limits.
Helpful features include a side handle, paddle or dead-man switch, soft start, electronic brake, anti-kickback control, and a tool-free guard. These features support control, but they do not replace correct wheel selection or safe technique.
Products Worth Considering


Premium and Value: This 20-pack 4-1/2 x 7/8-inch metal/stainless steel cut-off wheel set is specially formulated for fast cutting in metals and stainless steel

[High-Performance Cutting] Designed for cutting metal & stainless steel, these cut off wheels 4 1/2 inch work efficiently with any angle grinder wheel, supporting speeds up to 13,300 RPM.
Choosing the Correct Wheel and Guard
Use a flat, reinforced cut-off wheel labeled for stainless steel or INOX. It may be marked Type 1 or Type 41, depending on the standard used. The wheel diameter and arbor must match the grinder, and the wheel’s marked maximum RPM must meet or exceed the grinder’s no-load speed.
Use the guard specified by both the grinder and wheel manufacturers. Flat cut-off wheels commonly require a closed cut-off guard rather than the open guard used for ordinary grinding. Never remove, modify, or defeat the guard to gain cutting depth.
Keep cut-off wheels separate from grinding wheels. A thin cut-off wheel is designed to cut on its outer edge, not to grind on its side. Side loading can bend or break the wheel.
What You’ll Need Before Cutting Stainless Steel
Gather and inspect everything before starting. A complete setup lets you keep both hands on the grinder and prevents rushed changes while the work is hot.
- An angle grinder approved for cut-off work
- The correct cut-off guard and side handle
- A clean, reinforced stainless steel or INOX cut-off wheel
- A soapstone marker or another marker suitable for stainless steel
- At least two clamps plus stable supports for long or wide work
- A file, deburring tool, or flap disc reserved for stainless steel
- A stainless steel wire brush or nonwoven abrasive reserved for stainless steel, if needed
- Safety glasses plus a face shield
- Hearing protection and close-fitting gloves
- Nonflammable work clothing and sturdy closed-toe footwear
- Local ventilation and respiratory protection selected for the dust and fumes present
- A suitable fire extinguisher and any required hot-work permit
Warning: Grinding sparks can ignite paper, sawdust, fuel, solvents, oily rags, combustible dust, and flammable coatings. Clear the spark path, protect nearby people and surfaces, and do not work in an area with an explosive or combustible atmosphere.
Do not include water, a damp rag, or cutting fluid in a standard electric angle-grinder setup. OSHA angle-grinder guidance says not to use liquid coolants, and many tool manuals warn that accessories requiring liquid coolant can create an electric-shock hazard. Follow your exact tool and wheel manuals if a specialized wet-cutting system is involved.
Products Worth Considering

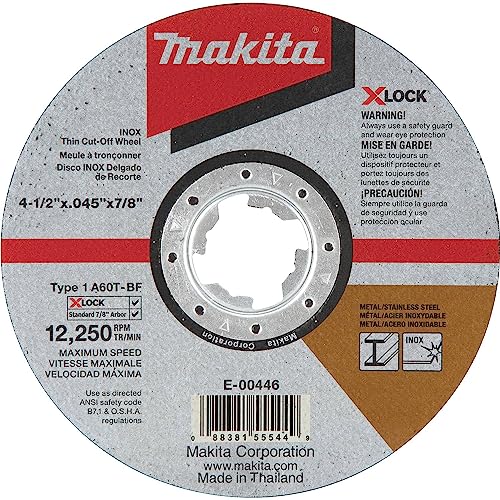
X-LOCK Quick Change System Provides up to 5X Faster Wheel Changes

4-1/2 Inch indestructible multi-material cut off disc for Angle Grinders, 7/8" arbor with 5/8" bushing, 3 Pack
Preparing Your Workspace and Stainless Steel for Cutting
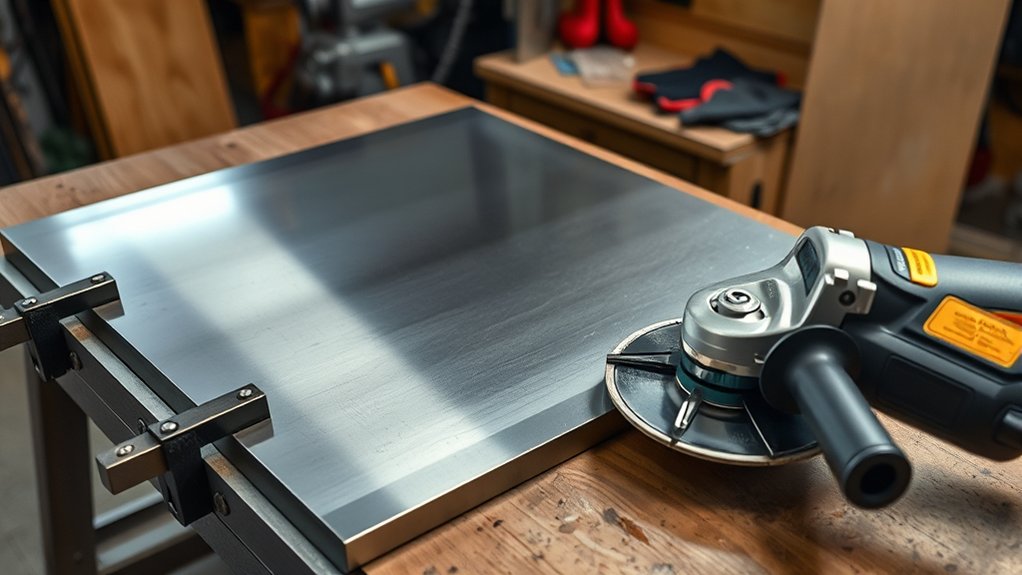
Set up a clean, well-lit, ventilated area with a stable workbench. Keep bystanders outside the spark and fragment zone. Route the cord behind the tool and away from the wheel, or confirm that a cordless battery is secure and charged.
Disconnect the plug or remove the battery before installing the wheel or adjusting the guard. Inspect the grinder, cord, switch, side handle, guard, flanges, and wheel. Do not use a cracked, chipped, wet, contaminated, expired, or poorly fitting wheel.
After mounting the wheel, follow the manufacturer’s no-load test procedure. Stand out of the wheel’s plane, keep the guard between you and the wheel, and run the grinder in a safe direction for the specified test time. Stop if you notice wobble, unusual vibration, or noise.
Mark the cut line with soapstone or a stainless-compatible marker. Inspect the workpiece for dents, deep scratches, coatings, or surface defects that could affect the cutting path or cleanup. To protect a finished surface, use clean noncontaminating pads beneath the clamps. Keep tape and protective film away from the wheel and spark path because they can melt or burn.
Clamp the workpiece to a stable platform. Support long or wide pieces near the cut and near their edges so they cannot sag, close the kerf, or pinch the wheel. Arrange the offcut so it cannot drop onto the wheel or strike you when the cut finishes.
Estimated Time for Cutting Stainless Steel
A short cut in thin sheet or small tubing may take only a few minutes once the setup is complete. The full job often takes 15 to 45 minutes when you include inspection, marking, clamping, dry cooling pauses, deburring, and cleanup.
Thicker stock, long cuts, repeated cuts, and visible-finish work take longer. Do not use a time estimate as a reason to force the wheel or skip cooling pauses.
How to Cut Stainless Steel With an Angle Grinder
Use the following process for a straight cut with less heat and lower kickback risk. Read the grinder and wheel instructions first because their limits take priority over general guidance.
- Choose the approved wheel and guard. Confirm the wheel is labeled for stainless steel, fits the arbor, matches the grinder diameter, and has a maximum RPM at least as high as the grinder’s no-load speed.
- Disconnect power and mount the wheel. Unplug the grinder or remove its battery. Install the wheel with the correct flanges and fit the specified cut-off guard and side handle.
- Inspect and test the setup. Check for cracks, chips, wobble, missing labels, flange damage, and guard interference. Perform the manufacturer-specified no-load test while standing out of the wheel’s plane.
- Mark, clamp, and support the work. Make the line easy to see. Clamp the work firmly and support it so the cut cannot close around the wheel.
- Set your stance and spark direction. Keep both hands on the grinder, maintain stable footing, and position your body out of the wheel’s line. Direct sparks away from yourself, cords, batteries, bystanders, and combustibles.
- Bring the wheel to full speed. Start the grinder before contacting the metal. Approach the line squarely without bumping the wheel into the work.
- Score the line with light pressure. Make a shallow guide pass. Let wheel speed do the cutting, and keep the wheel straight in the kerf.
- Continue with a steady dry feed. Use one controlled pass on thin material or several shallow passes on thicker stock. Do not twist, rock, or change the cutting angle after the kerf is established.
- Pause if heat or binding develops. Remove the wheel from the cut, switch off the grinder, and hold it still until the wheel stops. Let the metal cool naturally. Correct the support or alignment before restarting, and never restart with the wheel buried in the kerf.
- Finish and set the tool down safely. Reduce pressure as the offcut separates. Remove the wheel from the work before switching off, wait for a complete stop, and place the grinder where the wheel cannot contact anything.
- Deburr and clean the edge. Wait until the metal cools, then use a file, deburring tool, or stainless-dedicated abrasive. Remove dust and inspect the edge before handling or installing the part.
Pro Tip: Watch both the sound and the spark stream. A slowing wheel, harsher sound, increasing vibration, or a sudden change in sparks often means you are pressing too hard, the wheel is loading, or the kerf is beginning to pinch.
How to Minimize Heat Discoloration
Heat tint is a visible oxide layer that forms as stainless steel gets hot. Pale yellow, brown, blue, or purple colors show that the surface temperature rose enough to change the oxide film. The best strategy is to prevent excess heat rather than trying to polish it away afterward.
Proper Tool Selection
Choose a sharp, clean cut-off wheel specifically approved for stainless steel. A wheel that is glazed, damaged, contaminated, or wrong for the material can cut slowly and generate extra heat.
Match the wheel to the grinder’s diameter, arbor, and speed. The wheel’s maximum RPM must not be lower than the grinder’s no-load speed. Use the correct flanges and the cut-off guard required by the manufacturer.
Do not use a general-purpose wheel that has already touched carbon steel. Iron particles transferred to stainless steel can later rust and stain the surface.
Dry Heat-Control Techniques
- Use light pressure and keep the wheel at cutting speed.
- Make a shallow guide pass before deepening the cut.
- Keep moving instead of dwelling in one spot.
- Pause between passes and allow the workpiece to cool naturally.
- Use a fresh wheel when cutting slows or the wheel becomes glazed.
- For a finished surface, place a clean metal heat sink near the cut only if it can be clamped securely and kept outside the wheel path.
Do not spray water, apply cutting fluid, or press a damp rag against the work while a standard electric grinder is connected or running. Use a purpose-built wet-cutting system only when the tool, wheel, electrical protection, and manufacturer instructions all permit it.
Controlled Cutting Pressure
Controlled cutting pressure is one of the most important parts of a clean stainless steel cut. Excess pressure slows the wheel, increases friction, loads the abrasive, and raises the chance of binding or wheel breakage.
Guide the grinder with a firm two-handed grip and a steady feed. Keep the wheel straight. A cut-off wheel should cut with its edge, not grind with its side.
As the cut nears completion, ease the pressure so the offcut does not tear away, pinch the wheel, or pull the grinder off line.
Cutting Sheet, Tube, and Bar
- Thin sheet: Support both sides close to the line, score first, and avoid long unsupported spans that can vibrate or close the kerf.
- Tube and pipe: Mark around the full circumference. Rotate the work only after the grinder stops, or use a fixture designed to hold and rotate the tube safely.
- Angle, channel, and square tube: Start at the smallest cross-section and cut one face at a time while keeping the wheel straight.
- Solid bar or thick plate: Use several shallow passes and confirm the grinder is approved for the required depth. Switch to a dedicated saw if the cut exceeds the tool’s capacity.
Common Mistakes to Avoid While Cutting Stainless Steel
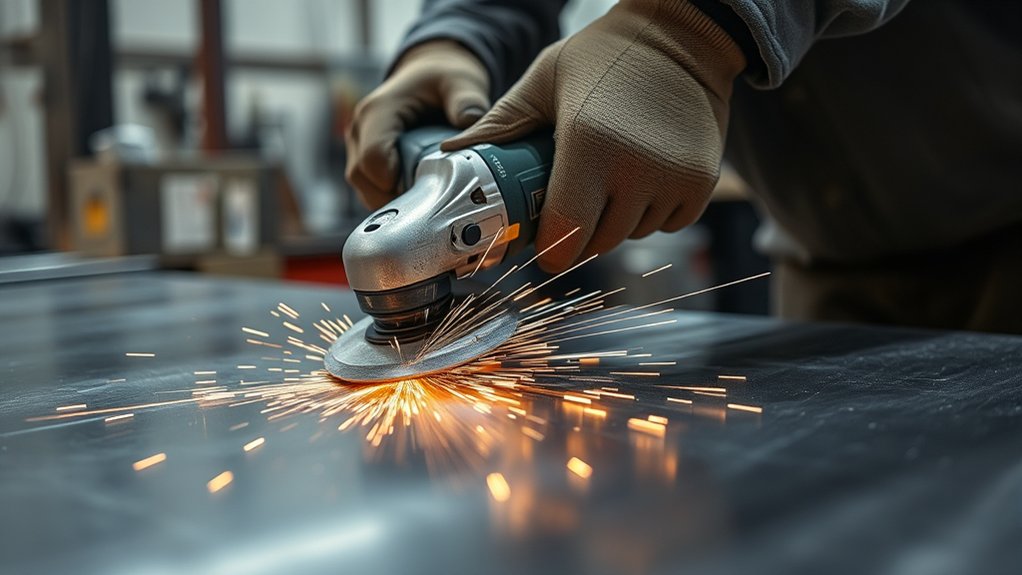
Most damaged cuts and wheel failures come from the wrong accessory, poor support, side pressure, or excess heat. Avoid these errors:
- Using a masonry wheel, grinding wheel, toothed blade, or unapproved accessory
- Using a wheel whose maximum RPM is lower than the grinder’s speed
- Cutting without the specified guard or side handle
- Holding the work by hand instead of clamping it
- Allowing a large sheet or offcut to sag and pinch the wheel
- Forcing the wheel, twisting it, or using its side to widen the kerf
- Restarting the grinder while the wheel is still inside the cut
- Using liquid coolant with a standard electric angle grinder
- Using abrasives or wire brushes that previously touched carbon steel
- Touching, deburring, or polishing the edge before it cools
Troubleshooting Poor Cuts
| Problem | Likely Cause | Fix |
|---|---|---|
| Blue or purple edge | Too much pressure, slow feed, dwell, or a dull wheel | Use lighter pressure, keep moving, pause for dry cooling, and replace a glazed wheel. |
| Wheel binds in the cut | Kerf closing, poor support, or wheel twisting | Stop, wait for the wheel to stop, correct the support, and reenter only at full speed. |
| Cut wanders | No guide score, side pressure, vibration, or poor visibility | Remark the line, improve lighting and support, then make a shallow guide pass. |
| Heavy burr | Excess pressure, worn wheel, or tearing at breakthrough | Use a fresh wheel, lighten pressure near the end, and deburr after cooling. |
| Rust stains after cutting | Carbon steel contamination from tools, dust, or abrasives | Use stainless-dedicated tools and clean the surface with a stainless-compatible process. |
Post-Cutting Maintenance for a Clean Finish
Allow the stainless steel to cool before touching or finishing it. Then remove burrs, inspect the cut, and clean away abrasive dust. Sharp edges can cut skin, damage gloves, and interfere with fit-up.
Cleaning Cut Edges
Use a file, deburring tool, or flap disc with light pressure. Reserve the tool for stainless steel so it does not transfer free iron from carbon steel.
- Remove the main burr with a file or deburring tool.
- Blend visible edges with progressively finer stainless-dedicated abrasives.
- Use only a clean stainless steel brush or stainless-compatible nonwoven pad.
- Vacuum or wipe away dust instead of blowing it toward people or clean stainless surfaces.
- Degrease the surface with a cleaner approved for the stainless grade and service environment.
A carbon steel wire brush can embed iron particles that later form rust stains. The International Molybdenum Association recommends clean tools and abrasives dedicated to stainless steel.
Removing Heat Tint and Restoring Corrosion Resistance
Light cosmetic discoloration may be reduced with a fine stainless-dedicated abrasive, working gently to match the surrounding finish. Mechanical polishing can improve appearance, but it may not remove every chromium-depleted layer beneath severe heat tint.
For food, pharmaceutical, marine, chemical, or other corrosion-critical service, follow the project’s finishing specification. Professional pickling, electropolishing, or passivation may be needed after fabrication. These chemical processes require trained handling, compatible chemicals, ventilation, PPE, and proper waste control.
Warning: Pickling products may contain strong acids and can cause severe burns or hazardous fumes. Do not improvise an acid-cleaning process. Use a qualified procedure and follow the chemical manufacturer’s safety data sheet.
Inspecting Cut Accuracy
Check the cut against the marked line before polishing away reference marks. Look for wandering, notches, cracks, heavy burrs, heat tint, and uneven depth.
Use a straightedge, square, caliper, or template when fit matters. Run a gloved hand near the edge to locate burrs, but never drag bare skin along a fresh cut.
If the part will be welded, sealed, exposed to moisture, or used in a hygienic system, confirm that the edge finish and post-fabrication cleaning meet the applicable drawing, code, or service requirement.
Frequently Asked Questions
How do you cut stainless steel without discoloration?
Use a sharp stainless-rated cut-off wheel, light pressure, steady movement, and one or more shallow passes. Pause to let the work cool naturally. You can minimize heat tint, but the result also depends on material thickness, cut length, wheel condition, and the finish required.
How do you fix stainless steel discoloration from heat?
After the metal cools, light cosmetic tint may be blended with a fine abrasive reserved for stainless steel. Severe tint or corrosion-critical work may require a specified pickling, electropolishing, or passivation process. Polishing alone may improve appearance without fully restoring the original corrosion resistance.
Can you cut stainless steel with an angle grinder?
Yes. An angle grinder can make short cuts in stainless sheet, tube, bar, and small sections when the tool is approved for cut-off work and fitted with the correct stainless-rated wheel, guard, flanges, and side handle.
Can you use water or cutting fluid with an angle grinder?
Not with a standard electric angle grinder unless the tool and wheel are specifically designed and approved for wet cutting. Liquid coolant can create shock and electrocution hazards. Control heat with correct wheel choice, light pressure, steady movement, and natural cooling pauses.
Will stainless steel rust if cut with a grinder?
The stainless steel itself remains corrosion resistant, but rust staining can appear if carbon steel dust or tools contaminate the surface. Excessive heat tint can also reduce local corrosion resistance. Use stainless-dedicated abrasives, clean the edge, and apply the required post-fabrication treatment.
What is the best disc for cutting stainless steel?
Use a reinforced cut-off wheel labeled for stainless steel or INOX. Choose the exact diameter, arbor, wheel type, thickness, and maximum RPM approved by the grinder and wheel manufacturers. Do not use a cut-off wheel for side grinding.
Why does the cutting wheel keep binding?
Binding usually comes from a closing kerf, sagging material, twisting the grinder, or misaligned support. Switch off the tool, hold it still until the wheel stops, remove it from the cut, correct the support, and restart outside the kerf before carefully reentering at full speed.
Conclusion
A clean stainless steel cut starts with the correct stainless-rated wheel, the specified cut-off guard, firm support, and a straight, light feed. Keep the process dry, pause when heat builds, and never twist a thin wheel inside the kerf.
After cutting, let the part cool, deburr it with stainless-dedicated tools, and remove contamination before installation. When corrosion resistance matters more than appearance alone, follow the required professional cleaning or passivation procedure.
Sources
- OSHA-supported Angle Grinder Safety toolbox talk — wheel speed, guarding, clamping, liquid-coolant, PPE, and fire-safety guidance.
- OSHA 29 CFR 1910.215, Abrasive Wheel Machinery — federal guard requirements for abrasive wheels.
- DEWALT DCG412 instruction manual — full-speed entry, minimum pressure, straight cutting, and safe stopping procedure.
- Bosch 1375A angle grinder manual — liquid-coolant, kickback, support, binding, wheel, and guard precautions.
- International Molybdenum Association, Practical Guidelines for the Fabrication of Austenitic Stainless Steels — heat tint, iron contamination, dedicated tools, cleaning, pickling, and passivation.
- 3M Grinding and Cut-Off Wheel Safety Guidance — PPE, RPM checks, guards, wheel inspection, and trial-run precautions.