To inspect an abrasive wheel for cracks, start with a thorough visual check for any visible damage like cracks or chips. Discard any defective wheels immediately. Next, perform the ring test by gently striking the wheel’s periphery with a non-metallic object. A clear, high-pitched ring indicates safety, while a dull sound suggests internal damage. Regular inspections and sound tests are essential for maintaining safety and performance. There’s more to enhance your processes efficiently.
The Importance of Inspecting Abrasive Wheels
Inspecting abrasive wheels is vital because even minor damage can lead to serious accidents. Regular inspections help you identify signs of damage, like cracks or missing pieces, that compromise safety. A simple visual check before use can uncover obvious defects, but remember that internal fractures in vitrified wheels might go unnoticed. This is where additional safety measures become critical.
The ring test is an effective method for evaluating wheel integrity. When you strike the wheel, a clear, high-pitched sound indicates it’s safe, while a dull sound suggests potential internal damage. Always discard wheels marked “do not use” immediately to prevent accidents and guarantee your safety. Adhering to manufacturer guidelines and performing consistent inspections greatly reduces the risk of wheel-related incidents during operation. By prioritizing these checks, you empower yourself to work safely and effectively with abrasive wheels.
Step-By-Step Visual Inspection Process
Start your visual inspection by checking the abrasive wheel for any visible damage like cracks or missing pieces; discard any that show defects. Next, validate the expiration date marked on the wheel, ensuring it hasn’t expired to avoid safety risks. These initial checks are essential for maintaining safe operations.
Check For Visible Damage
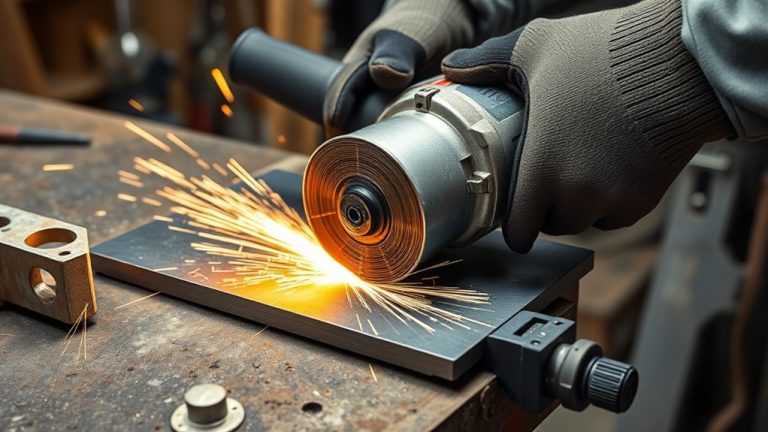
Before using an abrasive wheel, it’s essential to conduct a thorough visual inspection for any signs of damage. Start by examining the grinding wheels for visible cracks, lumps, or missing pieces; these can indicate potential failure. Inspect the entire circumference carefully, as damage may not always be obvious. Look for unusual wear or discoloration, which may suggest internal issues. Verify the wheel is free from any foreign materials or contaminants that could compromise its integrity. If you notice any significant damage, don’t hesitate to discard the wheel. Remember, your safety relies on the condition of the abrasive wheel, so take this visual inspection seriously before proceeding with your work.
Validate Expiration Date
After verifying the abrasive wheel shows no visible damage, the next step involves validating its expiration date. Start by locating the validity date marked on the wheel. Confirm it’s still within the recommended usage period. If it’s past this date or shows any signs of damage, like cracks or lumps, discard it immediately for safety. Regularly check expiration dates as part of your routine maintenance to avoid using outdated wheels. Document your inspections and the conditions of each wheel to maintain an organized safety record. This practice not only facilitates timely replacements but also guarantees a safer working environment. Always prioritize validating the expiration date to uphold operational integrity.
How to Perform the Ring Test?
To perform the ring test effectively, you’ll need a few simple tools, including a non-metallic object for striking the wheel. Follow a clear step-by-step procedure to guarantee accuracy, and pay close attention to the sound produced. Understanding these results is vital for evaluating the safety of the abrasive wheel before use.
Required Tools And Materials
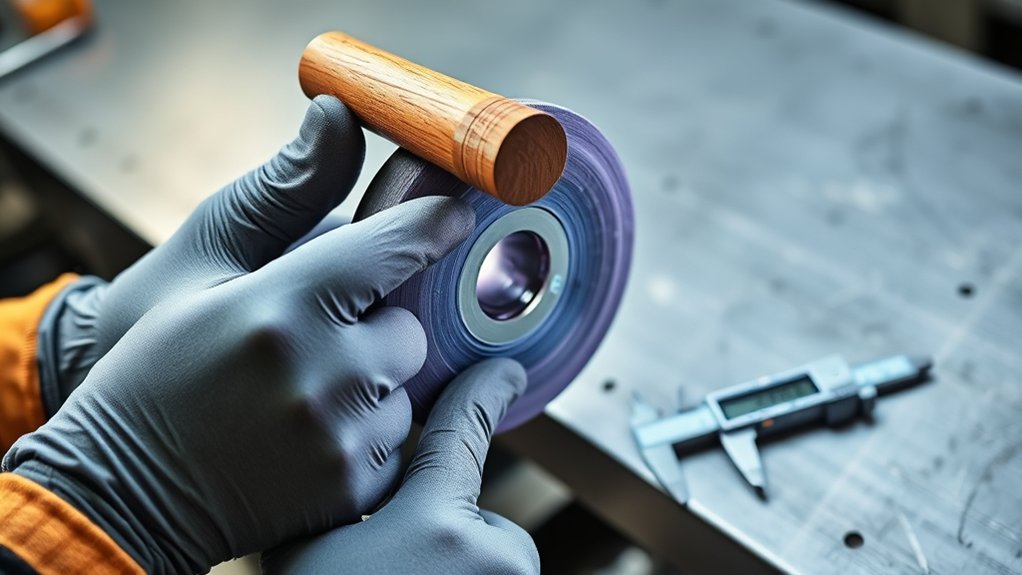
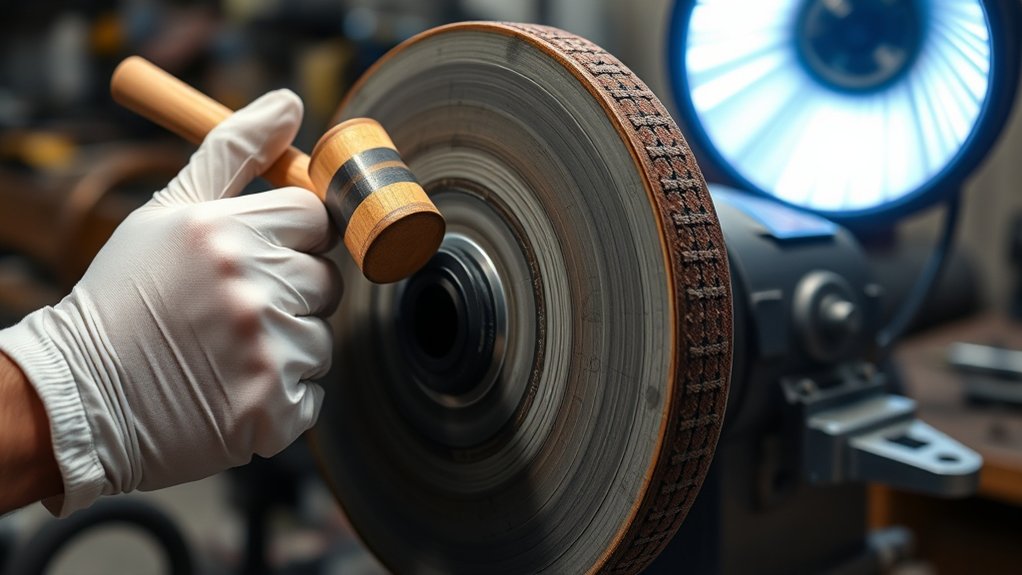
Performing a ring test on an abrasive wheel requires specific tools and materials to guarantee accurate results. First, you’ll need a non-metallic object, such as a wooden dowel or mallet. This prevents any damage to the grinding wheel during testing. Confirm you hold the grinding wheel horizontally on one finger at its center, keeping it stable and clear of any surfaces. Then, strike the periphery gently with the non-metallic object to produce a sound. Listen carefully: a clear, high-pitched ring suggests the wheel is likely safe, while a dull sound may indicate internal fractures. Always conduct the ring test before mounting the wheel to confirm safety and prevent accidents during operation.
Step-By-Step Procedure
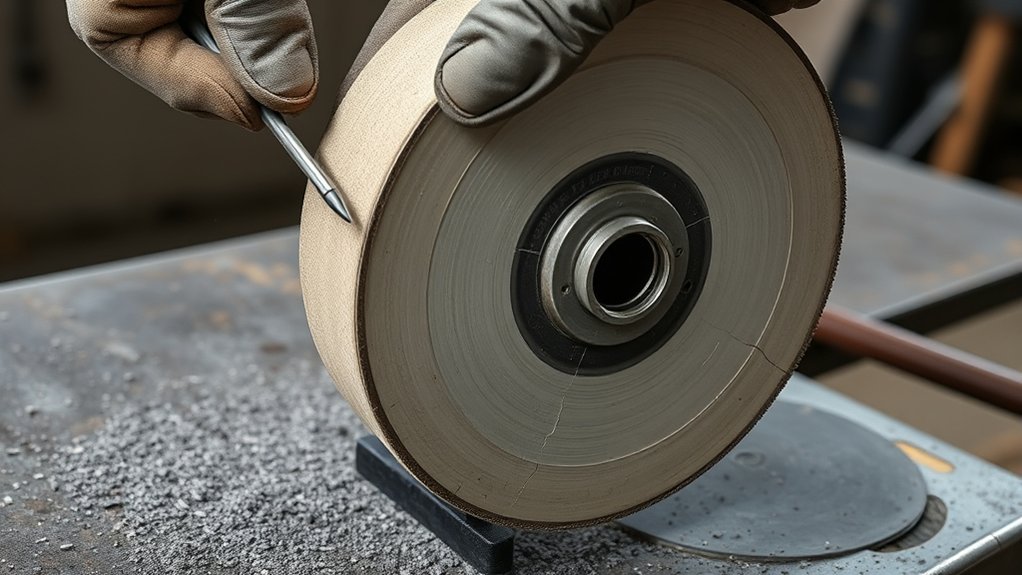
Inspecting an abrasive wheel involves a straightforward ring test that can be completed in just a few minutes. Start by cleaning the wheel to guarantee it’s free of debris. Hold the wheel horizontally on one finger, then gently strike the periphery with a non-metallic object, like wood. Listen carefully for a high-pitched harmonic sound; this indicates the wheel is likely free of internal fractures. If you hear a dull or thudding sound, it suggests potential internal damage, and you shouldn’t use the wheel. Conduct this ring test regularly as part of your safety checks before mounting any abrasive wheel on a machine. Your diligence in these checks is vital for maintaining a safe working environment.
Interpreting The Results
When you strike the abrasive wheel during the ring test, the sound it produces is essential for evaluating its condition. A high-pitched, clear ringing sound suggests the wheel is free of internal fractures and safe for use. Conversely, a dull sound indicates potential internal fractures, making it unsafe. Always perform this test in a quiet environment for accurate results.
| Sound Type | Interpretation |
|---|---|
| High-Pitched Ring | Likely safe for use |
| Dull Sound | May have internal fractures; discard |
Recognizing Damaged Wheels
Abrasive wheels are crucial tools in many applications, but recognizing damage is important for safe operation. Start by inspecting your grinding wheels for visible cracks, lumps, or missing pieces. Any sign of damage calls for immediate discarding of the wheel. Next, perform a ring test: lightly strike the periphery with a non-metallic object and listen closely. A clear, high-pitched sound indicates a safe wheel, while a dull sound suggests potential internal fractures, rendering it unsafe for use. Pay attention to wheels marked with “do not use”; discard these without hesitation to prevent accidents. Regular inspections, combining visual checks and sound tests, are essential in ensuring your grinding wheels remain reliable. By being vigilant and proactive, you protect yourself and others from potential hazards, ensuring that your work environment remains safe and efficient.
When to Discard Grinding Wheels
Recognizing damage in grinding wheels is only the first step; knowing when to discard them is equally important for safety. Discard any grinding wheel showing visible damage, such as cracks, lumps, or missing pieces. If a wheel is past its validity date, don’t hesitate to dispose of it, regardless of its appearance. Wheels marked with “do not use” must be discarded immediately to prevent accidents. Additionally, perform a ring test; if the wheel produces a dull sound when struck, it indicates potential internal fractures and requires immediate disposal. Regular inspections are essential—timely replacement of damaged or aged grinding wheels is critical for maintaining a safe working environment. Prioritizing safety means being proactive about the condition of your grinding wheels, ensuring a reliable and secure workspace. Discarding compromised wheels isn’t just a guideline; it’s a necessity for your well-being.
Essential Tips for Maintaining Abrasive Wheels
Maintaining abrasive wheels is vital for safe and efficient operation. Regular visual inspections are important; check for cracks, lumps, or missing pieces to guarantee peak performance. Always confirm the validity date marked on the wheel and discard any that have expired to prevent safety risks. Use the ring test with a non-metallic object—listen for a clear, high-pitched sound, which indicates the wheel is safe. A dull sound may signal internal fractures. Adhere to manufacturer guidelines for maintenance and usage; this maximizes the lifespan and effectiveness of your grinding wheels. Additionally, keep your work area clean and free from hazards that could compromise the integrity of the wheels during use. By implementing these vital tips, you not only enhance the performance of your grinding wheels but also prioritize safety in your workspace.
Safety Tips for Using Abrasive Wheels
When using abrasive wheels, ensuring your safety should be your top priority. Always start with a thorough visual inspection of your grinding wheels for cracks, lumps, or missing pieces. This quick check can prevent serious accidents. Next, conduct the ring test by gently striking the wheel with a non-metallic object; a clear, ringing sound signals it’s safe to use. If you see any wheel marked “do not use,” discard it immediately to avoid potential hazards.
Regularly check the validity date marked on the wheel. Replace any grinding wheels that have exceeded their date to maintain maximum safety. Additionally, keep your work area free from hazards that could compromise the integrity of the abrasive wheel. A clean, organized space not only enhances productivity but also minimizes risks. By following these safety tips, you empower yourself to work confidently and effectively with abrasive wheels.
Why Vitrified Wheels Can Be Risky
Although vitrified wheels are popular for their durability, they can pose significant risks if not properly inspected. These wheels are bonded with glass, making it tough to spot internal damage through mere visual checks. Hidden fractures can lurk beneath the surface, leading to catastrophic failures.
To stay safe, remember these essential points:
- Regular Inspections: Conduct frequent checks, including the important ring test, to catch potential internal defects.
- Lifespan Awareness: Be mindful of the wheel’s expiration date; using them past their validity can dramatically increase risks.
- Sound Checks: Pay attention to the sound during the ring test; a dull tone could signal dangerous internal issues.
Frequently Asked Questions
How to Ring Test an Abrasive Wheel?
To ring test an abrasive wheel, hold it at the center, gently strike the edge with a non-metallic object, and listen. A clear tone indicates safety; a dull sound suggests damage. Always follow safety protocols.
What Is the Best Method for Inspecting Abrasive Wheels for Cracks?
To inspect abrasive wheels for cracks, conduct a thorough visual check, listen for high-pitched sounds during the ring test, and always prioritize safety precautions. Discard any wheels showing damage or past validity dates immediately.
What Is the OSHA Ring Test for Grinding Wheels?
Imagine a crystal bell—clear and resonant. The OSHA ring test, a safety standard, checks grinding wheels by striking them lightly; a sharp sound means safety, while a dull thud signals hidden fractures needing attention.
How Would You Test a New Grinding Wheel for Cracks?
To test a new grinding wheel for cracks, conduct a visual inspection for flaws, verify the validity date, and perform the ring test. Always follow safety protocols to guarantee it’s safe for use.
Conclusion
In summary, regularly inspecting your abrasive wheels isn’t just a best practice; it’s an essential step that could prevent catastrophic failures. As you perform those visual checks and ring tests, consider the hidden dangers that might lurk beneath the surface. Discarding wheels at the right moment can mean the difference between a successful grind and a dangerous mishap. Remember, vigilance today can spare you from unexpected consequences tomorrow. Are you ready to take that next important step?