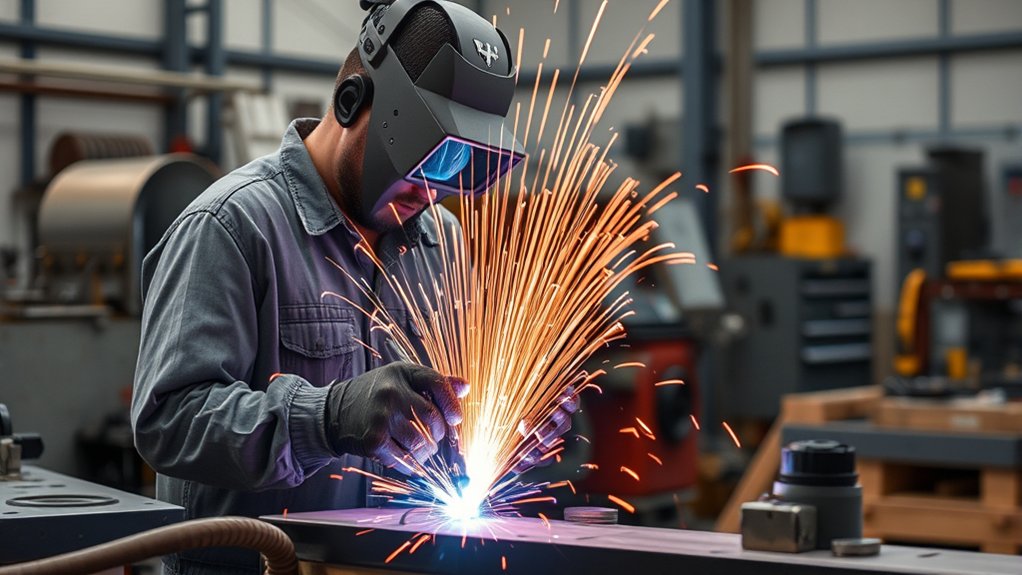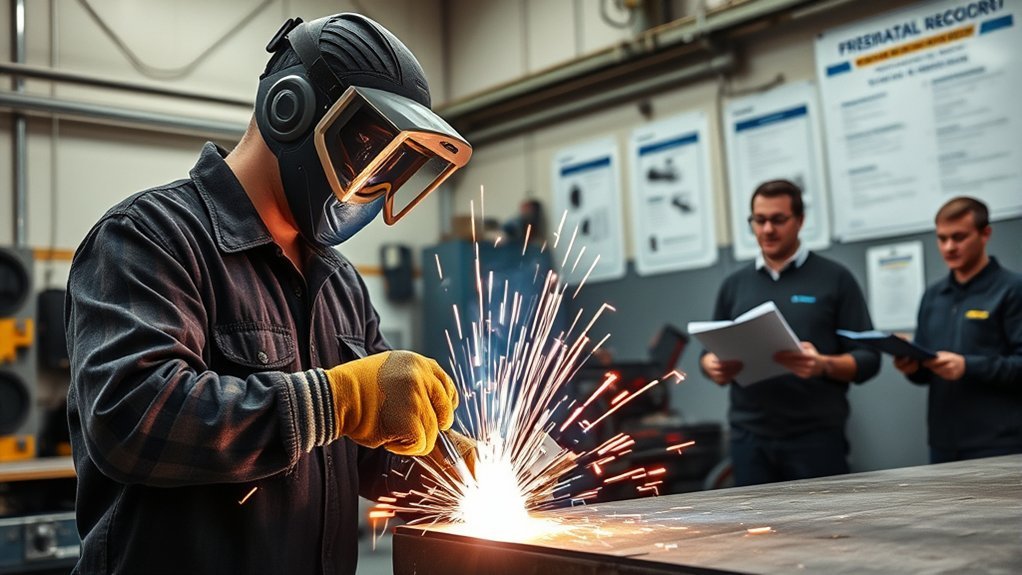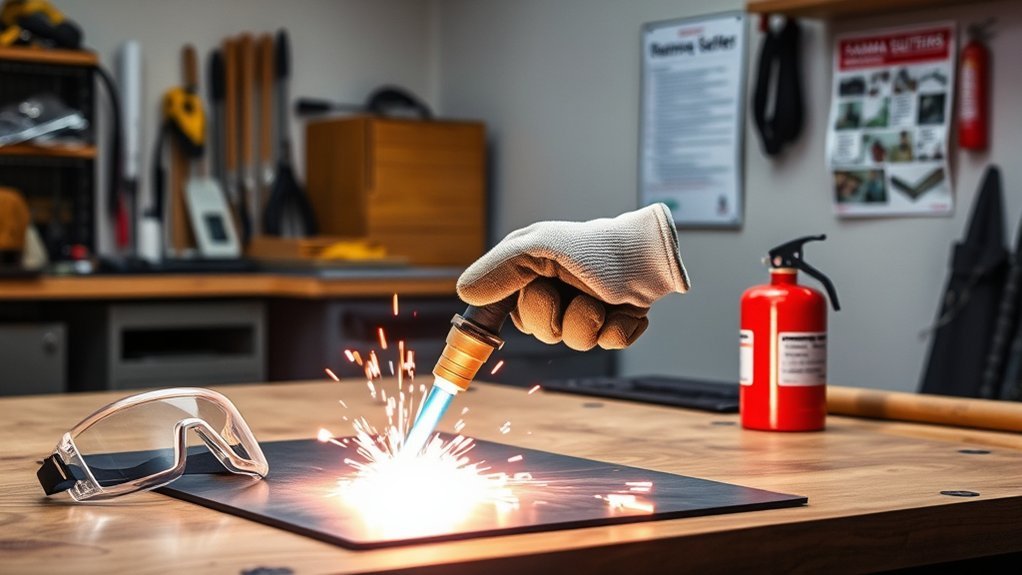
Starting plasma cutting is easier when you learn the process in the right order: safety first, machine setup second, technique third. A plasma cutter uses an electric arc and compressed gas to cut conductive metals, so you need the correct PPE, clean dry air, a solid work clamp, and settings that match your machine’s cut chart.
Quick Answer
To start plasma cutting, wear proper eye, face, hand, and flame-resistant protection, clear the area of fire hazards, connect the work clamp to clean metal, set air and amperage from your machine’s manual, then practice steady cuts on scrap metal before cutting final parts.
Key Takeaways
- Plasma cutting works on electrically conductive metals such as mild steel, stainless steel, aluminum, copper, and brass.
- Use your operator’s manual or cut chart for amperage, air pressure, torch height, and travel speed. Do not treat one PSI or amperage range as universal.
- Eye protection, flame-resistant clothing, gloves, ventilation, and fire control are not optional because the process creates arc light, hot metal, fumes, and sparks.
- Most beginner cut problems come from moving too fast or too slow, using wet air, poor grounding, wrong consumables, or worn electrodes and nozzles.
At a Glance
| Time Required | 30 to 60 minutes for setup and first practice cuts |
| Difficulty | Beginner, but hot-work safety training is strongly recommended |
| Tools Needed | Plasma cutter, correct consumables, clean dry compressed air or built-in air supply, grounded work table, clamps, marker, PPE, fire extinguisher, scrap metal |
| Cost | Varies by machine and compressor setup; expect added costs for consumables, PPE, filters, and practice material |
Understanding Plasma Cutting Torches
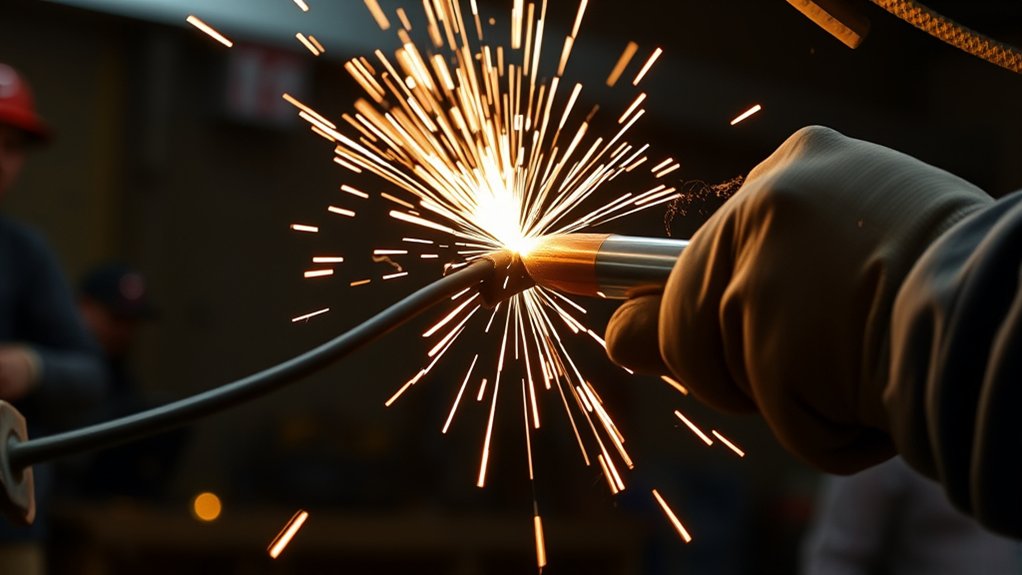
A plasma cutting torch sends compressed gas through a small nozzle while an electrical arc ionizes that gas into plasma. The heat melts the metal, and the fast-moving gas blows molten metal out of the kerf. That is why plasma cutting works best on electrically conductive metals, not wood, plastic, glass, or stone.
The main torch parts usually include an electrode, nozzle or tip, swirl ring, shield, retaining cap, and torch body. Names vary by brand, but the idea is the same: the consumables shape the arc and control cut quality.
Check these items before you cut:
- Electrode condition: Replace it when the pit is deep, uneven, or outside your manual’s limit.
- Nozzle opening: Replace a nozzle that is oval, enlarged, dirty, or damaged.
- Shield and cap: Make sure they are seated correctly and not coated with spatter.
- Air supply: Use clean, dry air at the pressure and flow your machine requires.
- Work clamp: Attach it to clean bare metal, not rust, paint, or a loose workbench edge.
Note: Air pressure and amperage are machine-specific. A small 120V unit, a 240V shop machine, and a CNC plasma table may all need different air flow, pressure, torch height, and travel speed.
Products Worth Considering

Package Include: 10 Shield Cups, 50 Nozzles, 20 Swirl Baffle, and 30 Electrodes.

[Achieve Precise Cuts] PT31 Plasma Cutting Consumables – Your Essential Tool for Efficient Cutting! Whether you're working with sheet metal, steel, or any other material, superior cutting performance ensure clean, accurate, and smooth cuts.

High-Quality Material:Made of high quality material to ensure a longer lifespan and superior performance.
Common Applications of Plasma Cutting
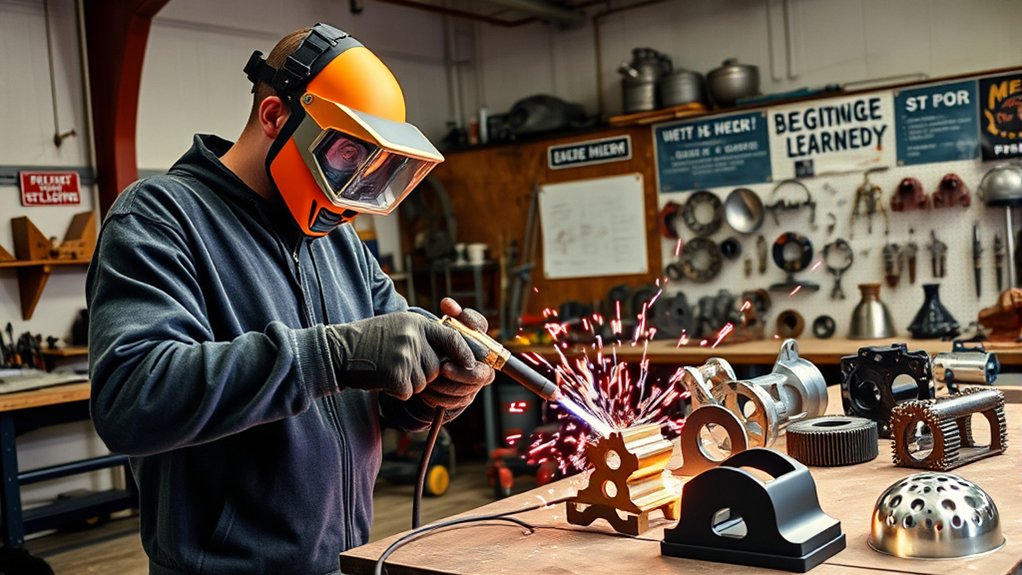
Plasma cutting is used in repair shops, fabrication, construction, farm work, automotive work, HVAC, metal art, sign making, and industrial production. It is especially useful when you need fast cuts in sheet metal, plate, brackets, tubing, angle iron, or flat stock.
You can use plasma cutting for:
- Sheet-metal cutting: trimming panels, cutting patches, and shaping brackets.
- Plate cutting: roughing out parts before grinding, welding, or machining.
- Pipe and tube work: trimming, notching, and removing damaged sections.
- Automotive repair: cutting exhaust parts, brackets, body patches, and rusted panels.
- Metal art: cutting signs, silhouettes, garden pieces, and decorative panels.
- CNC production: repeating shapes from CAD files on a plasma table.
Warning: Do not plasma cut sealed containers, fuel tanks, drums, or tanks that held flammable or unknown materials unless they have been professionally cleaned, vented, tested, and approved for hot work. Vapors can explode even when a container looks empty.
Different Methods of Plasma Cutting
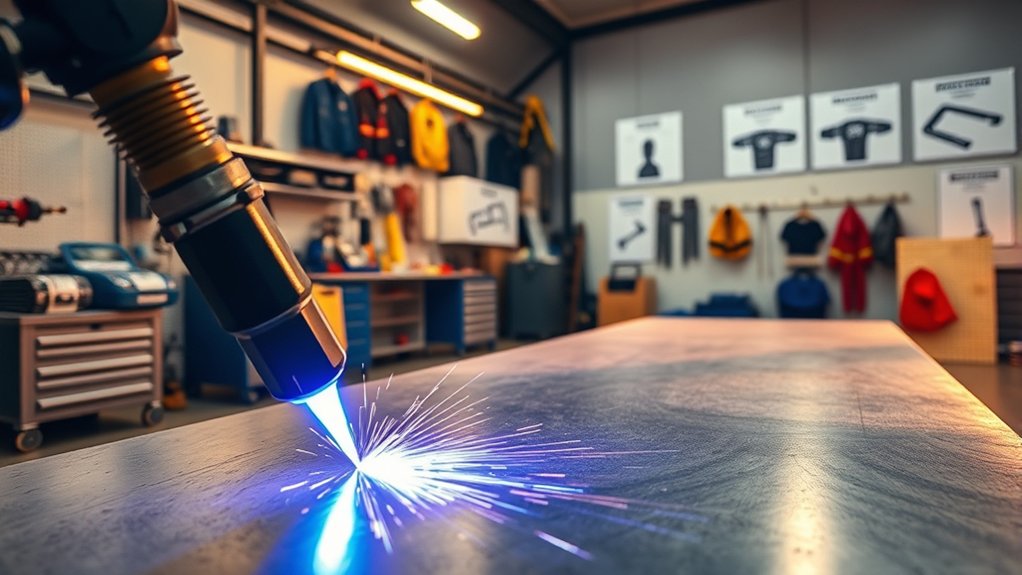
Plasma cutting can be done by hand, with a guide, or on a CNC table. The best method depends on your project, accuracy needs, and budget.
Hand-Guided Cutting Techniques
Hand-guided cutting gives you the most flexibility. It is the best place for beginners to start because you learn torch angle, speed, standoff, and arc behavior by feel.
For cleaner hand cuts, keep your wrist supported, pull or drag the torch steadily if your consumables allow it, and watch the sparks under the plate. When the cut is working well, sparks usually exit through the bottom instead of blowing back toward the top.
For an edge start, you can begin with the torch slightly angled, then bring it square to the work after the arc pierces the edge. For piercing in the middle of a plate, follow your manual’s piercing method and maximum pierce thickness. Piercing too thick a plate can blow molten metal back into the nozzle.
Guide-Assisted Cutting
A straightedge, circle guide, roller guide, or track system helps you make straighter, cleaner cuts. This is useful for brackets, panels, repeated cuts, and long straight lines. Keep the guide far enough from the arc so it does not melt or shift.
CNC Plasma Cutting Benefits
CNC plasma cutting uses computer-controlled motion to cut repeatable shapes from a digital file. It is useful for production work, signage, brackets, tabs, flanges, and repeated patterns.
CNC systems can reduce waste when the software uses good nesting, lead-ins, lead-outs, kerf compensation, and correct cut settings. The tradeoff is that CNC requires more setup: CAD files, CAM software, table maintenance, torch height control, and dust or fume management.
Essential Safety Practices for Plasma Cutting
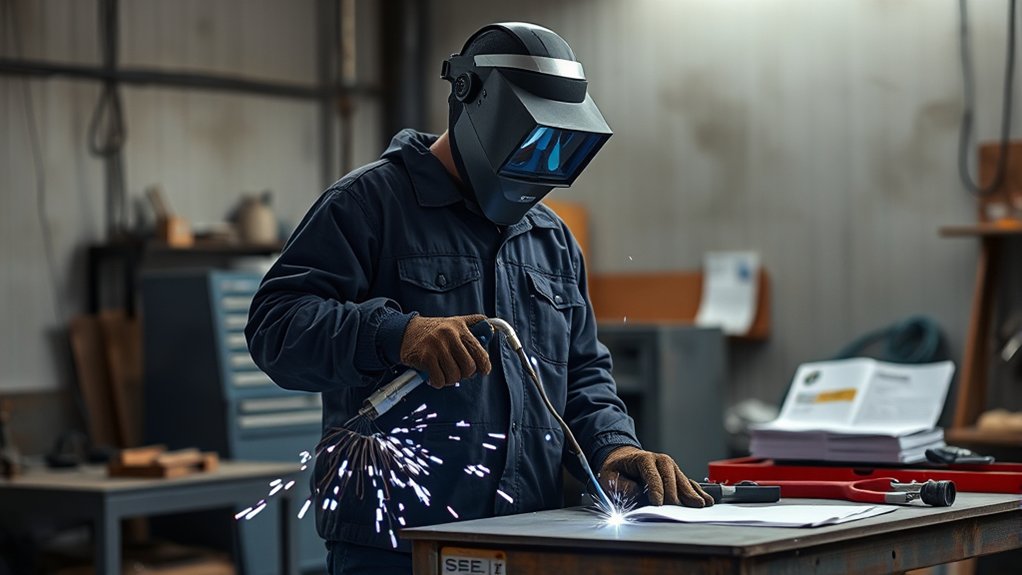
Plasma cutting is hot work. It creates intense light, sparks, molten metal, hot workpieces, noise, fumes, compressed-air hazards, and electric-shock risk. Before you pull the trigger, treat the job like welding or arc cutting.
Use PPE that matches the job:
- Eye and face protection: Use a welding helmet or plasma-rated face protection with a proper filter shade. OSHA lists minimum shades for plasma arc cutting, including shade 8 for light plasma arc cutting below 300 amps, shade 9 for 300 to 400 amps, and shade 10 for 400 to 800 amps, where the arc is clearly seen. Always follow your machine and helmet instructions.
- Safety glasses: Wear ANSI-rated safety glasses under the helmet or face shield to protect against flying particles when the hood is raised.
- Gloves: Use flame-resistant cutting or welding gloves that let you control the torch.
- Clothing: Wear flame-resistant cotton, leather, or welding-rated clothing. Avoid synthetics that can melt.
- Foot protection: Wear leather boots and keep pant legs over the boots so sparks do not fall inside.
- Hearing protection: Use earplugs or earmuffs, especially in enclosed shops or when cutting thick material.
- Respiratory protection: Use local exhaust, outdoor-safe airflow, or a properly selected respirator when ventilation cannot control fumes.
The safest setup does not rely on PPE alone. Remove hazards, improve ventilation, control sparks, and then use PPE as the last layer of protection.
OSHA requires appropriate eye and face protection when workers are exposed to flying particles, molten metal, or injurious light radiation. You can review OSHA’s eye and face protection requirements at OSHA 1910.133.
Fire and Fume Control Before You Cut
Clear the work area before you cut. Sparks can travel, bounce, and fall through gaps. Move paper, rags, sawdust, solvents, fuel, upholstery, cardboard, and plastic away from the cutting area.
Before cutting, check these fire controls:
- Keep a suitable fire extinguisher within reach.
- Move combustibles away from the cut area when possible.
- Use fire-resistant blankets or metal shields when combustibles cannot be moved.
- Check the floor, wall openings, under the table, and the opposite side of metal panels.
- Keep a fire watch after cutting if sparks could reach hidden areas.
- Mark hot metal so nobody grabs it by mistake.
OSHA’s welding, cutting, and brazing standard says movable fire hazards should be taken to a safe place or guarded when they cannot be moved, and suitable fire extinguishing equipment must be ready for use. You can review the fire prevention rules at OSHA 1910.252.
Fumes also matter. Cutting stainless steel, galvanized metal, painted metal, plated parts, or unknown scrap can create hazardous fumes. The CDC/NIOSH welding fume page notes that welding fumes are composed of metals and that inhaled manganese can affect the lungs, liver, kidneys, and central nervous system. Review the NIOSH guidance at CDC/NIOSH Welding Fumes and Manganese.
Key Techniques for Effective Plasma Cutting
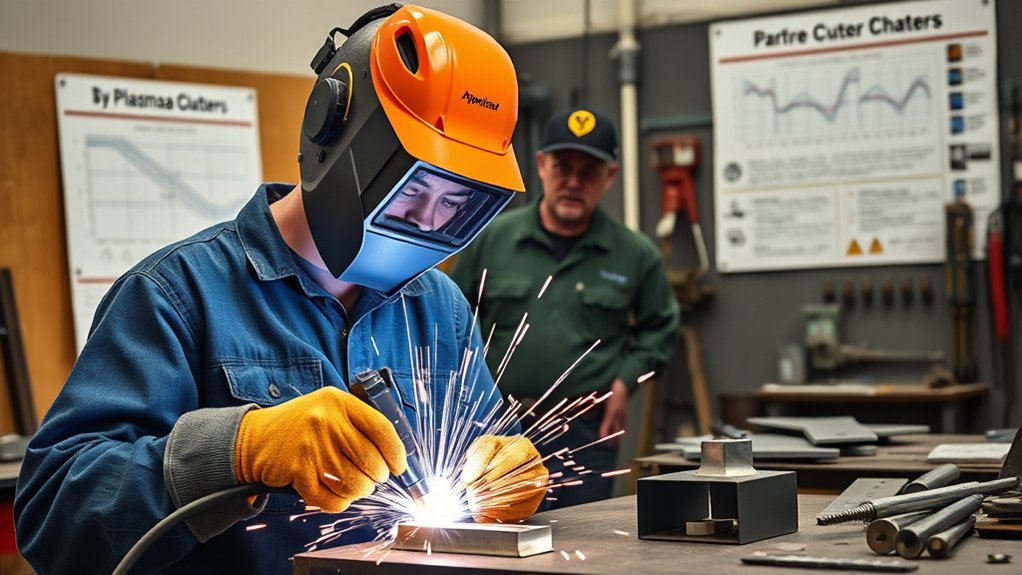
Clean plasma cuts come from the right combination of air quality, amperage, travel speed, torch height, torch angle, consumable condition, and ground connection.
Focus on these technique basics:
- Use clean metal when possible: Heavy rust, paint, oil, and scale can cause arc instability and extra fumes.
- Keep the torch steady: Avoid bobbing up and down because torch height changes the arc shape and bevel.
- Move at the right speed: Too fast leaves uncut metal or sparks blowing back. Too slow widens the kerf and increases dross.
- Watch the sparks: A good cut usually sends sparks down through the work. Sparks coming back on top often mean poor speed, poor grounding, or too much thickness for the setting.
- Use the correct consumables: Drag tips, shielded consumables, fine-cut tips, and gouging tips are not interchangeable.
- Let the post-flow finish: Many machines keep air flowing after the arc stops to cool the torch. Do not shut the machine off during post-flow unless the manual says it is safe.
Pro Tip: Make your first test cut on scrap from the same metal and thickness. If the scrap cut has heavy dross, bevel, or arc dropout, fix the setting before cutting the real part.
Step-by-Step First Plasma Cut
Use this beginner sequence for a simple straight cut on clean scrap metal.
- Read the manual and cut chart. Find the recommended consumables, amperage, air pressure, torch height, and cut speed for your metal thickness.
- Prepare the area. Remove combustibles, set up ventilation, place a fire extinguisher nearby, and make sure sparks will not hit people, vehicles, glass, hoses, cords, or fuel sources.
- Put on PPE. Wear eye and face protection, safety glasses, gloves, flame-resistant clothing, boots, and hearing protection.
- Prepare the metal. Remove paint, heavy rust, oil, or coatings near the cut line when possible.
- Connect the work clamp. Clamp directly to clean bare metal on the workpiece or cutting table.
- Set the machine. Use the manual’s settings, then check that the air supply is clean, dry, and stable.
- Position the torch. Start at the edge when possible. Keep the torch square after the arc starts unless your manual tells you otherwise.
- Pull the trigger and pause briefly. Let the arc establish and pierce before moving.
- Move steadily along the line. Watch the bottom of the cut for sparks passing through.
- Release the trigger at the end. Let the post-flow cool the torch, then wait before handling the metal.
- Inspect the cut. Look for dross, bevel, missed spots, and heat damage. Adjust one variable at a time on the next test.
Selecting the Right Plasma Cutting Equipment
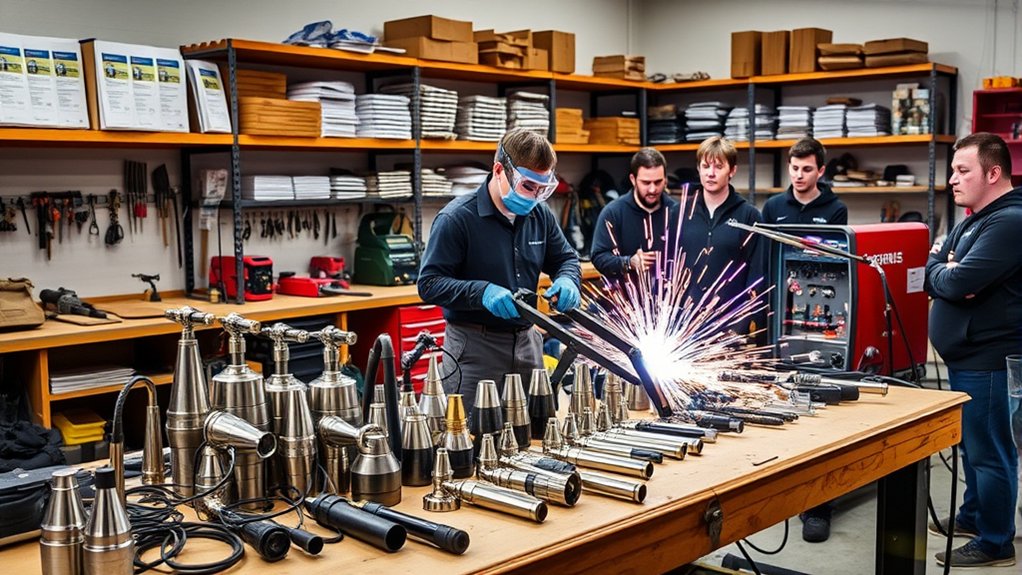
Choose a plasma cutter by matching it to the metal thickness and type you cut most often. Do not choose by input voltage alone. A machine’s real usefulness depends on rated clean-cut thickness, severance thickness, duty cycle, input power, air requirements, torch design, and consumable cost.
Products Worth Considering
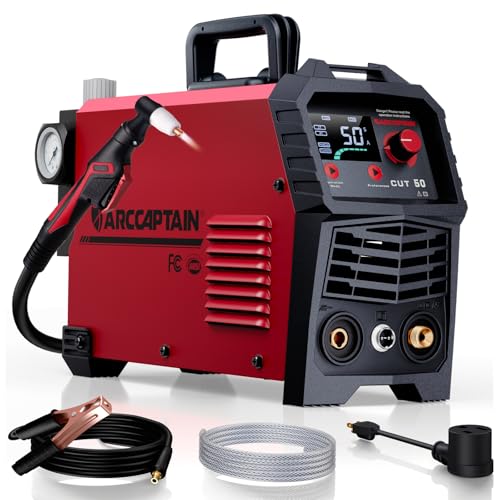
【Powerful Cutting Ability】Switch effortlessly between 110V and 220V for home or workshop use. Achieve professional 1/2" clean cuts on steel, aluminum, and copper with advanced LGBT technology. Perfect for DIY projects and heavy-duty tasks. Recommended maximum cutting thickness: 12mm @ 35A / 110V / 55 PSl; 18mm @ 50A / 220V / 75 PSI. Note: Requires compressed air (compressor sold separately).

【Non-Touch Pilot Arc Function】The ARCCAPTAIN 55A plasma cutter features a pilot arc function. It utilizes a high-frequency non-touch arc starting mode. The torch head does not need to touch the metal plate, reducing energy consumption during non-cutting work, minimizing electrode burning, and extending service life. NOTE: Do not switch voltages until the screen turns off and the fan stops.

【Non-Touch Pilot Arc Function】The plasma cutter features a high frequency non-touch arc starting mode. It allows for cutting steel surfaces with dirt, rust or coatings. The torch head does not need to touch the metal plate, reducing energy consumption, minimizing electrode burning, and extending service life. NOTE: DO NOT power on until the screen turns off and the fan stops working!
Matching Machine to Material
Start with the manufacturer’s rated capacity:
- Clean cut rating: The thickness the machine can cut with acceptable speed and quality.
- Severance rating: The maximum thickness it can cut slowly, often with rougher edges and more cleanup.
- Duty cycle: How long the machine can cut in a 10-minute period before it needs to cool.
- Input power: Some machines run on 120V, some on 240V, and some on both. Higher input power can help, but it does not replace the clean-cut rating.
- Air supply: Make sure your compressor can supply the required flow and pressure without dropping during the cut.
- Consumables: Check that electrodes, nozzles, shields, and specialty tips are easy to buy.
If you mainly cut thin sheet metal, a smaller portable cutter may be enough. If you cut thick plate often, look for a higher-output machine with a duty cycle that fits your work pace. If you plan to add a CNC table, confirm machine compatibility before buying.
User-Friendly Software Features
For CNC plasma cutting, software matters as much as the cutter. Look for software that supports common file formats such as DXF or SVG, lets you set kerf compensation, creates lead-ins and lead-outs, nests parts efficiently, and matches your table controller.
Beginner-friendly CNC software should let you preview toolpaths, set cut order, adjust pierce delay, and save material profiles. Those features reduce mistakes and make repeated cuts easier.
Operating and Maintaining Plasma Cutting Machines
Good maintenance improves cut quality and protects the torch. Plasma cutters are sensitive to worn consumables, wet air, poor grounding, blocked airflow, and loose torch parts.
Use this maintenance routine:
- Drain the compressor tank: Water in the air supply shortens consumable life and causes rough cuts.
- Check filters and dryers: Replace or service them when moisture or oil reaches the torch.
- Inspect consumables: Replace worn electrodes and nozzles before they damage the torch.
- Clean the torch: Remove spatter and dust from the shield, cap, and threads.
- Check cables and hoses: Look for cuts, burns, loose fittings, and air leaks.
- Test airflow: Use the machine’s test mode if available before cutting.
- Keep vents clear: Dust buildup can overheat the machine and reduce duty cycle.
- Store consumables clean: Keep them dry and separate so tips do not get scratched.
Troubleshooting Common Plasma Cutting Problems
When a cut looks bad, change one thing at a time. If you change amperage, speed, air pressure, and consumables all at once, you will not know which fix worked.
| Problem | Likely Cause | Fix |
| Heavy dross on the bottom | Travel speed too slow, wrong amperage, worn consumables, or wet air | Test speed changes on scrap, inspect consumables, and check air dryness |
| Sparks blow back at you | Moving too fast, poor ground, or metal is too thick for the setting | Slow down, clean the ground point, and confirm machine capacity |
| Beveled edge | Torch tilted, wrong height, worn nozzle, or cut direction issue | Keep the torch square, replace the nozzle, and use a guide |
| Arc starts then stops | Poor ground, low air pressure, overheated machine, or bad consumables | Clean the clamp area, check air supply, let the machine cool, and inspect torch parts |
| Wide rough kerf | Too much heat, wrong consumables, slow speed, or poor air quality | Use the correct tip, adjust speed, and dry the air supply |
Enhancing Skills With Practice and Resources
Practice is where plasma cutting starts to make sense. Use scrap metal, mark straight lines and circles, and make repeated cuts while changing only one setting at a time. Write down what changed and what the edge looked like.
A smart practice routine looks like this:
- Cut straight lines on thin scrap until your travel speed stays steady.
- Practice edge starts before piercing holes in the middle of a plate.
- Cut circles with a guide before trying freehand circles.
- Compare cuts made too fast, too slow, and at the recommended speed.
- Try clean metal, rusty metal, and painted metal so you can see how surface condition changes the arc.
- Grind and inspect the edges so you understand dross, bevel, and heat marks.
Use your manual as the main reference, then add training videos, welding-school resources, local classes, and supervised shop practice. Online forums can help, but always compare forum advice with your machine’s operator manual and safety standards.
The CDC/NIOSH hierarchy of controls recommends controlling hazards through elimination, substitution, engineering controls, administrative controls, and PPE, in that order. You can review that approach at CDC/NIOSH Hierarchy of Controls.
Frequently Asked Questions
What materials can be cut using a plasma cutter?
A plasma cutter cuts electrically conductive metals such as mild steel, stainless steel, aluminum, copper, brass, and many alloys. It does not cut nonconductive materials like wood, glass, plastic, or concrete. Always check your machine’s rated capacity for the metal thickness you plan to cut.
How do I troubleshoot common plasma cutter issues?
Start with the basics: inspect the electrode and nozzle, confirm clean dry air, clean the work clamp area, check the machine’s error lights, and compare your settings with the cut chart. If the arc drops out, look for poor grounding, low air flow, overheating, or worn consumables.
Can a plasma cutter be used for artistic projects?
Yes. Plasma cutters are popular for metal signs, wall art, garden art, address plaques, templates, and decorative panels. Use a guide or CNC table for repeatable designs, and finish sharp edges with a grinder, file, or deburring tool.
How does plasma cutting compare to other cutting methods?
Plasma cutting is faster than many mechanical cutting methods on conductive metal and works well on steel, stainless steel, and aluminum. Oxy-fuel is often better for very thick carbon steel, while saws can be cleaner for small stock and laser cutting can be more precise for thin production parts.
What are the environmental impacts of plasma cutting?
Plasma cutting can create metal fumes, dust, noise, sparks, and scrap. Reduce impact by using ventilation or fume extraction, recycling metal offcuts, keeping filters maintained, avoiding unnecessary cutting of coated metals, and disposing of used consumables according to local rules.
What shade lens do I need for plasma cutting?
Use the shade recommended by your helmet and plasma cutter manufacturer. OSHA’s table lists minimum protective shades for plasma arc cutting, including shade 8 for light plasma arc cutting below 300 amps, shade 9 for 300 to 400 amps, and shade 10 for 400 to 800 amps where the arc is clearly seen.
Why does my plasma cut have so much dross?
Heavy dross usually comes from travel speed, worn consumables, wrong settings, wet air, poor torch height, or cutting material near the machine’s limit. Make a test cut on scrap, check the air supply, inspect the nozzle and electrode, then adjust speed one step at a time.
Conclusion
Plasma cutting is a practical skill when you build it on safe habits. Start with clean metal, correct PPE, fire control, ventilation, a solid work clamp, dry air, and settings from your machine’s manual. Then practice on scrap until your speed, torch angle, and cut quality become consistent. Once the basics feel natural, you can move into guides, patterns, thicker material, and CNC work with more confidence.
Sources
- OSHA 1910.133 Eye and Face Protection — backs eye, face, and plasma arc cutting shade guidance.
- OSHA 1910.252 Welding, Cutting, and Brazing General Requirements — backs fire prevention, extinguisher readiness, ventilation, and hot-work precautions.
- CDC/NIOSH Welding Fumes and Manganese — backs welding and cutting fume health concerns.
- CDC/NIOSH Hierarchy of Controls — backs the use of hazard controls before relying only on PPE.