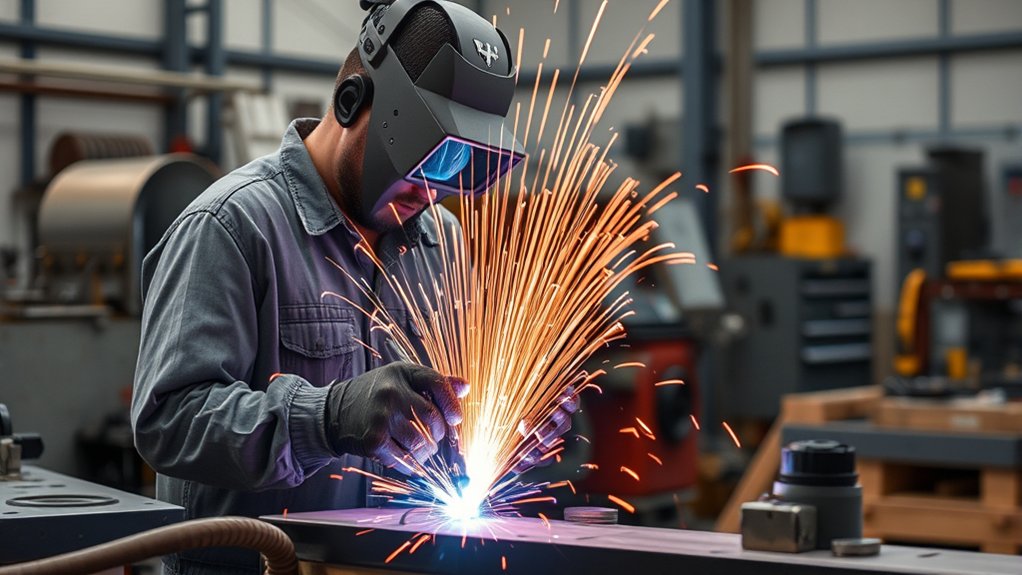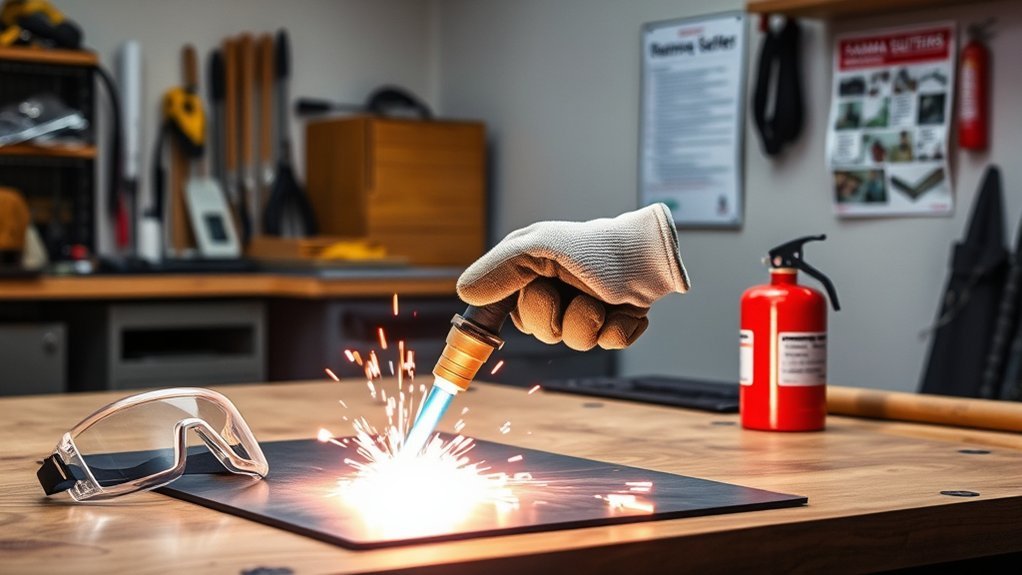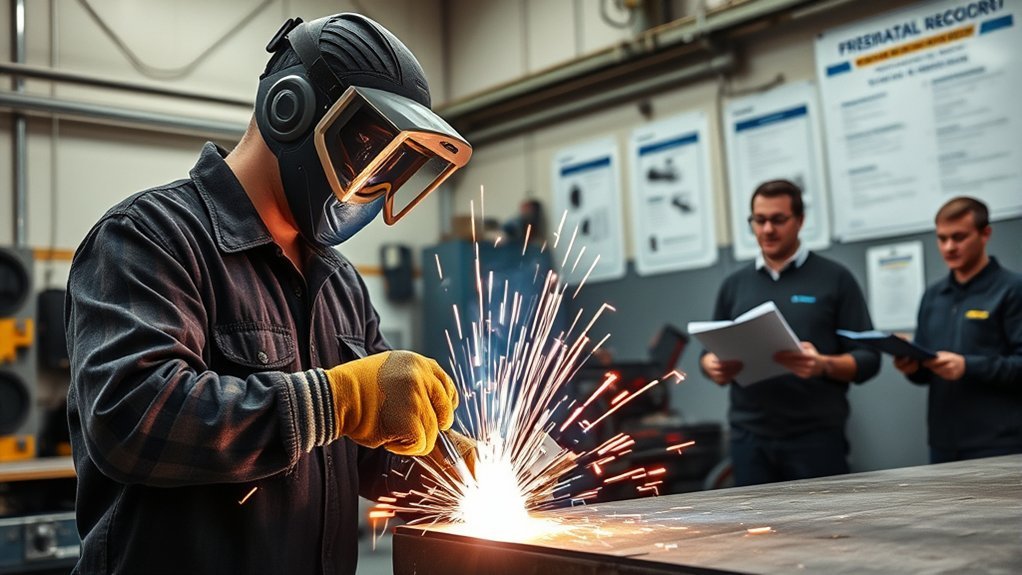
Plasma cutting can produce fast, accurate cuts, but dependable results require more than learning how to pull a trigger. Good training teaches you how to control fire, electrical, fume, and eye hazards; set up the machine; read a cut chart; inspect consumables; evaluate cut quality; and correct problems without damaging the torch or finished part.
Quick Answer
Effective plasma cutting training covers hazard control, machine-specific setup, cut-chart use, consumable inspection, manual cutting practice, and troubleshooting. CNC operators also need CAD/CAM, nesting, kerf compensation, pierce settings, torch-height control, and dry-run skills. A course certificate can help, but safe, repeatable sample cuts are the strongest proof of ability.
Key Takeaways
- Complete safety instruction before striking an arc or changing machine settings.
- Use the cut chart and operator manual for your exact power source, torch, material, and consumables.
- Practice on scrap and record amperage, speed, height, air or gas, and cut results.
- CNC training should include CAD/CAM, nesting, postprocessing, kerf compensation, pierce settings, and dry runs.
- Treat course certificates, welding certifications, employer qualifications, and demonstrated plasma skills as different credentials.
- Judge proficiency by safe setup, repeatable dimensions, clean edges, controlled dross, and correct troubleshooting—not by training time alone.
At a Glance
| Time Required | One supervised session can cover orientation and basic cuts. Reliable manual or CNC work requires repeated practice until results are safe and repeatable. |
| Difficulty | Beginner to intermediate for basic manual cuts; intermediate to advanced for CNC programming, precision holes, beveling, and production troubleshooting. |
| Tools Needed | Plasma system, operator manual, correct consumables, suitable air or gas supply, PPE, ventilation, fire controls, scrap metal, measuring tools, and CAD/CAM access for CNC work. |
| Cost | Ranges from free manufacturer lessons to paid shop classes, employer training, and multi-term technical-school programs. Machine time, materials, PPE, software, and testing may be separate. |
Understanding Plasma Cutting Basics
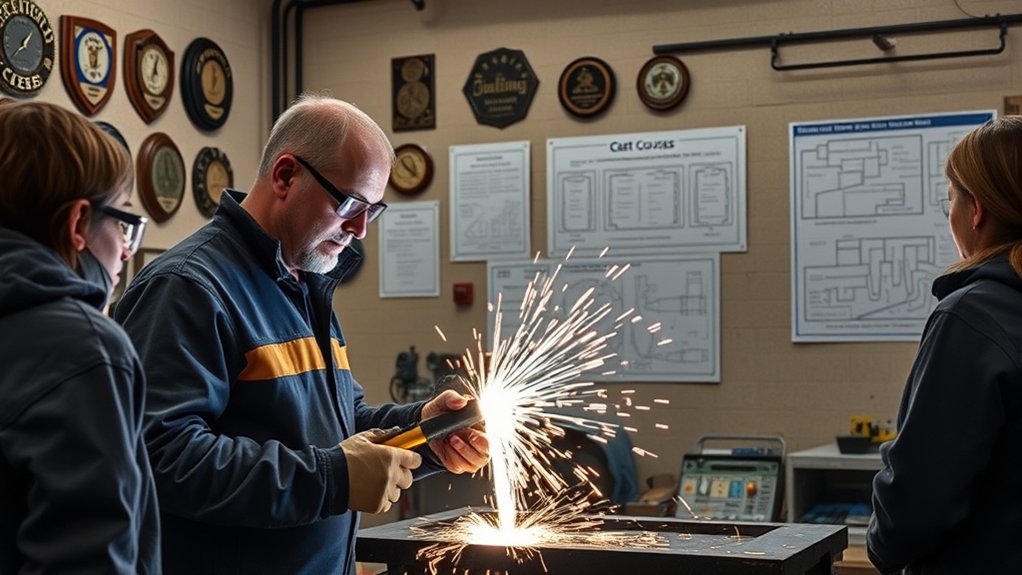
Plasma cutting uses electrical energy and a fast stream of ionized gas to melt conductive material and push molten metal out of the kerf. The process works on conductive metals such as carbon steel, stainless steel, aluminum, copper, and brass. The useful thickness and edge quality depend on the power source, torch, gas, consumables, input power, and material.
A handheld system usually includes a power source, torch, work lead, consumables, and compressed air or another approved cutting gas. A mechanized system adds a cutting table, motion system, CNC controller, CAD/CAM workflow, machine torch, and often automatic torch-height control. Hypertherm’s overview of plasma cutting technology explains how these manual and mechanized components work together.
Clean cuts depend on several linked variables:
- Amperage: Must match the consumable set and material range.
- Travel speed: Affects arc lag, dross, edge angle, and whether the arc fully penetrates.
- Cut height: Influences bevel, kerf width, edge shape, and consumable life.
- Pierce height and delay: Give the arc time to pass through the plate without driving molten material back into the torch.
- Air or gas quality: Moisture, oil, dirt, low pressure, or low flow can shorten consumable life and reduce cut quality.
- Consumable condition: Worn or incorrectly assembled parts can cause misfires, poor edges, and unstable arcs.
- Material condition: Rust, scale, coatings, warping, and poor electrical contact can affect the result.
Note: Do not copy settings from a different plasma cutter and assume they are safe. Start with the cut chart and operator manual for the exact machine, torch, consumables, material, and thickness.
A Practical Plasma Cutting Training Path
A good program builds skills in a controlled order. The learner should not move to speed, beveling, or production work until basic operation is safe and repeatable.
- Safety orientation: Learn electrical isolation, PPE, filter-shade selection, ventilation, fire controls, material hazards, emergency stops, and shop rules.
- Machine identification: Locate the power switch, pressure controls, work lead, torch parts, consumables, air or gas connection, duty-cycle information, and emergency shutdown.
- Basic setup: Select consumables, check air or gas, attach the work clamp, choose cut-chart settings, and perform a test cut.
- Manual control: Practice starts, edge starts, straight cuts, curves, circles, and pierces while keeping speed and torch position steady.
- Cut evaluation: Inspect dross, kerf, bevel, edge roughness, top rounding, arc lag, and dimensional accuracy.
- Troubleshooting: Change one variable at a time and record the result.
- CNC workflow: Add CAD, CAM, nesting, postprocessing, machine coordinates, kerf compensation, lead-ins, pierce settings, and torch-height control.
- Production assessment: Cut repeat parts safely and verify dimensions, hole quality, edge quality, and repeatability.
Training is complete only when the operator can explain the setup, make a safe test cut, measure the result, identify the defect, and correct it without guessing.
Safety Protocols and Best Practices
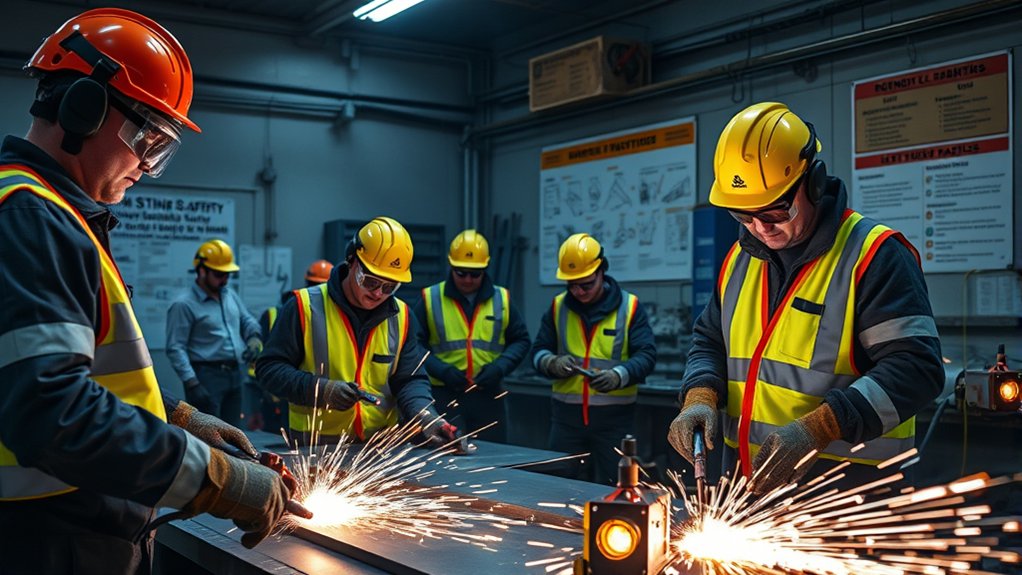
Plasma cutting exposes the operator and nearby workers to hot metal, sparks, flying particles, intense visible and ultraviolet light, fumes, noise, electrical energy, and fire hazards. The OSHA welding, cutting, and brazing guidance identifies burns, eye damage, electrical shock, metal fumes, and ultraviolet radiation among the recognized hazards.
Warning: Never cut a sealed container, tank, drum, pipe, or vessel that may contain pressure, fuel, vapor, residue, or an unknown substance. A qualified procedure must identify, clean, isolate, vent, and verify the item before hot work begins.
Essential Safety Gear
Select PPE from the machine manual, workplace hazard assessment, and applicable safety rules. A face shield is not a substitute for suitable impact-rated eye protection beneath it.
| Protective Gear | Purpose and Selection Notes |
|---|---|
| Safety glasses | Use impact-rated glasses with side protection beneath the shaded face protection when particles and molten metal may be present. |
| Shaded face protection | Use a plasma-cutting shield or helmet with the filter shade required by the manual and hazard assessment. |
| Flame-resistant clothing | Cover exposed skin with suitable flame-resistant clothing. Avoid synthetic garments that can melt when struck by sparks. |
| Cutting gloves | Protect the hands from hot metal, sharp edges, sparks, and handling hazards without reducing safe torch control. |
| Leather footwear | Use closed footwear that resists sparks and hot debris. Keep pant legs outside boots so sparks cannot collect inside. |
| Hearing protection | Use protection selected for the measured or expected noise exposure. Plasma cutting and air systems can be loud. |
| Respiratory protection | Use only when required by an exposure assessment and a compliant respiratory-protection program. A basic dust mask does not replace source capture or ventilation. |
OSHA’s filter-lens table lists minimum protective shade 8 for light plasma arc cutting below 300 amperes when the arc is clearly visible. Higher-current work requires a darker minimum shade. Follow the applicable standard, employer assessment, and machine instructions rather than choosing a lens by comfort alone.
Fumes, Coatings, and Ventilation
Identify the base metal and every coating before cutting. Paint, plating, oil, rust treatments, galvanizing, and alloying elements can change the fumes produced by hot work. Stainless and chromium-bearing alloys, galvanized metal, and materials containing lead or cadmium require special attention.
- Review available labels, drawings, safety data, and shop records before cutting unknown material.
- Remove coatings only by an approved method and only when removal does not create another uncontrolled exposure.
- Place local exhaust so it captures fumes without disturbing the plasma arc or pulling fumes through the operator’s breathing zone.
- Do not perform plasma cutting in a confined or enclosed space without the required entry, ventilation, atmospheric testing, rescue, and hot-work controls.
- Stop if fumes travel toward nearby workers or occupied areas.
Note: “Fresh air” is not a complete ventilation plan. Workplace exposure controls must account for the material, coating, number of cutting stations, room size, exhaust system, and nearby workers.
Fire and Electrical Controls
Move paper, cardboard, wood dust, solvents, fuel, rags, and other combustibles away from the cutting zone. Check both sides of walls, floors, partitions, and workpieces because sparks and molten metal can pass through openings or fall into hidden spaces.
Follow the site’s hot-work permit and fire-watch requirements. Keep a suitable extinguisher available, and make sure the fire watch knows how to stop the work and raise the alarm.
Keep the machine, gloves, floor, torch, cables, and work area dry. Inspect the power cord, torch lead, work lead, and connectors before use. Turn off and isolate power according to the manufacturer’s instructions before opening the torch, changing internal parts, or servicing the machine.
Proper Equipment Handling
Good handling starts before the machine is energized. Inspect the torch body, retaining parts, consumables, leads, air or gas line, work clamp, and connectors. Replace damaged parts with components approved for the exact torch.
Keep the work area clear of trip hazards. Route leads and hoses where hot metal cannot land on them and where the operator will not pull the machine or torch off balance.
Learn the emergency stop and shutdown process before beginning a cut. Know the locations of the disconnect, fire extinguisher, first-aid supplies, ventilation controls, and emergency exits.
Essential Equipment and Software Training
Manual and CNC plasma cutting share the same safety and process fundamentals. CNC work adds file preparation, machine coordinates, motion control, automated height settings, and production planning.
Products Worth Considering
![ARCCAPTAIN iControl CUT65 MP [CNC] Non-HF Plasma Cutter Machine, 65 Amp](https://m.media-amazon.com/images/I/512VnwHLmyL._SL500_.jpg)
[NON-HF BLOWBACK PILOT ARC] Uses a non-HF blowback pilot arc start to reduce electromagnetic interference, ideal for CNC systems. The non-contact arc cuts easily through rusty, painted, or expanded metal. Delivers up to 65A on 240V for smooth, clean cuts up to 32mm on steel, stainless steel, copper, and more.
![ANDELI 65 Amp Plasma Cutter [CNC Enabled][ Non-HF],1.06" Max Cut](https://m.media-amazon.com/images/I/51HzSS1IgqL._SL500_.jpg)
【Large Digital Display】The upgraded LED interface clearly displays key parameters such as air pressure, voltage, current, and working status in real time, allowing users to monitor machine performance and make timely adjustments for more efficient operation. If an issue occurs, the screen shows an error code to help quickly identify the problem and simplify troubleshooting.

ALL-IN-ONE HI-END TECHNOLOGY PLASMA CUTTING MACHINE SET: Redefine your metal crafting experience with the Eastwood Versa Cut 4X4 CNC Plasma Table and Plasma Cutting Machine Torch Set. Crafted for those who demand perfection and a user-friendly metal fabrication experience. This all-in-one powerhouse brings a new level of control and versatility to your workshop or home garage. A fusion of precision, efficiency, and cutting-edge technology in one bundle.
Manual Plasma Training
A manual-cutting course should teach the learner to:
- Identify torch consumables and assemble them in the correct order.
- Confirm that the selected consumables match the intended amperage and cutting process.
- Check air or gas pressure and flow according to the manual.
- Recognize moisture, oil, and dirt in an air supply.
- Place the work clamp on clean, bare metal with a sound electrical path to the workpiece.
- Select settings from the machine-specific cut chart.
- Perform edge starts, pierces, straight cuts, curves, circles, and template-guided cuts.
- Hold a steady travel speed and suitable torch position.
- Inspect the kerf, edge angle, arc lag, dross, top rounding, and incomplete penetration.
CNC Plasma Software Training
CNC plasma training should explain the complete digital path from a drawing to machine motion:
- Create or import the part: Use CAD software or import a supported vector file such as DXF.
- Clean the geometry: Remove duplicate lines, open contours, tiny features, and unintended intersections.
- Prepare the toolpath: Select inside and outside contours, cut direction, lead-ins, lead-outs, and pierce locations.
- Apply process values: Enter the correct kerf compensation, speed, cut height, pierce height, pierce delay, and amperage.
- Nest the parts: Arrange parts to use material efficiently while preserving safe spacing and cut order.
- Select the correct postprocessor: Generate code that matches the CNC controller and machine configuration.
- Home and reference the machine: Confirm machine coordinates, work coordinates, plate position, and torch clearance.
- Run a simulation or dry test: Check travel direction, clamps, plate edges, lead placement, and possible collisions.
- Cut a sample: Verify kerf, dimensions, holes, dross, and edge quality before starting a full sheet.
Programs such as SheetCAM and other CAD/CAM systems can generate toolpaths, but the software does not remove the need to understand the process. The operator still needs to recognize a wrong postprocessor, incorrect kerf value, bad pierce point, poor cut order, or unsafe machine move.
Pre-Cut Setup Checklist
- Read the operator manual and locate the correct cut chart.
- Identify the base metal, thickness, coatings, and possible fume hazards.
- Clear combustibles and activate the required ventilation and hot-work controls.
- Put on the required eye, face, skin, hand, foot, hearing, and respiratory protection.
- Inspect the torch, leads, connectors, air or gas line, and work clamp.
- Install the correct consumables and verify that they are clean and undamaged.
- Confirm air or gas quality, pressure, and flow.
- Attach the work clamp to clean metal with a dependable path to the workpiece.
- Set amperage, speed, height, and delay from the machine cut chart.
- Make a test cut on matching scrap and inspect the result before cutting the final part.
Hands-On Experience With CNC Plasma Cutters
Hands-on practice builds judgment that cannot come from reading or watching videos alone. The operator learns how a normal arc sounds, how sparks leave the bottom of the cut, how the plate moves during heating, and how small changes affect edge quality.
Do not judge a training machine by one advertised thickness. Plasma systems may publish recommended, maximum, and severance ratings, and those ratings do not promise the same speed or edge quality. Use the exact cut chart for the installed power source, torch, consumables, gas, and material.
Products Worth Considering

Double Wheel Design: The roller guide features a double wheel spacing design, which provides optimal balance and exceptional stability during the cutting process. This helps to minimize vibration during use, ensuring smooth and accurate cuts every time

Drag-Cut Control & Manual Versatility: Rest the torch tip directly on sheet metal to eliminate standoff fatigue. Perfect for hand-tracing rulers, custom HVAC ducting layouts, and intricate metal art scaling before moving to automated runs.
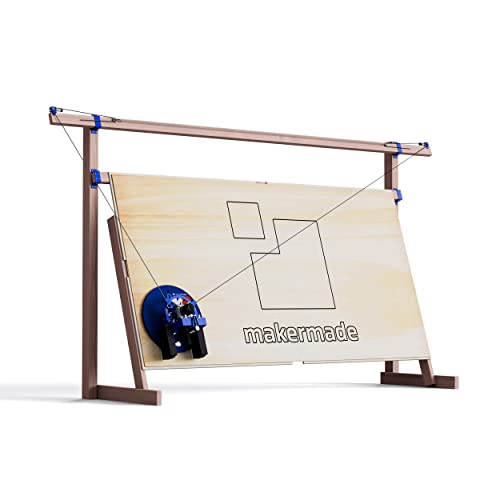
THE WORLD’S FIRST WALL MOUNTED CNC MACHINE KIT: its upright design provides a huge cutting space - up to 32sq ft - on a tiny footprint. By eliminating the heavy and expensive components of traditional CNC milling machines, the M2 becomes a purpose-built, making machine without all the added fuss. It cuts sheets of nearly any material such as wood, metals, plastic and foam, so that you can craft anything you like. Projects made with our M2 include benches, signs, lamps, tables, and even a guitar!
Recommended Practice Sequence
- Straight edge starts on flat, clean scrap.
- Straight pierce starts within the machine’s rated range.
- Parallel cuts measured for width and consistency.
- Curves and outside corners at controlled speed.
- Inside corners with attention to arc lag and overcut.
- Circles and holes measured in more than one direction.
- Repeat parts checked for dimensional variation.
- Parts nested on a sheet with safe lead-ins and cut order.
- Plates with light scale, surface variation, or minor warping.
- Controlled troubleshooting exercises using one planned setting change at a time.
Pro Tip: Keep a cut log with the machine, torch, consumables, material, thickness, amperage, speed, cut height, pierce height, pierce delay, air or gas condition, measured dimensions, and observed defects.
Plasma Cutting Proficiency Checklist
A learner is approaching independent proficiency when they can consistently:
- Identify the major hazards before setting up the machine.
- Select and inspect the correct PPE and consumables.
- Use the operator manual and cut chart without guessing.
- Explain the difference between pierce height and cut height.
- Complete a test cut and decide whether it is acceptable.
- Measure a finished part with suitable tools.
- Recognize low-speed dross, high-speed dross, bevel, top spatter, and incomplete penetration.
- Correct a defect by changing one justified variable.
- Shut down, clean, and store the equipment safely.
- For CNC work, verify the file, postprocessor, coordinates, toolpath, clearances, and dry run before cutting.
Certification Programs and Their Benefits
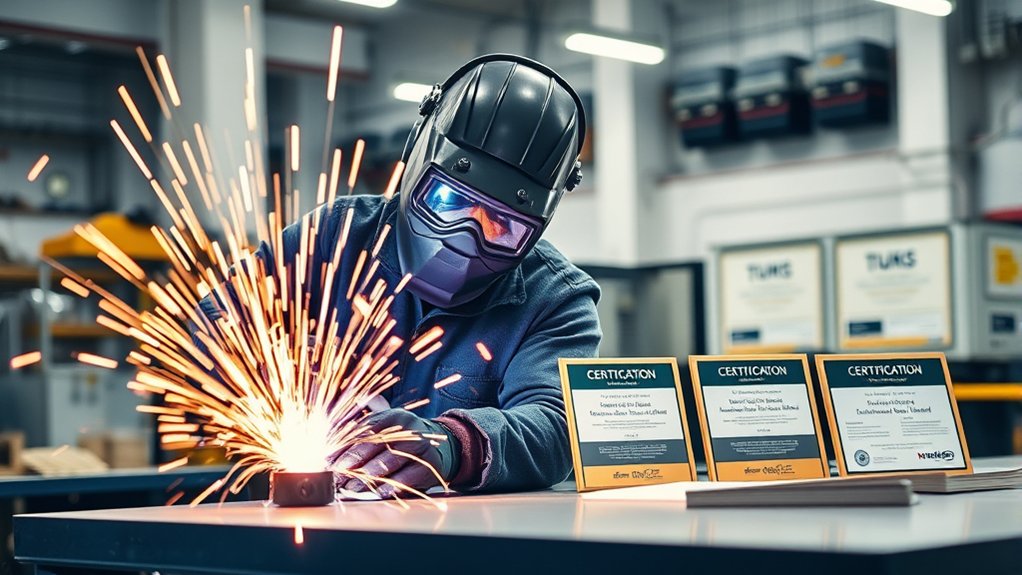
There is no single universal plasma-cutting certification required for every operator or employer. The word “certification” can also describe several different things, so compare credentials carefully.
| Credential | What It Usually Shows |
|---|---|
| Course-completion certificate | The learner completed a class. It may or may not include a practical performance test. |
| Employer qualification | The worker demonstrated the company’s required safety and operating skills on specific equipment or work. |
| Manufacturer training | The learner studied a manufacturer’s systems, software, maintenance procedures, or process recommendations. |
| Welding certification | The welder passed requirements for a defined welding process, material, position, code, or professional role. It does not automatically certify plasma-cutting ability. |
The American Welding Society certification programs can support broader welding, inspection, supervision, education, engineering, robotic welding, and resistance-welding career paths. These credentials should not be presented as a universal plasma-cutter license.
The Fabricators & Manufacturers Association certificate programs offer technical training and exams in selected metal-manufacturing subjects. Check the current catalog to see whether a course matches the machine, process, and job you want.
Hypertherm provides online and in-person learning through its current plasma cutting training resources, including the Hypertherm Cutting Institute. Manufacturer lessons can strengthen process knowledge, but they should be combined with supervised practice on the equipment you will operate.
Employers may place more weight on a safe skills demonstration than on a completion document alone. A measured sample part, cut log, setup explanation, and troubleshooting exercise provide stronger evidence of practical ability.
How Long Plasma Cutting Training Takes
There is no dependable universal timeline for proficiency. A learner’s progress depends on prior shop experience, practice frequency, machine type, materials, required tolerances, instructor feedback, and whether the goal is basic manual cutting or CNC production.
A short class may teach orientation, PPE, setup, and simple practice cuts. It does not automatically prepare a beginner to run production parts without supervision. CNC training usually takes longer because the operator must learn both the cutting process and the digital workflow.
Use milestones instead of a calendar:
- Basic orientation: The learner can identify hazards, parts, controls, and shutdown procedures.
- Supervised cutting: The learner can set up from a cut chart and make controlled scrap cuts.
- Repeatable cutting: The learner can hold dimensions and produce similar results across several parts.
- Troubleshooting: The learner can identify a defect and make a justified correction.
- Independent production: The learner can prepare, cut, inspect, document, and shut down according to shop requirements.
What Plasma Cutting Training Costs
Training costs vary too widely for one reliable price. Manufacturer e-learning may be free, while instructor-led shop courses, employer programs, community-college classes, and longer technical programs may charge for instruction, materials, machine time, or academic credit.
Ask for a written list of what the fee includes:
- Instructor-led machine time
- Class size and student-to-machine ratio
- Metal and consumables
- PPE and safety orientation
- CAD/CAM software access
- Manual and CNC equipment access
- Practical testing or only classroom assessment
- Course-completion certificate or recognized third-party credential
- Retesting, lab, registration, and supply fees
A low-cost class with little machine time may provide less value than a higher-cost course with supervised practice and individual feedback.
How to Choose a Plasma Cutting Course
Before enrolling, compare the course to the exact work you plan to do. A class focused on handheld repair work may not prepare you to operate a CNC table, and a software-only CNC course may not teach safe torch setup or cut-quality diagnosis.
Look for a program that clearly explains:
- Whether it covers manual cutting, CNC cutting, or both
- The makes and models used in the lab
- The materials and thickness ranges used for practice
- How much individual machine time each student receives
- Whether the instructor observes and corrects each learner’s setup
- Whether students measure and inspect finished parts
- Which CAD/CAM and controller systems are taught
- Whether fume control, coatings, electrical safety, and hot-work rules are included
- Whether the final assessment includes a hands-on cut
- What the completion document actually represents
Note: Ask to see the practical assessment rubric. A strong course tests setup, safety, measured results, cut inspection, troubleshooting, and shutdown—not attendance alone.
Advanced Techniques for Precision Cutting
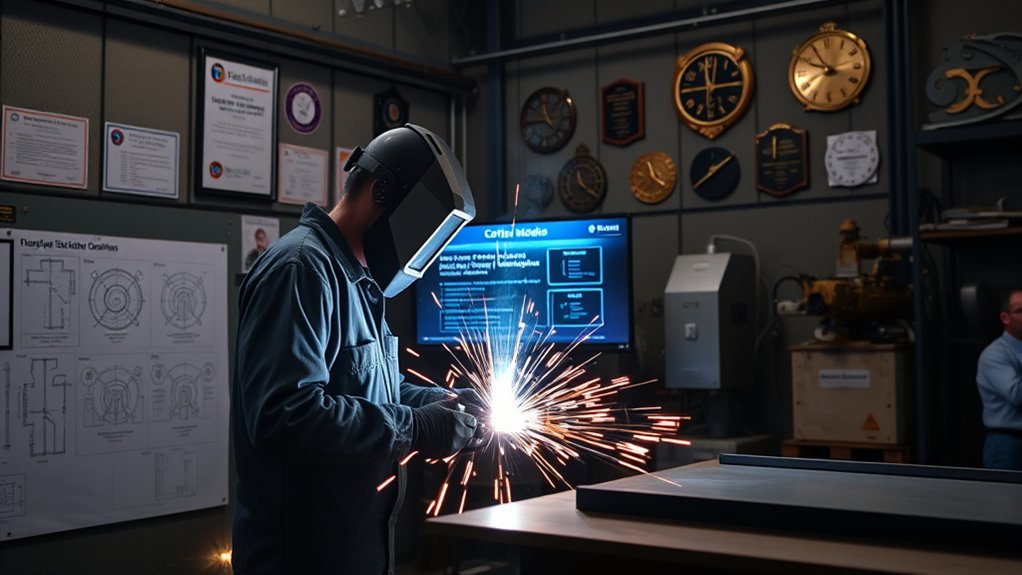
Precision comes from controlling the complete process. Correct amperage cannot overcome damaged consumables, wet air, a poor work connection, wrong torch height, unstable motion, or an incorrect CNC toolpath.
Advanced practice may include beveling, small-hole optimization, fine-feature cuts, edge-start planning, cut sequencing, heat control, nesting, and reducing secondary cleanup.
Mastering Beveling Techniques
Beveling creates an angled edge for weld preparation, fit-up, or finished-part geometry. A stable bevel depends on the correct torch angle, process, travel speed, height, amperage, and motion.
Test the procedure on matching scrap before cutting a finished part. Measure the bevel angle, land, root opening, edge straightness, and distortion rather than judging the cut by appearance alone.
Inspect the nozzle, electrode, shield, retaining parts, and torch alignment before troubleshooting the program. Worn or incorrectly installed parts can change arc shape and move the bevel away from the intended angle.
Avoiding Dross Formation
Dross is resolidified molten material that remains on the cut. It can result from speed, amperage, standoff, voltage, consumable wear, air or gas problems, or material condition.
- Heavy, bubbly bottom dross: Often points to travel that is too slow, excessive heat input, or unsuitable standoff.
- Hard, narrow bottom dross: Often appears when travel is too fast, energy is too low, or the arc cannot fully clear the kerf.
- Top spatter: May result from excessive speed, excessive standoff, or a worn nozzle.
Begin with the machine’s validated settings. Inspect consumables and air or gas before changing the program. Then change only one setting at a time so the cause remains clear.
Enhancing Cut Quality
Measure the part before deciding that the cut is good. Check width, length, hole diameter, roundness, edge angle, kerf, top-edge condition, dross, and repeatability.
For CNC parts, verify that kerf compensation is applied to the correct side of the contour. Confirm that inside and outside contours are identified correctly and that lead-ins do not damage the finished edge.
When the part changes size during a long program, inspect plate movement, heat buildup, torch-height response, consumable condition, motion-system play, and coordinate setup.
Plasma Cutting Troubleshooting Guide
| Problem | Checks to Make First | Training Response |
|---|---|---|
| Torch will not fire or transfer | Interlocks, consumable assembly, work connection, air or gas pressure, torch switch, fault display, and machine manual | Stop repeated triggering. Isolate power before inspecting parts and follow the manufacturer’s fault procedure. |
| Incomplete cut | Material thickness, speed, amperage, air or gas flow, worn consumables, work connection, and machine capacity | Return to the cut chart and verify the setup before slowing the machine or increasing amperage. |
| Heavy bottom dross | Travel speed, cut height, amperage, consumables, and material condition | Confirm the baseline, then change one variable and compare a new test cut. |
| Excessive bevel | Torch squareness, cut height, travel direction, consumable wear, speed, and motion-system stability | Check mechanical alignment and consumables before editing kerf compensation. |
| Short consumable life | Pierce height, air quality, pressure, flow, assembly, excessive pilot-arc time, and rated process | Record when damage occurs. Frequent damage after piercing points to a different cause than gradual wear during long cuts. |
| CNC dimensions are wrong | Drawing scale, units, kerf value, contour side, postprocessor, lost motion, coordinates, and plate movement | Measure a simple test shape and isolate software, process, and mechanical causes. |
Common Plasma Cutting Training Mistakes
Many beginners chase speed before they can control setup and cut quality. This creates rough edges, poor fit, damaged consumables, wasted material, and unsafe habits.
- Skipping PPE because the cut is short.
- Using a clear face shield or unsuitable lens around a visible plasma arc.
- Cutting coated or unknown metal without identifying the fume hazard.
- Cutting near hidden combustibles without a hot-work assessment.
- Assuming a severance rating represents production-quality capacity.
- Using worn, mixed, counterfeit, or incorrectly assembled consumables.
- Operating with wet, oily, dirty, low-pressure, or low-flow air.
- Changing speed, amperage, height, and air settings at the same time.
- Editing CNC code without confirming the drawing, postprocessor, units, and coordinates.
- Judging parts by appearance without measuring them.
Controlled practice builds speed naturally. First make the setup safe and the result repeatable. Then reduce cycle time without moving outside the approved process range.
Continuous Learning and Skill Development
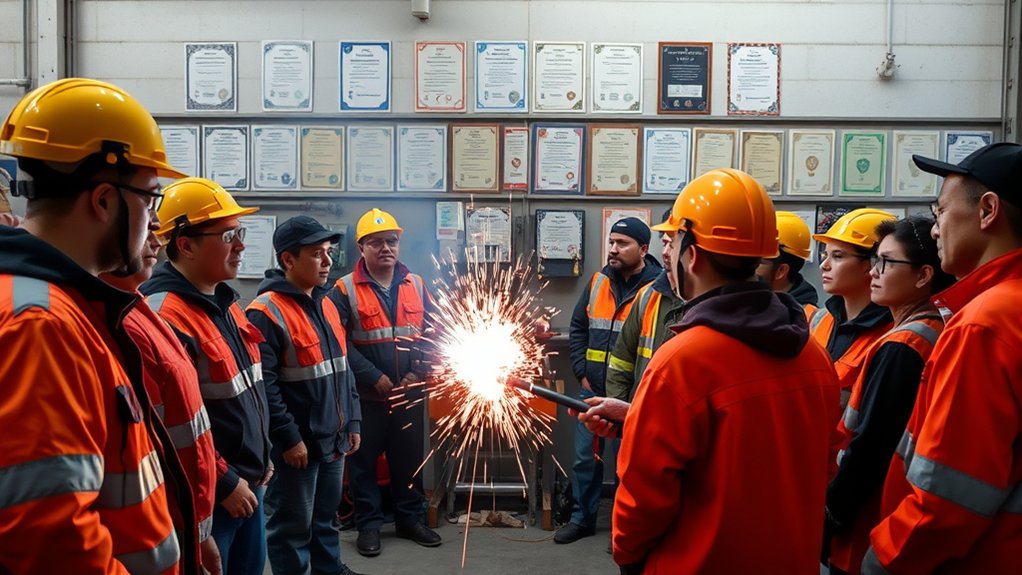
Plasma cutting skills continue to develop as operators encounter new machines, materials, thicknesses, software, tolerances, and part designs. Experienced operators still review manuals, updated cut charts, consumable information, and machine-specific training.
Online lessons can explain controls, process theory, troubleshooting, and software. They do not replace supervised practice for electrical safety, fire control, fume control, machine setup, or emergency response.
Seek feedback from instructors, maintenance staff, programmers, welders, inspectors, and experienced operators. Each person may notice a different problem, such as poor fit-up, excessive bevel, unstable motion, wrong cut order, or avoidable consumable wear.
Building a Skills Portfolio
Keep examples that show more than decorative cutting. A job-ready portfolio can include:
- A straight-cut sample with measured dimensions
- A part with inside and outside contours
- A hole pattern with diameter and spacing measurements
- A repeat-part set showing consistency
- A CNC nesting example and toolpath screenshot
- A cut log showing a defect, diagnosis, setting change, and improved result
- A training record listing machines, software, materials, and supervised hours
Plasma cutting experience can support work in fabrication, welding, manufacturing, repair, construction, automotive operations, equipment maintenance, metal art, and CNC machine operation. Employers may require additional welding qualifications, safety training, drawings skills, inspection skills, or equipment-specific authorization.
Frequently Asked Questions
What are the costs associated with plasma cutting training programs?
Costs range from free manufacturer e-learning to paid shop classes, employer programs, community-college courses, and longer technical programs. Compare the included machine time, materials, consumables, PPE, software, practical testing, and extra lab or registration fees before choosing a course.
How long does it take to become proficient in plasma cutting?
There is no fixed timeline. Basic orientation may fit into a short class, but proficiency requires repeated safe setup, test cuts, measurement, and troubleshooting. CNC proficiency usually takes longer because it adds CAD/CAM, postprocessing, nesting, machine coordinates, and torch-height control.
Are online courses available for plasma cutting training?
Yes. Manufacturer and training organizations offer lessons on process fundamentals, controls, maintenance, software, and troubleshooting. Online learning is useful preparation, but supervised machine time is still needed for safe setup, fire controls, ventilation, emergency procedures, and hands-on cut evaluation.
Can plasma cutting skills be self-taught without formal training?
Some process knowledge can be learned from the operator manual, manufacturer lessons, and controlled scrap practice. However, beginners should obtain qualified supervision for electrical safety, eye protection, fire prevention, ventilation, coated-metal hazards, machine setup, and emergency response. Self-study should not replace required workplace training.
What career opportunities are available after certification in plasma cutting?
Plasma cutting skills can support fabrication, welding, manufacturing, construction, repair, equipment maintenance, automotive work, metal art, and CNC operator roles. A course certificate may help document training, but employers may also require a practical test, welding qualifications, blueprint reading, measuring skills, and authorization for their specific equipment.
Conclusion
Strong plasma cutting skill starts with hazard control and machine-specific setup. Learn to use the operator manual, select the correct consumables, verify the air or gas supply, attach the work clamp correctly, follow the cut chart, and test on matching scrap before cutting a finished part.
For CNC work, add CAD/CAM, nesting, postprocessing, kerf compensation, pierce settings, machine coordinates, torch-height control, and dry-run checks. Record and measure every practice cut. When you can produce repeatable parts, explain each setting, recognize defects, and correct one variable at a time, you have stronger proof of proficiency than a completion certificate alone.
Sources
- OSHA Welding, Cutting, and Brazing Hazards and Solutions — supports the discussion of fumes, ultraviolet radiation, burns, electrical shock, eye damage, and protective controls.
- OSHA 29 CFR 1910.133: Eye and Face Protection — supports side protection, suitable eye and face PPE, and minimum plasma arc cutting filter shades.
- Hypertherm Plasma Cutting Technology — supports the process explanation, conductive-material requirement, mechanized system components, and CAD/CAM workflow.
- Hypertherm Training Resources — supports current online and in-person plasma training options and the Hypertherm Cutting Institute.
- American Welding Society Professional Certifications — supports the distinction between welding credentials and plasma-cutting proficiency.
- FMA Certificate Programs — supports the description of process-focused metal-fabrication training and certificate exams.