Did you know that nearly 60% of home DIY enthusiasts who modify tools often overlook vital safety measures? Before diving into converting an arc welder into a plasma cutter, it’s essential to focus on safety gear and risk assessments. Understand the intricacies of converting AC to DC, integrating transformers, and managing heat effectively. Mastering these elements can transform your project success, ensuring efficiency and safety. Discover the important steps and precautions to take next.
Understanding the Basics of Plasma Cutting
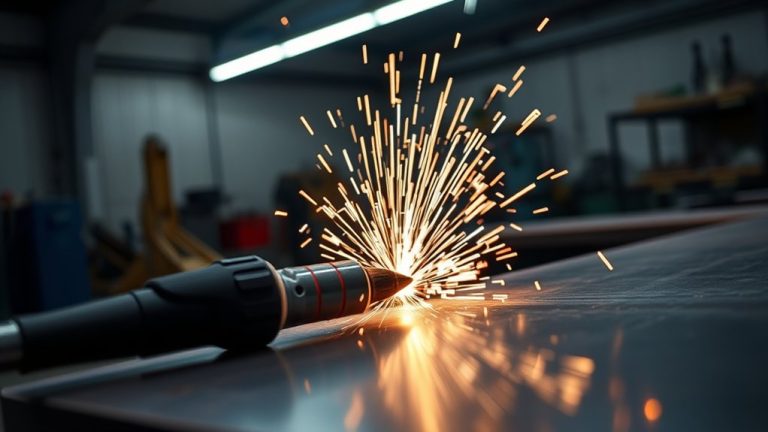
Plasma cutting is a powerful and precise method for slicing through electrically conductive materials, leveraging the intense heat of a plasma arc. To effectively transform an arc welding setup into a plasma cutter, you need to understand the fundamentals.
Plasma cutting involves using a plasma torch that generates high voltage and direct current (DC), essential for producing the plasma arc. Unlike arc welding machines that typically use alternating current (AC), a bridge rectifier is essential to convert AC to DC, enabling plasma formation.
Ensure your plasma cutter has proper cooling, incorporating heat sinks and fans to manage the substantial heat produced during operation. This cooling is critical for maintaining machine stability and preventing thermal damage.
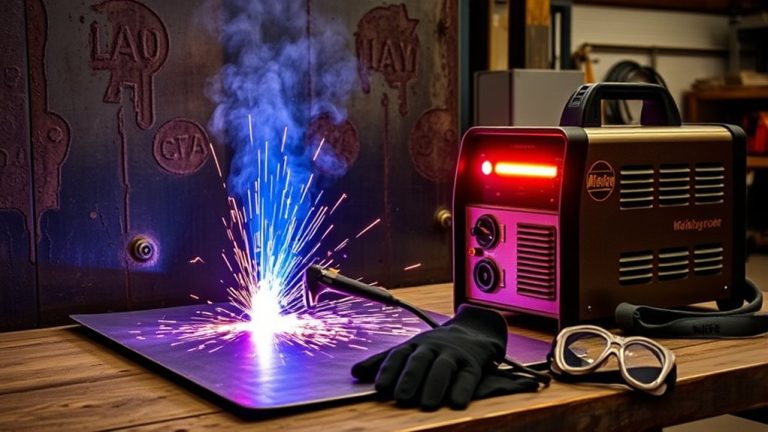
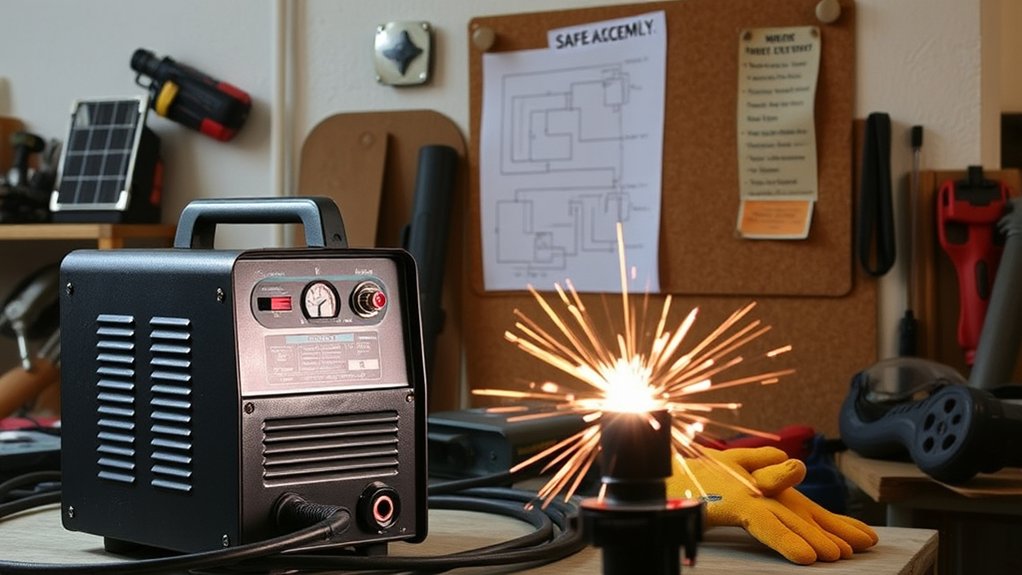
Prioritize safety by wearing protective gear and handling high-voltage components cautiously. These precautions are imperative to avoid accidents and injuries when adapting an arc welder for plasma cutting tasks.
Essential Parts and Components Needed
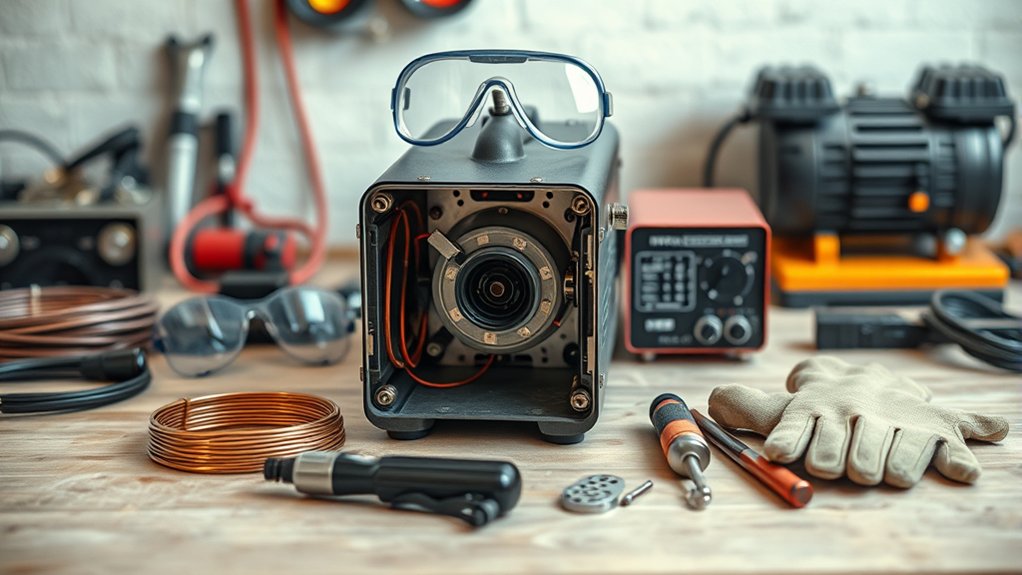
To successfully convert an arc welder into a plasma cutter, you’ll need a thorough understanding of the necessary parts and components.
Begin with a 3KVA step-down transformer, vital for adapting high voltage to a level suitable for plasma cutting. You’ll also need a bridge rectifier to change the arc welder’s AC into the DC required for plasma generation.
Start with a 3KVA step-down transformer and a bridge rectifier to transform AC to DC for plasma cutting.
Don’t overlook the importance of high voltage arc start components, including a microwave capacitor and ignition coil, for initiating the plasma arc effectively.
Essential components include:
- Transformer types: Confirm you have a 3KVA step-down transformer.
- Bridge rectifier: Converts AC to DC.
- Ignition coil: Critical for starting the plasma arc.
- Cooling mechanisms: Large heat sinks and fans prevent overheating.
- High current and low voltage DC components: Large capacitors, reed switches, relays, and a power switch for reliable operation.
This precise assembly guarantees stability and safety in your plasma cutter’s performance.
Safety Precautions and Best Practices
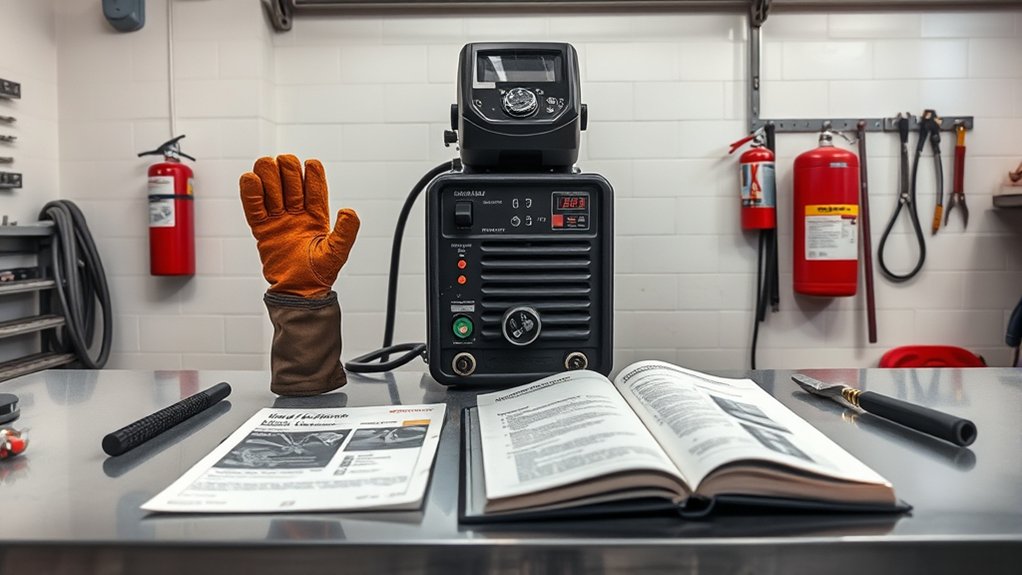
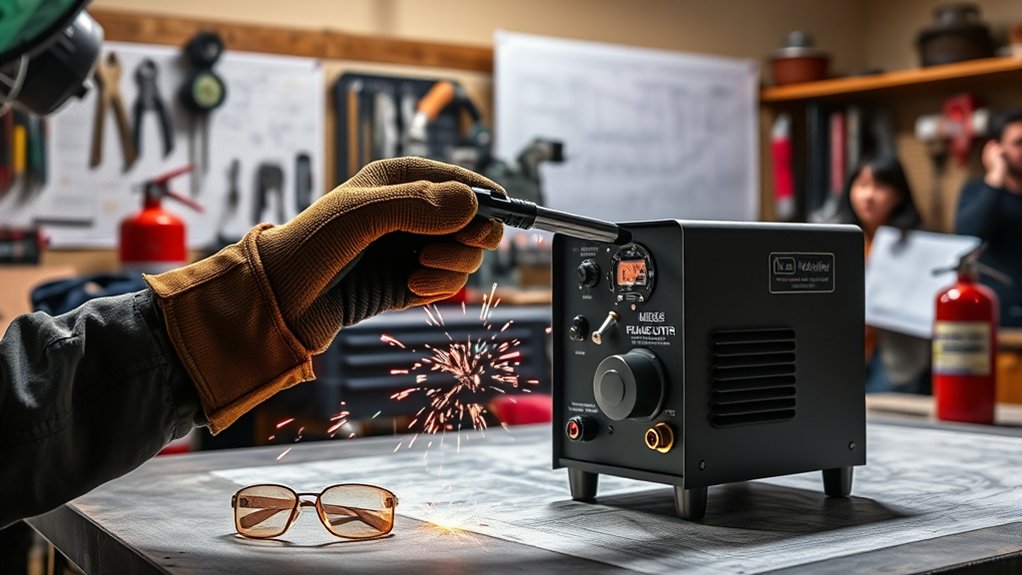
When working on converting an arc welder into a plasma cutter, prioritizing safety is vital. Start by conducting a thorough risk assessment to identify potential hazards. Always wear safety gear, including safety goggles, gloves, and a welding helmet, to shield yourself from sparks and harmful UV radiation.
Enclose all components in a secure case to prevent accidental contact with high-voltage parts, reducing the risk of electric shock. Before powering on your plasma cutter, double-check all electrical connections for accuracy and security to avoid short circuits or damage.
Be mindful of the dangers associated with high voltage, which can reach up to 40,000 volts. Maintain a safe distance while testing to guarantee your safety. Keep components cool by using appropriate cooling mechanisms such as heat sinks and fans. This prevents overheating, guaranteeing the longevity and safety of your equipment.
Adhering to these precautions will help you work safely and effectively.
Modifying the Arc Welder for Plasma Cutting
To modify your arc welder for plasma cutting, you’ll need to convert its AC output to DC using a bridge rectifier, ensuring consistent positive voltage.
Integrate a flyback transformer to generate the high voltage necessary for plasma arc initiation, typically reaching around 40,000 volts.
Prioritize safety by incorporating a check valve to prevent high current backflow, which could damage your welder or create electrical hazards.
Converting AC to DC
Before converting your arc welder for plasma cutting, you need to focus on changing its output from AC to DC, which is vital for plasma generation. Start by selecting the appropriate rectifier type, such as a bridge rectifier.
Pay close attention to diode selection to handle the welder’s current and voltage efficiently. The process involves integrating components that guarantee safety and stability.
- Bridge Rectifier: Use a robust setup to convert AC to DC.
- Diode Selection: Choose diodes capable of handling high currents.
- Cooling System: Install heat sinks and fans to manage heat.
- High-Voltage Capacitor: Store charge safely for plasma ignition.
- Spark Gap Discharge: Implement for reliable plasma arc creation.
Prioritize safety by wearing protective gear and following all instructions meticulously.
Enhancing Voltage Output
A critical step in modifying your arc welder for plasma cutting involves enhancing its voltage output to meet plasma generation requirements.
Start with a bridge rectifier to convert AC to DC, a prerequisite for plasma formation. For voltage amplification, select a flyback transformer from a television, capable of boosting output to 40,000 volts.
Confirm your setup includes a high-voltage capacitor rated for at least 50,000 volts to store and discharge energy rapidly. Install a check valve to prevent high current backflow, protecting your high-voltage module.
Don’t overlook cooling strategies; integrate large heat sinks and fans to manage heat effectively.
Cooling and Heat Management Techniques
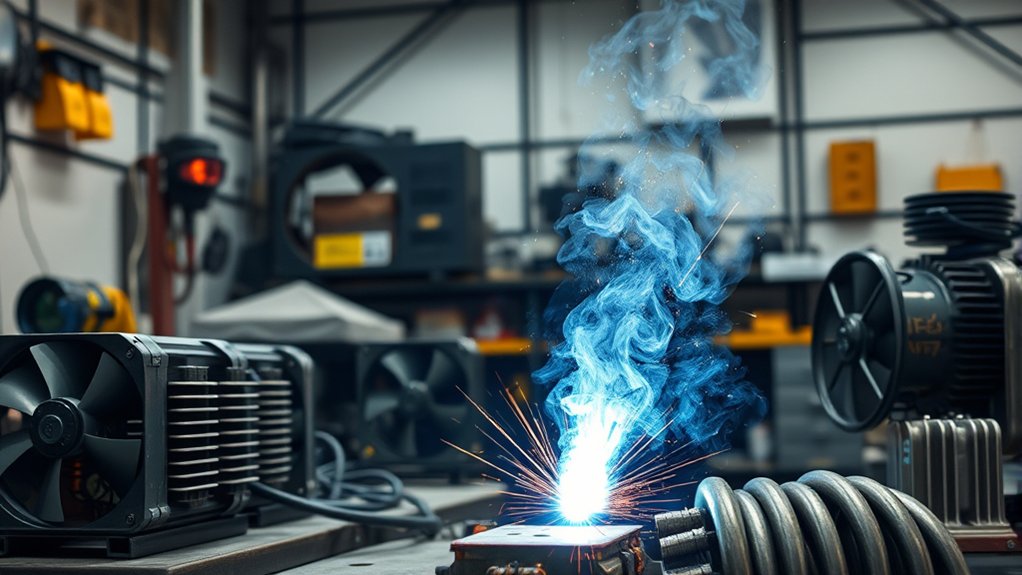
To efficiently manage the heat generated by your plasma cutter, start by installing large heat sinks on the bridge rectifier to prevent component damage and guarantee smooth operation.
Apply heat sink paste to enhance thermal conductivity between components, and consider adding extra fans for increased airflow during high amperage use.
For peak performance and safety, use thick copper cables to minimize heat generation, and integrate a water reservoir-like coil to stabilize the output from the bridge rectifier.
Efficient Heat Dissipation Methods
When constructing a plasma cutter from an arc welder, efficient heat dissipation is essential to guarantee safety and performance.
Make sure you install large heat sinks to effectively manage the heat generated by components like the bridge rectifier.
Applying thermal paste between these heat sinks and components enhances thermal conductivity, improving cooling efficiency.
Incorporate additional fans into the design to maintain ideal operating temperatures during high-amperage plasma torch operation.
A water reservoir-like coil can stabilize the output from the bridge rectifier, assisting in heat management.
Finally, utilize thick copper cables for high current flow to minimize resistance and enhance heat dissipation.
- Install large heat sinks
- Apply thermal paste
- Add extra fans
- Use a water reservoir-like coil
- Select thick copper cables
Cooling System Enhancements
Even though you’ve implemented efficient heat dissipation methods, there are additional cooling system enhancements that can greatly improve your plasma cutter’s performance.
Liquid cooling offers superior thermal management by using a water reservoir-like coil to stabilize the bridge rectifier’s output. This method helps maintain a consistent current flow and prevents overheating.
For enhanced conductivity, apply heat sink paste between components and large heat sinks. Consider integrating additional fans to boost airflow, reducing the temperature of critical parts.
Confirm thick copper cables are used to handle high current flow, minimizing resistance and heat build-up.
Prioritize safety by regularly checking all cooling components for wear and potential leaks, confirming your plasma cutter operates efficiently and safely at all times.
Assembly and Wiring Details
Start by gathering all necessary components for your plasma cutter project, guaranteeing you have items like a bridge rectifier, capacitors, and transformers at the ready.
Ensure you have all essential components, including a bridge rectifier, capacitors, and transformers, before starting your plasma cutter project.
Begin the assembly by organizing and examining each part. Use assembly techniques to structure the wiring layout efficiently. Create a detailed layout diagram, dividing the board into key sections:
- Power Control: Manages overall power flow.
- High Current DC: Requires thick copper cables for maximum conductivity.
- Low Voltage DC: Handles sensitive control circuits.
- High Voltage Arc Start: Initiates plasma with automatic arc restart.
Incorporate a contactor for power management, enhancing cutting efficiency.
Verify all connections align with schematic diagrams; safety is paramount when dealing with high voltage. Double-check everything before powering on.
For heat dissipation, add heat sinks and fans to regulate temperature effectively.
With precision and care, your plasma cutter will be ready for operation without compromising safety.
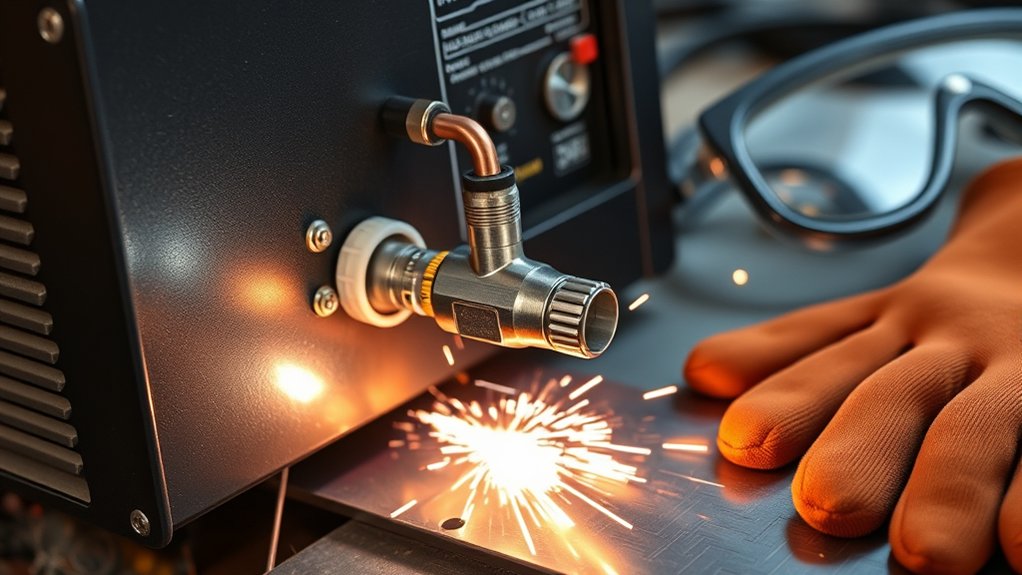
Testing and Operational Guidelines

With your plasma cutter assembled and wired, it’s time to move on to the vital phase of testing and operational guidelines. Start by generating sparks to confirm the presence of the plasma arc, guaranteeing the system’s operational before engaging materials. Feed compressed air through rubber tubing into the plasma torch to stabilize the arc and boost cutting efficiency.
Pay close attention to heat management: monitor for overheating, essential for performance and longevity. Double-check all connections, focusing on the high-voltage module and diodes, to prevent damage and maintain safety.
Conduct trial cuts on scrap aluminum and stainless steel to evaluate performance and adjust settings as required. Here’s a quick reference table:
| Task | Action Required |
|---|---|
| Generate Sparks | Confirm plasma arc presence |
| Stabilize Arc | Use compressed air through torch |
| Monitor Overheating | Check during operation |
| Trial Cuts | Test on aluminum and stainless steel materials |
Frequently Asked Questions
Can I Use Any Type of Arc Welder for Conversion?
You can’t use just any arc welder for conversion. Guarantee your welder’s compatibility with plasma cutter requirements. Different arc types might affect performance and safety. Always prioritize safety and understand technical specifications before proceeding with any modifications.
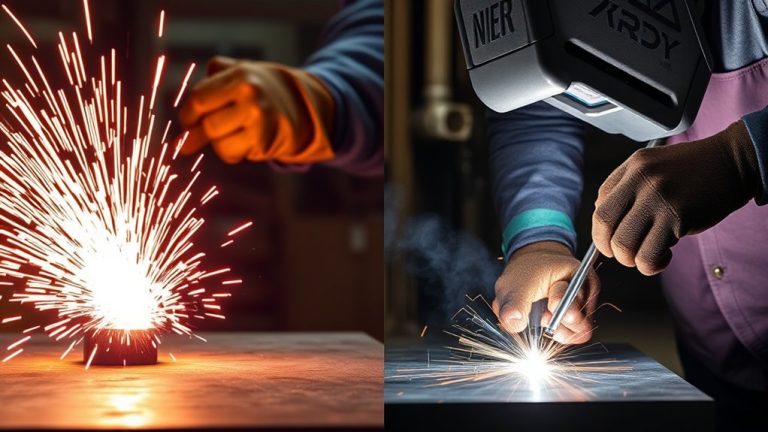
How Does a Plasma Cutter Differ From a Traditional Welder?
A plasma cutter uses plasma technology to cut through materials with high speed and precision, while traditional welding techniques join materials. Plasma cutting involves ionized gas, requiring careful handling, unlike conventional welders, which don’t need such specialized safety precautions.
What Are the Costs Associated With Converting an Arc Welder?
Diving into conversion expenses, you’ll find costs can balloon like a ticking time bomb. Conduct thorough cost analysis, considering components like torches, hoses, and power supplies. Prioritize safety, ensuring your setup complies with electrical standards and protective gear requirements.
Are There Specific Brands of Components Recommended for This Project?
Yes, prioritize component brands like Hypertherm for torch assemblies and Miller for safety equipment. Make certain you’ve got insulated gloves and goggles. Quality components enhance safety and performance when converting an arc welder into a plasma cutter.
How Long Does It Typically Take to Complete the Conversion Process?
You’ll typically need around 4-8 hours for the conversion process, depending on your experience and tools. Make certain safety precautions are followed meticulously throughout the project duration to avoid hazards during the conversion time.
Conclusion
By transforming an arc welder into a plasma cutter, you’ve tapped into a powerful tool that cuts with precision. Remember, safety is paramount—always wear protective gear and conduct risk assessments. Curiously, plasma cutting can be up to 10 times faster than traditional methods, enhancing efficiency. Make certain your wiring is precise, your cooling system is effective, and test thoroughly on scrap materials to confirm stability and performance. With careful attention, you’ll achieve outstanding cutting results.