
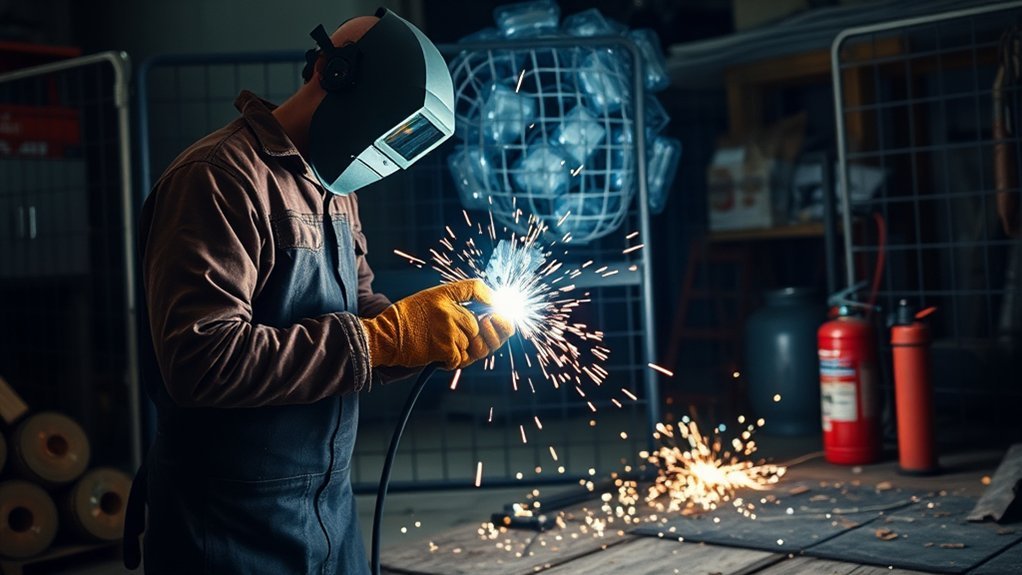
Welding sparks can start a fire when hot slag, spatter, or radiant heat reaches paper, sawdust, cardboard, rags, fuel vapors, wood framing, plastic, or other combustibles. The safest approach is to treat every welding job as hot work: clear the area, shield what cannot be moved, keep fire protection ready, and watch the area after the weld is finished.
Quick Answer
To prevent welding sparks from starting a fire, clear combustibles at least 35 feet from the work area when possible, cover anything that cannot be moved with fire-resistant shields, inspect cracks and hidden spaces, keep the right fire extinguisher ready, and maintain a fire watch for at least 30 minutes after welding.
Key Takeaways
- Move combustible materials at least 35 feet away from the welding area whenever practical.
- Use fire-resistant blankets, welding curtains, or metal shields when combustibles cannot be moved.
- Check cracks, floor openings, ducts, wall cavities, and the opposite side of metal walls before striking an arc.
- Keep a suitable extinguisher ready, know how to use it, and call emergency services if the fire is spreading.
- Never weld on tanks, drums, or closed containers unless they have been professionally cleaned, vented, and cleared for hot work.
At a Glance
| Time Required | 10 to 30 minutes for setup, plus at least 30 minutes of fire watch after welding |
| Difficulty | Moderate; requires careful inspection and basic fire response knowledge |
| Tools Needed | Fire extinguisher, welding blanket or curtain, metal shield, flashlight, broom or shop vacuum, PPE, and a water sprayer or damp sand only where shock risk is controlled |
| Cost | Usually $30 to $150 if you already own welding PPE; more if you need curtains, blankets, or extra extinguishers |
Understanding Welding Fire Risks
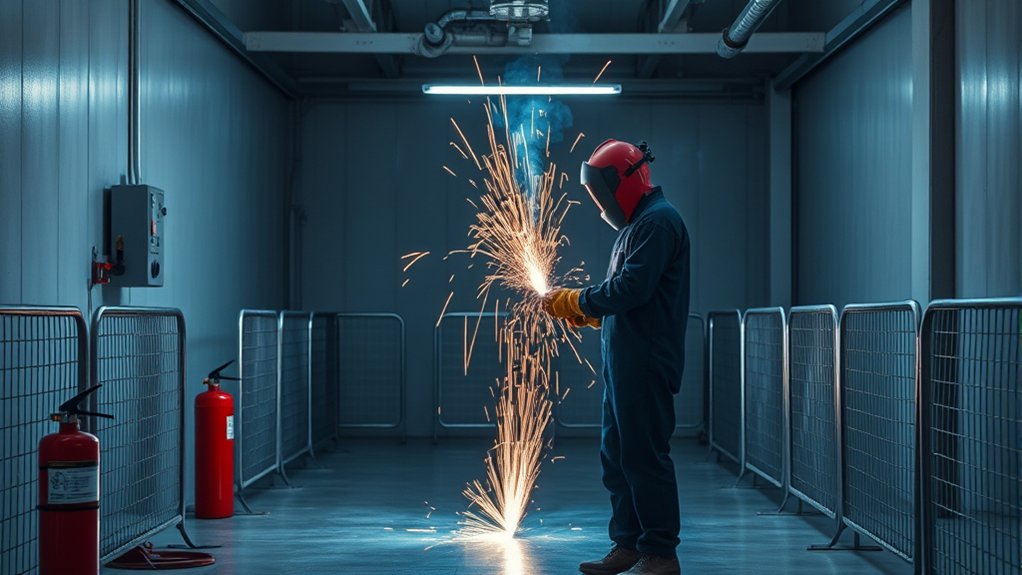
When you weld, cut, braze, or grind, you create hot work. Sparks and slag can bounce, roll, fall through openings, or land on materials you did not notice during setup. That is why OSHA welding and cutting rules focus on moving fire hazards, guarding immovable combustibles, and making the work area fire-safe before the job starts.
The common 35-foot rule is not random. OSHA says combustibles should be relocated at least 35 feet from the work site where practical. If they cannot be moved, they must be protected with flameproofed covers or shields. You should also inspect the floor below, nearby walls, ceilings, ducts, open windows, and the opposite side of metal partitions because sparks and heat can reach hidden areas.
Warning: Do not weld where flammable gases, vapors, combustible dust, fuel residue, or uncleaned containers may be present. Stop the job until the area is tested, cleaned, ventilated, and approved for hot work.
Clear a 35-Foot Welding Fire Safety Zone
Start by removing anything that can burn. This includes cardboard, paper, sawdust, dry leaves, cloth rags, aerosol cans, plastic sheeting, wood scraps, solvents, fuel containers, paint, oily waste, and packaging. Sweep the floor clean for a 35-foot radius when possible, and move the work to a safer location if the material or surrounding area cannot be made safe.
If you cannot move a combustible item, cover it with a welding blanket, welding curtain, sheet-metal shield, or another fire-resistant barrier. Make sure the cover fully blocks sparks and slag. A thin tarp, moving blanket, cardboard sheet, or plastic drop cloth is not enough because it can melt or ignite.
| Area to Check | What to Do |
|---|---|
| Floor and workbench | Remove paper, sawdust, oil, rags, solvents, and plastic. |
| Cracks and holes | Seal or cover openings where sparks could drop into hidden spaces. |
| Walls and ceilings | Shield combustible walls and check the opposite side of metal surfaces. |
| Ducts and vents | Block, shield, or shut down paths that could carry sparks to another area. |
| Outdoor work area | Clear dry grass, leaves, brush, and debris before welding. |
Essential Safety Gear for Welding Fire Prevention
The right protective gear helps protect you from sparks, radiant heat, UV light, and burns. It also gives you more control if something goes wrong. At minimum, use a welding helmet or hand shield, safety glasses, leather welding gloves, flame-resistant clothing, long pants, leather boots, and hearing protection when grinding or chipping slag.
- Welding helmet or hand shield: Use proper eye and face protection for arc welding, cutting, or brazing. OSHA requires helmets or hand shields for arc welding and arc cutting, with helpers also protected.
- Flame-resistant clothing: Wear cotton, denim, leather, or rated FR clothing. Avoid synthetic fabrics because they can melt into the skin.
- Leather gloves and boots: Use dry, intact gloves and boots that cover exposed skin and resist sparks.
- Respiratory and ventilation controls: Welding fumes can contain metals such as manganese. Use local exhaust, mechanical ventilation, and respiratory protection when the hazard review calls for it. CDC/NIOSH notes that welding fumes are composed of metals and may contain manganese.
Always inspect your PPE before welding. Replace gloves with holes, jackets with burn-through, cracked lenses, damaged shields, or clothing contaminated with oil, fuel, or solvents.
Products Worth Considering
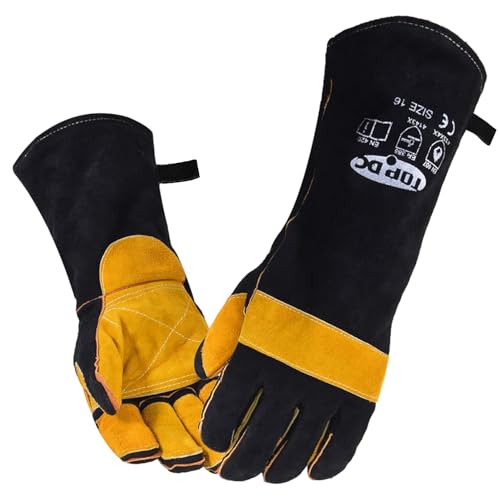
EXTREME HEAT RESISTANT PROTECTION: Reinforced Kevlar stitching, double leather reinforcement and high-strength sewing on the fingers, palms, elbows and backs. An aluminum foil layer in the palm adds insulation. A fully lined interior helps protect against heat, flames, spatter and sparks during welding tasks. Heat resistant up to 932°F (500°C)

✅Arc & Flame Resistant for Life - This 7 oz material is a soft, breathable cotton. They will remain arc and flame retardant regardless of the washes and wear cycles. These cotton fr balaclavas are NFPA 70E Compliant, HRC / CAT 2, EBT = 12 cal/cm² and meet ASTM F1506.

High Quality-100% Heavy Duty Leather Apron with Gloves
Prepare Your Workspace to Prevent Fires
Good fire prevention starts before the arc. Clean the area, confirm ventilation, remove flammable materials, and keep tools arranged so you can move safely. Do not let welding leads, hoses, extension cords, or scrap pieces block your exit path.
For combustible floors, use a fire-resistant shield, damp sand, or controlled wetting only when you can prevent electrical shock. Wetting an area can help reduce ignition risk, but it is not safe if it puts you, the electrode holder, leads, grinder, or nearby electrical equipment in contact with water.
Note: A clean-looking shop can still hide fire hazards. Look behind shelves, under benches, inside floor gaps, and on the opposite side of walls before welding near them.
Effective Techniques for Safely Managing Flammable Materials
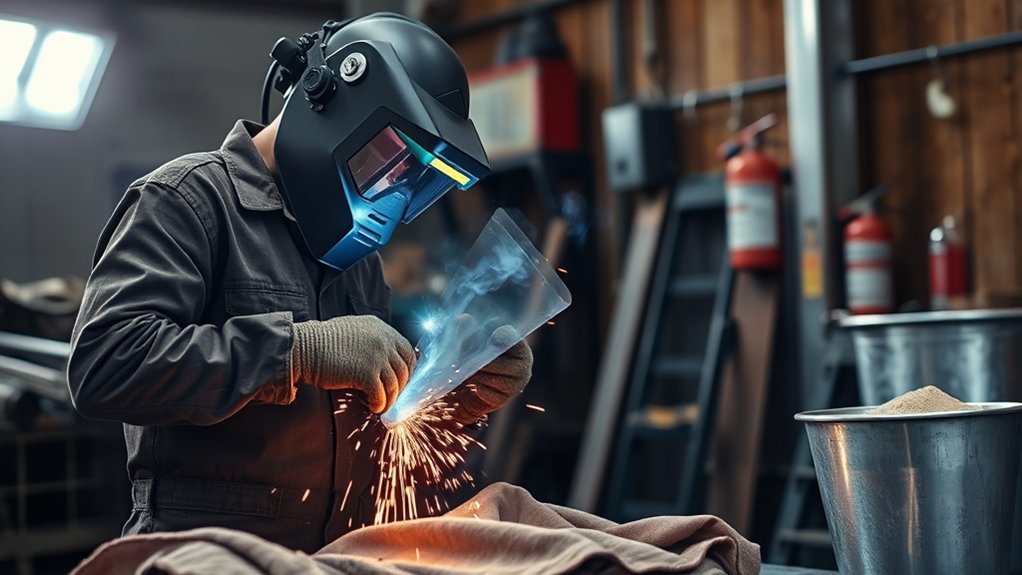
Managing flammable materials is one of the most important parts of welding fire prevention. Start with simple removal, then use barriers and monitoring for anything that remains.
- Remove combustibles first: Move loose materials, containers, rags, sawdust, cardboard, and plastic away from the welding zone.
- Shield what cannot move: Use welding blankets, curtains, or sheet metal to protect wood, walls, flooring, equipment, and nearby parts.
- Control flammable liquids and vapors: Remove gasoline, solvents, aerosols, paint, degreasers, and oily waste. Do not weld near open containers or recently cleaned parts until vapors are gone.
- Check hidden spaces: Sparks can fall through holes, travel behind panels, or heat metal enough to ignite materials on the far side.
- Keep the area ventilated: Ventilation helps reduce fumes and vapor buildup, but it should not blow sparks toward combustibles.
Use a Hot Work Permit When the Job Is Higher Risk
A hot work permit is a written safety check before welding, cutting, brazing, soldering, grinding, or any other spark-producing work. It is especially important in commercial shops, garages, plants, farms, construction sites, and any area where flammable materials or vapors may exist. OSHA hot work guidance recommends permits in areas where hazardous materials are stored and cannot be removed, or where flammable atmospheres could exist.
A good permit or checklist confirms the job location, the work being done, fire protection, PPE, ventilation, fire watch, nearby combustibles, gas testing, and emergency procedures. If flammable vapors are possible, use calibrated air monitoring and do not start until the atmosphere is confirmed safe by a competent person.
Pro Tip: Take a photo of the cleared work area before welding and another after the fire watch. It gives you a simple record that combustibles were controlled and the area was checked.
Do Not Weld on Tanks, Drums, or Closed Containers Until Cleared
Never weld, cut, or heat a used drum, tank, barrel, fuel container, pipe, or closed vessel just because it looks empty. Empty containers can still hold flammable residue or vapor. Heat can also create toxic vapors from old contents, coatings, or cleaning chemicals.
OSHA states that hot work must not be performed on used drums, barrels, tanks, or other containers until they have been cleaned thoroughly enough to make certain there are no flammable materials or heat-reactive substances present. Pipe lines or connections to the container must also be disconnected or blanked before hot work.
For automotive, farm, and shop work, this means you should not weld near or on fuel tanks, solvent drums, oil containers, hydraulic reservoirs, or sealed tubing unless the part has been properly cleaned, vented, tested, and approved for hot work.
Set Up a Fire Watch After Welding
A fire watch is a person assigned to look for smoke, flames, hot spots, and smoldering materials while welding is happening and after it ends. This person should have a clear view of the exposed areas, know how to sound an alarm, and have fire extinguishing equipment ready.
Keep the fire watch in place for at least 30 minutes after welding or cutting. Check the floor, surrounding materials, wall cavities, the underside of the workpiece, nearby containers, and the opposite side of metal walls or panels. If the area has hidden spaces, heavy insulation, wood framing, or other higher-risk materials, extend the watch and inspect again later.
Choose the Right Fire Extinguisher and Know When to Evacuate
Keep a suitable extinguisher close enough to reach quickly without walking through the hazard. For most garage and shop welding setups, a UL-listed ABC extinguisher is the practical choice because it covers ordinary combustibles, flammable liquids, and energized electrical equipment. Special hazards, such as combustible metals, may require a Class D extinguisher.
The U.S. Fire Administration teaches the PASS method: pull the pin, aim low at the base of the fire, squeeze the lever, and sweep side to side. Only try to use an extinguisher if the fire is small and contained, you have alerted others, someone has called 911, smoke is not blocking you, and you have a clear escape route.
| Fire Type | Common Welding-Area Example | Typical Extinguisher Class |
|---|---|---|
| Ordinary combustibles | Wood, paper, cardboard, cloth | Class A or ABC |
| Flammable liquids | Gasoline, oil, solvents, paint | Class B or ABC |
| Energized electrical equipment | Welders, grinders, cords, outlets | Class C or ABC |
| Combustible metals | Magnesium, titanium, some metal dusts | Class D, matched to the metal |
Products Worth Considering

Reliable Fire Protection: Stop basic home fires involving trash, wood, paper, liquids, gases, and electrical equipment

Reliable Fire Protection: Stop basic home fires involving trash, wood, paper, liquids, gases, and electrical equipment

IMMEDIATE RESPONSE FROM A SAFE DISTANCE WITH PATENTED HANDLE DESIGN:Act swiftly from a safe distance up to fifteen feet when alarm rings at night or smoke fills a room; patented handle lets anyone—whether grandparent or child—activate the fire extinguisher without training, avoiding panic in emergencies
What to Do If a Fire Breaks Out: Quick Response Tips
Even with good preparation, a fire can still happen. Your first job is to protect people, not equipment. Alert others, stop welding if you can do so safely, shut off gas or power only if it does not delay escape, and call emergency services if the fire is spreading or you are unsure.
| Action | What to Do | Priority |
|---|---|---|
| Alert others | Shout a warning, trigger the alarm if available, and make sure people move away. | High |
| Call emergency services | Call 911 if the fire is spreading, smoke is building, or you are not fully confident you can control it. | High |
| Use the extinguisher | Use PASS only on a small, contained fire with a clear escape route behind you. | High |
| Evacuate | Leave immediately if flames spread, smoke thickens, vapors are involved, or the exit path is threatened. | Critical |
| Avoid the wrong agent | Do not spray water on energized electrical equipment, flammable liquid fires, or combustible metal fires. | Critical |
Outdoor Welding and Fire Weather
Outdoor welding needs extra care because wind can carry sparks into dry grass, leaves, mulch, brush, or nearby structures. Avoid outdoor hot work during burn bans, Red Flag Warnings, or very dry and windy conditions. The National Weather Service uses Red Flag Warnings to alert land managers and the public to ongoing or imminent critical fire weather patterns.
The 30/30/30 rule is a quick wildfire-risk reminder: hot temperatures, low humidity, and strong wind make ignition and spread more likely. It does not replace welding safety controls. You still need clearance, shielding, fire watch, and extinguishing equipment.
Frequently Asked Questions
Can sparks from welding start a fire?
Yes. Welding sparks, slag, and hot metal can ignite paper, cardboard, sawdust, rags, dry grass, fuel vapors, and other combustibles. Clear the area, shield nearby materials, keep an extinguisher ready, and inspect the area after welding.
How far should flammable materials be from welding?
Move combustibles at least 35 feet from the welding or cutting area whenever practical. If something cannot be moved, protect it with a flame-resistant cover, welding curtain, or metal shield and use a fire watch.
What is the 30/30/30 rule for fire?
The 30/30/30 rule is a wildfire-risk reminder often used for outdoor conditions: temperature around or above 30°C, relative humidity around or below 30%, and wind around or above 30 km/h. If those conditions are present, postpone outdoor welding unless the job is controlled by a formal hot work plan.
How do you prevent welding sparks?
You cannot stop all sparks, but you can control them. Clean the work area, adjust your welding angle, use welding curtains or blankets, position the work so sparks fall into a safe zone, and avoid aiming sparks toward gaps, ducts, fuel containers, or dry materials.
What long-term risks should welders control?
Welders should control fumes, UV exposure, burns, noise, electric shock, and fire hazards. Use ventilation, correct PPE, safe work practices, and exposure controls. For fume-heavy work, confined spaces, stainless steel, galvanized metal, or coated materials, get a proper hazard review before welding.
Conclusion
Preventing welding sparks from starting a fire comes down to preparation, containment, and follow-through. Clear the 35-foot area, shield what cannot be moved, avoid tanks and vapor hazards, keep the correct extinguisher ready, and maintain a fire watch after the job. When the work area cannot be made fire-safe, stop and move the job or get qualified help before welding.
Sources
- OSHA 1910.252 — General requirements for welding, cutting, and brazing — 35-foot clearance, fire watch, extinguishers, wet-floor caution, and container safety.
- OSHA Hot Work eTool — hot work permits, vapor testing, fire blankets, PPE, ventilation, and emergency planning.
- CDC/NIOSH Welding Fumes and Manganese — welding fume composition and manganese exposure concerns.
- U.S. Fire Administration — Choosing and Using Fire Extinguishers — extinguisher classes, PASS method, and when to use an extinguisher.
- NFPA 51B — Standard for Fire Prevention During Welding, Cutting, and Other Hot Work — hot work fire-prevention framework.
- National Weather Service — Wildfire Warnings, Watches and Behavior — Red Flag Warning and outdoor fire-weather context.




