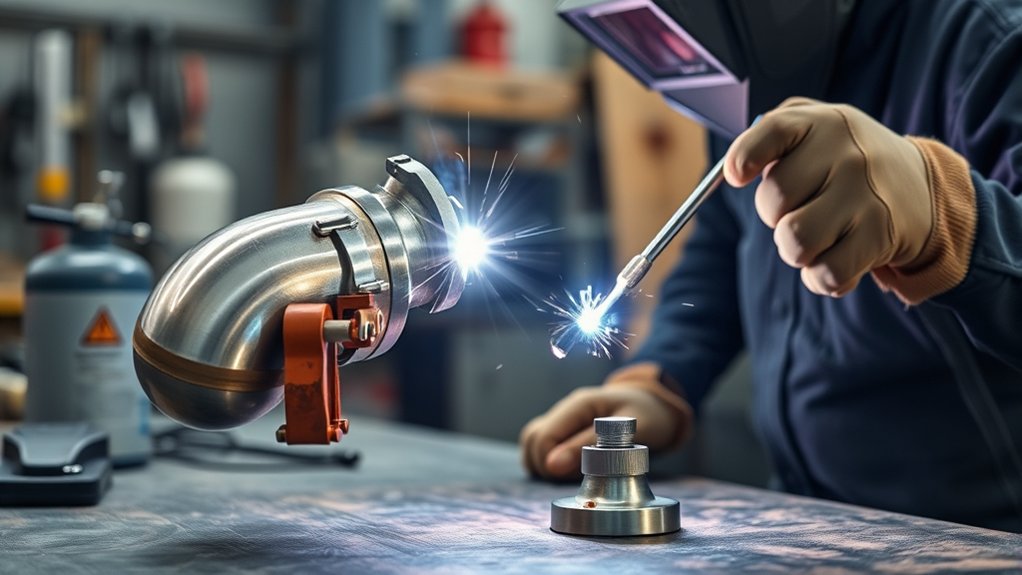
Thin stainless exhaust tubing can burn through fast, and a dirty backside can ruin an otherwise clean weld. TIG welding gives you the control you need, but only when your setup, gas coverage, and torch movement work together. This guide shows you how to TIG weld stainless steel exhaust tubing with cleaner beads, less oxidation, and fewer common mistakes.
Quick Answer
To TIG weld stainless steel exhaust tubing, use direct current electrode negative, a sharp tungsten, clean shielding gas, and steady heat control. For thin tubing, start near 30 to 35 amps, use a small filler rod, and back purge the tube so the inside of the weld stays clean.
Key Takeaways
- Clean the stainless tubing before welding so oil, dust, and oxide do not contaminate the bead.
- Use a sharp tungsten and steady torch angle to control heat on thin exhaust tubing.
- Back purge the inside of the tube to prevent heavy oxidation on the root side.
- Use small filler rod and short weld sections to lower the risk of burn-through.
- Check gas flow, post-flow, and leaks before you start welding.
Essential Equipment for TIG Welding Stainless Steel
Good TIG welding starts with clean, stable equipment. Use a TIG welder set to direct current electrode negative, often shown as DCEN, for stainless steel. A water-cooled torch can help during longer welds, but many short exhaust welds also work with an air-cooled torch if you stay within its duty cycle.
Use a 1/16″ tungsten electrode sharpened to a clean point. Pair it with a gas lens or a large cup when you need better shielding and more visibility. Set argon flow high enough to shield the weld, then test your setup because too much flow can pull air into the gas stream.
Use stainless filler rod that matches your tubing. ER308L works for many 304 stainless exhaust projects, while other stainless grades may need a different filler. A 0.035″ filler rod gives you fine control on thin tubing.
A dual-regulator setup helps when you back purge. One regulator feeds the torch, and the other feeds the inside of the tubing. This setup protects both sides of the weld from oxidation.
Products Worth Considering

ER308L TIG WELDING ROD: ER308L is a low -carbon stainless steel tig welding rod, which has excellent anti -crystal interval corrosion properties and full -location welding performance.

ER308L: Most popular stainless rod for general-purpose applications where corrosion is moderate and applications at cryogenic temperatures.

Applicable Sizes: TIG wire is 16 inches long and 1/16 inches in diameter. Tig welding rods are lightweight and are suitable for use with a variety of welding machines. Easy to use.
Setting Up Your TIG Welder: Amperage and Gas Pressure
Start with about 30 to 35 amps for thin stainless exhaust tubing, then adjust based on wall thickness, fit-up, and travel speed. Too much amperage overheats the tube and can cause sugaring, warping, or burn-through. Too little amperage makes the puddle hard to start and can leave a cold weld.
Use 100% argon for shielding gas. A common starting range for torch gas flow is about 15 to 25 cubic feet per hour, though a larger cup may need more flow. For back purging, use only enough flow to replace the air inside the tube and maintain a steady shield.
Warning: Too much gas flow can create turbulence, which can pull oxygen into the weld zone and discolor the bead.
Set post-flow long enough to protect the hot tungsten and finished weld. A 10 to 12 second post-flow works well for many small stainless TIG welds. Keep the torch over the weld until the post-flow ends.
Products Worth Considering

Start TIG Welding Without Overcomplicating It: the S7 200A welder is made for people who want a simple way to get into DC TIG and Stick welding. HF non-touch start helps you strike a cleaner TIG arc without scratching the tungsten across the metal, making it easier to practice on stainless steel, mild steel and carbon steel.

For welding 18% chromium – 12% nickel – 2½% molybdenum austenitic stainless steels such as 316 and 317 but with a low ferrite (i.e. FN2) it can also be used for welding 304/304L to 316/316L stainless steels in cryogenic service at temperatures down to -452 °F
For welding 18% chromium – 12% nickel – 2½% molybdenum austenitic stainless steels such as 316 and 317 but with a low ferrite (i.e. FN2) it can also be used for welding 304/304L to 316/316L stainless steels in cryogenic service at temperatures down to -452 °F
Before You Begin: Prepare the Tubing
Clean stainless steel before you strike an arc. Remove grease with a suitable solvent, then use a dedicated stainless brush or clean abrasive pad. Do not use a carbon steel brush because it can embed steel particles into the stainless surface.
Fit-up matters as much as machine settings. Keep the joint tight and even so the puddle does not fall through the gap. Tack the tubing in several spots before you weld the full joint.
- Wipe the tubing with a clean cloth before welding.
- Deburr the cut edge so the joint fits tight.
- Use clamps or fixtures to hold the tube steady.
- Keep filler rods clean and dry.
What You’ll Need for Stainless Exhaust TIG Welding
- TIG welder with direct current electrode negative capability
- 100% argon shielding gas
- 1/16″ sharpened tungsten electrode
- Gas lens or suitable TIG cup
- Stainless filler rod, such as 0.035″ ER308L for 304 stainless tubing
- Back purge plug, purge puck, foil, or heat-resistant tape
- Dedicated stainless brush or clean abrasive pad
- Clean clamps, gloves, helmet, and proper ventilation
Estimated total time: Plan about 30 to 60 minutes for setup, cleaning, purging, tacking, and welding one small exhaust joint. Complex bends and tight access can take longer.
Mastering Back Purging for Clean Welds
Back purging protects the inside of stainless exhaust tubing while you weld. Without purge gas, the hot root side can oxidize and form a rough, dark surface often called sugaring. That rough oxide can weaken the weld and disrupt exhaust flow.
Fill the inside of the tubing with argon before welding. Use a purge puck, purge plug, foil, or heat-resistant tape to contain the gas. Leave a small vent hole so pressure does not build inside the tube.
Essential Back Purging Techniques
Feed argon into one side of the tube and vent the other side. Let the gas flow long enough to push air out before you start welding. Keep the purge flow low and steady so it does not disturb the weld pool.
A dual regulator gives you better control because the torch and purge lines need different flow rates. Check the purge setup before you weld the full joint. If the inside of the weld turns crusty or black, improve the purge before continuing.
Preventing Weld Contamination
Contamination can come from dirty metal, dirty filler rod, poor shielding, or touching the tungsten to the puddle. Clean every part that will touch the weld zone. If you dip the tungsten, stop and regrind it before you continue.
Keep the filler rod inside the shielding gas while you weld. Do not pull the hot rod far from the gas stream, then push it back into the puddle. That habit can carry oxide into the weld.
Step-by-Step: How to TIG Weld Stainless Steel Exhaust Tubing
- Clean the joint. Wipe the tubing, remove burrs, and brush the weld area with a dedicated stainless brush.
- Fit and tack the tubing. Align the pieces, close gaps, and add small tacks around the joint to hold the shape.
- Set up the purge. Seal the tube ends, feed argon into the tube, and leave a small vent path.
- Set the welder. Start near 30 to 35 amps on DCEN and adjust after a short test weld.
- Start the puddle. Hold a tight arc and keep the tungsten close without touching the metal.
- Add filler smoothly. Dab small amounts of filler into the leading edge of the puddle.
- Move in short sections. Keep a steady travel speed and avoid overheating one spot.
- Let the weld cool under gas. Hold the torch in place until post-flow ends.
- Inspect both sides. Look for undercut, sugaring, pinholes, and poor tie-in before moving on.
Effective Welding Techniques for Thin Tubing
When TIG welding thin stainless steel tubing, keep the tungsten close to the workpiece. A tight arc helps you control heat and reduces the chance of wandering. Aim for a steady, straight torch path rather than wide circular motion.
| Technique | Recommendation | Purpose |
|---|---|---|
| Tungsten Proximity | Keep tungsten less than 1/8″ from the material | Controls arc focus and heat input |
| Filler Rod Size | Use 0.035″ filler rod | Adds filler without flooding the puddle |
| Starts and Stops | Feather the pedal and add filler at the crater | Reduces crater cracks and pinholes |
| Torch Movement | Keep movement smooth and straight | Promotes uniform welds |
| Back Purging | Fill tubing with shielding gas | Prevents oxidation on the weld underside |
Control your breathing and support your torch hand. A small rest point can reduce shaking and improve bead spacing. Short welds also help you manage heat on thin exhaust tubing.
Top Mistakes in TIG Welding and How to Fix Them
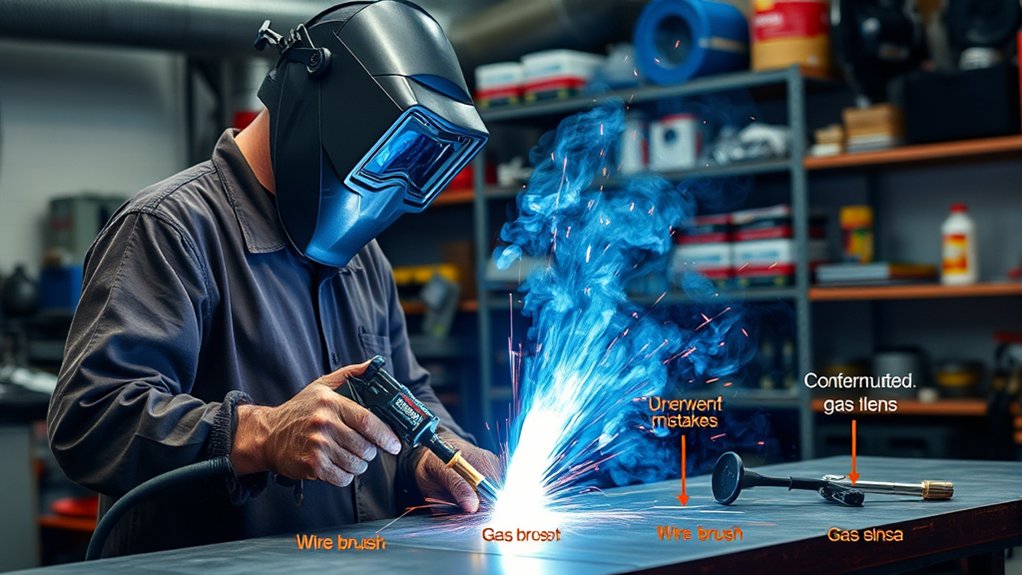
Small mistakes show up fast on stainless exhaust tubing. Heat, gas coverage, and cleanliness all affect the final bead. Fix these issues early so you do not build a weak or oxidized joint into the system.
Common TIG Welding Mistakes
- Contaminating the tungsten: Regrind the tungsten any time it touches the puddle or filler rod.
- Using poor gas coverage: Check cup size, gas flow, post-flow, and hose leaks before welding.
- Skipping back purge: Purge stainless exhaust tubing to protect the inside of the weld.
- Moving too slowly: Use steady travel speed to limit heat buildup and distortion.
- Using dirty filler rod: Wipe the rod and keep it inside the shielding gas during welding.
Inconsistent Amperage Control
Inconsistent amperage can overheat thin stainless tubing or leave a cold, uneven bead. Use the foot pedal smoothly, and avoid sudden pressure changes. If your machine has pulse settings, practice on scrap before using pulse on the actual exhaust.
| Issue | Solution |
|---|---|
| Amperage spikes | Ease into the pedal and watch puddle size |
| Overheating | Use shorter welds and faster travel |
| Undercutting | Add filler sooner and reduce heat input |
| Hand instability | Brace your torch hand and slow your breathing |
Poor Gas Coverage Issues
Poor gas coverage causes discoloration, porosity, and oxidation. Start by checking the argon bottle, regulator, hose, torch fittings, and cup. A cracked cup or loose fitting can pull air into the shield.
- Use clean 100% argon for stainless TIG welding.
- Match gas flow to the cup size and work area.
- Keep the torch close enough to shield the puddle.
- Use enough post-flow to protect the hot weld and tungsten.
- Back purge the tube when welding stainless exhaust joints.
Tips for Wrapping Up Your Exhaust System
After welding, inspect every joint before final installation. Look for cracks, pinholes, undercut, rough backside oxidation, and gaps around hangers or flanges. Repair defects before the exhaust system sees heat and vibration.
Use proper clamps, hangers, and supports to limit stress on the welds. Stainless tubing expands as it heats, so avoid forcing the system into place. A stressed exhaust can crack near welds, bends, or mounting points.
If you use exhaust wrap, choose a material rated for the heat your system produces. Wrap can hold heat and moisture against metal, so check the tubing during routine maintenance. Clean welds and sound support do more for long service life than wrap alone.
Frequently Asked Questions
How Many Amps to TIG Weld Stainless Exhaust Pipe?
Start around 30 to 35 amps for thin stainless exhaust tubing, then adjust based on wall thickness and fit-up. Use scrap from the same tubing to test your setting before welding the real joint.
Can You Weld Stainless Steel Exhausts?
Yes, you can weld stainless steel exhausts with TIG when you use clean metal, proper shielding gas, and the right filler rod. Back purging helps protect the inside of the tube from heavy oxidation.
What TIG Filler Rod for Stainless Exhaust?
For many 304 stainless exhaust systems, ER308L filler rod works well. Match the filler to the base metal when you know the stainless grade, and ask a welding supplier when the grade is unclear.
Is MIG or TIG Better for Stainless Steel Exhaust?
TIG is usually better when you want clean, precise welds on thin stainless exhaust tubing. MIG can work faster, but TIG gives you more control over heat, filler, and bead appearance.
Do You Have to Back Purge Stainless Exhaust Tubing?
You should back purge stainless exhaust tubing when you want the cleanest and strongest weld. Without purge gas, the inside of the weld can oxidize heavily and form rough sugaring.
Conclusion
Clean stainless exhaust welds come from steady heat, clean metal, and full gas coverage on both sides of the joint. Start with conservative amperage, practice on scrap, and inspect each weld before you move to the next section. Once your setup feels stable, your welds will look cleaner and hold up better under heat, vibration, and daily use.


