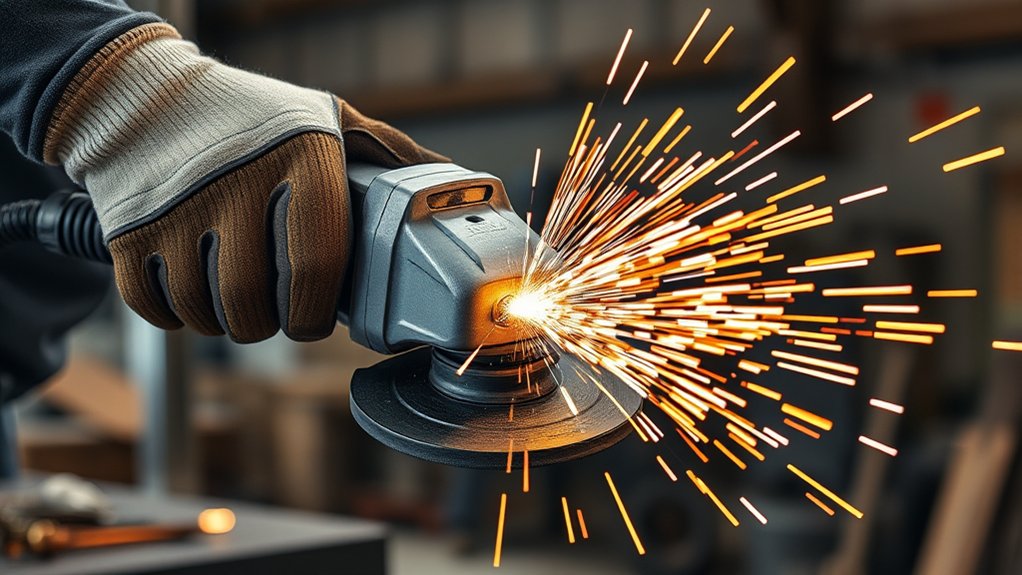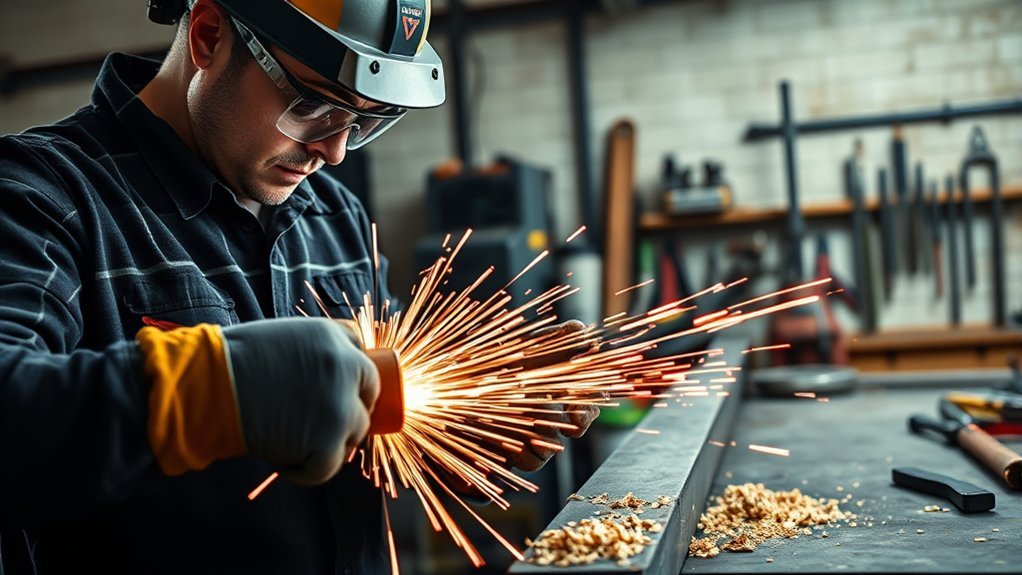
A cutoff wheel can slice through metal quickly, but safe cutting depends on more than holding an angle grinder against a line. You need a wheel, guard, and flange set that your tool approves, a workpiece that cannot move or pinch the disc, and a clear path for sparks and kickback. You also need to identify coatings, containers, and metals that create extra fire, explosion, or breathing hazards before the wheel starts.
Quick Answer
To cut metal safely with a cutoff wheel, use a wheel, cutting guard, and flange set approved for your grinder. Wear impact-rated eye protection and a face shield, clamp and support the metal, stand outside the wheel’s plane, and make a straight cut with light pressure. Stop immediately if the wheel binds, cracks, or vibrates.
Key Takeaways
- The wheel’s maximum RPM must equal or exceed the grinder’s maximum no-load RPM.
- Use the exact guard and flanges required for the selected cutoff wheel. Do not remove the guard for extra reach.
- Clamp and support the work so the kerf stays open instead of closing around the wheel.
- Keep a cutoff wheel straight in the cut. Twisting, bending, or side grinding can break a thin disc.
- Do not cut unknown coatings, used fuel containers, sealed vessels, magnesium, or hidden utilities without qualified hazard controls.
- Switch the grinder off if the wheel binds. Wait for a complete stop before removing it from the cut.
At a Glance
| Time Required | About 10 to 20 minutes for one simple cut, including inspection, setup, cutting, and cleanup |
| Difficulty | Beginner to intermediate for ordinary, identified metal in an open work area; advanced controls may be required for coatings, containers, or combustible metals |
| Tools Needed | Compatible angle grinder, rated cutoff wheel, approved cutting guard and flanges, side handle, clamps or vise, marking tools, and suitable PPE |
| Cost | The cost of one compatible wheel plus any protective equipment or clamps you do not already own; actual cost varies by tool size and local prices |
What’s in This Article
- Why Safety Gear Is Essential
- Choosing the Right Wheel, Guard, and Flanges
- Inspecting Your Cutoff Wheel Before Use
- Identifying the Metal, Coating, and Hidden Hazards
- Preparing Your Workspace
- Before You Begin: Tools and Safety Checks
- How to Cut Metal Step by Step
- What to Do if the Wheel Binds
- Top 5 Mistakes to Avoid
- Cutoff Wheel Storage and Care
- When to Replace the Wheel
- Types of Cutoff Wheels
- Frequently Asked Questions
- Safety Disclaimer
- Conclusion
- Sources
Why Safety Gear Is Essential When Using a Cutoff Wheel
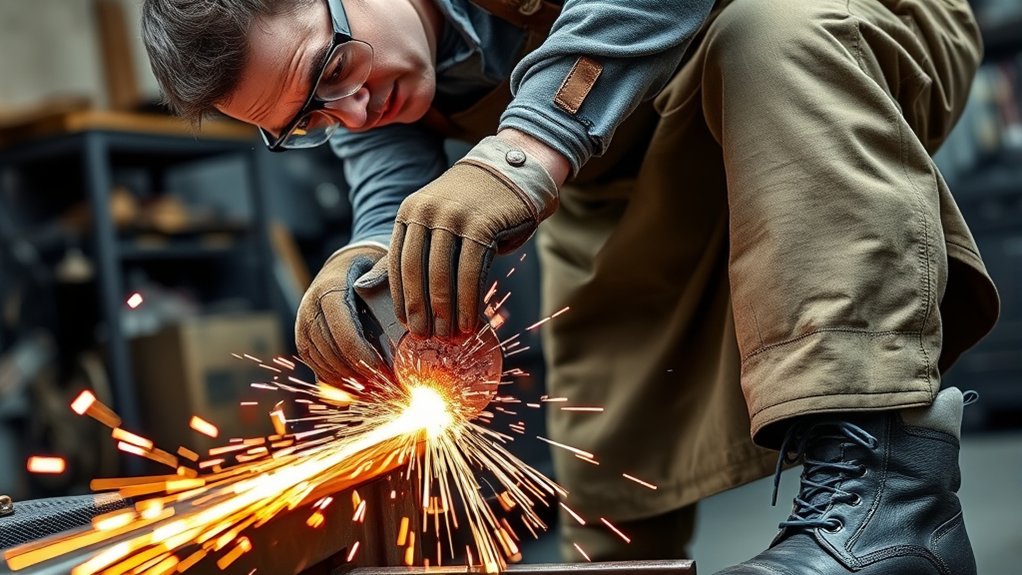
A cutoff wheel can throw sparks, sharp metal chips, abrasive particles, and broken wheel fragments. Wear impact-rated safety glasses with side protection and place a full face shield over them. A face shield gives your face more coverage, but it does not replace primary eye protection. OSHA requires suitable eye and face protection where flying particles are present, as explained in its eye and face protection standard.
Wear well-fitting leather work gloves without loose cuffs. Gloves can reduce burns and minor cuts, but they cannot stop a rotating wheel. Keep both hands on the grinder and away from the wheel, guard opening, and cut line.
Choose long sleeves, long pants, and closed footwear made from material that will not melt easily when struck by sparks. Remove jewelry, tie back long hair, and avoid loose clothing. Use hearing protection because angle grinders can create damaging noise. NIOSH recommends selecting hearing protection that reduces exposure without blocking so much sound that you lose awareness of your surroundings.
Metal cutting can also release airborne particles from the wheel, base metal, rust, paint, galvanizing, or plating. Use ventilation or local exhaust first. When respiratory protection is needed, use a NIOSH-approved respirator selected for the identified contaminant. A simple nuisance-dust mask is not universal protection against metal fumes, gases, or solvent vapors.
Warning: Never operate a cutoff wheel without impact-rated eye protection. Keep your face and body outside the wheel’s plane because fragments may travel along that path if the disc breaks.
Choosing the Right Wheel, Guard, and Flanges
Do not choose a wheel by diameter alone. Read the grinder manual and the complete wheel label before installation. The grinder, wheel, guard, backing flange, and locking flange must be approved for use together.
- Maximum speed: The wheel’s marked maximum RPM must be equal to or higher than the grinder’s maximum no-load RPM.
- Diameter and thickness: Both measurements must stay within the grinder and guard limits.
- Arbor: The wheel hole or threaded mount must fit the spindle and locating flange correctly.
- Wheel shape: A flat Type 1 wheel may require a different guard and flange arrangement from a depressed-center wheel.
- Material rating: Use a wheel labeled for the metal you are cutting, such as carbon steel, stainless steel, or aluminum.
- Direction: If the wheel or mounting system has a direction arrow, install it in the direction specified by the manufacturer.
OSHA requires portable abrasive wheels to be used with suitable guards. On a right-angle grinder, the guard should sit securely between you and the wheel while exposing only the portion needed for the cut. Some grinders require an enclosed cutting guard for a Type 1 cutoff wheel. Do not assume the ordinary grinding guard is approved.
Use only the correct undamaged flanges. Cutoff-wheel flanges may differ from grinding-wheel flanges. Never force a wheel onto the spindle, enlarge the arbor hole, add improvised washers, or overtighten the locking nut.
Note: An accessory that physically fits the spindle is not automatically safe for the grinder. The tool manual must approve the wheel type, size, speed, guard, and mounting hardware.
Products Worth Considering


High performance aluminum oxide grain for long life and high material removal of the grinding wheel
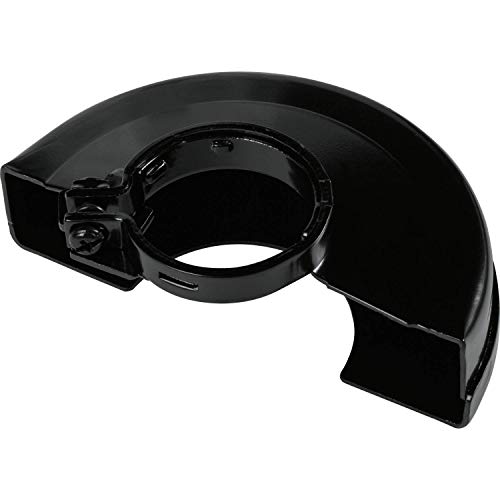
For use during cutting applications
Inspecting Your Cutoff Wheel Before Use
Disconnect the grinder from power or remove the battery before handling the wheel. Inspect both sides of the disc under good light. Do not install a wheel with cracks, edge chips, warping, soft areas, water damage, impact marks, or a distorted center.
Make sure the label is readable. You need it to verify the wheel type, material rating, dimensions, maximum RPM, and any use restrictions. Check the expiry or date code when the manufacturer provides one. Resin-bonded wheels can weaken through poor storage, moisture, heat, age, or impact even when they have not been used.
Inspect the grinder at the same time. Check the cord or battery mount, switch, spindle, guard, side handle, backing flange, locking flange, and air vents. Stop and repair the tool if the spindle has play, the guard will not lock, the switch does not work correctly, or the grinder shows signs of damage.
| Inspection Item | What to Check | Action |
|---|---|---|
| Wheel condition | Cracks, chips, warping, moisture damage, impact marks, or a distorted center | Discard a damaged wheel |
| Wheel label | Readable RPM, dimensions, material, wheel type, and restrictions | Do not use an unidentified wheel |
| Speed compatibility | Wheel maximum RPM is equal to or higher than tool maximum no-load RPM | Use another wheel if the rating is too low |
| Guard and flanges | Correct type, secure fit, no cracks, bending, or missing parts | Repair or replace before cutting |
| Expiry or date code | Manufacturer’s marked use-by information, if present | Follow the manufacturer’s limit |
Identify the Metal, Coating, and Hidden Hazards
Identify the base metal and every coating before cutting. Paint, primer, galvanizing, plating, grease, sealant, and chemical residue can create hazardous dust, smoke, or fumes. Cutting or grinding lead-coated metal can create lead dust, and zinc-coated metal can expose you to zinc-containing particles.
Do not rely on smell or visible smoke to judge whether the air is safe. Use the product safety data, coating records, workplace hazard assessment, or professional testing when the material is uncertain. OSHA’s respiratory protection standard prioritizes preventing atmospheric contamination with controls such as enclosure and ventilation before relying on respirators.
Warning: Do not cut a used fuel tank, drum, cylinder, pipe, sealed container, pressure vessel, or hollow part that may contain flammable or pressurized material. Cleaning, testing, venting, purging, and authorization require qualified procedures. An apparently empty container can still contain explosive vapor.
Do not use an ordinary abrasive cutoff setup on magnesium. Magnesium particles can ignite and require specialized fire controls. Fine dust from aluminum and other metals may also be combustible. Avoid creating or accumulating metal dust, and never direct sparks into a dust collector unless the system is specifically designed for that material and ignition hazard.
Before making a blind cut, check both sides of the work. Look for electrical wiring, fuel lines, gas pipes, water pipes, pressurized systems, hidden fasteners, and combustible material. Also consider stored mechanical energy. A bent bracket, loaded spring, tensioned pipe, or stressed structure can move suddenly when cut.
Preparing Your Workspace for Safe Cutoff Wheel Metal Cutting
Prepare the area before connecting the grinder to power. Remove paper, rags, sawdust, fuel, solvents, aerosols, batteries, gas cylinders, and other combustible materials from the spark path. Check openings in floors, walls, benches, and partitions because sparks can pass through and ignite material you cannot see.
Use a stable, fire-resistant work surface. Keep an extinguisher suitable for the hazards in the area available, and know how to use it. Do not assume that water is safe for an energized tool, flammable liquid, or combustible-metal fire.
Clear the Work Area
Move unnecessary tools, hoses, and cords out of the cutting zone. Route the grinder cord behind you and away from the wheel, workpiece, and spark stream. Maintain firm footing and enough room to move without stepping over clutter.
Provide ventilation that carries airborne contamination away from your breathing zone and other people. Do not aim a fan so it blows sparks toward combustibles or spreads hazardous dust through the shop.
Keep bystanders away from the wheel plane and spark path. Anyone who must remain nearby needs suitable eye, face, hearing, and other protection for the hazard.
Secure and Support the Material
Clamp the workpiece to a stable platform or hold it in a vise. Never hold the metal in your hand or brace it against your body. Place clamps where the wheel cannot strike them.
Support long stock, sheet, and large panels near the cut so their weight does not close the kerf around the wheel. Arrange the offcut so it can separate without dropping onto your feet, pulling the workpiece, striking the grinder, or trapping the disc.
Think through how both pieces will move after separation. If the cut may release tension or cause sudden movement, stop and use a controlled professional procedure.
Pro Tip: Mark the cut with a paint marker or scribe, then position the clamps and supports while you can still see the entire line. This prevents you from discovering halfway through the cut that a clamp, bench edge, or support blocks the wheel.
Before You Begin: Tools and Safety Checks
Estimated total time: Most simple cuts take about 10 to 20 minutes when inspection, setup, cutting, and cleanup are included. Thick material, multiple cuts, hazardous coatings, or complex support needs can take longer.
Gather the following equipment:
- Angle grinder or compatible cutoff tool in good working condition
- Cutoff wheel rated for the metal, tool size, and maximum no-load RPM
- Guard approved for the selected wheel type
- Correct backing flange and locking flange
- Installed and tightened side handle
- Clamps, vise, and supports for the workpiece and offcut
- Impact-rated safety glasses with side protection and a face shield
- Well-fitting leather gloves and protective clothing
- Hearing protection
- Ventilation, local exhaust, and any contaminant-specific respiratory protection required by the hazard assessment
- Marker, scribe, square, or straightedge
- Fire-resistant work surface and suitable fire-control equipment
Read the grinder manual and wheel instructions before installation. The current DeWALT angle grinder instruction manual, for example, explains wheel speed, guard position, flanges, startup testing, side loading, binding, and interrupted cuts. Your model may use a different mounting arrangement, so follow its manual rather than copying another grinder’s setup.
How to Cut Metal: A Step-by-Step Guide With a Cutoff Wheel
Safe cutting depends on preparation, straight wheel travel, and control of the workpiece. Do not begin until you know what the material contains, the wheel and guard are compatible, the work is stable, and the spark path is clear.
Safety Precautions Before Cutting
Put on your protective equipment before connecting the grinder to power. Position the guard so it covers as much of the wheel as the operation allows and sits between your body and the disc. Tighten the side handle and hold the grinder with both hands.
Stand with balanced footing outside the wheel’s plane. Consider where the grinder could travel if the wheel catches. Keep your head, torso, hands, cord, and bystanders out of that path.
Proper Cutting Technique
- Mark the cut line. Use a marker, square, or scribe to create a line you can follow through sparks and dust.
- Clamp and support the workpiece. Prevent movement and arrange the supports so the kerf will remain open throughout the cut.
- Disconnect the tool before mounting. Unplug the grinder or remove its battery. Install the correct wheel with the approved guard and flanges.
- Check the mounted wheel. Turn it by hand while the tool is disconnected. Make sure it clears the guard and does not wobble or rub.
- Set the guard and handle. Lock the guard between you and the wheel, then tighten the side handle in a position that supports two-handed control.
- Perform the required no-load test. After fitting a new or replacement wheel, follow the grinder manual’s startup procedure. Many manufacturers instruct users to run the wheel at no load for one minute in a protected area while everyone stands outside the wheel plane.
- Let the wheel reach full speed. Start the grinder away from the workpiece. Stop if you notice abnormal vibration, rubbing, noise, or wobble.
- Enter the cut gently. Bring the wheel to the marked line without impact or bouncing. Use light, steady pressure.
- Keep the wheel straight. Hold the disc approximately perpendicular to the cutting surface and follow the kerf without twisting or bending the wheel.
- Let the wheel do the work. Do not force a deep cut, rock the grinder sideways, or use the side of a cutting-only wheel for grinding.
- Control the final separation. Reduce pressure near the end and watch the offcut. Do not let it fall inward and pinch the wheel.
- Wait for a complete stop. Lift the wheel clear after the cut, switch the grinder off, and hold it securely until the disc stops before setting the tool down.
Warning: Never pull a moving cutoff wheel sideways out of a binding kerf. Never restart the grinder while the wheel remains inside the cut. Either action can cause kickback or wheel breakage.
After Finishing the Cut
Disconnect the grinder before touching the wheel, changing accessories, or inspecting the tool. Treat the workpiece and offcut as hot even if they do not glow. Mark or isolate hot metal so another person does not pick it up.
Inspect the wheel for chips, cracks, glazing, loading, distortion, or unusual wear. Check the work area, floor openings, wall openings, hidden cavities, and the opposite side of partitions for sparks or smoldering material. Workplaces may require a formal hot-work inspection or fire watch based on their rules and hazard assessment.
What to Do if the Cutoff Wheel Binds
Binding happens when the kerf closes, the wheel twists, the workpiece moves, the offcut drops, or the wheel meets an obstruction. A pinched wheel can stop suddenly and drive the grinder in the direction of kickback.
- Switch the grinder off immediately.
- Hold the tool still. Do not pull, twist, or lift the moving wheel out of the cut.
- Wait for the wheel to stop completely.
- Disconnect the power or remove the battery.
- Remove the wheel from the kerf only after it stops.
- Find and correct the cause. Re-clamp the work, reposition supports, clear the obstruction, or replace a damaged or incompatible wheel.
- Restart outside the workpiece. Let the wheel reach full speed before carefully re-entering the existing kerf.
Do not continue if the wheel has been bent, chipped, heavily side-loaded, or damaged during the bind. Replace it before making another cut.
Top 5 Mistakes to Avoid Using a Cutoff Wheel
- Using the wrong wheel, guard, or flanges. Match the wheel type, dimensions, arbor, material rating, maximum RPM, guard, and mounting hardware to the grinder manual.
- Using a damaged or unidentified wheel. Discard cracked, chipped, warped, expired, impact-damaged, or unreadable wheels.
- Forcing, twisting, or side-loading the disc. A cutoff wheel needs a straight kerf and light pressure. Use a grinding wheel for grinding.
- Working in the wheel plane or spark path. Position the guard and your body to reduce exposure to fragments, sparks, and kickback.
- Cutting unsecured or poorly supported material. Clamp the work and support both the main piece and offcut so the kerf cannot close.
Never fit a toothed saw blade, woodcarving chain attachment, oversized wheel, or worn-down wheel from a larger grinder unless the tool manufacturer expressly designed and approved that exact accessory for the model.
Keeping Your Cutoff Wheel in Top Shape
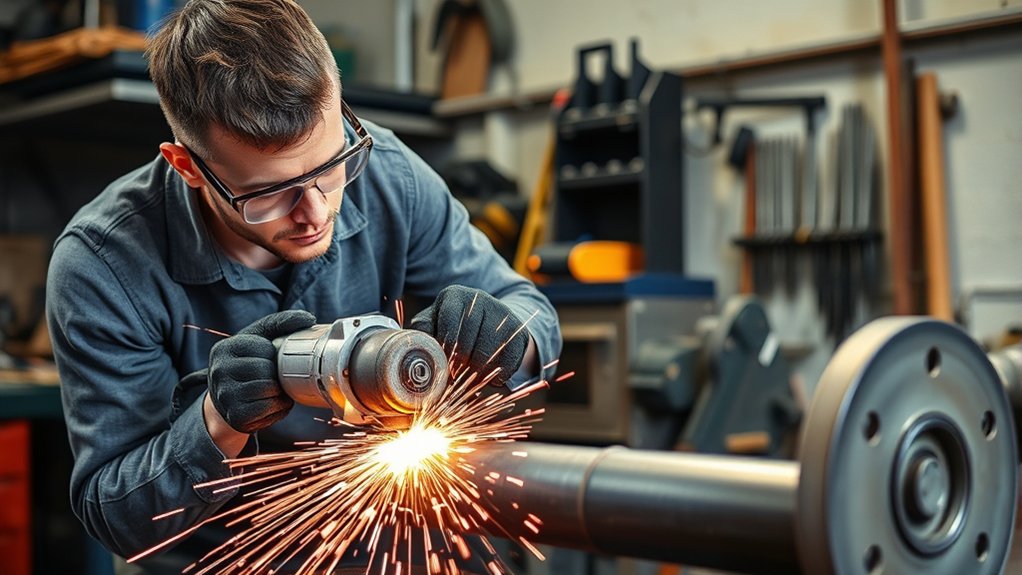
Handle cutoff wheels carefully before, during, and after use. Store them in the original packaging or a purpose-built rack that prevents bending and impact. Keep them dry and protect them from direct sunlight, extreme heat, freezing conditions, chemicals, and rapid temperature changes.
Use these habits to protect the wheels and grinder:
- Inspect before every use. Check both faces, the edge, center, label, and date marking.
- Protect wheels from impact. Do not toss them into a toolbox or stack heavy tools on top of them.
- Keep storage dry. Moisture can damage some bonded abrasive products.
- Keep labels readable. Without the label, you cannot verify speed, material, size, or application.
- Clean the grinder safely. Disconnect power and follow the tool manual for vent and housing cleaning. Do not direct dust toward your face or spread hazardous metal dust through the shop.
- Inspect after an incident. Stop and check the wheel after a drop, hard impact, bounce, bind, or abnormal vibration.
Do not continue using a loose wheel that has been dropped or struck. Damage can exist inside the bonded structure even when the surface defect is difficult to see.
When to Replace Your Cutoff Wheel
Replace a cutoff wheel immediately when you find a crack, edge chip, warp, damaged center, expired marking, unreadable label, heavy impact damage, or persistent vibration. Also replace it when wear reduces the diameter so far that the tool manual, guard, flange, or cutting depth no longer supports safe use.
Slow cutting does not always mean that the wheel is structurally damaged. Stop and check for these causes:
- The wheel is not rated for the material.
- A steel wheel is loading while cutting aluminum or another nonferrous metal.
- The wheel has become glazed, contaminated, or excessively worn.
- The grinder is overloaded, underpowered, damaged, or running on a weak battery.
- The cut is too deep for one pass.
- The workpiece is pinching the disc.
- Excess pressure or poor alignment is increasing friction.
Replace the wheel if it is damaged, loaded, glazed, expired, badly worn, or incompatible. Correct the setup or tool problem when the wheel itself is not the cause.
| Condition | Required Action |
|---|---|
| Crack, chip, warp, damaged center, or impact mark | Discard immediately |
| Unexplained vibration, wobble, or unusual noise | Stop, disconnect power, inspect the tool and wheel, and replace damaged parts |
| Unreadable speed or application label | Do not use the wheel |
| Past the manufacturer’s expiry or use-by marking | Discard according to the manufacturer’s instructions |
| Slow cutting with no visible damage | Stop and diagnose material compatibility, loading, support, tool power, and technique |
| Wheel worn below the tool’s usable size | Replace before further cutting |
Types of Cutoff Wheels and Their Uses
Wheel shape is only one part of selection. Read the full label for permitted applications, material, dimensions, arbor, speed, and restrictions.
- Type 1 flat cutoff wheels: These straight wheels are designed for peripheral cutting. Use them only with a grinder, cutting guard, and flange system approved for Type 1 wheels.
- Type 27 cutting or combination wheels: These have a depressed center. Use one for cutting only when the label specifically permits cutting and the grinder instructions approve that wheel shape and guard.
- Material-specific reinforced wheels: Select a wheel labeled for carbon steel, stainless steel, aluminum, or the other identified material. Stainless work may require an iron-free wheel to avoid contamination. Aluminum needs a wheel designed to resist loading.
- Small-diameter reinforced cutoff wheels: These serve small stock and confined areas when used on the specific die grinder, rotary tool, or cutoff tool for which they are rated. Their small size does not remove the need for guarding and speed compatibility.
A wheel labeled for steel is not automatically suitable for aluminum, stainless steel, masonry, plastic, or wood. Never use a wheel on a material or for an operation excluded by its label.
Products Worth Considering

Cut-off Wheels are reinforced with fiberglass for increased durability to cut, trim and groove into a variety of metals including hardened steel

Cut-off Wheels are reinforced with fiberglass for increased durability to cut, trim and groove into a variety of metals including hardened steel. Ideal for easily cutting or slotting bolts, screws or sheet metal, thin wood, ceramic and plastic.

【Superior Durability】 EZARC Cut-Off Wheels are reinforced with fiberglass for enhanced durability, making them ideal for cutting, trimming and grooving a wide range of materials, including hardened steel, bolts, screws, sheet metal, thin wood, aluminum and plastic.
Frequently Asked Questions
How do you safely use a cutoff wheel?
Use a wheel, guard, and flange set approved for your grinder. Inspect every part, wear impact-rated eye protection plus a face shield, clamp and support the workpiece, stand outside the wheel plane, and cut straight with light pressure. Stop immediately if the disc binds, vibrates, cracks, or becomes side-loaded.
What steps should you follow when using a grinder with a cutoff wheel?
Identify the material, clear the spark path, inspect the tool and wheel, mount the approved guard and flanges, clamp the work, put on PPE, perform the manual’s no-load test, and let the wheel reach full speed. Enter the cut gently, maintain a straight kerf, and wait for a complete stop before setting the tool down.
How do you install a cutoff wheel?
Unplug the grinder or remove its battery. Install the guard, backing flange, wheel, and locking flange exactly as the grinder manual shows. Confirm the arbor fit, wheel direction, dimensions, and maximum RPM. Tighten the nut as instructed, turn the wheel by hand to check clearance, and complete the required no-load test.
Will a cutoff wheel cut metal?
Yes. A reinforced abrasive cutoff wheel can cut metal when its label approves the material and its diameter, arbor, shape, and maximum RPM match the tool. Use a material-specific wheel and make a straight cut without side pressure.
Can you grind with a cutoff wheel?
Do not grind with a cutting-only wheel. Thin cutoff wheels are designed for force at the outer edge, and side pressure can make them crack or shatter. Grinding is permitted only when the wheel is specifically labeled as a combination cut-and-grind product and the tool instructions approve that use.
Can you use a normal grinding guard with a cutoff wheel?
Only when the grinder manufacturer approves that guard for the selected wheel. Many flat Type 1 cutoff wheels require a more enclosed cutting guard. Check the grinder manual rather than assuming that a standard open grinding guard provides enough protection.
What should you do when a cutoff wheel binds?
Switch the grinder off and hold it still until the wheel stops. Do not pull a moving wheel from the kerf. Disconnect power, correct the support or obstruction problem, and inspect the wheel. Restart outside the workpiece, reach full speed, and carefully re-enter the cut.
Can you cut painted or galvanized metal with a cutoff wheel?
The wheel may physically cut it, but the coating can create hazardous dust or fumes. Identify the coating first, use ventilation or local exhaust, and follow the required exposure controls. Do not proceed when the coating is unknown or may contain lead, cadmium, or another hazardous substance.
Safety Disclaimer
Safety Disclaimer: This article provides general information and does not replace professional training, a workplace hazard assessment, the grinder and wheel manuals, safety data sheets, employer procedures, or applicable regulations. Cutting coated metal, containers, combustible metals, pressurized systems, structural components, or material in confined or explosive locations may require qualified personnel and specialized controls.
Conclusion
A safe metal cut starts with identifying the workpiece and choosing a wheel, guard, and flange set that the grinder manufacturer approves. Inspect every component, clear the spark path, clamp and support the work, and keep your body outside the wheel plane. Let the wheel cut with light pressure and straight travel.
Stop instead of forcing the tool when the wheel binds, vibrates, smokes, or stops cutting normally. Wait for a complete stop before removing it from the kerf, correct the cause, and replace any questionable wheel. Careful setup takes longer than skipping a check, but it gives you better control and greatly reduces avoidable fire, kickback, exposure, and wheel-breakage hazards.
Sources
- OSHA 1910.243: Guarding of Portable Powered Tools — abrasive-wheel guarding and portable grinder requirements
- OSHA 1910.133: Eye and Face Protection — protection from flying particles and side-impact hazards
- OSHA 1910.134: Respiratory Protection — ventilation, respirator selection, and respiratory-protection programs
- OSHA 1910.252: General Cutting and Fire-Prevention Requirements — combustibles, fire control, explosive atmospheres, and used containers
- DeWALT DWE402 Series Instruction Manual — wheel speed, inspection, guards, flanges, no-load testing, binding, and kickback
- NIOSH: Understanding Your Risk for Lead Exposure — lead dust created by cutting or grinding coated metal