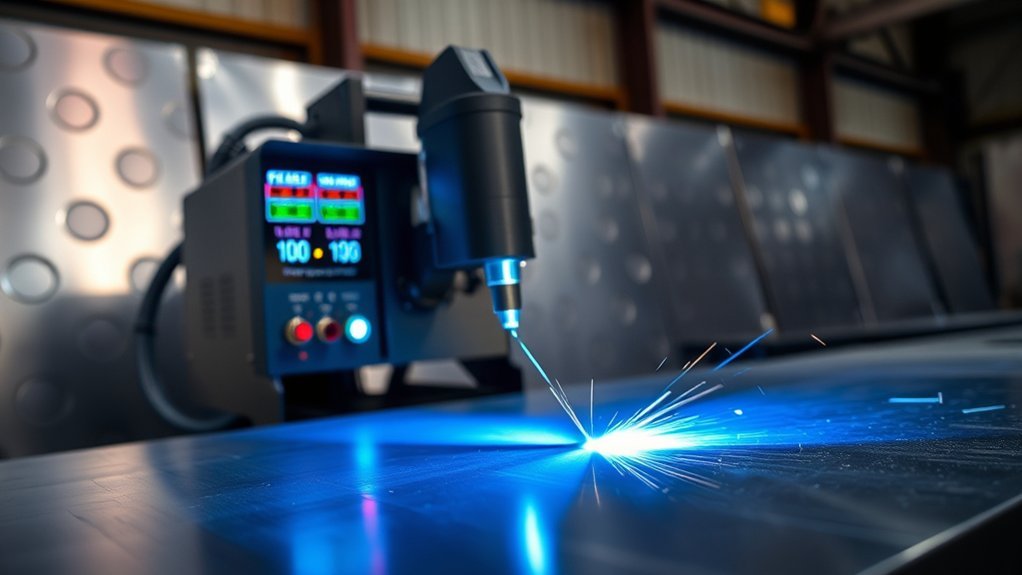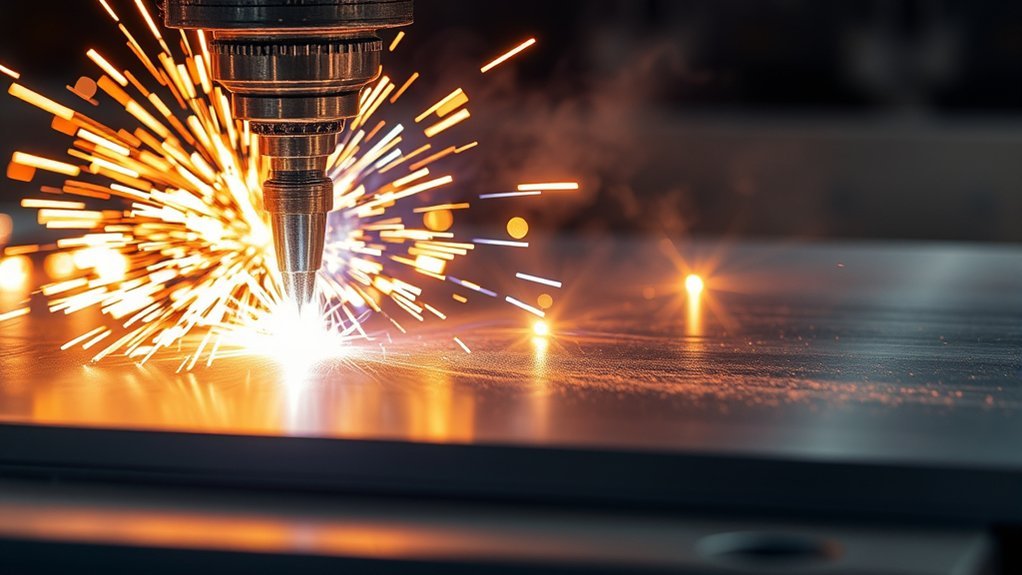
Aluminum cuts quickly with plasma, but it also moves heat through the workpiece quickly. The wrong amperage, travel speed, torch height, gas, or consumable can leave heavy dross, a wide kerf, warped sheet, or an incomplete cut. The safest way to dial in clean aluminum cuts is to begin with the exact cut chart for your machine and then test on scrap from the same alloy and thickness.
Quick Answer
Match the plasma process to the aluminum thickness using your manufacturer’s cut chart. Thin sheet needs controlled current and fast travel; thicker plate needs more output, slower travel, and often an edge start. Use the specified consumables, gas, cut height, pierce height, and speed, then confirm the setup with a scrap test.
Key Takeaways
- There is no universal amperage chart for every plasma cutter; use the chart for your exact power supply, torch, consumables, gas, and cutting method.
- Travel speed often changes more than amperage as thickness changes, so judge the sparks, dross, kerf, and edge angle together.
- Pierce capacity is usually lower than edge-start cutting capacity, especially on thick aluminum.
- Clean, dry gas and unworn consumables are essential for repeatable edge quality.
- Aluminum and water can generate trapped hydrogen; never use a water table without an aluminum-specific risk assessment and hydrogen-control system.
At a Glance
| Time Required | About 10–20 minutes for setup and test cuts, plus the cutting time for the part |
| Difficulty | Intermediate; beginners should practice on scrap before cutting finished parts |
| Tools Needed | Plasma cutter, correct torch consumables, approved gas supply, work clamp, supports or cutting table, measuring tools, PPE, and scrap aluminum |
| Cost | Low if you already own the equipment; nitrogen, multi-gas systems, replacement consumables, and fume control add cost |
What’s in This Article
- Understanding Aluminum’s Melting Point and Properties
- Aluminum Plasma Cutter Settings at a Glance
- Why Amperage Settings Matter for Aluminum Plasma Cutting
- Techniques for Cutting Thin Aluminum Sheets
- Handling Medium-Thickness Aluminum
- Strategies for Cutting Thick Aluminum Plates
- Selecting the Right Plasma Cutter for Aluminum
- Best Practices for Clean Cut Edges
- Common Mistakes That Cause Poor Aluminum Cuts
- Troubleshooting Aluminum Plasma Cuts
- Gas Selection for Aluminum Plasma Cutting
- Safety Precautions and Considerations
- Frequently Asked Questions
- Conclusion
Understanding Aluminum’s Melting Point and Properties
Pure aluminum has a freezing and melting point of about 660°C (1220°F). Aluminum alloys melt across a range that depends on their composition. Melting point alone does not determine plasma settings, however. Aluminum also conducts heat well, so heat can spread away from the arc and into the sheet or plate.
That combination creates two problems. Thin sheet can distort when heat builds faster than it can be carried away, while thick plate can draw heat away from the cut and require more arc energy or slower travel. Alloy, thickness, plate temperature, torch design, gas, consumables, table motion, and cut sequence all affect the result.
Start with the cut chart for your exact machine. Then make test cuts on scrap from the same alloy, temper, thickness, and surface condition as the finished part. A setting that works on clean 5052 sheet may not produce the same edge on thick 6061 plate or painted material.
Note: Plasma cutting does not normally require preheating. Adding heat before the cut can increase distortion. Preheat only when an approved procedure or the equipment manufacturer specifically calls for it.
Aluminum Plasma Cutter Settings at a Glance
Do not treat a generic thickness-to-amperage table as a substitute for your manual. Two machines with the same maximum amperage can use different torches, nozzle designs, gas flows, duty cycles, and rated capacities. The manufacturer’s chart should give you the following values:
| Setting | Why It Matters |
|---|---|
| Amperage and consumable set | The nozzle, electrode, shield, and current must be designed to work together. |
| Plasma and shield gas | Gas choice changes arc energy, edge finish, oxidation, cost, and safety requirements. |
| Cut height | Incorrect standoff changes bevel, kerf, arc stability, and consumable wear. |
| Pierce height and delay | A higher pierce position helps keep molten blowback away from the nozzle. |
| Travel speed | Speed controls arc lag, dross, heat input, and whether the arc fully penetrates. |
| Rated pierce and edge-start thickness | A machine may cut thicker material from an edge than it can safely pierce in the middle. |
A real cut chart shows why broad rules can mislead. In the Hypertherm Powermax45 mechanized 45-amp air chart, the same 45-amp process lists a best-quality speed of 170 inches per minute for 1/8-inch aluminum, 70 IPM for 1/4 inch, 36 IPM for 3/8 inch, and 21 IPM for 1/2 inch. The 1/2-inch row calls for an edge start. Those numbers are examples for that torch and consumable set, not universal settings for another plasma cutter.
Amperage is only one part of the process. A correct aluminum cut also depends on the matching consumables, gas, height, pierce method, and travel speed.
Why Amperage Settings Matter for Aluminum Plasma Cutting
Proper amperage settings help control heat input, kerf width, dross, and edge finish. If the selected process does not supply enough energy for the thickness and speed, the arc can lag, spray back toward the torch, or fail to cut through. Too much current with the wrong nozzle, or too much heat from slow travel, can widen the kerf, round the top edge, increase dross, and distort the sheet.
- Match the full process: Select the amperage and the exact consumables listed for the aluminum thickness.
- Separate current from speed: Many machines use one amperage process across several thicknesses and change travel speed instead.
- Respect consumable ratings: Never run a low-amperage nozzle above its rating. The orifice can deform and the arc can lose focus.
- Stay within duty cycle: Thick or long cuts may require full output for extended periods, so confirm that the machine can sustain the work without overheating.
Use amperage as one setting in a complete process. Clean cuts come from balancing power, speed, torch height, gas flow, material support, and consumable condition.
Techniques for Cutting Thin Aluminum Sheets
Thin aluminum needs controlled heat and steady motion. Clamp or support the sheet so it cannot vibrate or lift, but do not restrain it so tightly that thermal expansion forces it to buckle. Use the lowest approved current process that gives full penetration and a consumable designed for a narrow kerf.
Plan the cut sequence before you start. On nested parts, cut small internal features before outside profiles. Spread cuts around the sheet instead of concentrating heat in one area, and leave enough support so finished pieces do not tip into the torch path.
Precision and Cut Quality
Precision starts with a stable arc and consistent torch position. Keep a hand torch square to the surface, or verify that the machine torch is perpendicular to the table. Use a straightedge, circle guide, or CNC motion when the part needs repeatable dimensions.
- Adjust cutting speed: Move too fast and the arc may trail sharply or fail to penetrate. Move too slowly and the kerf can widen while low-speed dross forms underneath.
- Control torch height: Use the specified drag shield or standoff. Do not drag a bare nozzle that is designed to run above the work.
- Account for kerf: Offset the cut path so the finished dimension remains on the correct side of the kerf.
- Make test cuts: Tune the process on scrap before cutting the finished part.
Proper Amperage Settings
Do not assume all aluminum up to 1/4 inch belongs in a 20–30 amp range. Some systems offer low-current or fine-cut consumables for thin sheet, while others specify 40 or 45 amps for the same thickness. Install the consumable set listed in your manual and start at the chart speed.
Watch the sparks as you cut. They should pass through the plate and trail slightly behind the torch. Sparks that shoot back toward the torch usually mean the speed is too high, the current is too low for the process, the gas flow is poor, or the arc has not fully transferred.
A good test coupon should separate easily, show a consistent kerf, and have dross that is light or easy to remove. Measure the part after it cools because thin aluminum can move as heat leaves the sheet.
Gas and Nozzle Choice
Clean, dry compressed air is economical and works well on many hand-held air-plasma systems. Higher-end dual-gas systems may use nitrogen for improved aluminum edge quality. Use only gases, regulators, hoses, and pressure ranges approved for your torch and power supply.
- Gas supply: Drain the compressor and use filtration or drying equipment required by the manufacturer. Oil or moisture can shorten consumable life and destabilize the arc.
- Nozzle type: Match the nozzle, electrode, swirl ring, shield, and current setting.
- Fine-cut options: Use a fine-cut or low-current process only when your torch manufacturer provides one for aluminum.
- Standoff: Follow the manual. Many hand systems use a drag shield or a short standoff, but the correct distance is torch-specific.
Pro Tip: Record the alloy, thickness, consumable part numbers, gas, current, cut height, pierce height, speed, and final result for every successful test. A simple shop log saves time when the same material returns.
Handling Medium-Thickness Aluminum
Medium-thickness aluminum is often described as roughly 1/4 to 1/2 inch, but the usable range depends on the machine. This material needs more arc energy than thin sheet while still being sensitive to slow-travel heat buildup.
A 40-, 45-, 60-, or 65-amp process may be listed for part of this range, depending on the torch. Do not choose the setting from the machine’s maximum output alone. Use the chart row for the actual aluminum thickness and verify whether the cut can be pierced or must begin at an edge.
Optimal Amperage Settings
The correct current is the one paired with the correct consumables and speed in the cut chart. Set gas pressure or flow as directed, attach the work clamp to clean conductive metal, and begin with new or known-good consumables.
- Start at chart speed: Change speed in small steps after the first test instead of making a large amperage change.
- Use the specified cut height: Excess height can increase bevel and reduce arc energy at the plate.
- Use pierce height and delay: On mechanized systems, start above cut height and wait only as long as the chart requires before motion begins.
- Inspect both sides: The top edge, bottom dross, bevel, and spark direction give different clues about the process.
Heavy dross does not automatically mean the amperage is too low. It can come from low speed, high speed, incorrect height, poor gas, worn consumables, or material that exceeds the process rating.
Choosing Correct Equipment
Choose a plasma cutter with a recommended cut rating above the thickness you cut most often. If most cuts begin with a pierce rather than an edge start, compare the machine’s pierce rating, not just its maximum or severance rating.
For medium aluminum, useful features include low- and full-current consumable options, automatic gas regulation, a clear aluminum cut chart, adequate duty cycle, readily available consumables, and stable input power. CNC users should also consider torch height control, arc-voltage support, and a machine interface.
Replace worn nozzles and electrodes before they damage accuracy. A nozzle with an oval or enlarged orifice can create a wandering arc, uneven bevel, and a wider kerf even when every control setting is correct.
Strategies for Cutting Thick Aluminum Plates
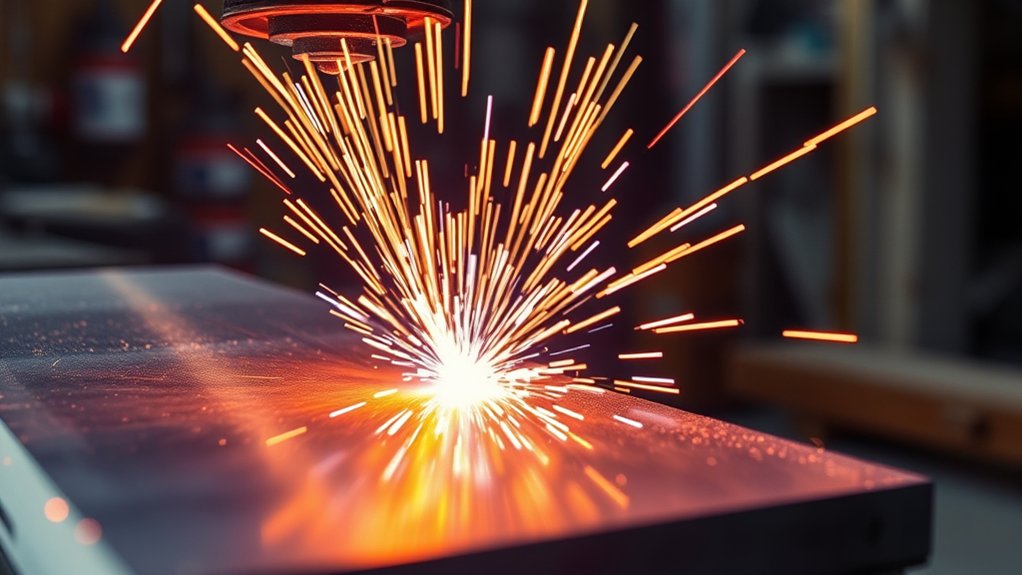
Cutting thick aluminum plate requires enough output, slower travel, proper gas, and careful pierce control. A high-output hand system may cut material that a small unit can only sever roughly, while industrial multi-gas systems can pierce and cut much thicker plate with controlled motion.
Do not use a fixed rule such as “100 amps equals 1 inch.” Rated capacity varies by manufacturer, torch voltage, consumable design, gas process, cut-quality target, and whether the cut starts at an edge. Check the aluminum capacity, not a rating stated only for mild steel.
- Prefer an edge start when required: Position the torch near the plate edge and let the arc establish before moving into the cut.
- Use the listed travel speed: Thick plate is slower, but moving too slowly can still create a wide kerf and heavy low-speed dross.
- Protect the torch during piercing: Use the specified pierce height and delay so molten aluminum does not blow back into the shield and nozzle.
- Support the plate: Leave space for the plasma jet and molten metal to exit without reflecting back into the cut.
- Plan lead-ins and cut direction: Keep the best edge on the part side and avoid starting directly on a critical finished edge when possible.
Industrial systems may use argon-hydrogen plasma with nitrogen shielding on thick aluminum. This is not a shop-air substitution. Use hydrogen-containing mixtures only in equipment built and approved for that process.
Note: “Recommended cut,” “quality cut,” “maximum cut,” “severance,” and “pierce” are not interchangeable ratings. A severance cut may separate the plate but leave an edge that needs substantial machining or grinding.
Selecting the Right Plasma Cutter for Aluminum
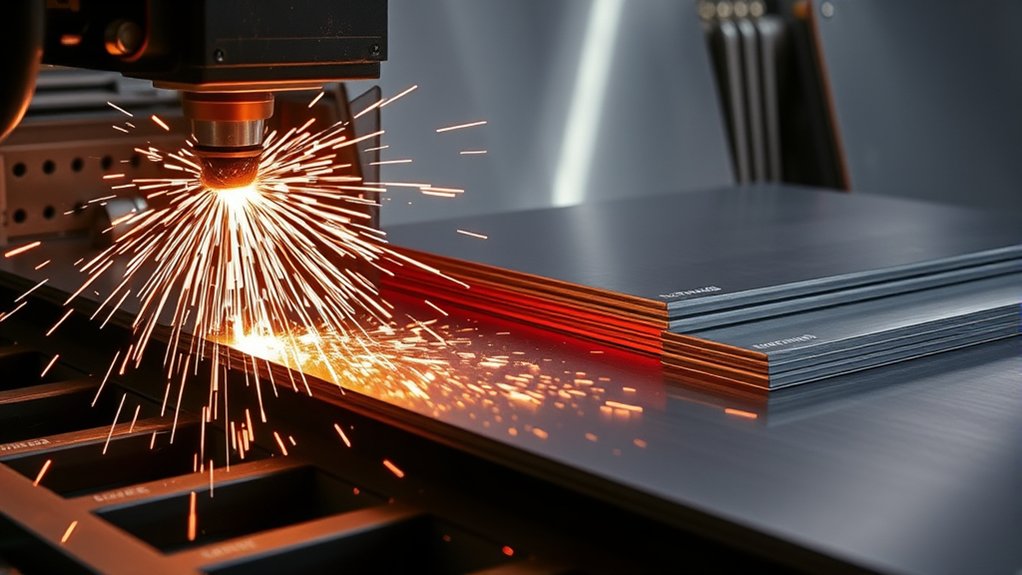
When choosing a plasma cutter for aluminum, compare the manufacturer’s aluminum cut chart and process support, not only the headline steel capacity. Aluminum conducts heat differently, and the same machine may list different speeds, pierce limits, and edge quality for different metals.
- Thickness and quality target: Size the machine for the thickest aluminum you need to cut cleanly on a regular basis.
- Pierce requirement: Select more capacity when most parts start inside the plate instead of at an edge.
- Duty cycle: Long production cuts demand more continuous output than occasional short hand cuts.
- Air and gas supply: Confirm required flow, pressure, purity, filtration, and cylinder or compressor capacity.
- Consumables: Look for approved low-current, drag, machine, or fine-cut options that fit your work.
- Input power: Verify voltage, phase, breaker, conductor size, and generator requirements before purchase.
- CNC compatibility: Mechanized work may need a machine torch, remote start, divided arc voltage, and automatic torch height control.
Inverter-based plasma cutters can provide compact size and stable output, but inverter technology alone does not guarantee a clean aluminum edge. The cut chart, torch process, consumable availability, service support, and real rated capacity matter more.
Products Worth Considering
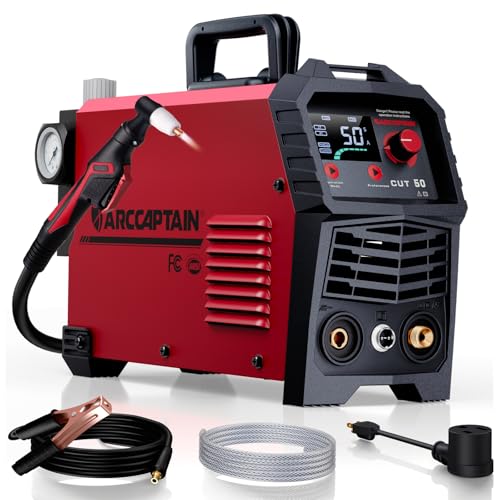
【Powerful Cutting Ability】Switch effortlessly between 110V and 220V for home or workshop use. Achieve professional 1/2" clean cuts on steel, aluminum, and copper with advanced LGBT technology. Perfect for DIY projects and heavy-duty tasks. Recommended maximum cutting thickness: 12mm @ 35A / 110V / 55 PSl; 18mm @ 50A / 220V / 75 PSI. Note: Requires compressed air (compressor sold separately).

POWERFUL CUTTING THICKNESS: This plasma cutter handles 1/2" (12mm) steel at 120V/35A and 5/8" (16mm) at 240V/60A. Dual voltage auto-detection (10-35A@120V / 30-60A@240V) with PSI guidance (70-75 PSI / 0.48-0.52MPa). Optimized for quick, efficient cuts in automotive repairs and metal fabrication

NON-HIGH FREQUENCY: The ''blow-back'' start system offers a remarkably smooth and interference-free initiation of the engine. This method is inherently safe for operators and bystanders, posing minimal risk to human health. Furthermore, it operates harmoniously with surrounding electrical machinery, preventing potential disruptions.
Best Practices for Clean Cut Edges
The cleanest edges come from balanced settings and a repeatable setup. Follow the aluminum row in the manual, then change one variable at a time. If you change current, speed, height, and gas together, you will not know which adjustment improved or damaged the cut.
- Prepare the surface: Remove oil, moisture, heavy oxide, adhesive, and coatings from the cut path and work-clamp area.
- Install the correct consumables: Confirm every part number and inspect the nozzle opening and electrode before a critical cut.
- Square the torch: A tilted torch can create opposite bevels on the two sides of the kerf.
- Use the correct direction: On many conventional torches, the squarer edge is on the right side of travel. Cut outside profiles clockwise and inside features counterclockwise when your torch manual confirms that convention.
- Control heat sequence: Cut holes and small internal features first, distribute cuts across the sheet, and avoid long pauses in one spot.
- Finish correctly: Remove dross with a scraper or abrasive suited to aluminum, and prepare plasma-cut edges as required before welding or coating.
For hand cutting, support your torch hand and move in one steady pass. For CNC cutting, verify acceleration, corner speed, lead-in length, kerf compensation, torch height control, and the condition of slats or supports.
Common Mistakes That Cause Poor Aluminum Cuts
Many poor aluminum cuts come from the process setup rather than a weak power supply. Avoid these common mistakes:
- Using a generic online amperage range instead of the machine’s aluminum cut chart
- Running a nozzle above its rated amperage
- Cutting too slowly and blaming the resulting dross on low power
- Dragging a nozzle that requires a standoff or using a standoff when a drag shield is intended
- Trying to pierce material that requires an edge start
- Using wet or oily compressed air
- Continuing with a damaged nozzle, deeply pitted electrode, or wrong shield
- Clamping to painted, oxidized, or dirty metal
- Skipping test cuts before cutting a finished part
- Cutting coated or contaminated aluminum without checking the fume hazard
Troubleshooting Aluminum Plasma Cuts
| Problem | Likely Causes | What to Check First |
|---|---|---|
| Incomplete cut or sparks spraying back | Travel too fast, insufficient current for the selected process, poor work connection, low gas flow, or worn consumables | Return to chart settings, clean the clamp point, verify gas supply, and inspect consumables |
| Heavy bottom dross | Travel too slow or too fast, incorrect height, wrong consumables, or material beyond the process rating | Compare the dross and spark angle with a test cut at chart speed, then adjust speed in small steps |
| Wide kerf or rounded top edge | Too much heat, excessive standoff, slow travel, or an enlarged nozzle orifice | Confirm cut height, speed, nozzle rating, and nozzle condition |
| Uneven bevel | Torch not square, incorrect direction, worn consumables, unstable height, or table motion problems | Square the torch and compare opposite sides of a straight test cut |
| Sheet warping | Slow travel, excess current, poor cut sequence, inadequate support, or too much heat concentrated in one area | Use the approved lower-current process, increase speed within chart limits, and spread cuts across the sheet |
| Short consumable life | Wet or oily gas, piercing too close, wrong part combination, excessive starts, or nozzle contact | Check air quality, pierce height, consumable part numbers, and torch technique |
The Hypertherm cut-quality troubleshooting process recommends checking the selected process, consumables, torch alignment, height, gas, speed, and cutting direction as a system rather than chasing one setting.
Gas Selection for Aluminum Plasma Cutting
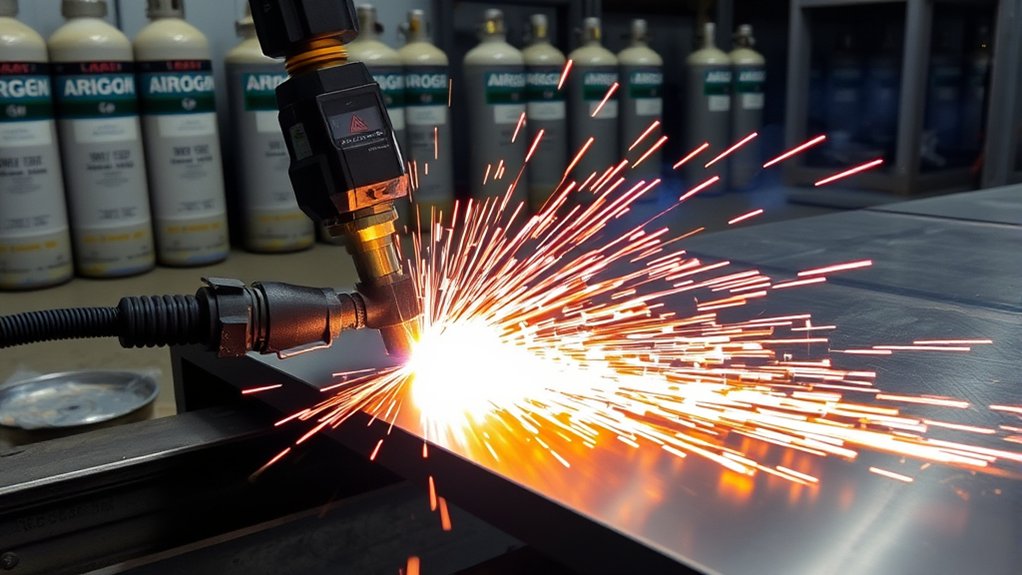
Selecting the right gas for aluminum plasma cutting affects cut speed, edge finish, oxidation, consumable life, and cost. The correct choice depends on whether the machine is an air-plasma hand system or an industrial dual-gas system.
- Clean, dry air: The practical and economical choice for many portable and hand-held plasma cutters. Use the pressure and flow listed in the manual.
- Nitrogen: Common on dual-gas systems for better aluminum cut quality, especially on thinner material. Hypertherm recommends nitrogen-based processes for several aluminum thickness ranges when the system supports them.
- Nitrogen with water shield: Available on some mechanized systems and capable of a smooth edge, but it requires equipment designed for the process and strict hydrogen-risk controls.
- Argon-hydrogen with nitrogen shield: Used by approved industrial systems for thick aluminum. It is not suitable for an air-only torch and must never be improvised.
The Hypertherm gas-selection guide describes air as economical for aluminum, nitrogen-based processes as useful for cut quality, and argon-hydrogen as a thick-material process for systems equipped to use it safely.
Warning: Never connect nitrogen, hydrogen-containing gas, or any alternate gas to a plasma cutter unless the manufacturer approves that exact process. Incorrect gas can damage equipment, create unstable cutting, or introduce fire, explosion, and asphyxiation hazards.
Products Worth Considering

𝟳-𝗜𝗡-𝟭 𝗠𝗨𝗟𝗧𝗜𝗣𝗥𝗢𝗖𝗘𝗦𝗦 𝗪𝗘𝗟𝗗𝗘𝗥: The RB360 multifunction welder integrates Gas MIG, Flux Core, Stick, LIFT TIG, Plasma Cutting, Spot Welding, and Aluminum welding. Takes up minimal bench space, leaving you plenty of room to maneuver large farm equipment or vehicle parts.

𝟳-𝗜𝗡-𝟭 𝗠𝗨𝗟𝗧𝗜𝗣𝗥𝗢𝗖𝗘𝗦𝗦 𝗪𝗘𝗟𝗗𝗘𝗥: The RB360 multifunction welder integrates Gas MIG, Flux Core, Stick, LIFT TIG, Plasma Cutting, Spot Welding, and Aluminum welding. It's the ultimate space-saving solution for garage hobbies and farm repairs.

𝟳-𝗜𝗡-𝟭 𝗠𝗨𝗟𝗧𝗜𝗣𝗥𝗢𝗖𝗘𝗦𝗦 𝗪𝗘𝗟𝗗𝗘𝗥: The RB360 multifunction welder integrates Gas MIG, Flux Core, Stick, LIFT TIG, Plasma Cutting, Spot Welding, and Aluminum welding. It's the ultimate space-saving solution for garage hobbies and farm repairs.
Safety Precautions and Considerations
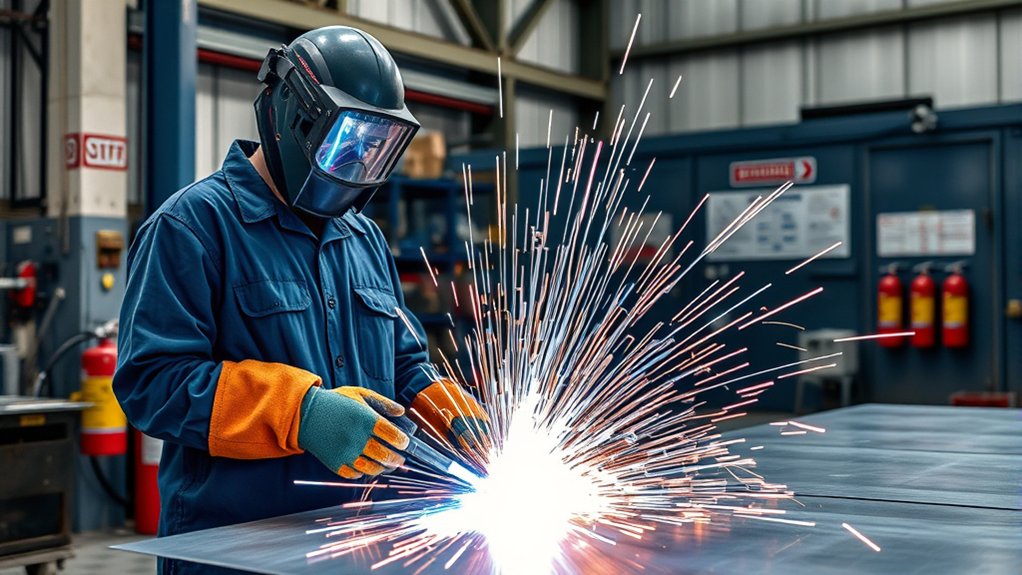
Plasma cutting aluminum exposes you to electric shock, ultraviolet and infrared radiation, noise, hot metal, sparks, compressed gas, sharp edges, and airborne metal fume. Read the operator manual and complete a job-specific hazard assessment before striking an arc.
- Wear eye and face protection: Use a cutting shield or helmet with the shade required by the manual. OSHA lists shade 8 as the minimum for plasma arc cutting below 300 amps when the arc is clearly visible; a darker shade may be more comfortable.
- Protect skin and hearing: Wear flame-resistant clothing, heat-resistant gloves, hearing protection, and sturdy closed footwear. Use safety glasses with side protection under a face shield or helmet.
- Control fumes at the source: Use local exhaust or a properly designed downdraft system. Keep your head out of the plume and do not assume an open door or outdoor location provides enough protection.
- Clean the work safely: Remove coatings, oils, solvents, adhesives, and unknown contamination from the heat-affected area. Check the safety data sheet before cutting coated material.
- Make a sound electrical connection: Attach the work clamp to clean metal and inspect leads, torch parts, and insulation. Do not touch live parts or cut in wet conditions.
- Remove fire hazards: Clear combustibles, shield nearby areas from sparks, keep a suitable extinguisher available, and use a fire watch when the work can ignite hidden material.
- Handle cylinders correctly: Secure cylinders upright, protect valves, use the correct regulator, separate incompatible gases, and check connections with an approved leak-detection method.
OSHA’s welding-fume guidance includes plasma cutting because the process melts metal and creates airborne metal fume. Local exhaust should capture contaminants near the source, and respiratory protection may be required when ventilation and work practices do not control exposure.
Warning: Aluminum cutting on or under a water table can generate hydrogen that becomes trapped beneath the plate and detonates. Do not cut aluminum with water unless the table manufacturer and plasma manufacturer have approved an aluminum-specific design and risk-control plan. Never cut aluminum-lithium alloys in the presence of water.
Confined spaces need a formal entry and ventilation plan. Argon, nitrogen, and other gases can displace oxygen without warning. Do not enter or cut in a tank, vessel, pit, or other enclosed area unless qualified personnel have evaluated the atmosphere and provided the required controls.
Frequently Asked Questions
How Thick Can a Plasma Cutter Cut Aluminum?
Capacity depends on the machine, torch, gas, consumables, and whether you need a quality cut, pierce, edge start, or severance. Portable systems may handle sheet and plate, while industrial systems can cut aluminum several inches thick from an edge. Use the manufacturer’s aluminum rating rather than a steel-only capacity claim.
What Are the Settings for Plasma Cutting Aluminum?
Select the aluminum row in your machine’s cut chart. It should specify amperage, consumables, gas, cut height, pierce height, pierce delay, speed, and sometimes arc voltage. Start there and make small speed or height adjustments after a test cut on matching scrap.
How Thick Can a 100 Amp Plasma Cutter Cut?
Amperage alone cannot answer this question. One 100-amp-class system may rate a clean cut near 1 inch, while another may list a different aluminum pierce or severance capacity. Check the current model’s aluminum chart and distinguish recommended cut, pierce, edge-start, and severance ratings.
Can You Cut Aluminum With a Plasma Cutter?
Yes. Plasma cuts any electrically conductive metal, including aluminum. Clean results require the right consumables, gas, height, speed, work connection, and machine capacity for the thickness.
Why Does Aluminum Warp During Plasma Cutting?
Aluminum warps when heat builds unevenly and the sheet expands and contracts. Use the approved lower-current process, maintain the correct speed, support the sheet, distribute cuts across the work, and cut internal features before outside profiles.
Is Air or Nitrogen Better for Plasma Cutting Aluminum?
Clean, dry air is economical and works well in machines designed for air plasma. Nitrogen can improve edge quality in approved dual-gas systems. Use the gas named in your cut chart; do not substitute gases in an air-only machine.
Can You Plasma Cut Aluminum on a Water Table?
Only with an aluminum-specific table design and a documented method that prevents hydrogen accumulation. Trapped hydrogen can explode. Follow the table and plasma manufacturers’ instructions, and never cut aluminum-lithium alloys in the presence of water.
Do You Need Special Consumables for Aluminum?
Many air-plasma systems use their standard cutting consumables for aluminum, while some torches offer fine-cut, low-current, mechanized, or multi-gas sets. Use only the complete consumable combination listed for your torch, gas, and amperage.
Conclusion
Clean aluminum plasma cuts come from matching the complete process to the material. Start with the manufacturer’s aluminum cut chart, install the correct consumables, confirm clean gas and a sound work connection, and test the listed speed and height on matching scrap. Treat pierce capacity separately from edge-start capacity, control heat with a planned cut sequence, and stop to troubleshoot worn consumables or poor gas instead of compensating with random amperage changes. Above all, control fumes and never use water around aluminum cutting without an approved hydrogen-mitigation plan.
Sources
- The Aluminum Association: Fire Safety of Aluminum Alloys — aluminum melting point and heat behavior
- Hypertherm: Plasma Cutting Aluminum — cut-chart use, gas processes, and water-table hazards
- Hypertherm: Powermax45 Aluminum Cut Charts — machine-specific speed, height, pierce, and kerf examples
- Hypertherm: Improve Plasma Cut Quality — troubleshooting process variables and cutting direction
- Miller Electric: Plasma Cutting Tips — standoff, consumable care, travel speed, and test-cut guidance
- OSHA: Controlling Hazardous Fume and Gases During Welding — plasma-cutting fume hazards and ventilation controls