Powermax105 Consumables Kit Overview and Setup Guide
Your Powermax105 can cut well only when you install the right consumables in the right order. You need to confirm kit compatibility, inspect each part, and match the stack to your torch type before you cut. This guide shows you how to choose, install, maintain, and replace Powermax105 consumables with fewer cut problems.
What’s in This Article
- Kit Overview and Compatibility
- Essential Part Numbers and Components
- Handheld vs. Mechanized Options
- Air Filtration and Drying Best Practices
- Installation and Setup Checklist
- Expected Pierce Counts and Replacement Timing
- Performance Tips for Cut Quality and Durability
- Where to Buy and Regional Availability
- Frequently Asked Questions
Quick Answer
For a Powermax105, match the consumables to the torch type, amperage, and cutting process. Confirm kit numbers such as 228849, 851471, and 851472 before ordering, then install the electrode, nozzle, retaining cap, and deflector or shield in the correct order. Clean, dry air and regular inspection help you keep arc starts stable and cut quality consistent.
Key Takeaways
- Match each consumable kit to your Powermax105 torch type before you cut.
- Use the correct nozzle, electrode, retaining cap, and shield or deflector for the process.
- Keep compressed air clean and dry to reduce sputter, dross, and early wear.
- Track pierce counts and cut quality so you replace parts before failure.
- Buy through authorized channels when you need genuine parts and regional support.
Kit Overview and Compatibility
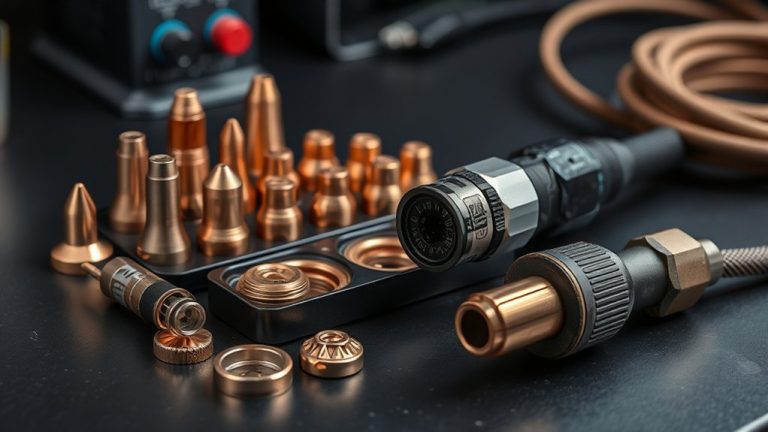
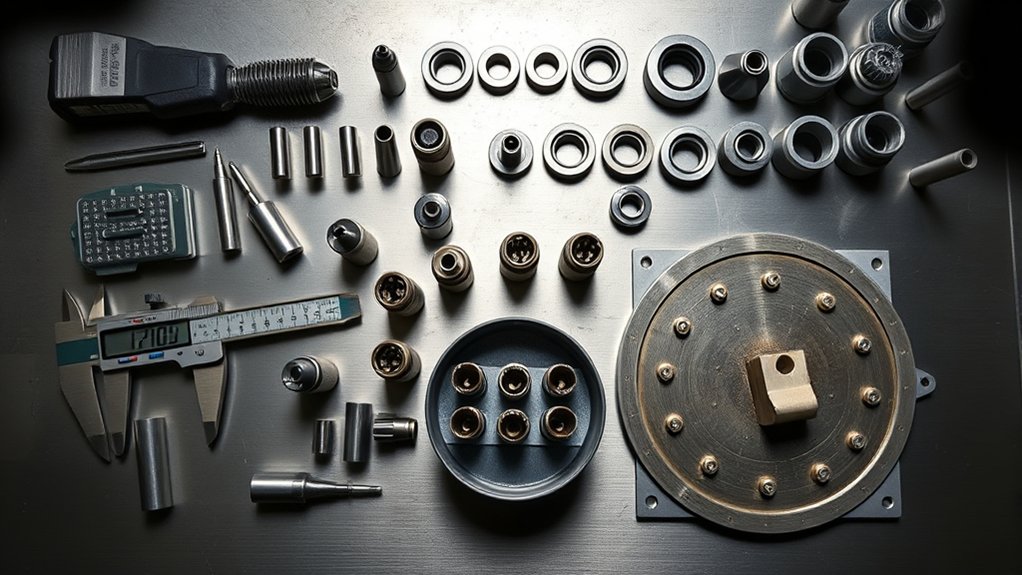
The Powermax105 consumables kit supports 105 amp handheld cutting when you need stable arcs, clean cut edges, and steady consumable life. You should use it for production-style handheld work where arc stability, cut quality, and duty cycle matter.
The kit includes parts such as CopperPlus electrodes, nozzles, retaining caps, and deflectors or shields, depending on the kit type. CopperPlus electrodes work best when you cut steel up to 12 mm (1/2 inch), based on the article details. This helps reduce tip changes and limits downtime.
A deflector supports unshielded cutting when tight access matters. An ohmic retaining cap helps with surface sensing on systems that use ohmic torch height control.
You gain system versatility when you standardize compatible consumables across Powermax platforms such as 65, 85, 105, or 125 models. Still, you should verify each part number against your torch and process before use.
Match the kit to handheld torches when you need clean kerfs, controlled dross, and predictable wear. Source parts through authorized distributors when you need genuine parts, current availability, and local support.
Use this kit when you need predictable performance, easier stocking, and repeatable handheld cut results.
Essential Part Numbers and Components
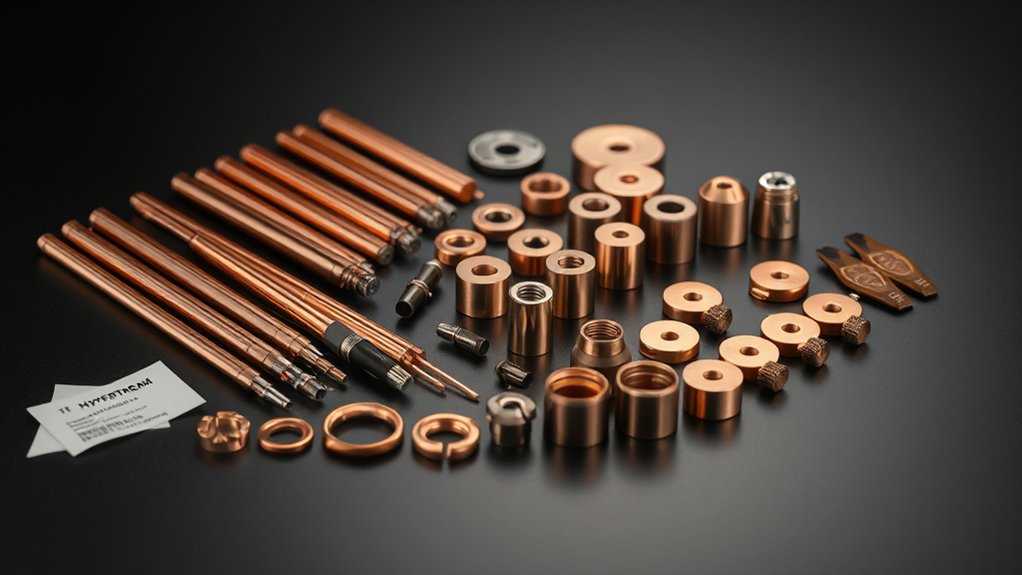
You should track key components such as CopperPlus electrodes, ohmic retaining caps, and nozzles with the correct amperage rating. This keeps your ordering process clear and reduces setup mistakes.
Use key part numbers such as 228849 for the starter kit, 851471 for the handheld kit, and 851472 for the mechanized kit. The article also lists nozzle 220819 for 65 amp drag cutting and nozzle 220816 for 85 amp cutting.
Check torch type and amperage before you install any part. This helps you prevent misfires, early wear, and poor cut quality.
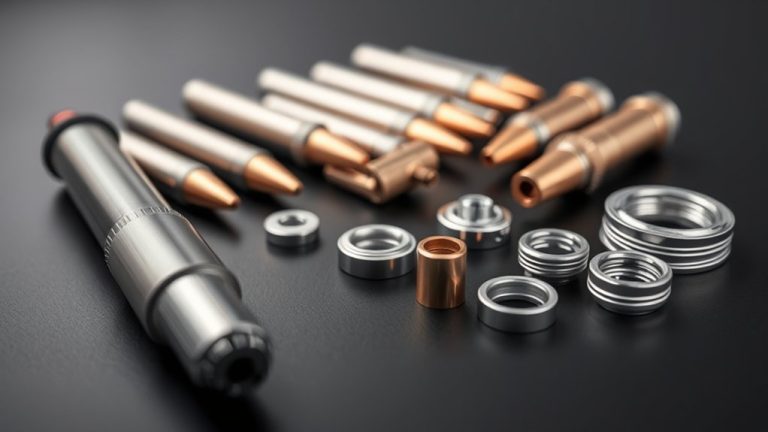
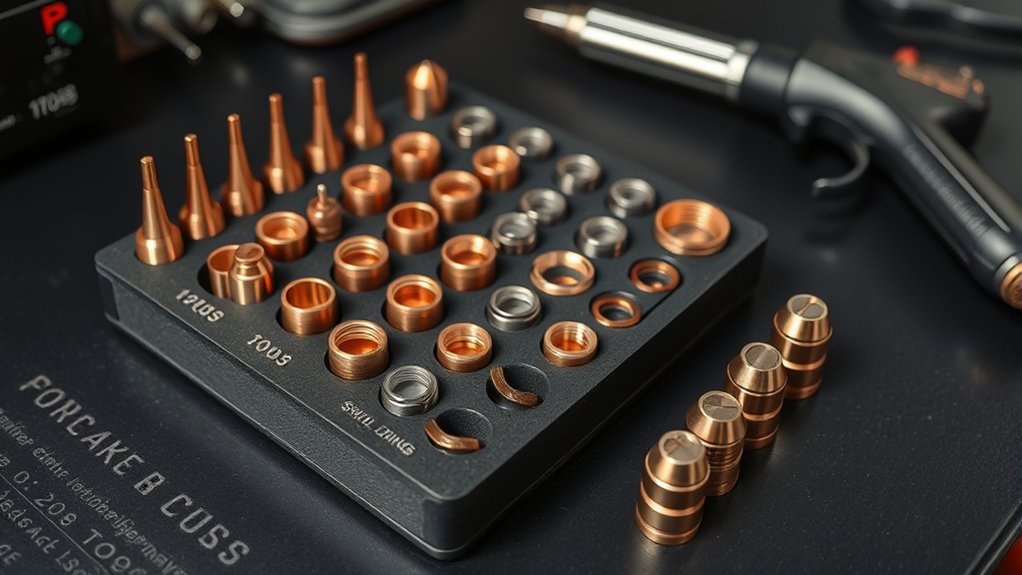
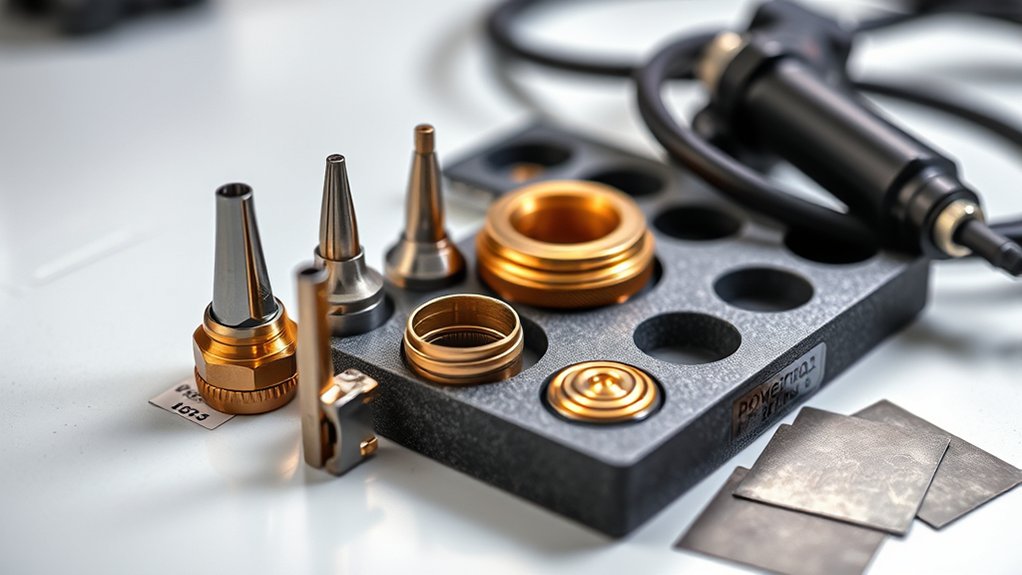
Core Kit Components
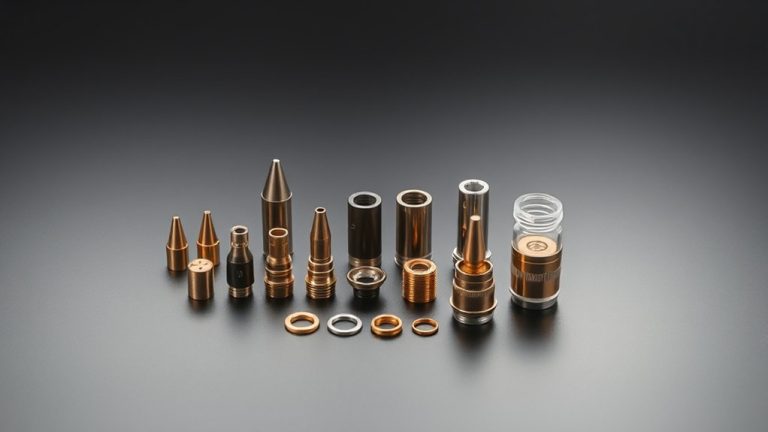
The Powermax105 Consumable Starter Kit uses parts that work together as a stack. Core items include CopperPlus electrodes, matched nozzle options, and an ohmic retaining cap.
You use these parts to stabilize the arc, manage heat, and maintain cut quality at 105 amps. Pair the CopperPlus electrode with the correct nozzle orifice for kerf width, dross control, and travel speed.
The ohmic retaining cap helps support reliable surface sensing when your torch setup uses that feature. This can improve pierce height control and reduce avoidable consumable wear.
Build disciplined maintenance habits into each shift. Inspect nozzle wear, check for an oval or nicked orifice, track electrode pit depth, and clean cap contact surfaces.
Keep components dry and handle them with clean gloves when possible. Tighten torch assemblies only to the proper fit, and avoid over-tightening.
Key Part Numbers
Part numbers anchor your ordering and maintenance workflow for the Powermax105. Treat each number as a traceable identifier for compatibility and stocking.
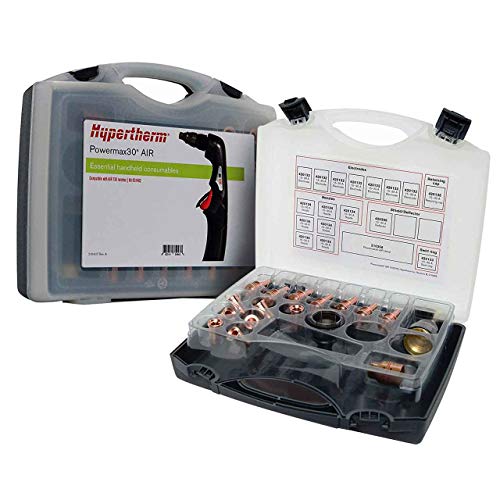
The Hypertherm 228849 Consumable Starter Kit works as a baseline kit in this article. It includes CopperPlus electrodes for 12 mm (1/2 inch) and under, plus an ohmic retaining cap for compatible setups.
For mechanized use, the Hypertherm 851472 Essential Mechanized Consumable Kit helps organize parts for automated cutting. Use part numbers carefully so you load OEM-matched interfaces and avoid mixed stacks.
- Verify 228849 when you need handheld starter kit coverage.
- Flag 851472 when you need mechanized consumable assortments.
- Cross-check packaging labels against your purchase order and job spec.
- Compare the SKU, contents list, and packaging details before you stock the kit.
Compatibility Notes
After you identify the key stock keeping units (SKUs), align each part with the Powermax105 approved stack-up. This reduces mismatch errors and early wear.
Prioritize consumable selection that matches the Powermax series and your torch type. Non-matching parts can reduce arc stability, cut quality, and duty cycle.
Use the CopperPlus electrode when you cut 12 mm (1/2 inch) and under, if that matches your job and torch setup. This helps you maintain consistent arc transfer.
Pair the ohmic retaining cap only with torches set up for ohmic sensing. Use a deflector only for unshielded processes that call for it, and use the correct shield when your process requires one.
Check air quality before you blame consumables. Dry, clean air matters because moisture can speed nozzle and electrode erosion.
Warning: Do not mix torch parts by guesswork because a mismatched stack can cause poor starts, rough cuts, and early wear.
Handheld vs. Mechanized Options
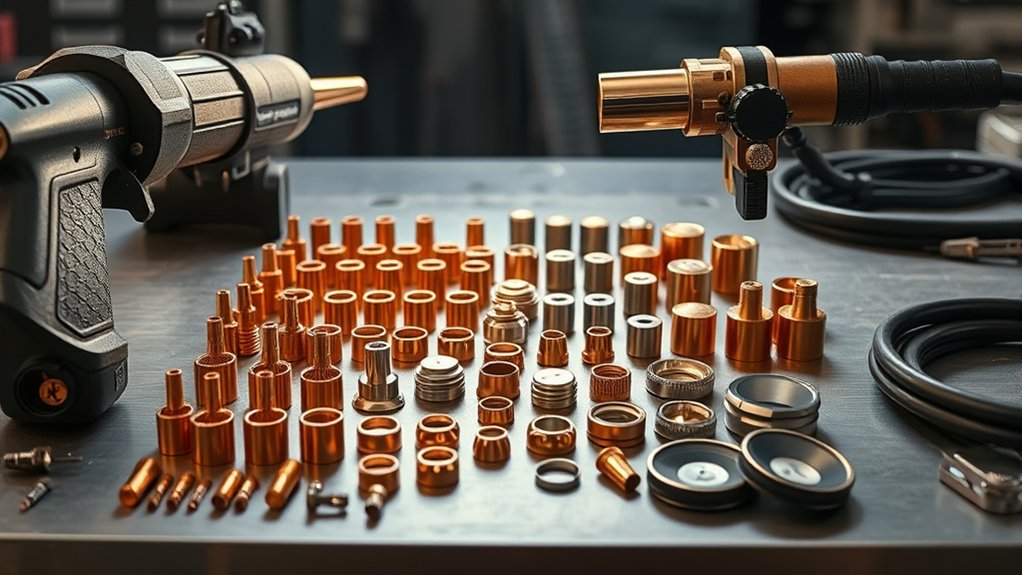
Handheld and mechanized setups use plasma power differently, so they need different consumable choices. You get clear handheld benefits in tight access, manual control, and quick edge work.
Mechanized efficiency matters more when you use a computer numerical control (CNC) table and need repeatable movement. In that setup, torch height control and programmed speed influence kerf shape and cut quality.
The Powermax105 kits serve different use cases. The Essential Handheld kit supports manual control, while the Essential Mechanized kit supports automated cutting and tighter setup control.
Choose nozzles by process. For hand cutting, a drag cutting nozzle such as Hypertherm 220819 for 65 amps tolerates tip contact and variable travel speed. For automated tables, choose a nozzle that matches the programmed amperage and material thickness.
| Setup Type | Best Use | Main Consumable Focus |
|---|---|---|
| Handheld | Manual cutting, repair work, and tight access | Drag nozzles, deflectors, and handheld-compatible caps |
| Mechanized | CNC table cutting and repeatable production work | Mechanized nozzles, retaining caps, and height-control parts |
- Match amperage to material thickness and expected duty cycle.
- Plan for consumable wear because handheld sets often wear faster.
- Verify torch type and cap compatibility before installation.
- Standardize part numbers to simplify inventory and job setup.
Products Worth Considering

[Achieve Precise Cuts] PT31 Plasma Cutting Consumables – Your Essential Tool for Efficient Cutting! Whether you're working with sheet metal, steel, or any other material, superior cutting performance ensure clean, accurate, and smooth cuts.

High-Quality Material:Made of high quality material to ensure a longer lifespan and superior performance.

Fit for: SG-55 AG-60 plasma cutter torch head.
Air Filtration and Drying Best Practices
Clean, dry air protects Powermax105 consumables better than almost any habit. You can extend electrode and nozzle life when you prioritize moisture control and stable air quality.
Moisture hurts arc stability, increases dross, and reduces pierce counts. The article gives baseline targets of about 800 pierces for electrodes and about 400 pierces for nozzles when the setup uses proper drying.
Build a staged air train with a water separator first to remove bulk liquid. Add a coalescing filter for aerosols, a desiccant dryer for remaining vapor, and a fine filter for small particles.
Place filtration close enough to the cutter to limit recondensation. Use full-flow fittings and a properly sized hose so you keep the pressure drop low.
Even dry climates can create water in lines when temperature changes. Purge filter bowls, replace desiccant when the indicator changes, and monitor pressure across filters.
Track your results and settings after each change. Good notes help you improve cut quality and control consumable cost.
Pro tip: Check the air system before you replace consumables because wet air can mimic worn parts.
Installation and Setup Checklist
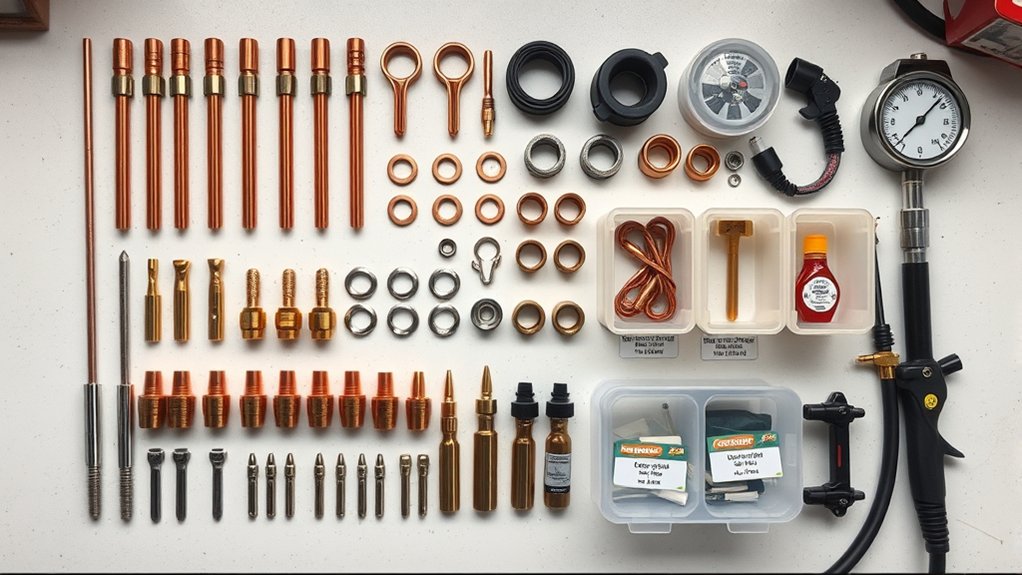
Careful preparation improves consumable life and cut quality. Before you power up, confirm you have the correct Powermax105 consumable kit and the correct torch configuration.
Lay out each component before installation. Inspect threads, O-rings, and mating surfaces so you can prevent leaks and arc instability.
Before You Begin
Set up a clean work area and keep the torch parts organized. You should also confirm dry air, correct part numbers, and safe machine settings before you test the torch.
- Confirm the correct part numbers and amperage rating for the job.
- Inspect the swirl ring, O-rings, threads, and contact surfaces.
- Check torch lead connections and strain relief.
- Verify that coalescing and desiccant filters have been purged and charged.
Installation Steps
Follow the installation sequence with the system powered off and depressurized. Use your torch manual for exact torque and safety details.
- Seat the CopperPlus electrode fully in the torch.
- Install the nozzle that matches your amperage and process.
- Align the retaining cap, including the ohmic cap when your setup uses ohmic sensing.
- Fit the deflector or shield that your cutting process requires.
- Hand-tighten the assembly, then snug it only to the proper fit.
- Run a brief dry-fire test to confirm gas flow and arc start behavior.
For setup troubleshooting, watch for double-arcing, sputter, or a wandering kerf. Recheck cap seating, air dryness, and nozzle or electrode wear before you keep cutting.
Inspect and replace worn tips on a planned schedule. This helps you maintain cut consistency and avoid damage to nearby parts.
Expected Pierce Counts and Replacement Timing
Even with good settings and dry air, you should treat pierce counts as a baseline, not a guarantee. This article uses about 400 pierces per nozzle and about 800 pierces per electrode as starting targets.
Moisture can change those numbers quickly. If your air system carries condensate, nozzle life can drop to about 200 pierces. Check dryer size, filter condition, separator bowls, and air line layout.
Track pierces for each part program and compare them against consumable lot, gas quality, and duty cycle. Replace nozzles when kerf width grows, the arc wanders, or dross increases without a change in settings.
Replace electrodes when the hafnium pit approaches 1 mm depth or the arc starts poorly. Do not run parts to failure because that can harm the swirl ring and shield.
If you use ATTC parts, the article notes possible targets of about 500 pierces per nozzle and about 1,000 per electrode. Validate those numbers with your own logs before you set firm changeout rules.
Document each changeout and compare weekly averages. Shorten replacement intervals when variation spikes or cut quality drops.
Performance Tips for Cut Quality and Durability
For consistent cut quality, focus on a dry air system, correct stack-up, and steady consumable care. These three areas affect edge quality before you change more complex settings.
Run a strong air drying train with a refrigerated dryer, coalescing filter, and point-of-use desiccant when your shop needs it. Wet air can reduce pierce counts and make the arc unstable.
Use the CopperPlus electrode for steel up to 12 mm when that matches your process. Match the nozzle and retaining cap part numbers because a mismatched stack can shift the kerf and weaken edge quality.
Build maintenance routines that include torch inspection, bore cleaning, and timely replacement of worn parts. Small checks before a shift can prevent rough cuts later.
- Verify torch stack-up fit and O-ring condition before each shift.
- Log pierces per electrode and retire parts near your trend limit.
- Tune standoff, amperage, gas flow, and speed for the material.
- Inspect nozzles for orifice ovality and replace them when bevel drift starts.
Clean, dry air and correct components help you get durable consumables and repeatable cuts.
Where to Buy and Regional Availability
Start with Hypertherm’s authorized network when you need a Powermax105 consumables kit. Use the partner locator, enter your region, and shortlist distributors that support your torch model and amperage range.
Product availability depends on location, so verify specific part numbers and nozzle or electrode variants before you place a purchase order. If you already have a parts list, share it with an authorized distributor and ask about valid substitutions.
Availability varies by location. Confirm part numbers and variants before your purchase order, and ask authorized distributors for guidance.
For pricing, rely on authorized channels because distributors can provide current costs, lead times, and minimum order details. Stock levels may vary by country, even in established markets.
Request documentation for authenticity, lot codes, and compatibility with your Powermax105 torch. Ask about bundled kits, freight options, and regional warranty terms.
Set a reorder cadence based on your average burn rate. This helps your distributor plan inventory and reduce downtime.
Products Worth Considering

Tool free allows consumables to be easily changed out
Tool free allows consumables to be easily changed out

Tool free allows consumables to be easily changed out
Frequently Asked Questions
How do I store spare consumables to prevent corrosion or damage?
Store consumables in sealed, labeled containers with desiccant packs. Keep them dry, clean, and away from solvents, ultraviolet light, and dust.
Handle parts with clean gloves when possible because skin oil can leave residue. Rotate stock by first in, first out (FIFO) so older parts get used first.
What signs indicate counterfeit consumables versus genuine parts?
You may spot counterfeit parts through poor machining, weak engraving, mismatched lot codes, or low-quality packaging. Check labels, barcodes, and packaging details against the manufacturer’s normal format.
If performance looks far worse than expected, stop using the parts and contact an authorized distributor. Poor-fit consumables can hurt cut quality and torch life.
Can I track pierce counts digitally with compatible cutters?
Yes, you can track pierce counts with compatible machine controls, controller diagnostics, arc-on timers, or torch-lift counters. Your exact method depends on your cutter, table, and control system.
Use the data to set tool-life alerts and maintenance intervals. Export logs when possible so you can compare consumable life by job and material.
Are there environmental disposal guidelines for used electrodes?
Follow your local environmental rules for used electrodes and metal waste. Separate copper, tungsten, and other residues when your recycler or waste handler requires it.
Do not assume you can place used consumables in general trash. Ask a certified recycler or waste provider how to handle shop waste in your area.
How does ambient temperature affect consumable lifespan?
Heat can increase wear when it affects arc stability or shop air quality. Cold conditions can create condensation in air lines and storage containers.
Keep consumables dry and allow parts to stabilize before use. Control humidity and duty cycle when your shop conditions change.
Safety Disclaimer: This article is for informational purposes only and does not replace your equipment manual, workplace safety rules, or professional training. Always follow the manufacturer’s instructions and use proper personal protective equipment before you cut, install, or service plasma cutter parts.
Conclusion
Your Powermax105 will cut better when you match the consumables kit to the torch, process, and material. Confirm part numbers such as 228849, 851471, and 851472, then inspect each part before installation.
Keep your air clean and dry, run a short gas flow check, and track pierce counts before quality drops. Use your own logs to set replacement timing instead of waiting for a failed cut.
With the right stack, dry air, and steady checks, you can hold kerf quality, reduce dross, and keep work moving with fewer mid-shift delays.