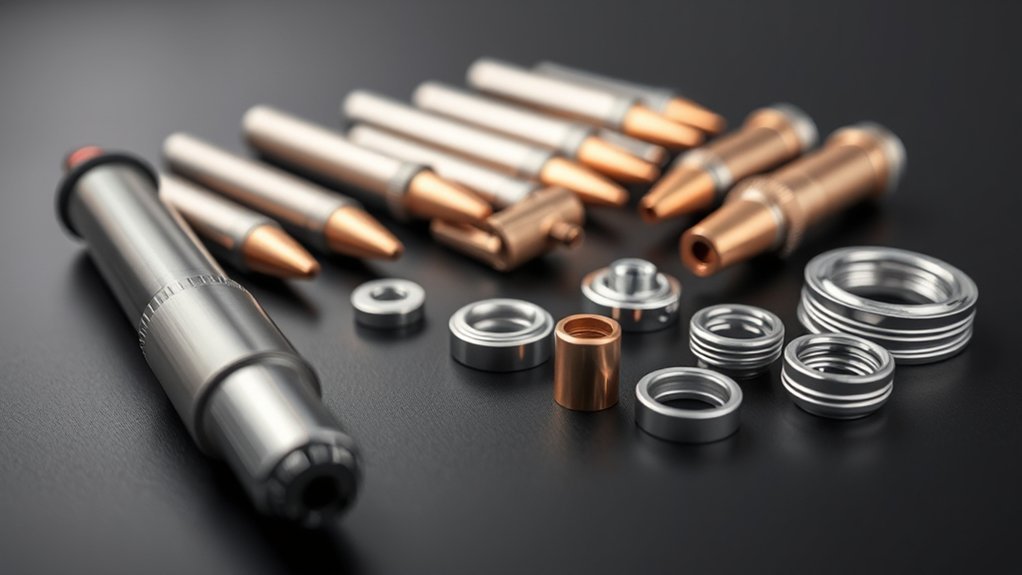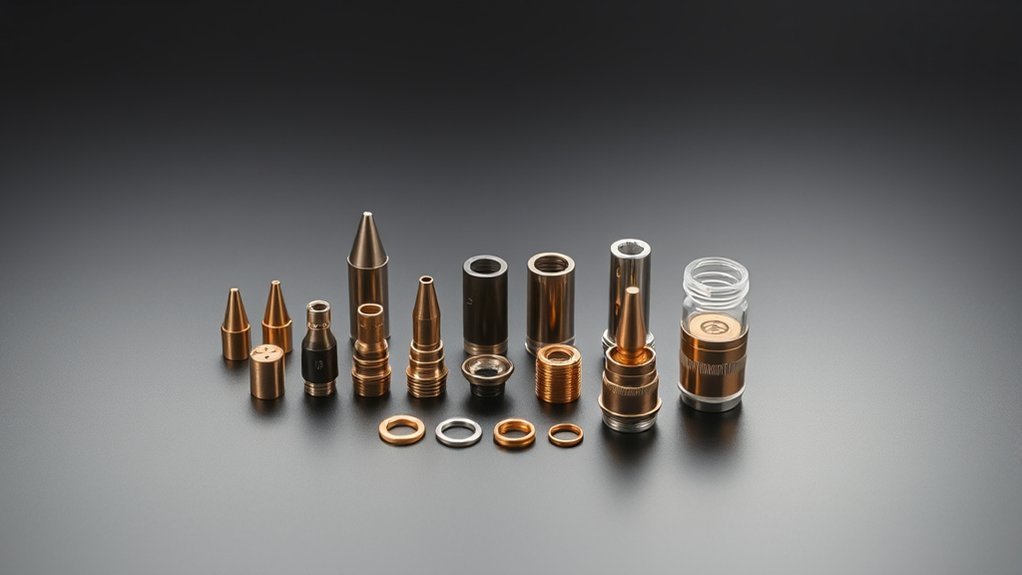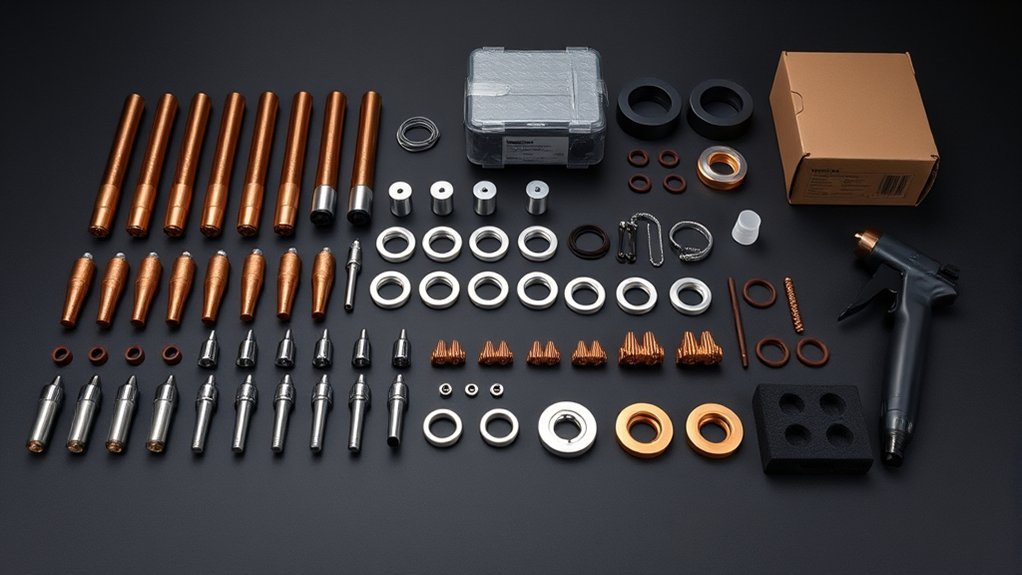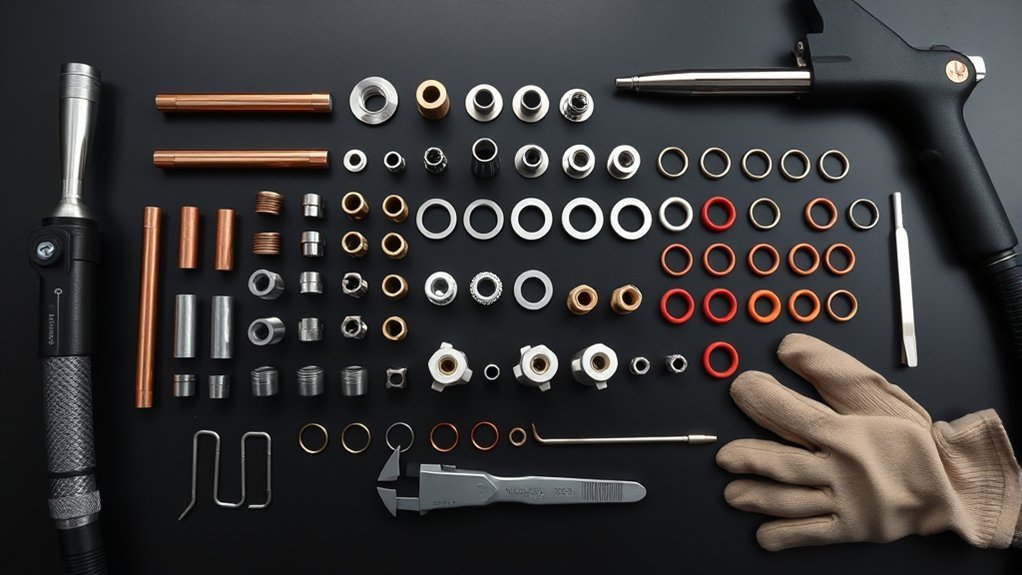
A Powermax125 can develop bevel, extra dross, unstable starts, or short consumable life when one part in the torch stack does not match the cutting process. The key is to identify the exact kit, pair each nozzle with the correct shield, inspect the electrode and nozzle together, and follow the Powermax125 cut chart for your material and amperage.
Quick Answer
Hypertherm kit 851475 is the Powermax125 Essential Mechanized Cutting Consumable Kit. It contains 17 pieces: three shields, one retaining cap, six nozzles, one swirl ring, and six electrodes. Use the 420158/420168 set for 30–45 A, 420169/420168 for 45–65 A, and 220975/220976 for 65–125 A mechanized cutting.
Key Takeaways
- Kit 851475 is a mechanized-cutting kit for Powermax125 systems with Duramax Hyamp torches.
- The kit includes one 420168 shield and two 220976 shields, not only the two high-current shields.
- Match the nozzle, shield, amperage range, torch type, and process before cutting.
- Inspect the nozzle and electrode as a pair; replace an electrode when its center pit exceeds 1.6 mm or 1/16 inch.
- Keep the retaining cap finger-tight and supply clean, dry, oil-free air or nitrogen.
At a Glance
| Time Required | About 5–10 minutes for a routine inspection and consumable change |
| Difficulty | Beginner for routine consumable replacement; trained service personnel for internal repairs |
| Tools Needed | No tool for a normal change; clean lint-free cloth, good lighting, and an electrode pit gauge or depth reference are helpful |
| Cost | Varies by part quantity, distributor, region, and whether you buy the complete kit or individual consumables |
What’s in This Article
- What’s Included in the Powermax125 Consumables Kit
- Compatible Torches, Processes, and Systems
- Nozzle and Shield Amperage Guide
- Electrodes and Swirl Rings
- Shields and Retaining Caps
- How to Install Powermax125 Consumables
- Wear Indicators and Replacement Limits
- Troubleshooting Consumable Problems
- Storage, Handling, Air Quality, and Safety
- Sourcing and Inventory Guidance
- Frequently Asked Questions
- Sources
What’s Included in the Powermax125 Consumables Kit
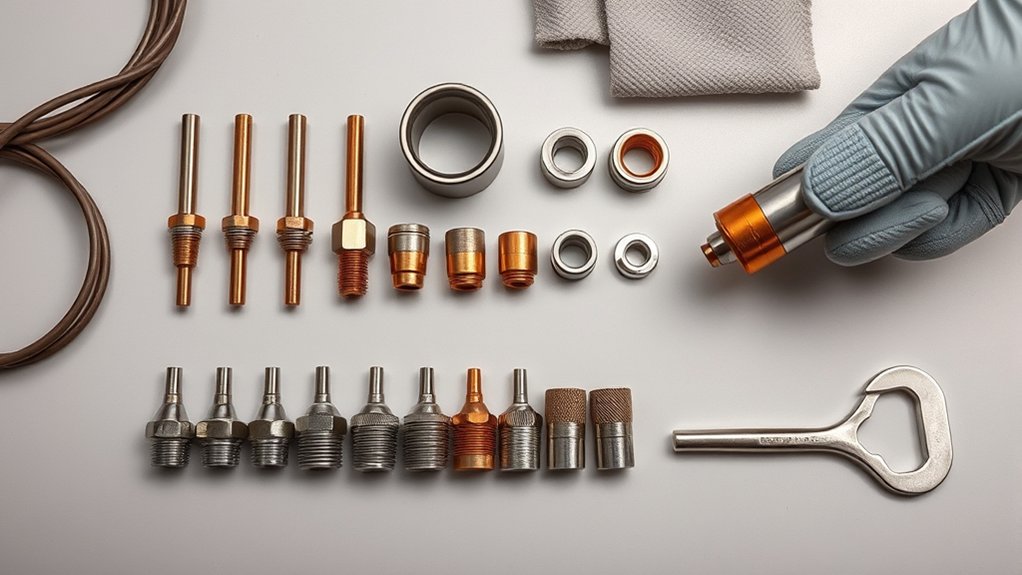
The official Powermax125 Essential Mechanized Cutting Consumable Kit has part number 851475. It contains 17 consumable pieces across five component types: shields, a retaining cap, nozzles, a swirl ring, and electrodes.
| Component | Part number | Quantity | Primary use in this kit |
| Shield | 420168 | 1 | Standard mechanized cutting at 30–65 A |
| Shield | 220976 | 2 | Standard mechanized cutting at 65–125 A |
| Retaining cap | 220977 | 1 | Holds and aligns the standard consumable stack |
| Nozzle | 420158 | 1 | Standard mechanized cutting at 30–45 A |
| Nozzle | 420169 | 1 | Standard mechanized cutting at 45–65 A |
| Nozzle | 220975 | 4 | Standard mechanized cutting at 65–125 A |
| Swirl ring | 220997 | 1 | Directs gas for standard mechanized cutting |
| Electrode | 220971 | 6 | Shared standard electrode for the listed ranges |
Kit 851475 contains 17 pieces, including the often-overlooked 420168 shield needed with the 420158 and 420169 mechanized nozzles.
Keep each part in its labeled location or in a separate marked bin. The three nozzle numbers can look similar during a fast changeover, but installing the wrong nozzle-and-shield pair can change standoff, gas flow, kerf shape, and cut quality.
Note: Kit 851475 does not include the 420156 ohmic retaining cap, handheld drag shields, FineCut consumables, or gouging consumables. Buy those separately when your process requires them.
Products Worth Considering

Tool free allows consumables to be easily changed out

Tool free allows consumables to be easily changed out

Tool free allows consumables to be easily changed out
Compatible Torches, Processes, and Systems
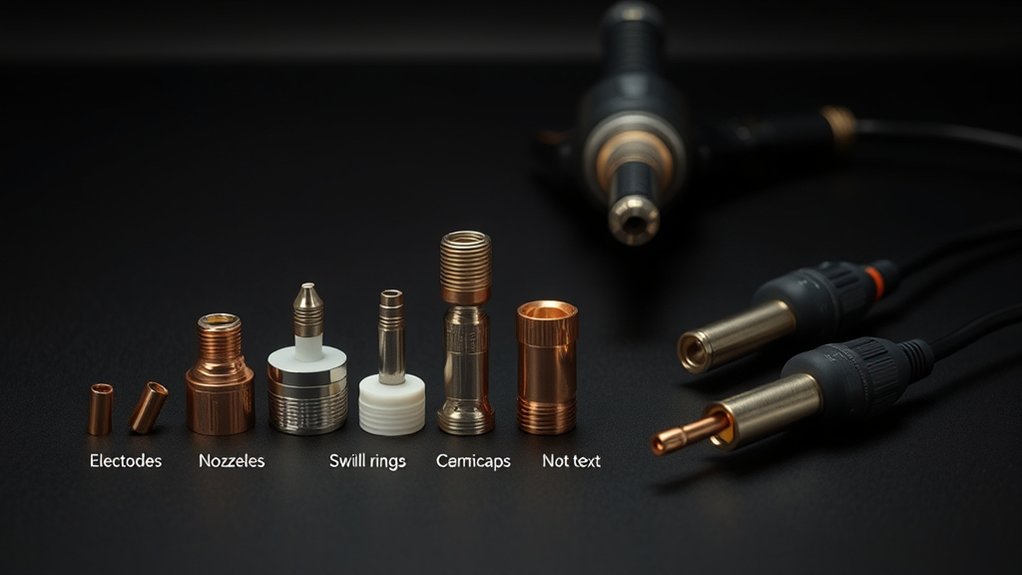
The Powermax125 uses Duramax Hyamp torch technology. Hypertherm lists handheld, full-length machine, mini machine, robotic, and long-torch options for the system. The correct consumable stack depends on both the torch style and the cutting process.
Kit 851475 is intended for standard mechanized cutting. Its parts fit compatible Duramax Hyamp machine, mini-machine, and robotic setups when the selected process and part numbers match the current Powermax125 consumable chart and operator manual.
- Standard mechanized cutting: Uses the nozzles and mechanized shields included in kit 851475.
- Handheld drag cutting: Uses the same standard nozzle family but requires handheld shields 420172 or 420000, depending on amperage.
- FineCut cutting: Uses a different nozzle, shield, and swirl ring and is not supplied in kit 851475.
- Gouging: Uses dedicated gouging nozzles and shields and is not supplied in kit 851475.
- Ohmic sensing: May require retaining cap 420156 instead of the standard 220977 cap.
Warning: Do not assume that a part fits simply because its threads engage. Confirm the Powermax125 torch style, process, amperage range, nozzle, shield, retaining cap, electrode, and swirl ring before energizing the system.
Nozzle and Shield Amperage Guide
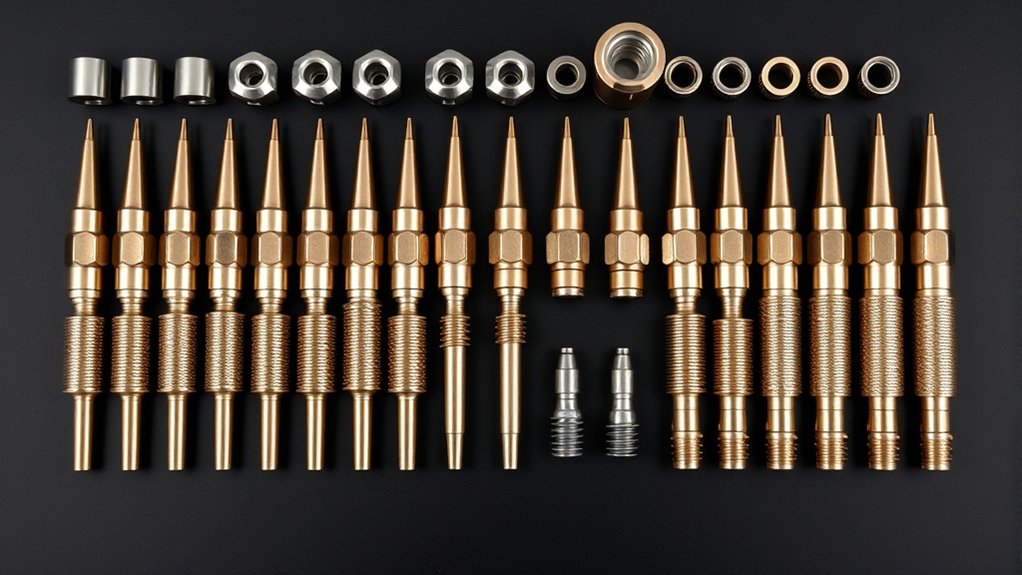
Nozzle choice affects arc concentration, kerf width, cut speed, edge angle, and consumable life. The shield must match the nozzle and process because it controls the torch-to-work relationship and protects the nozzle from molten metal.
| Standard mechanized range | Nozzle | Shield | Shared parts |
| 30–45 A | 420158 | 420168 | 220977 cap, 220997 swirl ring, 220971 electrode |
| 45–65 A | 420169 | 420168 | 220977 cap, 220997 swirl ring, 220971 electrode |
| 65–125 A | 220975 | 220976 | 220977 cap, 220997 swirl ring, 220971 electrode |
Use the lowest standard amperage that can complete the cut at the speed, pierce height, cut height, and material conditions listed in the cut chart. Lower-current consumables can produce a narrower kerf on thinner material, but only when the entire stack and machine settings match.
Do not install a 420158 or 420169 nozzle with the high-current 220976 shield. Do not pair a 220975 nozzle with the lower-current 420168 shield. A mixed stack may fit physically while producing poor starts, abnormal gas flow, bevel, or premature wear.
Pro Tip: Store each nozzle with its matching shield in a labeled compartment. Mark the bins “30–45 A,” “45–65 A,” and “65–125 A” rather than relying on visual differences alone.
Electrodes and Swirl Rings: Function and Replacement Tips
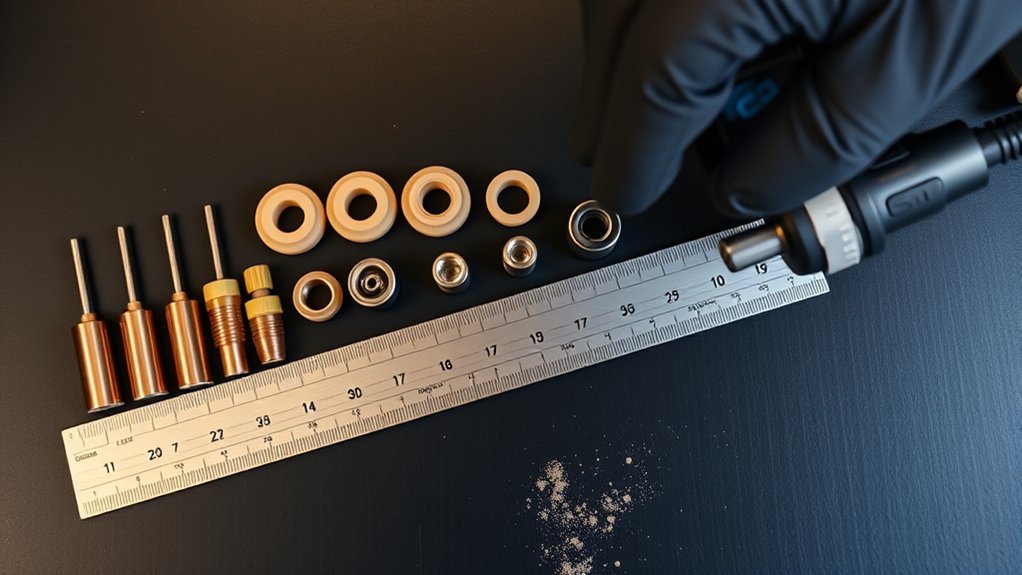
The 220971 electrode carries the arc and contains a hafnium insert at its center. The 220997 swirl ring controls gas movement around the electrode and helps keep the plasma arc centered through the nozzle.
Inspect the electrode and nozzle as a pair. Hypertherm’s Powermax preventive-maintenance guidance says the electrode’s center pit should not exceed 1.6 mm or 1/16 inch. Replace the electrode sooner if it has cracks, heavy burning, an uneven pit, or other damage.
Inspect the swirl ring for cracks, heat deformation, blocked gas holes, or damaged sealing surfaces. A deformed swirl ring can restrict electrode movement, disturb gas flow, and contribute to a Powermax 0-30 fault.
- Do not rotate a worn electrode as a substitute for replacement.
- Do not clean or enlarge the swirl-ring gas holes with a drill bit, wire, or hard metal pick.
- Replace a cracked or heat-deformed swirl ring instead of trying to reshape it.
- Keep metal dust and excess lubricant away from the internal gas passages.
Shields and Retaining Caps: Selection and Maintenance
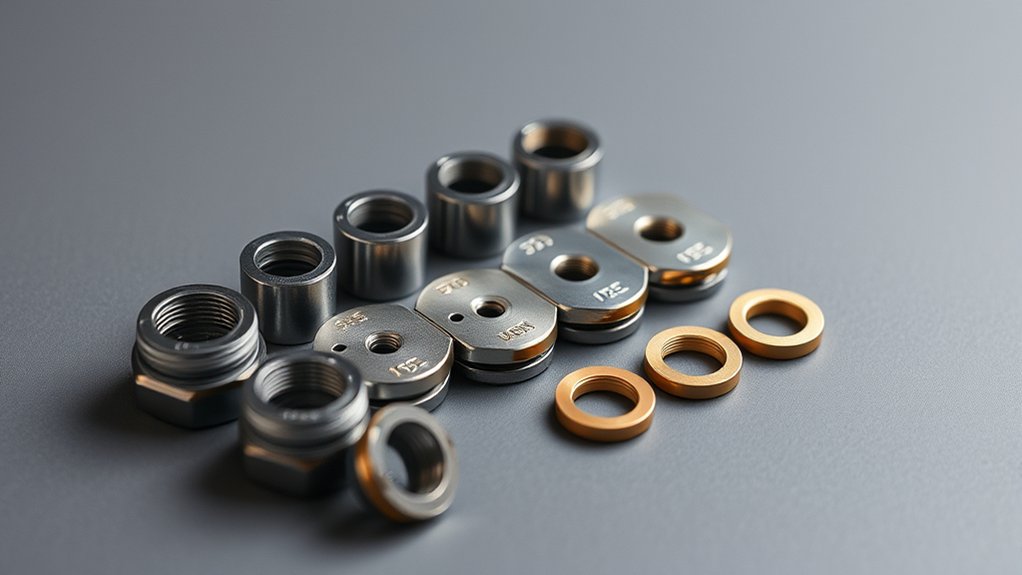
The shield is process-specific. For standard mechanized cutting, use shield 420168 with nozzles 420158 and 420169, or shield 220976 with nozzle 220975. For handheld drag cutting, Hypertherm lists shield 420172 for the lower and middle ranges and shield 420000 for the high-current range.
Choosing the Correct Shield
- Identify the process: Standard mechanized, handheld drag, FineCut, or gouging.
- Confirm the torch: Handheld, machine, mini machine, robotic, or long Duramax Hyamp torch.
- Match the operating range: Use the nozzle-and-shield pair listed for the selected range.
- Check the retaining-cap requirement: Standard setups commonly use 220977; an ohmic table setup may require 420156.
- Use the cut chart: Confirm pierce height, pierce delay, cut height, speed, and amperage before production.
Retaining-Cap Wear and Tightness
The 220977 retaining cap holds the consumables in alignment. Replace it if the threads are damaged, the body is cracked or burned, or distortion prevents the parts from seating evenly.
Tighten the retaining cap finger-tight only. Hypertherm warns that overtightening can compress or deform the swirl ring. A damaged swirl ring can prevent correct electrode movement and cause starting faults.
Cleaning and Inspection
Let hot parts cool before handling them. Wipe loose dust from the cap, shield, and seating surfaces with a clean lint-free cloth. Keep the nozzle orifice free of spatter, but do not ream, file, or reshape it. If the hole is no longer round, replace the nozzle.
Inspect the torch O-ring for cuts, flattening, dryness, or swelling. Apply only a very light film of the lubricant approved for the torch. Too much lubricant can collect metal dust and interfere with the gas path. Never substitute general-purpose grease.
How to Install Powermax125 Consumables
Use the current Powermax125 Operator Manual for the exact torch orientation and process. For a routine standard consumable change, follow this sequence:
- Stop cutting and turn the system off. Disconnect input power before removing consumables. Follow your employer’s energy-control procedure when the task involves hazardous stored energy or equipment servicing.
- Let the torch cool. Shields, caps, and nozzles can remain hot after the arc stops.
- Remove and inspect the stack. Unscrew the shield and retaining cap by hand, then inspect every part instead of replacing only the most visibly worn piece.
- Install the matched parts. From the torch body outward, the standard stack uses the swirl ring, electrode, nozzle, retaining cap, and shield. Make sure each part is clean, correctly oriented, and fully seated.
- Tighten by hand and verify settings. Make the retaining cap finger-tight, install the correct shield, restore power, and confirm the cut-chart settings before the next cut.
Warning: Do not rely on the torch cap sensor, trigger safety, or control panel alone to protect you during a consumable change. Turn the system off and isolate input power as directed by the operator manual and your workplace procedure.
Wear Indicators and Replacement Limits
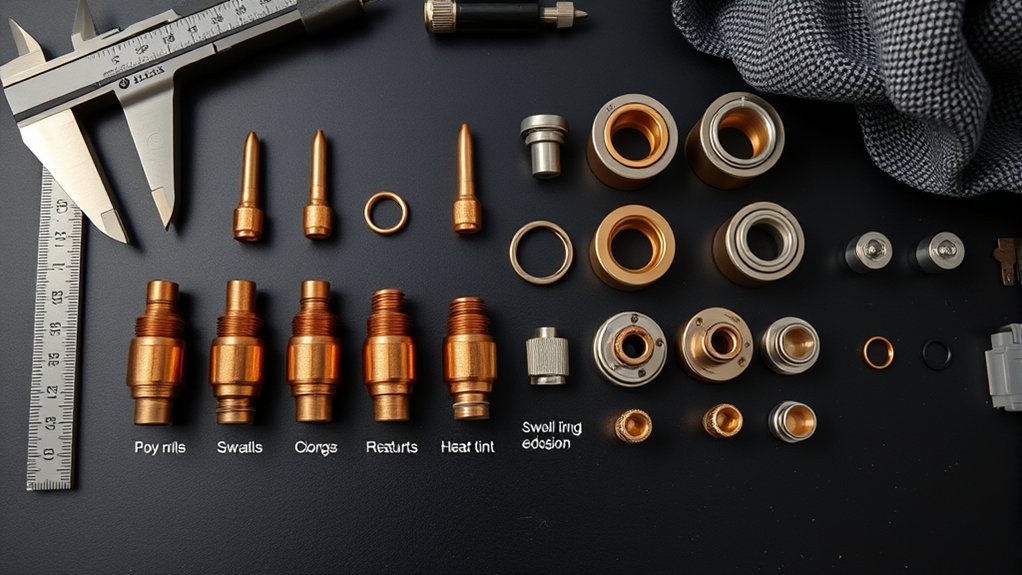
Consumable life is not a fixed number of hours. It changes with amperage, material, pierce count, arc starts, pierce height, cutting height, speed, air quality, lead condition, and operator technique. Inspect consumables daily and whenever cut quality or starting behavior changes.
| Part | Keep using when | Replace when |
| Electrode | Pit is even and within the manufacturer’s limit | Center pit exceeds 1.6 mm, or the part is cracked, burned, or unevenly worn |
| Nozzle | Orifice remains round and free of nicks | Orifice is oval, notched, enlarged, cracked, or heavily burned |
| Shield | Opening is round and the body seats correctly | Opening is damaged, blocked, distorted, cracked, or badly burned |
| Swirl ring | Gas holes are open and surfaces are undamaged | Cracked, deformed, heat-damaged, or blocked |
| Retaining cap | Threads turn smoothly and the cap remains round | Threads are damaged, or the cap is cracked, burned, loose, or distorted |
| Torch O-ring | Flexible, undamaged, and covered by a light film of approved lubricant | Cut, flattened, swollen, brittle, or unable to seal |
Log the job, material, amperage, pierce count, arc starts, and parts changed. These records are more useful than a generic calendar replacement interval because they show your shop’s real wear rate.
Troubleshooting Powermax125 Consumable Problems
| Symptom | Likely causes | First checks |
| Bevel or angled edge | Oval nozzle, wrong shield, incorrect cut height or speed, torch not square, mixed consumable stack | Confirm part numbers, nozzle roundness, torch alignment, height, speed, and cut direction |
| More dross than normal | Wrong speed, height, or amperage; worn nozzle/electrode; contaminated gas | Compare settings with the cut chart and inspect the nozzle/electrode pair and air filter |
| Consumables fail early | Wet or oily gas, excessive piercing, wrong pierce height, overtightened cap, mismatched parts | Check gas quality, filter condition, pierce settings, cap tightness, and part numbers |
| Unstable starts or arc wander | Damaged electrode, nozzle, swirl ring, O-ring, gas restriction, or loose stack | Power off, remove the complete stack, inspect each part, and reinstall it finger-tight |
| 0-30 fault or torch will not fire | Wrong or damaged consumables, deformed swirl ring, over-tight cap, gas leak, low pressure, or restriction | Follow Hypertherm’s 0-30 diagnostic steps and record the full fault code |
Hypertherm’s Powermax 0-30 troubleshooting guide identifies wrong consumables, damaged torch parts, a deformed swirl ring, overtightening, gas leaks, restrictions, and low gas pressure as possible causes. If correct, undamaged consumables do not clear the fault, contact an authorized repair facility with the complete fault code.
Storage, Handling, Air Quality, and Safety Practices
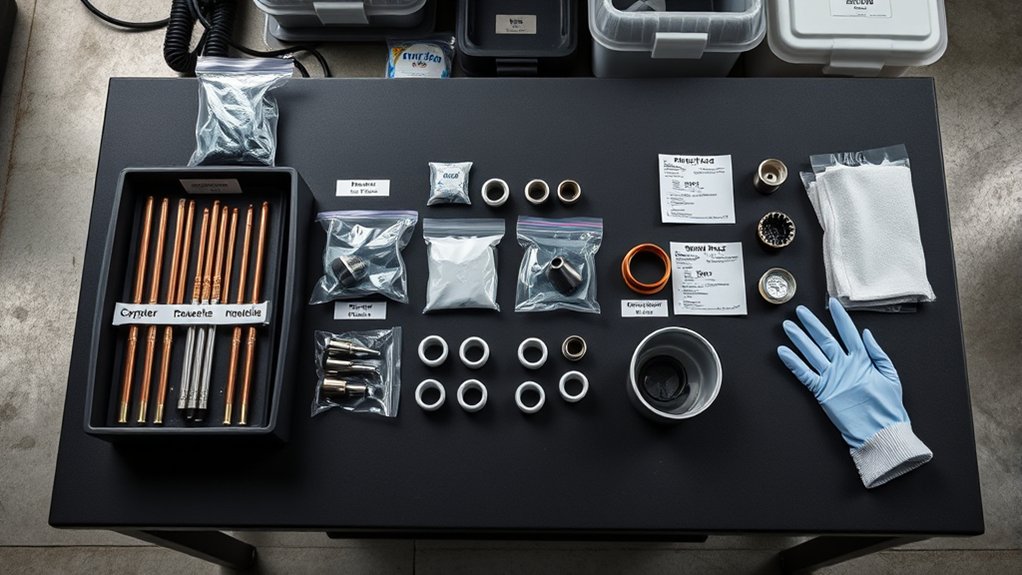
Store Powermax125 consumables in a clean, dry cabinet or sealed organizer. Keep different amperage ranges separated, and leave new parts in their labeled packaging until needed. Do not place clean consumables directly on a dusty cutting table.
The Powermax125 requires clean, dry, oil-free air or nitrogen. Moisture, compressor oil, metal dust, and restricted filters can disturb gas flow and shorten the life of the electrode, nozzle, and swirl ring.
- Before each shift: Check the torch, lead, consumable stack, gas supply, and visible fault indicators.
- When wear rises suddenly: Inspect the filter bowl and element for moisture, oil, dirt, or debris.
- During handling: Use clean, dry hands or clean gloves and keep parts on a lint-free surface.
- During assembly: Apply only a light film of approved O-ring lubricant and remove any excess.
- During maintenance: Follow the operator manual and workplace energy-control procedure.
Warning: Plasma systems contain hazardous electrical energy. Disconnect input power before changing consumables. Internal maintenance and repairs should be performed only by qualified personnel under the required hazardous-energy controls.
For workplace servicing and maintenance, review OSHA’s control of hazardous energy standard and follow the site-specific lockout/tagout program.
Sourcing, Pricing, and Authorized Distributor Guidance
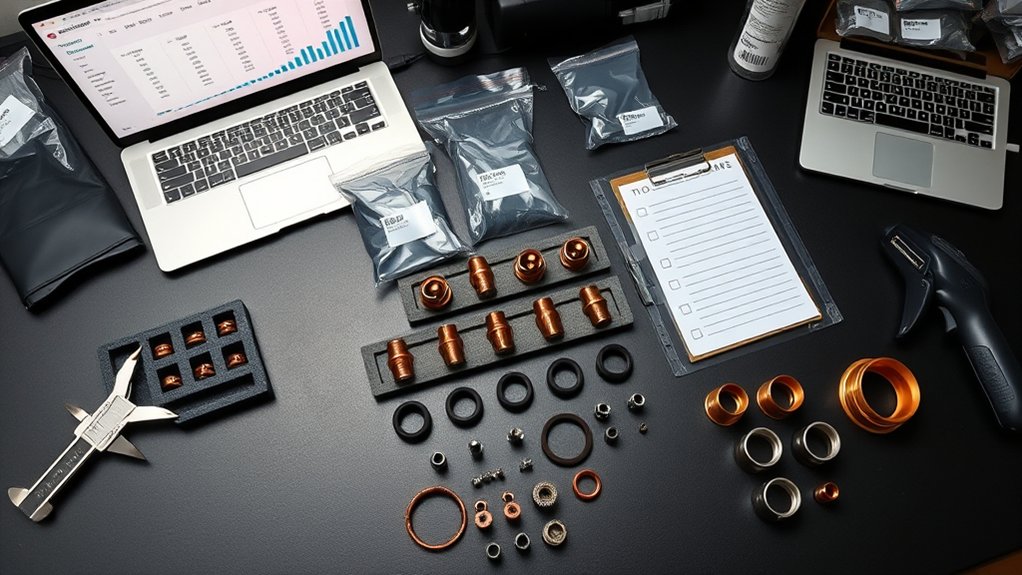
Buy by the manufacturer part number rather than by a broad description such as “125-amp plasma tip.” For the complete standard mechanized kit, confirm part number 851475. For individual replacements, verify the nozzle, shield, cap, swirl ring, and electrode numbers against the current Powermax125 chart.
Prices vary by country, distributor, package quantity, inventory, and shipping. Check the seller’s current listing and confirm whether the package contains one part, a multipack, or the complete kit before comparing prices.
An authorized Hypertherm distributor can help confirm torch compatibility, ohmic-cap requirements, cut charts, packaging, and repair support. Keep invoices and packaging when traceability, warranty review, or production quality control matters.
Set reorder points from actual shop use. A simple inventory record should include:
- Part number and package quantity.
- Current on-hand amount.
- Average weekly or monthly use.
- Supplier lead time.
- Minimum reserve needed to prevent a stopped job.
- Jobs or machines consuming the parts fastest.
Products Worth Considering

High-Quality Material:Made of high quality material to ensure a longer lifespan and superior performance.

10 pcs TIPS (Extended) /10 pcs ELECTRODE (Extended) /10 pcs SHIEDED-CUP/10 pcs GAS RING

APPLICATION: Consumables for IPT40 plasma cutting torch (CUT-55DS Pro/CUT-55NHF/CUT-55DS NHF PLUS/CUT-60DS PRO/CUT-65DS PRO/CUT-65DS PLUS plasma cutters).
Frequently Asked Questions
Can I mix third-party consumables with genuine Powermax125 parts?
Parts from different manufacturers may vary in dimensions, materials, gas passages, and electrical contact surfaces. Mixing them can make wear and cut-quality problems harder to diagnose. For consistent fit, traceability, and manufacturer support, use a complete matched set approved for the Powermax125 and confirm any warranty implications before production use.
How do ambient temperature and humidity affect consumable lifespan?
Humidity matters mainly when moisture reaches the compressed-gas supply or unprotected stored parts. Condensation, wet air, oil, and shop dust can disturb gas flow and promote corrosion or contamination. Drain and maintain the air system, inspect filters, and store clean consumables in a sealed, dry organizer.
What troubleshooting steps help with frequent double-arcing or 0-30 faults?
Turn the system off and verify that the complete consumable set is correct, undamaged, clean, and properly installed. Check for a deformed swirl ring, overtightened retaining cap, gas leaks, restrictions, low pressure, and torch damage. Record the full fault code and contact an authorized repair facility if the fault continues.
Is there a torque value for the Powermax125 retaining cap?
Hypertherm’s routine consumable guidance says to tighten the retaining cap finger-tight. Do not apply extra force with pliers or a wrench. Overtightening can compress or deform the swirl ring and contribute to starting faults.
How do I track consumable usage for job costing and inventory?
Record each part number, job, material, amperage, pierce count, arc starts, and replacement date. Divide the cost of parts used by the number of acceptable pieces or cutting time for that job. Review the log for sudden changes that may point to air, height, speed, training, or torch problems.
Which Powermax125 consumable usually wears first?
The nozzle and electrode normally need the closest attention because they work together at the arc. Their wear rate depends on starts, piercing, amperage, air quality, and settings. Inspect both as a pair, then check the shield, swirl ring, retaining cap, and O-ring before installing replacements.
What causes bevel when the consumables look new?
New parts can still produce bevel if the nozzle and shield are mismatched, the torch is not square, the cut direction is wrong, the standoff or speed is incorrect, the gas supply is restricted, or a part is not fully seated. Verify part numbers first, then compare the complete setup with the cut chart.
Can I use kit 851475 for handheld drag cutting?
The nozzles, electrode, swirl ring, and standard retaining cap overlap with some handheld configurations, but the shields included in kit 851475 are mechanized shields. Handheld drag cutting requires the correct handheld shield, such as 420172 or 420000 for the applicable range.
Does the Powermax125 kit include FineCut or gouging consumables?
No. Kit 851475 is for standard mechanized cutting. FineCut and gouging use different nozzles, shields, and in some cases a different swirl ring. Confirm the complete process stack on Hypertherm’s Powermax125 consumable chart before ordering.
Clean Powermax125 cuts start with a matched process stack, clean gas, correct cut-chart settings, and routine inspection. Keep nozzles and shields organized by amperage, inspect the nozzle and electrode together, keep the cap finger-tight, and replace damaged parts before they cause bevel, dross, starting faults, or torch damage.
Sources
- Hypertherm Powermax125 Essential Mechanized Cutting Consumable Kit 851475 — official kit contents and quantities
- Hypertherm Powermax125 product resources — current manuals, torch options, specifications, and consumable combinations
- Hypertherm Powermax preventive maintenance — electrode pit limit, nozzle inspection, swirl-ring checks, and finger-tight cap guidance
- Hypertherm guide to replacing Powermax consumables — part-by-part wear and replacement guidance
- Hypertherm Powermax 0-30 fault troubleshooting — consumable, swirl-ring, cap, gas-pressure, and torch fault checks
- OSHA 29 CFR 1910.147, Control of Hazardous Energy — workplace lockout/tagout requirements for covered servicing and maintenance