Old saw blades are harder, springy pieces of steel that can be surprisingly useful in the garden. With basic welding skills and a safe approach, you can repurpose a worn blade into a durable DIY garden tool such as a weeder, scraper, or edging-style blade. This guide walks through planning, choosing materials, welding considerations, and practical options so the end result is safe, functional, and worth keeping.
🛠️ Why repurpose a saw blade instead of buying new?
A typical saw blade is made from tough, hardened steel designed to resist wear. When a blade is no longer useful for cutting wood, it may still perform well for garden work where you need:
- Edge retention for scraping soil or cutting roots
- Rigidity so the tool does not flop or bend
- Corrosion resistance relative to many cheap tool steels (depending on the alloy)
- Cost savings by using scrap you already have
This approach is ideal for DIYers who already weld and want a meaningful reuse project. It is also a good way to experiment with small tool fabrication without the cost of new steel stock.
🔎 What makes a good saw blade for garden tools?
Not every blade is a good candidate. When selecting scrap, look for these traits:
Blade condition
- No severe cracks. Cracks can propagate during grinding or welding.
- Not heavily rusted. Light surface rust is usually fine after cleaning, but pitting can weaken the tool.
- Intact geometry. Bent or warped blades will be harder to align for clean tool use.
Steel type and hardness
Many saw blades are heat treated for cutting. That hardness can be great for wear resistance, but it can also make welding more challenging. If the blade is extremely hard, the weld may not fuse as cleanly, and grinding can be tougher. The practical takeaway is to assume it is hard unless you know its alloy, and test on a small area first.
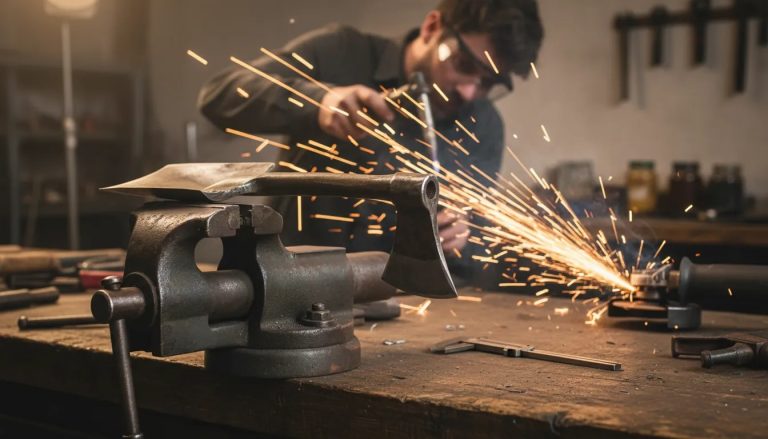
✅ Safety and setup before you weld or grind
Repurposing hardened steel still requires the same welding and metalworking safety as any fabrication job. Hardened steels also create specific risks during grinding.
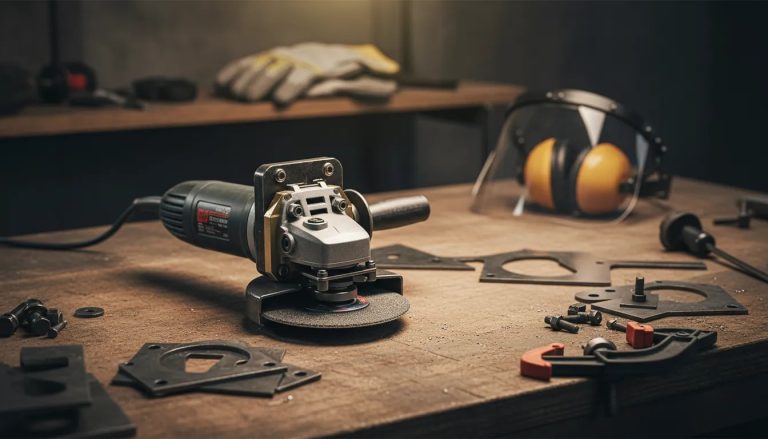
Personal protective equipment (PPE)
- Helmet with appropriate shade
- Gloves rated for welding and grinding
- Eye protection for grinding
- Respirator when grinding or cleaning metal (especially if coatings or unknown contaminants exist)
- Long sleeves and fire-resistant clothing
- Hearing protection for grinding
Workspace and fire safety
- Work on a stable, nonflammable surface.
- Clear away combustibles (paper, oils, solvents).
- Have a fire extinguisher nearby.
- Ventilate well. Heated metal can release fumes.
🧱 Design ideas: What garden tool can you build?
Old saw blades can be turned into several useful garden tools. Choose based on how you work in your yard.
Option A: Root-cutter weeder
Use the blade edge as a cutting surface and weld it to a handle or a short bracket. This style works well for cutting through stubborn weeds and roots along cracks.
Option B: Scraper or leveling blade
Attach the blade at an angle to a handle so you can scrape compacted soil, remove debris, or level small areas.
Option C: Edging tool
Weld the blade to a sturdy frame that keeps a consistent cutting line. This is useful for clean borders along paths or beds.
Option D: Multi-use carry tool
Weld the blade to a small head that can be swapped onto a handle using simple pins or a clamp. If you want multiple tool shapes, this can reduce the number of full builds.
🧰 Materials you will likely need
You can keep most projects simple. Common items include:
- Old saw blade (the tool steel)
- Handle material: wood, square tube, or flat bar depending on preference
- Mounting strip: mild steel plate or bar for welding to the blade
- Grinding discs and flap wheels
- Degreaser and wire brush
- Welding consumables that match your welder and base metal (see welding considerations below)
- Optional reinforcement such as gussets or a thicker backer plate
💡 Welding considerations for saw blade steel
Saw blades are often hardened. That means welding requires extra attention to fusion and cracking risk.
Common challenge: hardened steel can crack
When hardened steel cools quickly after welding, stress can cause cracking. While not every blade will crack, it is a realistic concern. You can reduce risk by preparing clean surfaces, using the right filler, and minimizing heat input.
Use proper pre-cleaning
- Remove paint, plating, adhesives, and heavy rust.
- Grind to bright, clean metal at the weld line.
- Degrease to remove oils and shop contamination.
Minimize heat and distortion
Instead of long continuous welds, consider short stitch welds and allow time between passes. The goal is to reduce stress buildup while still creating a strong bond.
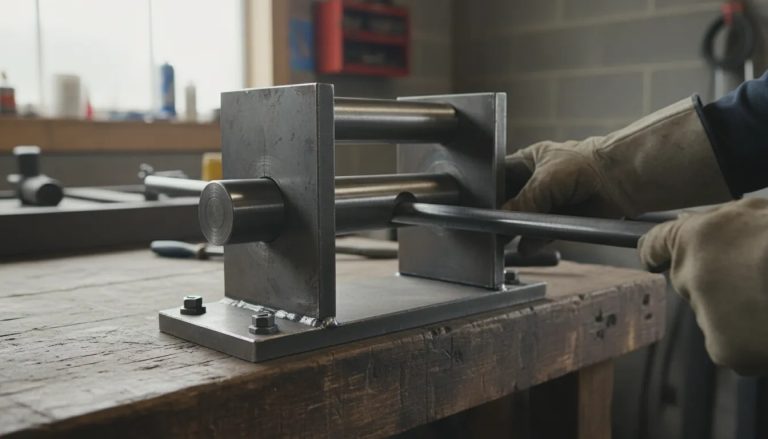
Fit-up matters more than you think
Bring parts into close contact. A tight fit often lets you use less weld metal, reducing heat and improving strength.
Choose filler metal that suits your setup
The best filler depends on your welding process (MIG, TIG, stick) and the blade steel chemistry. If you do not know the alloy, err on the side of a practical approach: use a welding mode and filler that you know how to control and that can achieve sound fusion on hard steel. When possible, test a small weld bead on a scrap section first.
Consider using a mild-steel adapter
A reliable approach is to weld the saw blade to a mild-steel mounting piece. Mild steel tends to be easier to weld than hardened blade steel. You still need strong fusion between the adapter and blade, but it can make the build more predictable.
📋 Step-by-step: Building a simple saw blade garden tool
This workflow focuses on building a functional weeder, scraper, or edging style tool using a handle and a welded blade head.
-
Pick your tool style (weeder, scraper, edging).
Decide whether the blade edge faces outward, downward, or at a cutting angle. -
Measure and mark.
Dry fit the blade to the handle or adapter plate so the cutting edge is aligned where you want it. -
Cut the blade to shape if needed.
Use grinding or an appropriate cutting method to define the head and remove tooth sections that interfere with cleaning or safe handling. -
Clean the weld zones.
Grind to bright metal on both mating surfaces.
Remove any coatings. -
Make a mild-steel adapter (recommended).
If the blade is extremely hard or awkward, use a backer plate or bracket that will handle welding and transfer load. -
Dry fit and tack weld.
Align the blade so it stays at the correct angle. Use several small tacks rather than one large tack. -
Stitch weld around the joint.
Add short weld segments, allowing cool-down between them.
Check alignment as you go. -
Grind and refine edges.
Remove sharp burrs and restore a usable cutting profile.
Keep the cutting edge even and durable. -
Test for solid attachment.
Apply gentle force by hand first.
If it moves, stop and reinforce before using it in soil. -
Protect against corrosion.
Apply a suitable coating for outdoor use. Options include metal primer and paint, or a protective oil after drying (especially if you are not painting). -
Sharpen as needed.
Hardened steel may require a proper sharpening setup and patience.
🧠 Tips for making it stronger and safer
- Add a backer plate to reduce stress concentration at the weld line.
- Use gussets or ribs if the blade will take side loads (scraping and edging often twist).
- Keep the blade supported near the working edge. Overhanging blade sections can flex and break.
- Consider handle comfort. Garden tools should be easy to grip and stable under push and pull forces.
- Balance the tool so it does not feel top-heavy. If needed, add counterweight or choose a lighter handle.
- Remove tooth points or smooth aggressive corners that could snag or injure during storage and use.
⚠️ Common mistakes to avoid
Mistake 1: Welding dirty metal
Rust, oil, and residues prevent proper fusion and can weaken the joint. Always grind and degrease the weld areas.
Mistake 2: Too much weld at once
Overheating hard steel increases cracking and warping risk. Use stitch welding and controlled heat input.
Mistake 3: Assuming the blade will weld like mild steel
Hardened steel behaves differently. If you see poor penetration or brittle-looking weld behavior, change approach: use an adapter, adjust technique, or choose a different welding process.
Mistake 4: Skipping edge finishing
Sharp burrs and uneven edges can be unsafe and reduce performance. Finish and deburr before use.
Mistake 5: No corrosion protection
Outdoor use will quickly degrade metal if it is left bare. Apply a protective coating and store dry.
🧽 Maintenance to keep your tool working
To maximize lifespan:
- Clean after use: rinse off soil and let it dry.
- Reapply protection: touch up primer/paint or apply oil if that is your chosen protection method.
- Sharpen periodically: especially for weeding and scraping where the edge dulls.
- Inspect the weld joint: look for cracks after rough use or seasonal storage.
📸 Where to add a screenshot in your own build
If you document your project, the most helpful visuals typically show:
- The saw blade head after grinding and shaping
- The adapter bracket fit-up and tacks
- The welded joint before finishing
- The final tool with protective coating
FAQ: Repurposing saw blades into garden tools
Can you weld any saw blade steel?
What welding process is best for this kind of project?
How do you prevent the blade from cracking near the weld?
Do you need to remove the teeth?
How should you protect the tool from rust?
🏁 Key takeaway
Repurposing old saw blades into garden tools is a practical DIY welding project when you treat the blade steel with care. Focus on solid fit-up, clean weld zones, stitch welding to control heat, and reinforcement where side loads occur. With proper grinding, edge finishing, and corrosion protection, a worn blade can become a durable, useful tool that would otherwise be thrown away.