If you do any kind of hands-on work at home — welding, fabrication, or simple repairs — small tricks add up to big time savings. I use these seven simple, practical ideas in my own shop to make projects faster, cleaner, and safer. Each hack is easy to build, beginner-friendly, and focused on real-world welding and DIY work. Try them, adapt them, and make them your own.
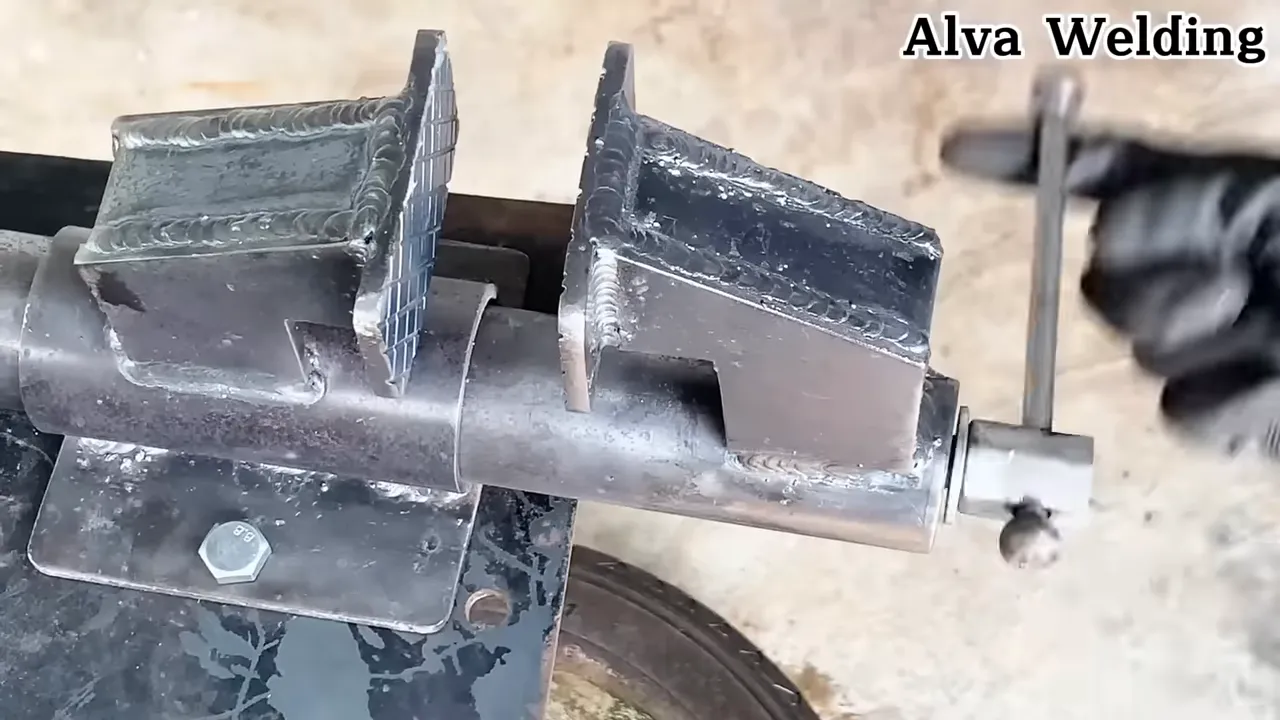
1. Clamp and jig for holding square and round tubing 🔩
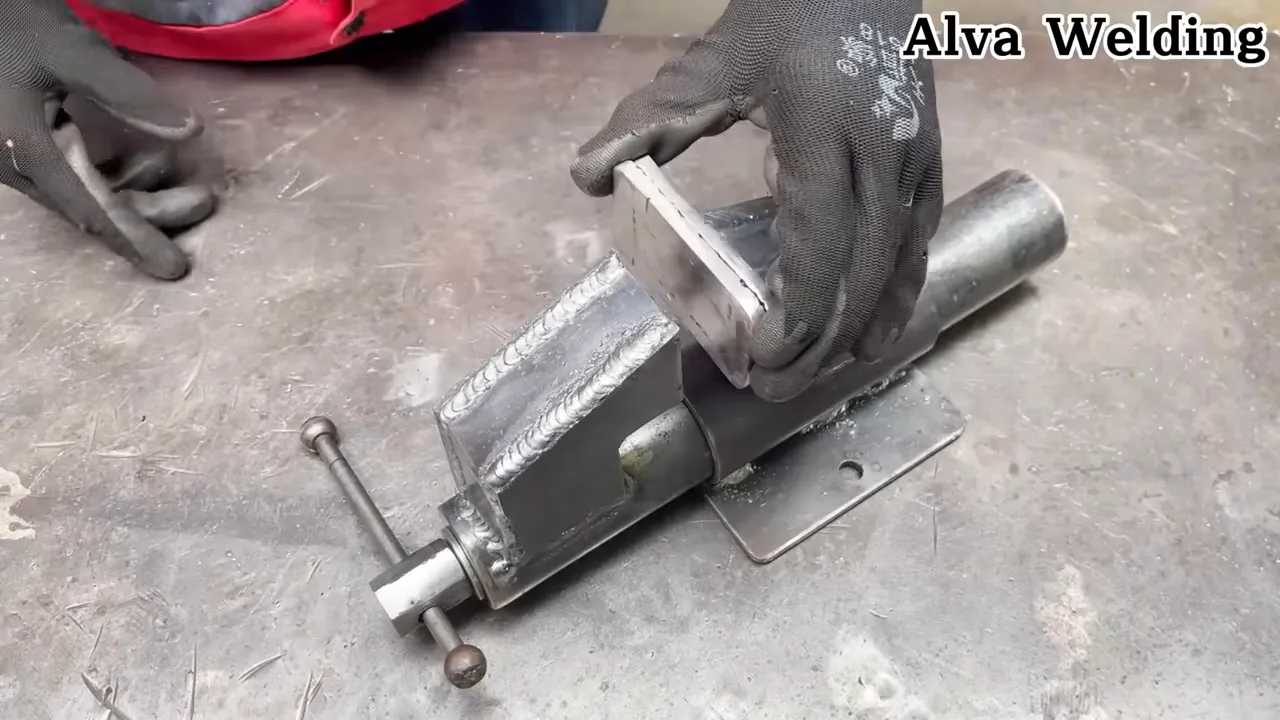
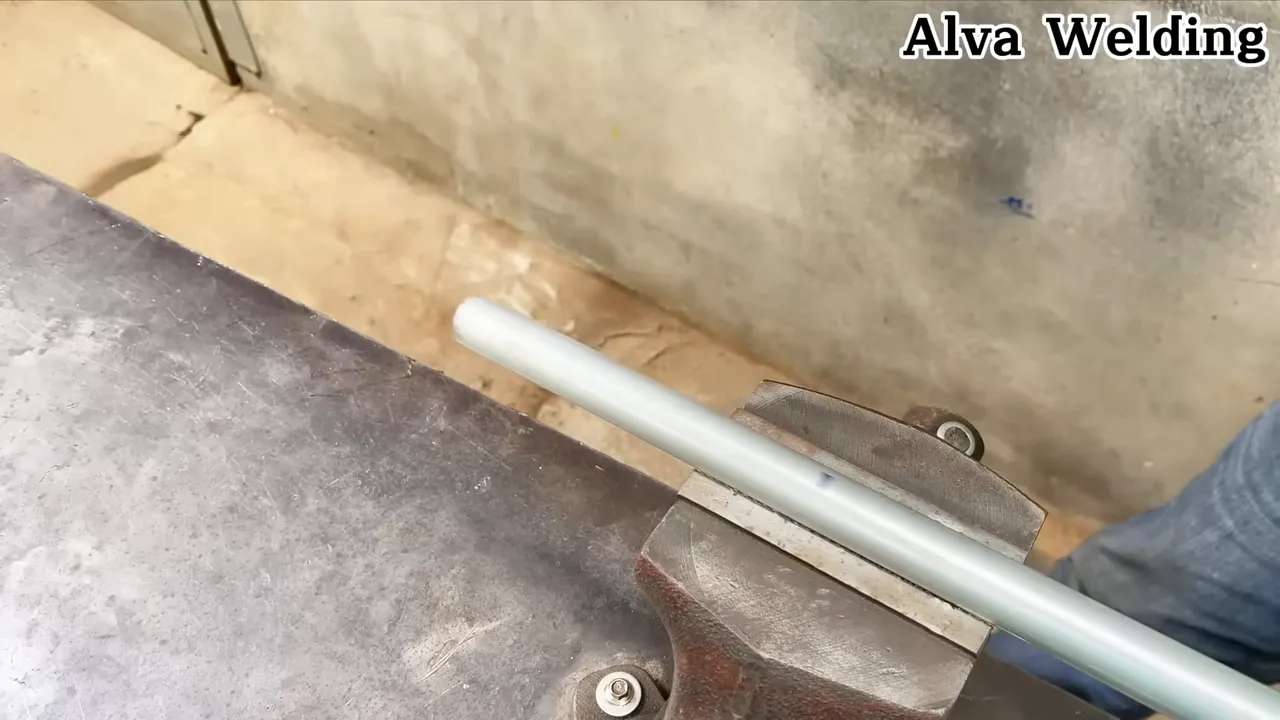
Holding round or square tubing steady when you tack or weld can be frustrating. I made a lightweight, adjustable clamp/jig from scrap steel that grips both shapes and keeps parts aligned for repeatable welds.
Materials
- Flat bar and a short threaded rod
- Two small plates for jaws
- Wing nut or nut and wrench
How I use it
- Cut two matching jaw plates and weld them to a short flat bar so they close around the tubing.
- Drill holes and thread a rod through so the jaws can be tightened with a wing nut.
- Adjust the jaw faces for square or round stock and clamp the workpiece before tacking.
Tips
- Line the jaws with copper, aluminum, or leather to protect finished surfaces (avoid rubber near the weld zone).
- Make two identical jigs for quick fixturing of mirrored parts.
2. Magnetic socket and bit holder from old magnets 🧲
Keep sockets, bits, and small steel parts organized by gluing strong magnets to a scrap steel strip or small tin. This keeps fasteners on hand and prevents them from rolling off the bench.
Materials
- Small neodymium magnets
- Short steel strip or recycled metal can
- Epoxy or strong adhesive
How I use it
- Glue magnets evenly across the strip, leaving room for sockets and bits.
- Mount the strip on a pegboard or bench edge.
- Drop nuts, screws, and sockets onto it during work to keep them visible and secure.
Tips
- Wrap a magnet in painter’s tape for a temporary magnetic pickup tool.
- Keep at least one magnetic tray in your tool bag for mobile work; keep strong magnets away from the weld arc to reduce arc blow.
3. Copper backing to weld thin metals without burn-through 🥇
Thin sheet metal and thin-walled tubing can burn through easily. I often use a copper backing bar to act as a heat sink and improve bead formation when welding thin materials.
Materials
- Copper flat bar or strip
- Clamps or magnets (keep magnets away from the arc)
How I use it
- Place the copper behind the joint to absorb heat and support molten metal.
- Clamp the copper in place so it sits flush behind the weld.
- Use lower heat settings and faster travel speed with MIG or TIG, letting the copper draw away excess heat.
Tips
- Copper does not stick to weld metal, so it peels off easily when cool.
- If you need repeatable backing, use a flush clamp system or screws/clamps — do not weld the copper to the work.

4. Welded stop tabs for repeatable cuts and angles 📐
When you need repeatable lengths or identical angles, weld small stop tabs or locators onto your fixture. This saves measuring time and improves consistency on multiple parts.
Materials
- Small scraps of flat bar
- Clamps and square
How I use it
- Position the first part against a square and tack a tab where the stop should be.
- Finish-weld the tab to the fixture so the part butts up to the same spot every time.
- Label stops for different part lengths or angles to avoid confusion.
Tips
- Make removable stop blocks for quick changes between jobs.
- For angled stops, grind a chamfer into the tab so the part seats snugly.
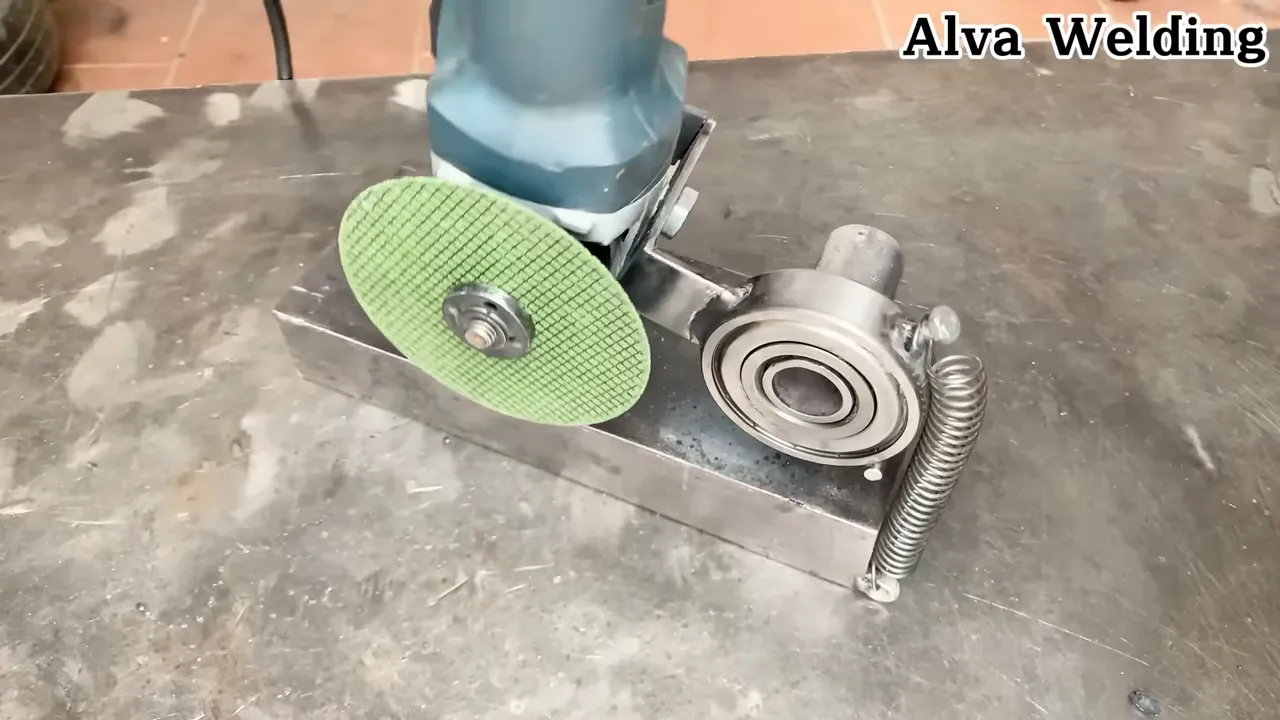
5. Chamfer and bevel guide for clean weld prep 🔧
Proper edge prep makes welding easier and the weld stronger. A simple guide that keeps the grinder at a consistent angle helps you chamfer edges quickly and uniformly.
Materials
- Short length of angle iron
- Clamps and a grinder with a flap disc
How I use it
- Clamp the guide to the workpiece at the desired angle.
- Run the grinder along the guide to create a consistent bevel or chamfer.
- Check fit-up frequently to avoid removing too much metal.
Tips
- Use a file or flap disc for finer control on thin materials.
- Mark your bevel width so you can replicate it on the mating part.

6. Portable grinding shield and debris catcher 🛡️
Grinders throw sparks and dust. A quick shield built from an old (fully decommissioned and purged) fire extinguisher or a steel splash guard directs sparks away and keeps your workspace cleaner.
Materials
- Curved steel shield or half cylinder from scrap
- Clamps or a simple stand
How I use it
- Position the shield between the grinder and the rest of the bench area.
- Clamp it to the bench or use a small stand so it stays steady.
- Angle it to catch sparks and direct them to a safe area or container.
Tips
- Wear eye protection and keep a fire extinguisher nearby when grinding.
- Use a vacuum attachment for the grinder to reduce airborne dust.
7. Magnetic parts tray to stop losing small hardware 🧰
Losing nuts, bolts, and tacks wastes time. I keep a magnetic parts tray and a couple of small labeled containers for fasteners that are easy to reach while I work.
Materials
- Small steel dish or tin
- Strong magnet(s)
- Optional labels
How I use it
- Stick magnets under the dish so they hold it to the bench or trolley.
- Sort hardware by type while working to avoid mixing sizes.
- Use one tray per job to keep job-specific fasteners together.
Tips
- Keep one tray near the welding table and another near the grinder or drill press.
- Magnetic trays are great for holding drill bits during bit changes.

Wrapping up ✅
These seven ideas are focused on making shop life simpler and more repeatable. They are low cost, easy to build, and save time over repeated projects. If you do a lot of thin-metal work, square or round tubing fabrication, or general shop repairs, adapt these hacks to fit your workflow.
Safety first: always wear appropriate PPE, keep flammable materials away from welding and grinding, and practice techniques on scrap before applying them to finished parts.
What basic safety gear do I need for welding and grinding?
Wear a welding helmet with the correct shade, welding gloves, flame-resistant clothing, hearing protection, and safety glasses. Use a respirator when grinding or working with painted metals and always have a fire extinguisher nearby.
Can beginners make these jigs and use these tips?
Yes. All the ideas are designed with beginners in mind. Start slowly, practice on scrap, and follow safe settings for your machine. If you are unsure, ask a more experienced person or take an introductory welding class.
Which tools are essential to try these hacks?
A basic grinder, MIG or TIG welder, clamps, an angle grinder with a flap disc, and some hand tools like a drill and a vise are enough to build and use most of these jigs.
Do these ideas work for both square and round tubing?
Yes. Several of the jigs shown are adjustable and can be adapted to hold both square and round tubing securely for welding and tacking.
Where can I learn more about welding thin metals and pipe techniques?
Look for beginner welding tutorials, practice guides for MIG and TIG, and fabrication lesson plans that focus on thin sheet metal, square tubing, and round tubing. Hands-on practice is the fastest way to improve.