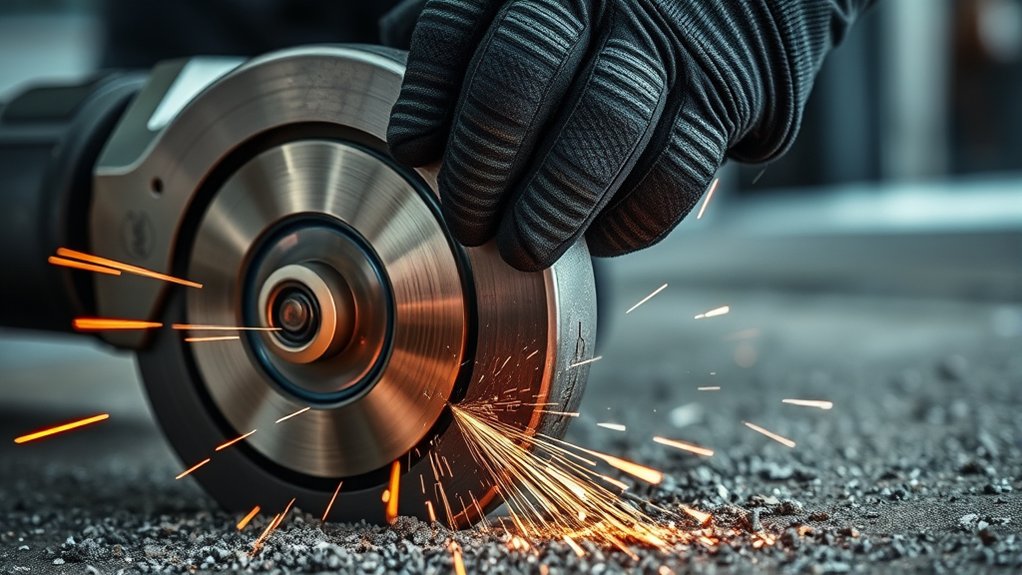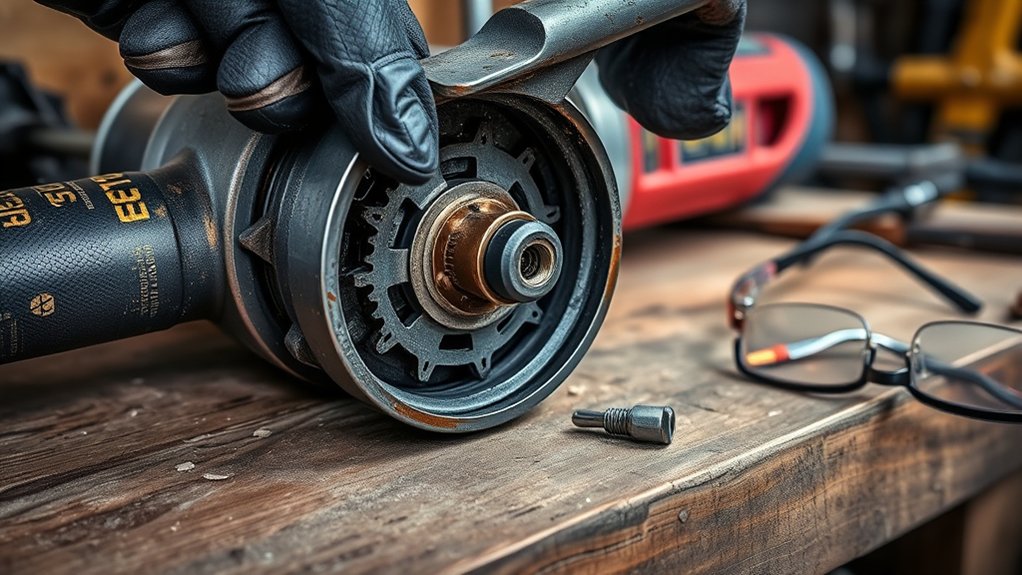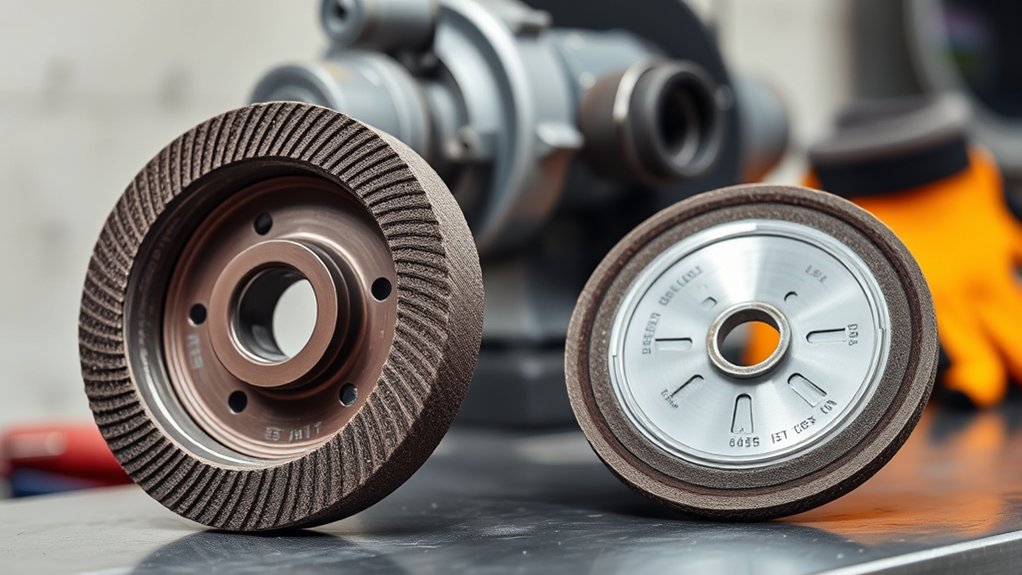
Type 1 and Type 27 abrasive wheels are shaped differently, but shape is only part of choosing the right wheel. You also need to check the operation printed on the wheel, its maximum RPM, material rating, dimensions, mounting system, and required guard. Getting any of those details wrong can damage the wheel or cause a serious loss of control.
Quick Answer
A Type 1 wheel, now often labeled Type 41, is flat and commonly used for straight peripheral cutting. A Type 27 wheel has a depressed center and is commonly used for grinding. However, shape alone does not approve an operation. Use the wheel only for applications shown on its label and with the guard required by your grinder manufacturer.
Key Takeaways
- Type 1, or Type 41, describes a flat wheel shape commonly used for straight cut-off wheels.
- Type 27 describes a depressed-center shape commonly used for grinding wheels, but some specially marked products also permit cutting.
- Never assume that wheel shape alone tells you whether side grinding, cutting, notching, or blending is allowed.
- The wheel’s maximum RPM must equal or exceed the grinder’s no-load speed.
- Use the guard, flanges, arbor system, and work angle specified by the wheel and grinder manufacturers.
- Inspect the wheel and tool, secure the work, control sparks, and wear eye and face protection before starting.
What’s in This Article
- Understanding the Differences Between Type 27 and Type 1 Wheels
- Quick Comparison: Type 27 vs Type 1 Wheels
- How to Read an Abrasive Wheel Label
- Top Advantages of Using Type 27 Wheels for Effective Grinding
- Why Type 1 Wheels Are Best for Precision Cutting Tasks
- Essential Safety Tips for Using Type 27 Grinding Wheels
- Essential Safety Tips for Using Type 1 Cutting Wheels
- Safe Mounting and Start-Up Checklist
- How to Choose the Right Wheel for Your Specific Project
- Common Mistakes to Avoid When Using Grinding Wheels
- How Wheel Shape Affects Performance and User Experience
- The Importance of Guards for Both Wheel Types
- Tips for Maintaining Your Grinding and Cutting Wheels
- Troubleshooting Cutting and Grinding Problems
- Frequently Asked Questions
- Conclusion
- Sources
At a Glance
| Time Required | About 2–5 minutes to verify the wheel, grinder, guard, and workpiece before use |
| Difficulty | Beginner-level selection; operation requires training and careful tool control |
| Tools Needed | Compatible grinder, correct guard, side handle, approved wheel, mounting flanges, work clamp, safety glasses, face shield, and hearing protection |
| Cost | Varies by wheel diameter, abrasive, construction, and whether your grinder needs a separate cutting guard |
Understanding the Differences Between Type 27 and Type 1 Wheels
The type number identifies the wheel’s basic shape. It does not, by itself, tell you every operation the wheel can safely perform.
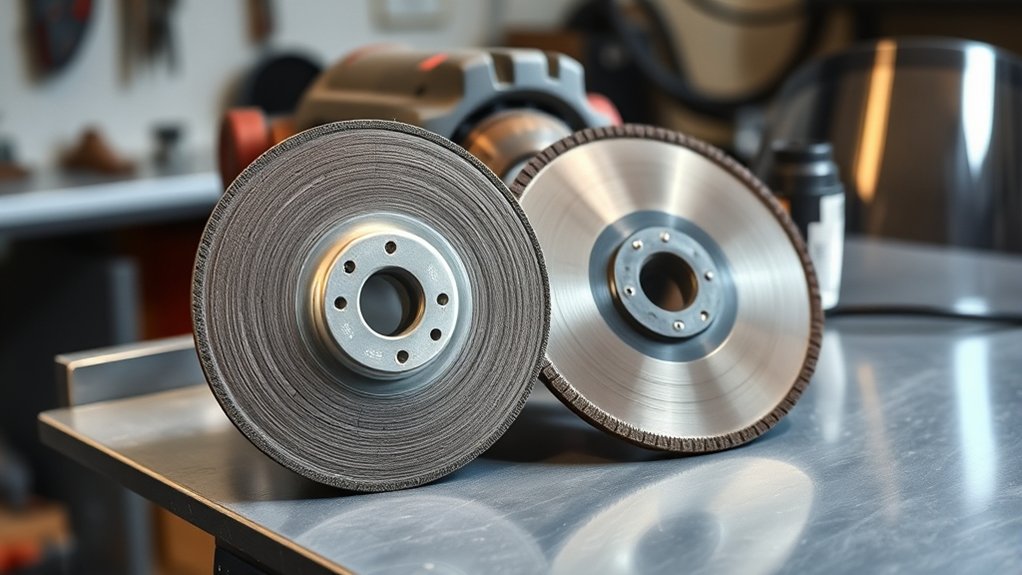
A Type 1 wheel has a flat, straight profile. In portable angle-grinder work, the term usually refers to a thin cut-off wheel used on its outer edge. Many current labels use Type 41 for this same straight cut-off shape, so you may see Type 1, Type 41, or both terms in product listings and manuals.
A Type 27 wheel has a depressed center. The recessed mounting area gives the grinder flange and lock nut more clearance when the working face contacts the metal. This geometry is common on rigid grinding wheels, flexible wheels, flap discs, and some specially designed cut-and-grind wheels.
Note: A Type 27 shape does not automatically make a wheel safe for both cutting and grinding. A grinding-only wheel must not be used for cutting. A wheel may perform more than one operation only when the manufacturer marks it for those operations.
For a straight cut, the outer edge of a Type 1/41 cut-off wheel enters the material at about 90 degrees. Side pressure, bending, prying, and twisting can overstress the thin wheel.
A Type 27 grinding wheel uses part of its face against the work. Its correct angle depends on the wheel’s construction and instructions. A rigid bonded grinding wheel may require a different angle from a flat Type 27 flap disc, so do not apply one angle to every Type 27 product.
The type number identifies wheel geometry. The label and manufacturer instructions identify what the wheel may safely do.
Quick Comparison: Type 27 vs Type 1 Wheels
This comparison applies to common portable angle-grinder wheels. Always check the individual wheel and grinder instructions because products with the same basic shape can have different operating limits.
| Feature | Type 1 / Type 41 | Type 27 |
|---|---|---|
| Basic shape | Flat, straight disc | Depressed center |
| Common use | Peripheral cutting and slotting | Grinding, stock removal, weld blending, and surface preparation |
| Contact with work | Outer edge at about 90 degrees | Part of the wheel face at the manufacturer-specified angle |
| Side grinding | Not permitted on a cutting-only wheel | Permitted only when the wheel is marked for grinding |
| Cutting | Permitted when marked as a cut-off wheel | Permitted only on Type 27 products specifically marked for cutting or cutting and grinding |
| Guard | Enclosed cutting guard specified by the grinder manufacturer | Grinding guard for grinding; a different guard may be required if the wheel is approved for cutting |
| Main benefit | Narrow, straight cuts with low material loss | Mounting clearance and controlled face contact |
| Main misuse risk | Side loading, twisting, binding, or use with an open grinding guard | Using the wrong angle, excessive pressure, or performing an operation not shown on the label |
Products Worth Considering

VERSATILE CUTTING PERFORMANCE: The Benchmark Abrasives grinding wheels 4 1/2 inch size with a 7/8" arbor are perfect for cutting metal, steel, metal pipes, tubes, flat sheets, shipbuilding, rail, and general metal fabrication. Experience precision in every cut with our expertly designed depressed center grinding wheel. Used by craftsmen and DIY enthusiasts these grinding wheels meet all your needs with ease.
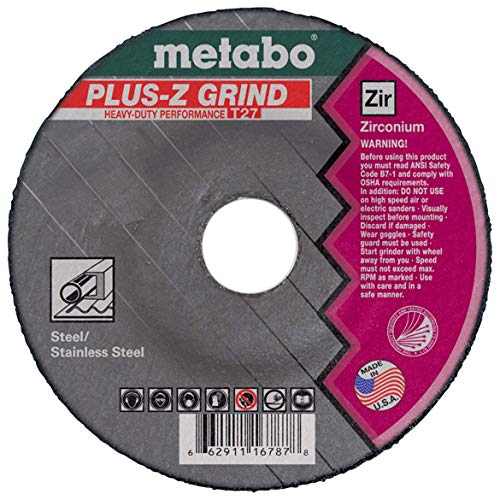
SUPER DUTY: Smooth and Cool grinding in Toughest applications for Extended Life, Improved Productivity, High Versatility
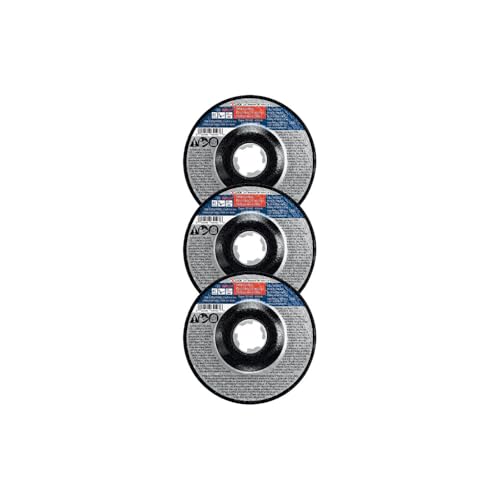
FAST AND EFFICIENT: Experience up to 5X faster wheel changes with Bosch's innovative X-LOCK technology—no spanner wrench or flange nuts required.
How to Read an Abrasive Wheel Label
The label is your first compatibility check. Do not mount a wheel when important markings are missing, unreadable, or inconsistent with the grinder manual.
Look for these details:
- Wheel type or shape: Type 1, Type 41, Type 27, or another marked geometry.
- Approved operations: Cutting, grinding, notching, blending, or a combination specifically approved by the manufacturer.
- Maximum operating speed: The marked RPM must equal or exceed the grinder’s no-load RPM.
- Diameter and thickness: Both must fit the grinder and guard.
- Arbor or hub size: The wheel must fit freely on the intended spindle or mounting system without drilling, filing, or forcing.
- Material rating: Carbon steel, stainless steel, aluminum, masonry, or another named material.
- Safety pictograms: These may prohibit side grinding, require a guard, require PPE, or prohibit use on a damaged wheel.
- Date or storage marking: Follow any expiration, use-by, or best-use guidance printed by the wheel manufacturer.
Warning: Never mount a wheel whose maximum marked RPM is lower than the grinder’s no-load speed. Do not assume that reducing hand pressure or using the grinder briefly makes an overspeed setup safe.
Current labeling practices may identify a straight cut-off wheel as Type 41 rather than Type 1. Norton explains that the number identifies wheel shape and describes Type 41 as the newer designation for straight cut-off wheels formerly identified as Type 1. See the manufacturer’s abrasive-wheel labeling guidance.
Top Advantages of Using Type 27 Wheels for Effective Grinding
A Type 27 grinding wheel’s depressed center creates clearance around the flange and lock nut. That allows the working face to contact welds, edges, and broad surfaces without the mounting hardware rubbing the workpiece.
When the wheel is marked for grinding and used at its specified angle, it can handle jobs such as:
- Removing excess weld metal.
- Beveling or preparing an edge before welding.
- Smoothing sharp edges after cutting.
- Removing scale, rust, or surface defects when the wheel is approved for that material.
- Blending high spots after fabrication.
- Preparing a clean surface for coating or further finishing.
Type 27 products do not all use the same work angle. A rigid bonded grinding wheel often works at a steeper angle than a Type 27 flap disc. Using too little angle can overheat or wear the wheel near its center, while using too much angle can gouge the work and concentrate stress near the edge.
Pro Tip: Check the wheel package for the illustrated work angle before the first use. Write that angle on the storage bin if several wheel styles are kept near the same grinder.
Use steady, moderate pressure and let the abrasive cut. Excessive pressure does not safely increase the wheel’s speed. It can generate heat, slow the grinder, increase vibration, and shorten wheel life.
Why Type 1 Wheels Are Best for Precision Cutting Tasks
A thin Type 1/41 cut-off wheel makes a narrow kerf, so it removes less material than a thick grinding wheel. This makes it useful for straight cuts through properly supported metal.
Common applications include:
- Cutting bolts, threaded rod, and small bar stock.
- Separating sheet metal or plate within the wheel’s capacity.
- Cutting tubing and pipe while preventing the cut from closing on the wheel.
- Trimming fabricated parts before final fitting.
- Making narrow slots when the wheel manufacturer approves the application.
Keep the wheel aligned with the cut. Enter the work with the wheel close to 90 degrees and avoid forcing it sideways. If the cut starts to drift, withdraw the wheel and correct the setup rather than bending it back toward the line.
A cut-off wheel is not a sanding disc or grinding wheel. Do not lay it over to smooth a burr, widen a slot with side pressure, or use the wheel like a pry bar.
Warning: Thin cut-off wheels can break when a workpiece shifts or pinches the kerf. Clamp the work securely and support both sides so the cut does not close around the wheel.
Essential Safety Tips for Using Type 27 Grinding Wheels
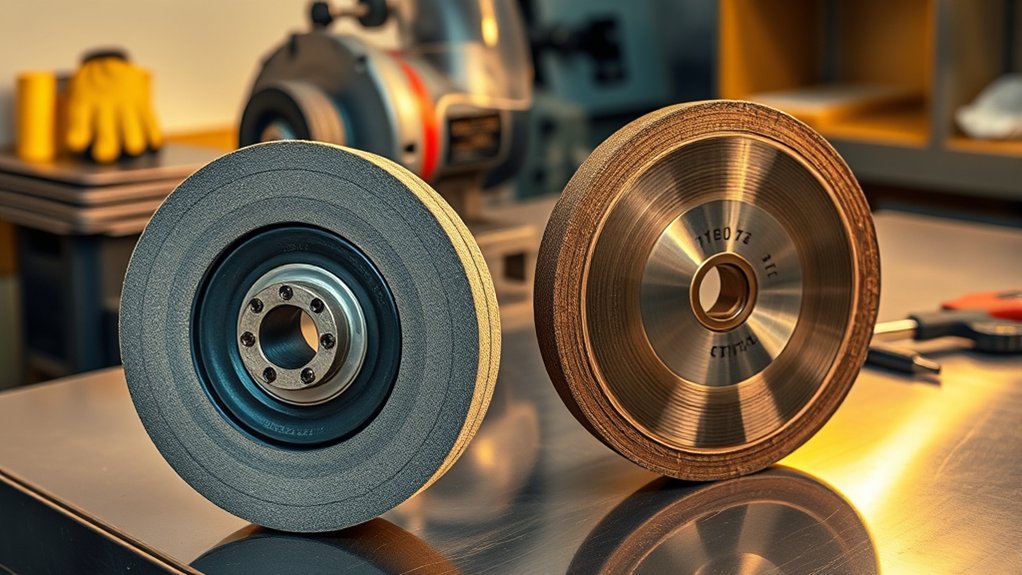
A grinding wheel can eject sparks, abrasive grit, workpiece fragments, or wheel fragments. Safe use depends on the complete setup, not only the wheel.
Proper Guard Usage
Use the guard supplied or approved for the grinder, wheel diameter, wheel shape, and operation. Position it between your body and the wheel while leaving only the area needed for the work exposed.
- Confirm that the guard locks firmly and cannot rotate during use.
- Do not use a cracked, bent, heavily worn, or modified guard.
- Keep the guard between the wheel and your face, torso, and supporting hand.
- Direct the open part of the guard away from nearby workers.
- Replace or inspect the guard after a wheel failure or hard impact.
OSHA’s portable powered-tool standard requires right-angle grinder guards to be located between the operator and wheel so fragments from an accidental break can be directed away from the operator.
Personal Protective Equipment
Wear safety glasses with side protection and a face shield. A face shield adds coverage but does not replace safety glasses. OSHA requires suitable eye or face protection where flying particles create a hazard.
- Use hearing protection selected for the measured or expected noise exposure.
- Wear close-fitting gloves that allow a secure grip and do not have loose cuffs.
- Wear non-melting, close-fitting work clothing that covers exposed skin.
- Remove loose jewelry and secure long hair.
- Wear suitable footwear and keep your stance balanced.
- Use respiratory protection only as part of an appropriate hazard assessment and respiratory-protection program.
Review OSHA’s eye and face protection requirements when setting workplace PPE rules.
Wheel Dressing Techniques
Do not dress, trim, reshape, or strike a portable Type 27 wheel unless its manufacturer expressly permits a specific procedure. Portable resin-bonded wheels are not automatically dressable just because a bench-grinder wheel can be dressed.
- Replace a wheel that is cracked, chipped, distorted, badly glazed, or damaged around the arbor.
- Use a wheel formulated for the material when loading or glazing happens repeatedly.
- Use an aluminum-rated wheel for aluminum instead of trying to reopen a loaded steel wheel.
- Stop using any wheel that begins to wobble, pulse, or vibrate.
Never attempt to expose fresh abrasive by cutting the wheel with another tool or grinding it against a sharp scrap edge.
Spark, Dust, and Fire Control
Move paper, sawdust, fuel, solvents, gas cylinders, oily rags, and other combustible material out of the spark path. Grinding sparks can travel beyond the immediate work area and remain hot after landing.
Do not grind unknown paint, plating, galvanizing, or coatings until the material and required exposure controls have been identified. Grinding can produce respirable dust from both the wheel and workpiece. Use ventilation, containment, or respiratory protection when required by the hazard assessment.
Essential Safety Tips for Using Type 1 Cutting Wheels
Type 1/41 cut-off wheels are thin and vulnerable to bending. Use them only for peripheral cutting and only on a grinder approved for that wheel size and mounting system.
- Use the enclosed cutting guard required by the grinder manufacturer.
- Keep the wheel at approximately 90 degrees to the work.
- Do not use the side of the wheel for deburring or grinding.
- Do not twist the grinder while the wheel is inside the kerf.
- Do not push hard enough to stall or sharply slow the grinder.
- Keep the cut straight and allow the wheel to establish its own path.
- Support the material so the cut opens instead of closing on the wheel.
- Stand clear of the wheel’s plane during start-up.
Norton’s grinding-wheel guard guidance explains that an open-bottom Type 27 grinding guard does not provide the side coverage required for a straight cut-off wheel. Cutting guards must provide the enclosure specified for the wheel and tool.
Note: Grinder manufacturers use different guard names. You may see terms such as cutting guard, Type 1 guard, Type A guard, or a clip-on cutting enclosure. Use the exact guard system listed in your grinder manual.
Safe Mounting and Start-Up Checklist
Complete these checks every time you change a wheel:
- Disconnect the energy source. Unplug a corded grinder or remove the battery from a cordless grinder.
- Read the labels. Confirm the wheel’s operation, material, size, arbor, and maximum RPM.
- Inspect the wheel. Look for cracks, chips, distortion, impact marks, water damage, damaged labels, or damage around the mounting hole.
- Inspect the grinder. Check the spindle, guard, side handle, flanges, cord or battery mount, switch, and vents.
- Fit the correct guard. Use the guard specified for the wheel and operation.
- Use the correct flanges. Install them in the orientation shown in the grinder manual. Do not substitute washers or homemade spacers.
- Confirm free fit. The wheel must fit its intended spindle or arbor without drilling, hammering, filing, or force.
- Tighten correctly. Tighten the retaining nut enough to secure the wheel without crushing or distorting it.
- Rotate by hand. With power disconnected, check that the wheel clears the guard and turns without rubbing.
- Secure the workpiece. Clamp it so it cannot roll, drop, twist, or close the cut.
- Clear the area. Move bystanders and combustibles away from the spark and fragment path.
- Use both hands. Install the side handle and establish a stable stance before starting.
- Start in a protected position. Keep yourself and others outside the wheel’s plane and let the wheel reach full no-load speed.
- Stop after abnormal behavior. Disconnect power and inspect the setup if you notice wobble, unusual noise, rubbing, pulsing, or strong vibration.
OSHA requires abrasive wheels to be inspected before mounting and requires verification that machine speed does not exceed the wheel’s marked maximum operating speed. The wheel must also fit freely on the spindle. These requirements appear in 29 CFR 1910.243.
How to Choose the Right Wheel for Your Specific Project
Start with the operation, then verify the complete system. Do not choose a wheel only because it physically fits the spindle.
Match the operation, material, wheel label, speed, mounting system, guard, and grinder before making the first cut or grind.
Products Worth Considering

THIN-PROFILE PRECISION: Designed for clean, accurate cuts on metal, steel, stainless steel, aluminum, pipes, tubes, and flat sheets with a 6" diameter, 0.045" thin kerf and 7/8" arbor for minimal material loss. Built for craftsmen and DIY enthusiasts

CLEAN PRECISION CUTS: Flat Type 1 design and aluminum oxide abrasive deliver burr-free, precise cuts for pipes, tubes, sheet metal, and rebar while minimizing vibration for smoother operator handling

CUT OFF WHEEL: These 4.5-inch aluminum oxide Type 1 cut off wheels deliver clean, precise cuts on metal, steel, pipes, tubes, stainless steel, cast iron, and rebar. Built for both professionals and DIY enthusiasts who demand reliable results on every cut
Choose by Operation
- Straight cutting: Use a compatible Type 1/41 cut-off wheel or another wheel specifically marked for cutting.
- Heavy stock removal: Use a rigid grinding wheel marked for that operation and material.
- Weld blending: Choose a grinding wheel, flexible wheel, or flap disc that produces the required finish.
- Finishing: Use a finer abrasive product approved for the grinder instead of trying to finish with a coarse cut-off wheel.
- Combined cutting and grinding: Use only a wheel specifically marked by its manufacturer for both operations.
Choose by Material
The material rating matters as much as wheel shape.
| Material | Selection Guidance | Main Concern |
|---|---|---|
| Carbon or mild steel | Use a wheel specifically marked for ferrous steel and the required operation. | Sparks, heat, burrs, and wheel loading |
| Stainless steel | Use a stainless-rated wheel with contamination limits suitable for stainless work. | Carbon-steel contamination and heat discoloration |
| Aluminum | Use a wheel expressly marked for aluminum or nonferrous metal. | Rapid loading, heat, and reduced cutting action |
| Cast iron | Use a wheel whose label includes the specific cast material and operation. | Dust and brittle workpiece edges |
| Masonry or concrete | Use a masonry-rated abrasive or diamond product approved for the grinder. | Respirable silica, dust control, and dry-versus-wet-use restrictions |
| Painted or coated metal | Identify the coating before disturbing it and select controls based on its hazards. | Lead, chromium, zinc, or other hazardous dust and fumes |
Confirm Size, Arbor, and Flanges
The wheel diameter must not exceed the grinder’s rating or guard capacity. The center hole or threaded hub must match the intended spindle system. Use the inner flange, outer flange, nut, and orientation shown in the tool manual.
Never enlarge an arbor hole, remove a wheel’s hub, stack wheels, add an unapproved spacer, or mount a wheel backward unless the instructions specifically show that orientation.
Pro Tip: Keep cutting wheels, rigid grinding wheels, flap discs, and nonferrous wheels in separate labeled storage areas. This reduces accidental cross-use and makes the required guard easier to identify.
Common Mistakes to Avoid When Using Grinding Wheels
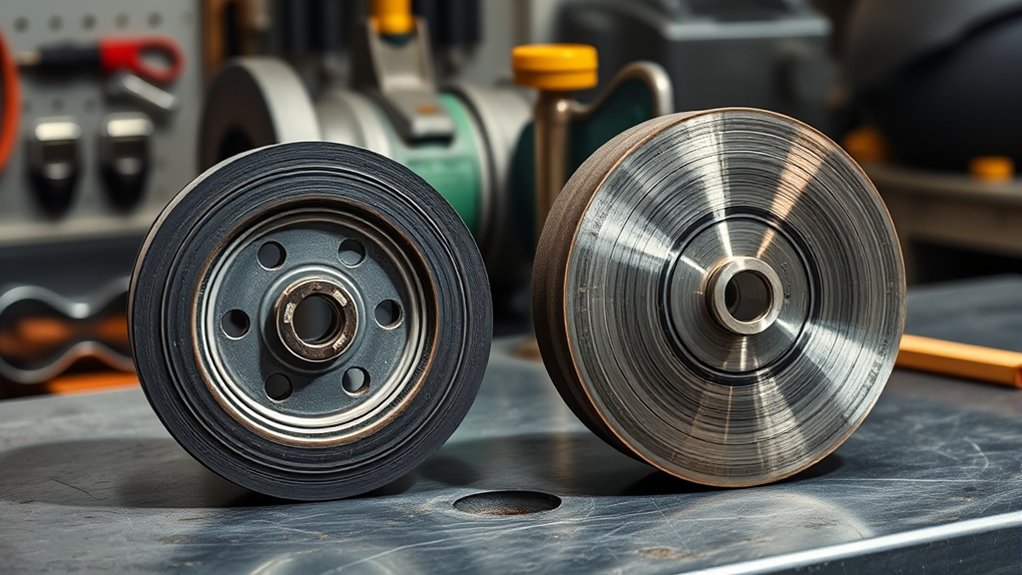
Most wheel problems begin with an incompatible setup, damaged component, unsupported workpiece, or operation the wheel was not designed to perform.
Improper Wheel Selection
Do not choose a wheel based only on diameter or appearance. Two wheels that look similar may have different speed ratings, materials, bonds, reinforcement, and approved applications.
- Confirm the operation printed on the wheel.
- Match the wheel to the work material.
- Check diameter, thickness, and arbor compatibility.
- Use a wheel approved for the grinder’s orientation and speed.
- Keep stainless and carbon-steel abrasives separate when contamination matters.
Ignoring RPM Ratings
The grinder’s no-load speed must not exceed the wheel’s maximum marked RPM. This check applies to Type 1/41 and Type 27 wheels, including small wheels that appear thick or heavily reinforced.
| Check | Safe Requirement | Risk if Ignored |
|---|---|---|
| Wheel maximum RPM | Equal to or higher than grinder no-load RPM | Overspeed and possible wheel failure |
| Wheel diameter | Within the grinder and guard rating | Excess surface speed and inadequate guard coverage |
| Accessory speed | Every wheel, pad, brush, or attachment must be rated for the tool | Accessory separation or loss of control |
Neglecting Safety Guards
Removing a guard to reach a tight location is not a safe workaround. Choose a smaller approved tool, reposition the work, or use another process that allows the correct guard to remain installed.
- Do not cut with a straight cut-off wheel under an open Type 27 grinding guard.
- Do not modify a guard opening or clamp.
- Do not install a cup wheel under a shallow depressed-center guard.
- Do not continue using a guard that was struck by a broken wheel.
Using Excessive Pressure or Side Load
Heavy pressure can slow the motor, overheat the work, increase vibration, and make the grinder harder to control. Side loading a cutting-only wheel is especially dangerous because its thin body is not intended to resist that force.
Let the abrasive cut. If progress becomes unusually slow, stop and check the wheel type, material rating, wear, loading, grinder power, and work support.
Working Without the Side Handle
The side handle helps you control start-up torque, kickback, and changes in wheel contact. Install it in the position that gives you the best two-handed control while keeping both hands away from the wheel and spark stream.
How Wheel Shape Affects Performance and User Experience
Wheel shape changes flange clearance, working-face contact, visibility, hand position, and the guard needed for the job.
A Type 1/41 wheel stays flat and narrow. This helps you follow a straight cut line, but the thin wheel has little tolerance for sideways movement. Your body and arms need to remain aligned with the cut rather than steering the wheel by bending it.
A Type 27 wheel moves its mounting hardware away from the working surface. This improves access during face grinding and can make it easier to blend welds or prepare an edge. The benefit depends on using the angle and pressure intended for that specific wheel.
Wheel shape also affects visibility. A thin cut-off wheel may let you see both sides of a marked line, while a thick grinding wheel can block more of the work surface. Reposition your body and lighting instead of removing the guard to improve the view.
Type 27 and Type 29 flap discs require a separate distinction. Type 27 flap discs are generally flatter and used at shallower angles, while Type 29 flap discs have a conical face suited to different contact angles and stock-removal patterns. Those flap-disc angles should not be copied automatically to rigid bonded grinding wheels.
The Importance of Guards for Both Wheel Types
A guard helps shield the operator from the wheel surface, sparks, workpiece debris, and fragments if a wheel breaks. It must match the tool, wheel, diameter, and operation.
- Grinding guard: Commonly open underneath so a Type 27 grinding wheel can contact the work with its face.
- Cutting guard: Provides additional side enclosure for a straight cut-off wheel.
- Combination or clip-on system: Permitted only when listed by the grinder manufacturer for the wheel and operation.
A Type 27 grinding guard cannot be assumed to protect a Type 1/41 cut-off wheel. Norton notes that the open side of a Type 27 guard leaves a straight cut-off wheel inadequately enclosed if it breaks.
Warning: Never remove the guard to fit a larger wheel. A larger wheel may exceed the tool’s allowed surface speed and extend beyond the guard’s protective area even when its printed RPM appears acceptable.
Adjust the guard before connecting power. Position it so the closed portion faces your body and supporting hand. After adjustment, verify that the wheel rotates freely without contacting the guard.
Tips for Maintaining Your Grinding and Cutting Wheels
Abrasive wheels are consumable tools, but their condition can change before they are used. Impacts, moisture, poor stacking, extreme storage conditions, and damaged packaging can affect safety and performance.
Inspecting Wheel Integrity Regularly
Inspect the wheel when it arrives, before storage, and again before mounting. Look for:
- Cracks, chips, cuts, or missing sections.
- Warping or a wheel that no longer lies flat as designed.
- Damage around the arbor hole or threaded hub.
- Water staining, softened packaging, or other moisture exposure.
- A missing, torn, or unreadable label.
- Contamination from oil, chemicals, or shop fluids.
- Signs that the wheel was dropped or crushed.
Do not repair a damaged wheel with glue, tape, washers, resin, or a backing plate that was not designed for it.
Proper Storage Techniques
| Storage Practice | Why It Matters | What to Do |
|---|---|---|
| Original packaging | Protects labels and reduces impact damage | Keep unused wheels in their box, sleeve, or resealable manufacturer packaging |
| Dry location | Moisture can affect some bonded products and packaging | Keep wheels off damp floors and away from leaks or condensation |
| Stable conditions | Extreme heat, cold, or humidity can affect certain bonds | Follow the temperature and humidity range stated by the wheel manufacturer |
| No heavy stacking | Prevents bending, crushing, and edge damage | Store wheels on a suitable rack or shelf without heavy tools on top |
| First in, first out | Helps prevent old stock from remaining unused indefinitely | Place newer deliveries behind older acceptable stock |
| Date check | Some wheels include expiration or best-use guidance | Follow the exact date instructions printed by the manufacturer |
Do not leave bonded wheels loose in a truck bed, toolbox drawer, or vehicle where they can be struck by other tools or exposed to large temperature and humidity changes.
Maintaining the Grinder
Wheel performance also depends on the grinder. Keep air vents clear, inspect the power cord or battery connection, check the spindle and flanges, and replace a damaged side handle or guard.
Have the grinder inspected if it develops excessive spindle play, repeated wheel wobble, unusual bearing noise, an unreliable switch, damaged threads, or a guard that no longer locks securely.
Troubleshooting Cutting and Grinding Problems
| Problem | Possible Cause | Safe Response |
|---|---|---|
| Wheel wobbles at start-up | Damaged wheel, dirt on flange, wrong flange orientation, poor fit, or spindle damage | Stop immediately, disconnect power, and inspect every mounting surface and component |
| Cut-off wheel binds | Twisted cut, shifting workpiece, closing kerf, or excessive feed pressure | Release the trigger, hold the tool still until rotation stops, then correct the support and alignment |
| Grinding wheel loads quickly | Wrong abrasive for the material, excessive heat, or soft metal loading the wheel | Switch to a wheel specifically designed for the material; do not improvise a dressing method |
| Grinder slows sharply | Excessive pressure, unsuitable wheel, weak power supply, or tool problem | Reduce pressure and inspect the wheel, tool, extension cord, battery, and work setup |
| Cut wanders | Side pressure, poor visibility, unsupported material, or attempting to steer inside the kerf | Withdraw the wheel, reposition the work and body, and restart on a straight path |
| Unusual vibration develops | Wheel damage, uneven wear, loose hardware, bearing wear, or wheel-to-guard contact | Stop immediately and do not resume until the cause is identified and corrected |
| Work becomes excessively hot | Too much pressure, wrong abrasive, prolonged contact, or unsuitable technique | Allow cooling, verify the wheel selection, and use controlled passes without forcing the tool |
Frequently Asked Questions
What Is a Type 27 Grinding Wheel Used For?
A Type 27 grinding wheel has a depressed center and is commonly used for stock removal, weld grinding, beveling, blending, and surface preparation. Use it only for the operations and materials printed on the wheel, at the work angle specified by its manufacturer.
What Is a Type 1 Abrasive Wheel Shape?
Type 1 is a flat, straight wheel shape. On portable angle grinders, it commonly refers to a thin cut-off wheel used on its outer edge. The same straight cut-off geometry may now be labeled Type 41.
Why Does My Cutting Wheel Say Type 41 Instead of Type 1?
Type 41 is a current designation used for the straight cut-off wheel shape formerly identified as Type 1. Check your grinder manual and wheel documentation because older manuals and product descriptions may still use Type 1 terminology.
Can You Use a Type 1 Wheel for Grinding?
Do not use a cutting-only Type 1/41 wheel for side grinding. Its thin body is designed for peripheral cutting, and side pressure can bend, crack, or break it.
Can Every Type 27 Wheel Be Used for Cutting?
No. Many Type 27 wheels are grinding-only. Cutting is permitted only when the individual wheel is specifically marked for cutting or for both cutting and grinding, and the grinder is fitted with the guard required for that operation.
Can a Type 27 Grinding Guard Be Used With a Flat Cut-Off Wheel?
A standard open-bottom Type 27 grinding guard should not be assumed suitable for a flat Type 1/41 cut-off wheel. Use the enclosed cutting guard or approved conversion system listed by the grinder manufacturer.
What Is the Difference Between Type 27 and Type 28 Grinding Wheels?
Type 27 wheels have a depressed-center profile commonly used for general grinding. Type 28 wheels have a saucer-shaped profile that changes the contact area and may suit beveling, weld smoothing, or other stock-removal work. Follow the individual wheel’s specified angle and application.
What Is the Difference Between Type 27 and Type 29 Wheels?
The exact difference depends on the wheel category. For flap discs, Type 27 is generally flat and used at a shallower angle, while Type 29 is conical and commonly used where a different contact pattern or more aggressive stock removal is needed. Do not transfer flap-disc angle guidance to rigid grinding wheels.
What Should I Do if a New Wheel Vibrates?
Stop the grinder immediately, disconnect its power source, and inspect the wheel, flanges, arbor fit, guard clearance, spindle, and mounting orientation. Do not continue running the tool in the hope that the vibration will disappear.
Safety Disclaimer: This article is for general information and does not replace training, the abrasive-wheel instructions, the grinder manual, applicable OSHA requirements, or jobsite safety rules. Stop and consult the wheel or tool manufacturer when compatibility or permitted use is unclear.
Conclusion
Type 1/41 and Type 27 wheels differ in shape, contact method, and common use. A flat Type 1/41 cut-off wheel is normally used on its outer edge for straight cutting. A Type 27 wheel has a depressed center that provides clearance for face grinding, but not every Type 27 wheel is approved for cutting.
Before every job, read the wheel label, verify the maximum RPM, confirm the material and operation, install the correct guard and flanges, secure the workpiece, and inspect the setup. Never side-load a cutting-only wheel, remove a guard for access, or continue after vibration or binding begins. Those checks take only a few minutes and are more important than the type number alone.
Sources
- OSHA 29 CFR 1910.243 — Guarding of Portable Powered Tools — guard positioning, wheel inspection, free spindle fit, and maximum-speed requirements.
- OSHA — Safe Use of Portable and Hand-Held Power Tools — portable abrasive-wheel hazards, PPE, tool orientation, inspection, and start-up precautions.
- OSHA 29 CFR 1910.133 — Eye and Face Protection — protection from flying-particle hazards and side-protection requirements.
- Norton Abrasives — What You Should Know About Grinding Wheel Guards — differences between cut-off and depressed-center grinding guards.
- Norton Abrasives — Do’s and Don’ts of Type 27 Grinding Wheels — inspection, speed, guard, side-handle, pressure, spark, and storage guidance.
- Norton Abrasives — Abrasive Wheel Labeling Practice — Type 27, Type 28, Type 29, and Type 41 terminology.