
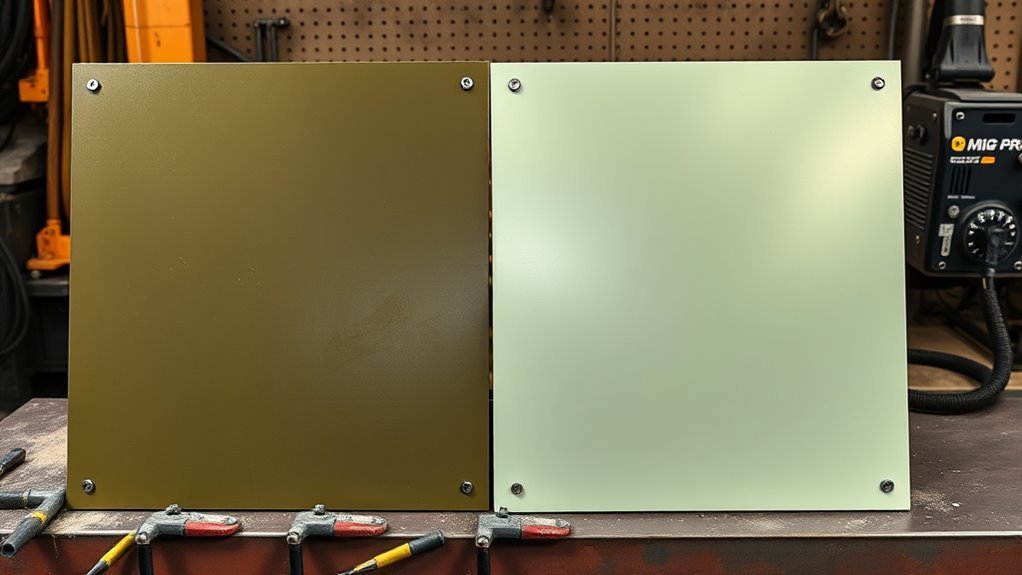
Weld-through primer and etch primer are not interchangeable. Weld-through primer is a corrosion-control coating for approved steel mating surfaces before certain welding operations. Etch primer is an adhesion-promoting primer for clean, non-welded bare metal. The correct choice depends on the welding process, substrate, paint system, product data sheet, and vehicle maker’s repair procedure.
Quick Answer
Use weld-through primer only on approved steel mating surfaces that will be hidden after welding. For many MIG/MAG plug welds, remove it from the direct weld site before welding. Use etch primer only on clean, non-welded bare metal when the next coating is compatible. OEM and product instructions always override general advice.
Key Takeaways
- Weld-through primer protects approved hidden steel joint faces; it is not a general-purpose bare-metal primer.
- Etch primer promotes adhesion on approved clean bare metal that will be painted, not welded.
- Resistance spot welding, MIG/MAG plug welding, butt welding, brazing, and weld-bonding can require different coating preparation.
- After welding, restore corrosion protection with the primer, seam sealer, underbody coating, and cavity protection required for that repair.
At a Glance
| Time Required | About 15 to 45 minutes for surface preparation and primer application, plus the product’s flash or dry time; welding and refinishing take longer |
| Difficulty | Moderate; product placement, film thickness, joint fit-up, and coating compatibility affect the repair |
| Tools Needed | Approved cleaner, clean wipes, abrasive tools, masking materials, primer, ventilation, welding PPE, and the vehicle and product instructions |
| Cost | Usually low for primer alone; total repair cost depends on welding, refinishing, seam sealing, and cavity protection |
Warning: Welding can produce hazardous metal fumes, gases, ultraviolet radiation, fire, and electric-shock hazards. Remove unsafe coatings and residue, use effective local exhaust ventilation, wear the required PPE, keep chlorinated-solvent vapors away from the arc, read every SDS, and follow the vehicle maker’s repair procedure before welding.
What Is Weld-Through Primer?
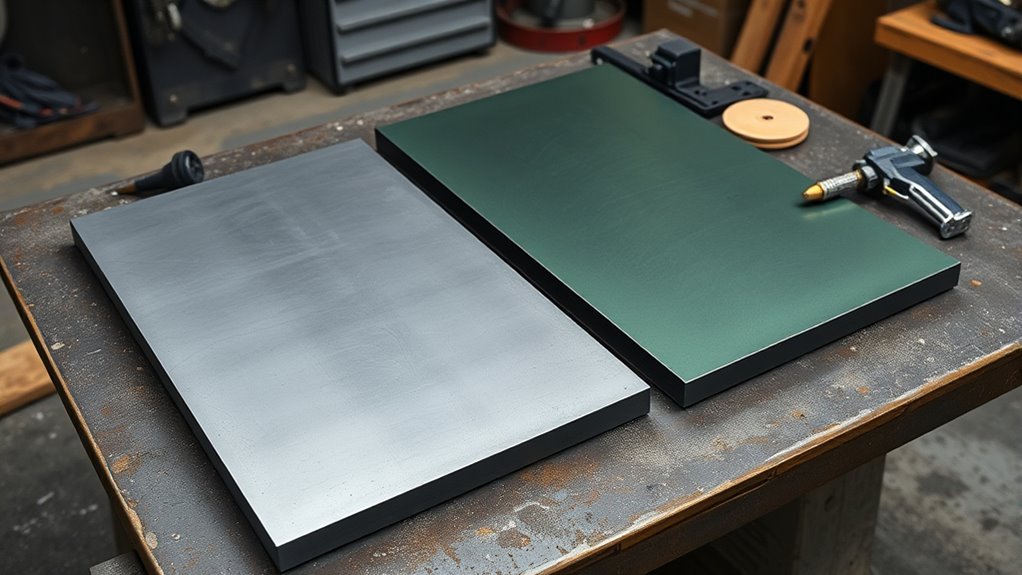
Weld-through primer is a specialized corrosion-control coating used between approved metal surfaces that will become difficult or impossible to reach after assembly. In auto body repair, it is commonly considered for steel flanges, lap joints, mating surfaces, and resistance spot-weld locations when the product and vehicle procedure allow it.
Weld-through primer protects hidden joint faces; it does not replace clean metal at a direct weld site or the corrosion-protection steps required after welding.
Many weld-through products use zinc-rich or conductive formulas. For example, 3M’s Weld Thru II technical data sheet calls for two light coats, test welding, and removal of the coating from a MIG/MAG plug-weld site before welding. That distinction matters: “weld-through” does not mean every welding process should pass directly through the coating.
Apply weld-through primer only after removing rust, paint, damaged e-coat, sealers, undercoating, oil, and other contamination from the area specified by the repair procedure. Heavy film build can increase electrical resistance, spatter, heat, porosity, and cleanup. Use the exact coat count, flash time, dry time, substrate limits, and weld method listed by the manufacturer.
Weld-through primer is only one layer of corrosion protection. It does not replace post-weld primer, seam sealer, underbody coating, chip protection, or cavity wax. Some OEM procedures also prohibit it where structural adhesive or weld-bonding material must occupy the mating surface.
What Is Etch Primer?
Etch primer, also called self-etching primer, is an acid-containing adhesion primer for approved clean bare-metal substrates. It lightly reacts with the surface and leaves a thin primed layer for a compatible surfacer, sealer, or coating system.
Use it on non-welded bare metal only when the product and refinish system approve the substrate and the next coat. A current SEM Self Etching Primer technical data sheet, for example, specifies prepared steel and aluminum, light coats, product-specific sanding grits, flash times, and a topcoat window. It also says not to apply color directly over that primer.
Etch primer is not a universal replacement for epoxy primer. Epoxy generally provides a stronger sealing barrier, while etch primer is mainly an adhesion-promoting pretreatment. The correct stack varies by brand: a primer surfacer, seam sealer, filler, or epoxy product may prohibit direct application over acid-based self-etch primer.
Note: Do not put etch primer in a weld path. Also do not place another coating directly over it until you confirm that both technical data sheets approve the combination.
Weld-Through Primer vs Etch Primer
The difference is the metal’s next job. Weld-through primer is a hidden-joint corrosion product used before approved welding operations. Etch primer is a paint-system adhesion product used on approved non-welded bare metal. Neither product is a shortcut around surface preparation or product compatibility.
| Question | Weld-Through Primer | Etch Primer |
|---|---|---|
| Main job | Protect approved hidden mating surfaces before welding | Promote adhesion on approved non-welded bare metal |
| Typical substrate | Usually bare ferrous steel; confirm the product and OEM procedure | Steel or aluminum, and only other metals named by the TDS |
| Direct weld site | Process-specific; often left for STRSW but removed at a MIG/MAG plug-weld site | Remove it; ordinary etch primer is not a weld-zone coating |
| Use as a paint base? | No; remove exposed overspray or residue as directed | Only under compatible products named by the refinish system |
| Common mistake | Applying it too heavily or leaving it in a weld site that must be bare | Welding through it or burying it under an incompatible coating |
Products Worth Considering

ETCHES AND PRIMES IN ONE STEP: Self-etching formula chemically bites into bare steel and aluminum, no separate acid etch or sanding primer needed

High quality, fast drying surface
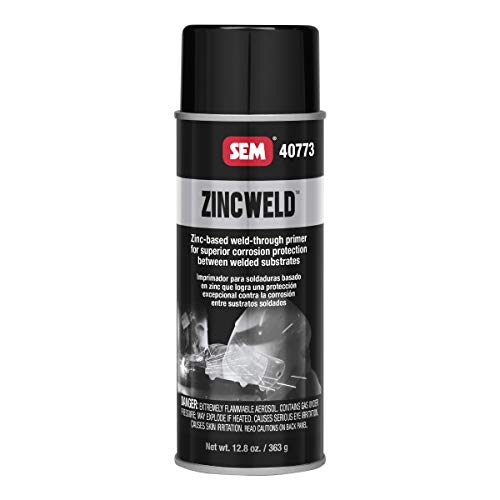
Weld thru primer
Primer Purpose
Weld-through primer addresses hidden-joint corrosion before assembly. Etch primer addresses adhesion before refinishing. Start by deciding whether the area is a mating surface, a direct weld site, an exposed paint area, or a closed cavity. One repair can contain all four.
Weld Zone Use
Do not use one rule for every weld. Follow this order:
- Identify the exact weld process: STRSW, MIG/MAG plug weld, butt weld, MIG brazing, or another approved method.
- Check the vehicle-specific body repair manual for coating, adhesive, steel-strength, and sectioning requirements.
- Check the weld-through primer TDS for substrates, coats, drying time, and direct-weld-site instructions.
- Prepare representative scrap coupons and confirm welder settings before working on the vehicle.
- Keep etch primer, ordinary paint, oil, rust, moisture, and unsafe solvent residue out of every weld site.
FCA/Stellantis guidance, for example, recommends zinc weld-through primer on certain steel mating surfaces but requires it to be removed completely from the direct GMA weld zone to reduce porosity. Acura guidance allows zinc-rich weld-through primer for STRSW but says not to use it for MAG plug welding, MAG butt welding, or MIG brazing. These examples show why the vehicle procedure must come first.
Topcoat Compatibility
Weld-through primer is not a finished paint layer. After welding and dressing the repair, remove exposed overspray, soot, spatter, and damaged coating. Then apply the approved corrosion-control and refinish system.
Etch primer can remain under later coatings only when the full system permits it. Do not assume that epoxy primer, body filler, seam sealer, urethane surfacer, or color can go directly over every self-etch product. Read both technical data sheets, follow the recoat window, and use one manufacturer’s approved system when possible.
Pro Tip: Mark the repair map before spraying: “mating surface,” “direct weld site,” “painted bare metal,” and “closed cavity.” That prevents primer from drifting into the wrong layer of the repair.
When Should You Use Each Primer?
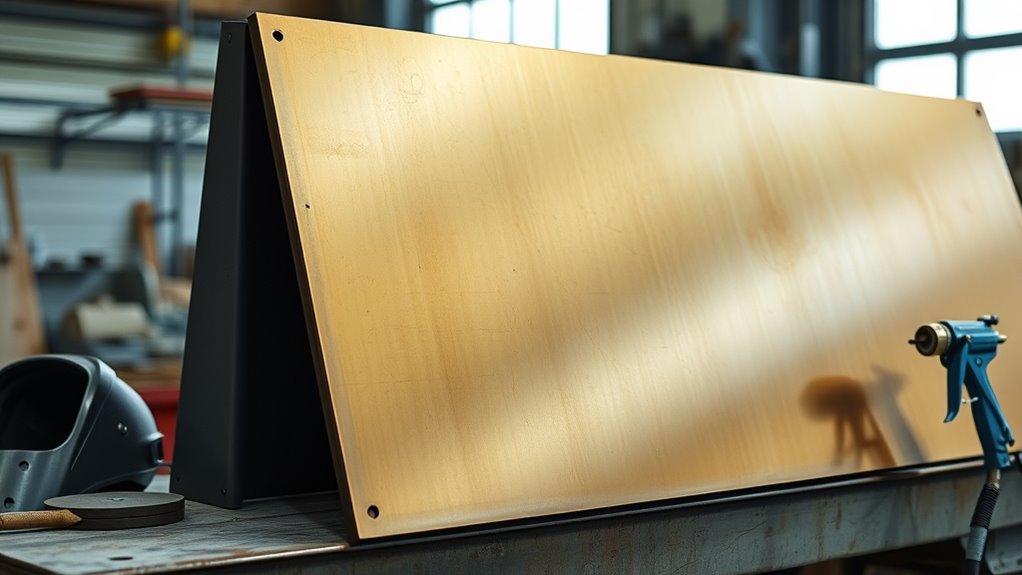
Choose the product by location, process, and coating system rather than by convenience. A hidden steel flange, a plug-weld hole, an exposed sand-through, and an aluminum panel can all be bare metal but require different preparation.
- Hidden approved steel mating surface: Use the specified weld-through coating when the OEM and product TDS require or permit it.
- Direct MIG/MAG plug-weld or butt-weld site: Leave clean bare metal where the OEM or product sheet requires removal of the weld-through coating.
- Resistance spot-weld location: Apply the specified conductive or zinc-rich coating in the manner required by the OEM, then wipe off excess if directed.
- Non-welded bare metal: Use etch primer only when the refinish system approves the substrate and next coat.
- Exposed welded repair: Clean and apply epoxy or another approved direct-to-metal primer after welding.
- Seam or flange: Apply the approved seam sealer at the stage named by the product and vehicle procedure.
- Closed rocker, pillar, rail, or boxed section: Apply cavity wax after welding and refinishing when required.
Welding Process and OEM Rules
Vehicle construction changes the answer. Modern repairs may involve mild steel, high-strength steel, ultra-high-strength steel, galvanized coatings, aluminum, adhesives, weldable seam sealers, rivets, and restricted heat zones. Verify the VIN, model year, exact panel, steel strength, and attachment method before grinding or welding.
Squeeze-Type Resistance Spot Welding
STRSW passes current through clamped panel layers. Some OEMs call for a thin zinc-rich or conductive coating on bare steel mating surfaces. Excess coating can increase resistance, so use the required film thickness and confirm weld quality on representative test coupons.
MIG/MAG Plug and Butt Welding
For plug and butt welds, many instructions call for clean bare metal at the direct weld site even when a corrosion coating remains on nearby hidden mating surfaces. Follow the specified plug-hole size, panel fit, wire, shielding gas, welder settings, and test method. Do not assume a can labeled “weld-through” can remain under the arc.
MIG Brazing and Weld-Bonding
MIG brazing and weld-bonding have their own heat and adhesive requirements. Weld-through primer can interfere with joint quality or displace adhesive, and some OEMs prohibit it on those mating surfaces. Use only the attachment materials and sequence in the body repair manual.
Note: A general article cannot replace the vehicle-specific body repair manual. On structural or high-strength-steel repairs, an incorrect weld process or heat input can damage the part even when the primer choice is correct.
Can You Paint Over Weld-Through Primer?
Do not treat weld-through primer as a paint-ready surface unless that exact product’s technical data sheet approves the next coating. Many weld-through products are designed only for hidden steel interfaces. 3M, for example, states that its Weld Thru II coating is not a primer or paint and directs users to remove overspray from outer panels.
The safer sequence is to weld, let the area cool, dress the weld as allowed, remove residue and heat-damaged coating, then rebuild the approved corrosion-protection system. Depending on the location, this may include epoxy or another direct-to-metal primer, seam sealer, primer surfacer, topcoat, anti-chip coating, underbody coating, and cavity wax.
Do not bury soot, spatter, porosity, slag, burned coating, moisture, or solvent residue. A coating system cannot correct a contaminated or defective weld.
How to Prep Metal Before Priming
Start with the repair procedure and product instructions. Degrease before sanding so you do not grind oil or silicone into the surface. Use an approved cleaner, clean wipes, and the specified abrasive. Remove rust, loose coating, damaged e-coat, old seam sealer, undercoating, dust, and burned residue only from the area the procedure allows.
For more detail on weld prep, review this guide to cleaning mild steel for welding. The goal is a dry, fitted, uncontaminated joint without removing more factory protection than necessary.
Warning: Do not use chlorinated brake cleaner or other chlorinated-solvent vapors around an arc. OSHA requires chlorinated-hydrocarbon cleaning operations to be kept away from welding atmospheres, and cleaned surfaces must be fully dry before welding.
Prep for Weld-Through Primer
- Confirm the vehicle, panel, substrate, weld method, and coating requirement.
- Remove contamination and damaged coatings from the specified mating area.
- Prepare the direct weld site separately; leave it bare when required.
- Mask exposed outer-panel areas to control overspray.
- Apply only the number of light coats specified by the TDS.
- Observe the required flash and dry times before assembly.
- Clamp the joint to the specified fit and test the welding setup on scrap.
Prep for Etch Primer
- Confirm that the metal will not be welded and that the refinish system calls for etch primer.
- Sand with the grit range specified by the primer manufacturer.
- Remove dust and clean the surface again with an approved cleaner.
- Apply light coats only; heavy application can lift or wrinkle.
- Observe the flash and topcoat window.
- Apply only a compatible surfacer, sealer, or next coat.
Galvanized and coated steels need extra care because welding can generate zinc-containing fumes and remove factory corrosion protection. Control fumes at the source, keep your head out of the plume, use respiratory protection when required by the hazard assessment, and restore the coating system after welding.
Welding Tips for Primed Metal
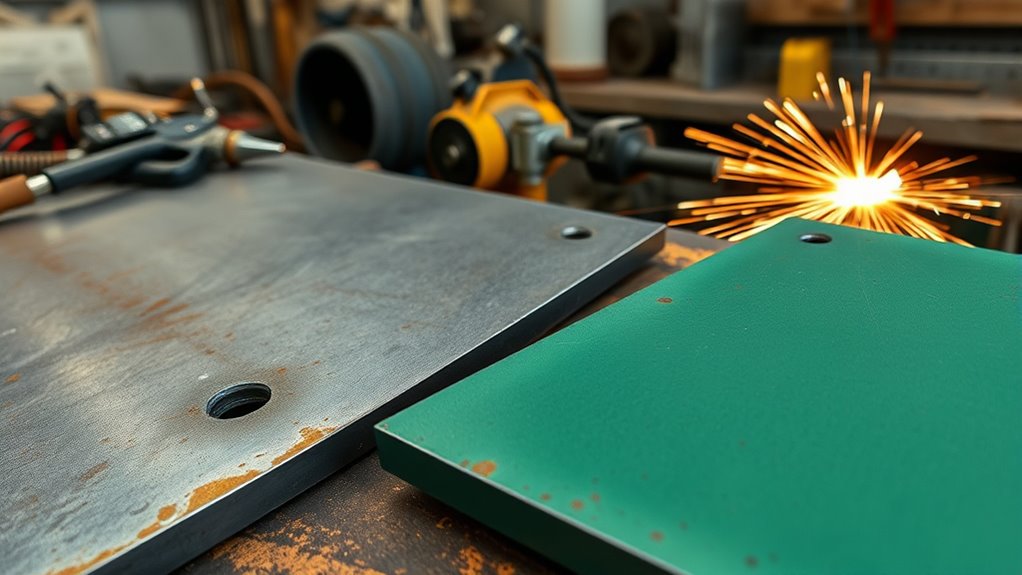
Clean each direct weld site before striking an arc. Paint, oil, heavy primer, undercoating, rust, moisture, and solvent residue can contribute to porosity, spatter, unstable current, fumes, and poor fusion. Weld-through primer does not make contamination acceptable.
Clean Weld Zones
A clean weld starts with correct panel fit-up. Gaps, bent flanges, excess adhesive, thick coating, and poor clamping can weaken a plug or spot weld even when the machine settings are correct.
- Expose only the metal area required by the repair procedure.
- Remove oxidation and contamination with the specified abrasive method.
- Clean and fully dry both mating surfaces.
- Apply weld-through coating only where required.
- Clear the direct weld site when the product or OEM calls for bare metal.
- Clamp the joint tightly and verify access to both sides where required.
Prime Before Welding
Shake or mix the product as directed, spray from the specified distance, and use light coats. Do not guess at film build. If too much coating is present, remove the excess and repeat the preparation rather than compensating with excessive heat.
Make a test weld on coupons that match the panel material, thickness, coating stack, gap, and number of layers. Adjust the welder only within the repair procedure and equipment manufacturer’s limits. Inspect the test weld using the required visual or destructive test before welding the vehicle.
Protect Seams Afterward
Welding burns or damages nearby factory coatings, so the repair needs protection as soon as it has cooled and passed inspection.
- Remove soot, spatter, slag, loose primer, and burned coating.
- Dress the weld only as much as the repair procedure permits.
- Apply epoxy primer or another approved direct-to-metal coating.
- Apply seam sealer at the primer stage specified by its TDS and the OEM.
- Restore topcoat, anti-chip, and underbody textures where required.
- Apply cavity wax inside closed sections after the coating steps are complete.
- Keep drain holes and designed water paths open.
This layered approach gives the joint more protection than weld-through primer alone and helps prevent moisture from entering lap joints, flanges, and boxed sections.
Common Mistakes and Troubleshooting
Most failures come from using the right product in the wrong location, mixing incompatible products, applying too much coating, or ignoring the welding process. Use the table below to narrow down the cause.
| Problem | Likely Cause | Fix |
|---|---|---|
| Porous or dirty plug weld | Coating, oil, rust, moisture, or residue remained at the direct weld site | Stop, remove the defective weld as allowed, prepare clean bare metal, and retest the setup |
| Excess spatter or unstable arc | Primer is too thick, fit-up is poor, or settings are wrong | Correct the joint, coating thickness, ground path, and test-coupon settings |
| Paint peeling over repair | Weld-through residue, contamination, or an incompatible coating stack | Remove the failed material and rebuild with a compatible primer system |
| Primer lifting or wrinkling | Etch primer was applied too heavily, recoated too soon, or covered with an incompatible product | Strip the failed area and repeat the TDS coat, flash, and compatibility sequence |
| Rust returning at seam | Post-weld primer, seam sealer, cavity wax, or drain-path restoration was incomplete | Remove corrosion, inspect the weld, restore each required protection layer, and reopen drains |
| Weak or failed weld coupon | Wrong process, material, wire, coating condition, heat input, or machine setup | Do not weld the vehicle until the OEM procedure and test results are correct |
How to Choose a Primer for Auto Repair
The correct product matches the substrate, attachment method, repair procedure, and complete coating system. Choose by technical requirements rather than brand familiarity or a broad “weldable” claim.
| Product Type | Best Use | What to Verify |
|---|---|---|
| Zinc-rich weld-through primer | Approved hidden steel mating surfaces before welding | OEM approval, weld process, direct-site removal, coat count, dry time, and substrate limits |
| Conductive or copper-enhanced weld primer | Only the welding processes and metals named by the product and OEM | Electrical resistance, film build, overspray cleanup, and repair-manual acceptance |
| Self-etching primer | Approved non-welded steel or aluminum before a compatible refinish layer | Substrate, sanding grit, coat count, flash time, recoat window, and approved next coat |
| Epoxy or other DTM primer | Post-weld sealing and broader corrosion protection where approved | Mix ratio, induction time, film build, recoat window, filler and seam-sealer compatibility |
| Cavity wax | Closed sections after welding and refinishing | Wand access, application pattern, drain paths, temperature, film coverage, and cure time |
For collision repair, OEM information outranks general product marketing. Confirm the VIN and model year, then use the current body repair manual for the exact panel. High-strength steels, coated steels, aluminum structures, adhesives, and restricted sectioning zones can change both the attachment method and corrosion-protection sequence.
Products Worth Considering


69 percent zinc metal
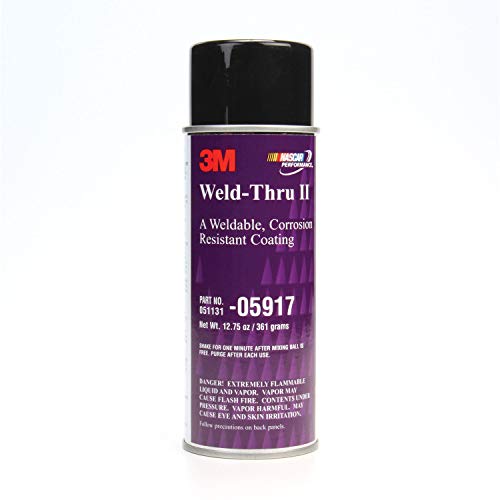
PREVENTS COSTLY COMEBACKS: Protects bare metal panels and parts from corrosion after welding
Frequently Asked Questions
Can you weld through etching primer?
No. Ordinary self-etching primer is not a weld-zone coating. Remove it from the weld area and follow the vehicle procedure for clean bare metal, weld-through coating, adhesive, or weldable sealer.
When should you not use etch primer?
Do not use it in a weld zone, on contaminated or rusty metal, on an unapproved substrate, or under a product that prohibits acid-based self-etch primer. It is also unnecessary when the selected direct-to-metal system calls for a different primer.
When should weld-through primer be used?
Use it on clean, approved steel mating surfaces before the welding operations named by the vehicle maker and product TDS. Apply only the specified film and remove it from the direct weld site when required.
Should weld-through primer remain inside a MIG plug-weld hole?
Often, no. Several product and OEM procedures require clean bare metal at the direct MIG/MAG plug-weld site while allowing corrosion coating on nearby hidden mating surfaces. Check the exact instructions before welding.
Can you paint over weld-through primer?
Do not assume you can. Many weld-through coatings are not paint primers. Remove exposed overspray or residue as directed, then apply the approved direct-to-metal primer and refinish system.
Is weld-through primer better than bare metal?
They serve different locations. The direct weld site may need clean bare metal for weld quality, while the surrounding hidden mating surface may need an approved corrosion coating. Follow the process-specific procedure rather than choosing one for the whole joint.
Can you use weld-through primer on aluminum?
Only when the product and aluminum repair procedure explicitly approve it. Many automotive weld-through primers are intended for steel, and aluminum repairs often use different joining, isolation, and corrosion-control materials.
Can you apply epoxy primer over self-etch primer?
Only when both manufacturers approve that stack. Some systems prohibit epoxy, filler, or seam sealer directly over acid-based self-etch primer. When the instructions conflict, remove the etch primer and rebuild with one compatible system.
Can you use etch primer over weld-through primer?
Do not stack them unless the technical data sheets specifically approve it. In most repairs, exposed weld-through residue is removed before the refinish system is rebuilt with the required primer, surfacer, sealer, and topcoat.
Conclusion
Use weld-through primer only on approved hidden mating surfaces before the welding processes named by the OEM and product maker. Keep the direct weld site bare whenever the procedure requires it. Use etch primer on approved clean, non-welded bare metal under a compatible paint system. The durable repair comes from process-specific preparation, verified test welds, clean coating interfaces, and complete post-weld corrosion protection.
Sources
- 3M: Weld Thru II Coating 05917 Technical Data Sheet — coat count, flash and dry time, test welding, plug-weld-site cleanup, and overspray removal.
- SEM: Self Etching Primer Technical Data Sheet — approved substrates, preparation, light coats, flash time, and topcoat limits.
- OSHA: Controlling Hazardous Fume and Gases During Welding — coating removal, ventilation, fume control, and respiratory protection.
- CDC/NIOSH: Welding Fumes and Manganese — welding-fume composition, manganese exposure, and confined-space risk.
- FCA US: Approved Use of Weld Through Primers — steel mating-surface guidance, GMA weld-zone removal, weld-bonding limits, and cavity wax.
- Acura: Body Repair Manual Welding and Sectioning Guideline Revisions — process-specific weld-through primer limits and high-strength-steel repair guidance.




