What Metals Can You Cut With a Plasma Cutter?
What’s in This Article
- Metals You Can Cut With a Plasma Cutter
- How Thick Can a Plasma Cutter Cut?
- Handheld vs. Automated Plasma Cutters
- Material Properties That Affect Cut Quality
- Power and Amperage: Matching Machine to Thickness
- Tips for Cutting Thin Sheet Metal Without Warping
- Techniques and Settings for Clean, Precise Cuts
- Safety Essentials for Plasma Cutting
- Choosing the Right Plasma Cutter for Your Projects
- Frequently Asked Questions
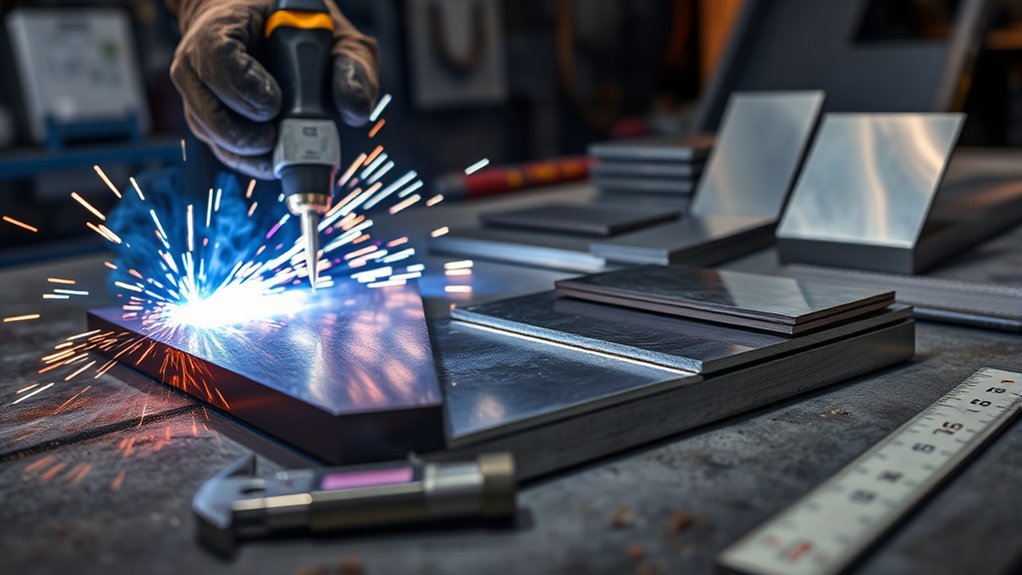
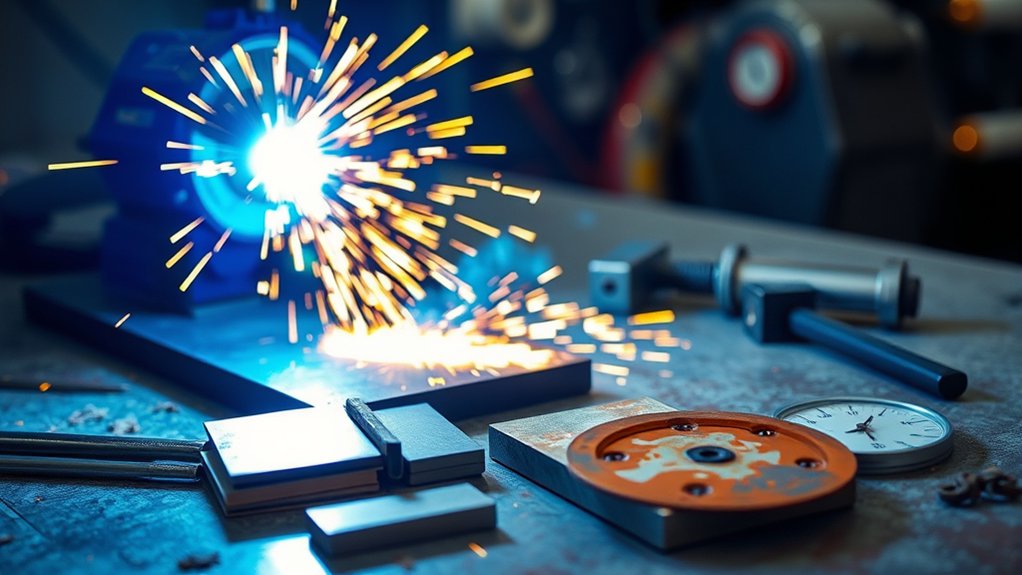
A plasma cutter can make fast, clean cuts, but only when the metal can carry an electrical arc. You can cut most electrically conductive metals with a plasma cutter, including mild steel, stainless steel, aluminum, brass, and copper. Your results depend on thickness, surface condition, amperage, air quality, and the way you set up the torch.
Clean, dry air, correct consumables, and a solid work clamp help you get better cut quality. Match amps to thickness so you can reduce dross, avoid excess heat, and protect thin sheet from warping.
Quick Answer
You can cut electrically conductive metals with a plasma cutter, including mild steel, stainless steel, aluminum, brass, and copper. You can’t cut wood, plastic, glass, or other nonconductive materials because the arc needs a conductive path. For clean cuts, match amperage, consumables, gas flow, and travel speed to the metal thickness.
Key Takeaways
- Choose conductive metals, such as steel, stainless steel, aluminum, brass, or copper.
- Match machine amperage to metal thickness before you start the cut.
- Use clean, dry air and fresh consumables to improve edge quality.
- Clamp the workpiece well so the arc stays stable and the metal does not move.
- Avoid nonconductive or toxic materials that can create unsafe fumes or poor cuts.
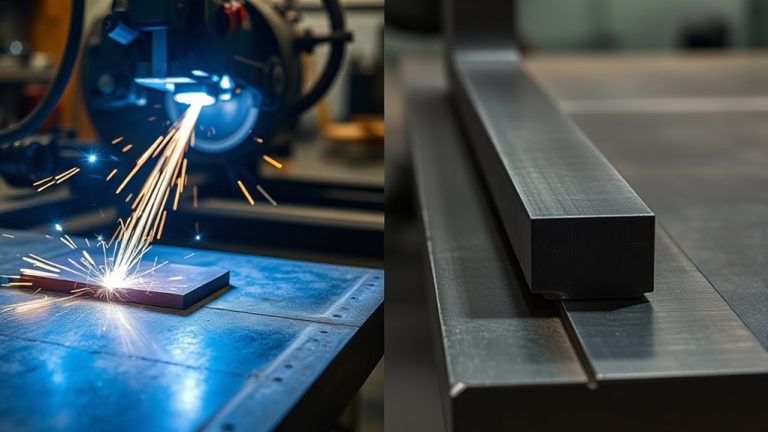
Metals You Can Cut With a Plasma Cutter
Even though a plasma cutter looks compact, it can slice through many electrically conductive metals. Common choices include mild steel, stainless steel, aluminum, brass, and copper. You can use this metalworking range in fabrication, repair, and production where clean edges and fast work matter.
Focus on conductive alloys first. Steel and stainless steel cut well because they support a steady arc. Aluminum, brass, and copper also cut well, but they may need more care with speed, amperage, and consumable choice.
Match the process to the material. Select amperage that supports your target alloy and thickness so you can keep arc stability, kerf quality, and travel speed under control. Keep the work clamp on bright, clean metal for a solid return path.
Avoid nonconductive or unsafe materials like wood, plastics, glass, and lead. These materials do not suit plasma cutting and can produce hazardous fumes or poor results.
Warning: Do not use a plasma cutter on painted, coated, or unknown materials until you understand the fume risk.
Use dry, clean air or the gas your machine requires. Check the swirl ring, nozzle, electrode, shield, and torch standoff before each job.
With proper settings and personal protective equipment (PPE), you can get precise cuts on the metals plasma cutting was designed for.
How Thick Can a Plasma Cutter Cut?
You should match the cutter type to the job. Many handheld units handle thin to medium material for shop and field work. Large automated systems can handle much thicker industrial plate.
Always check the manufacturer’s cutting chart before you cut. Higher amperage supports thicker metal, but rated cut, clean cut, pierce capacity, and severance capacity can differ by machine.
Factor in material properties too. Aluminum, copper, and brass move heat differently than steel, so you may need to adjust travel speed and amperage.
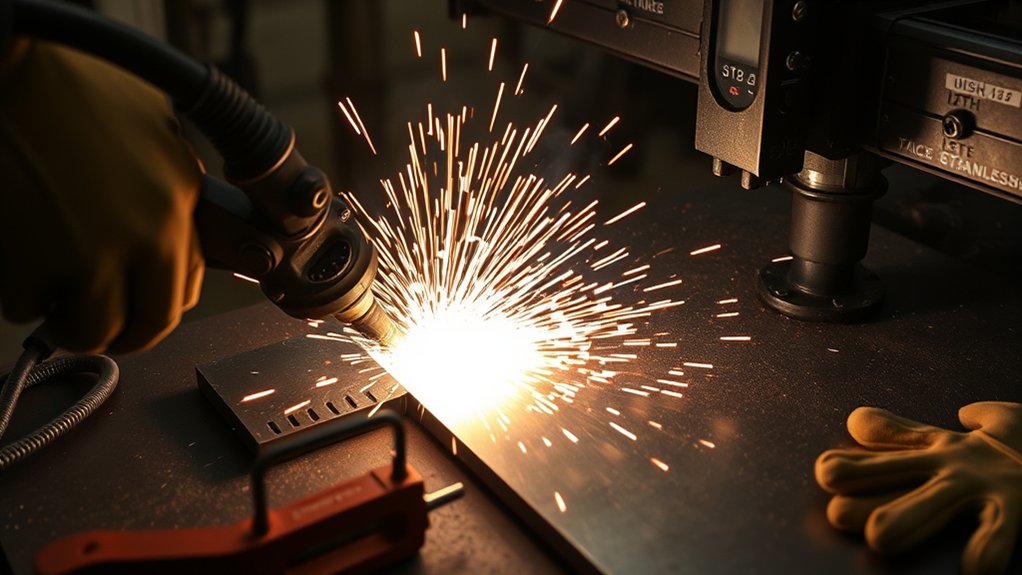
Handheld Vs Automated
Handheld and automated plasma cutters use the same arc-and-gas process, but their practical cutting limits differ. You’ll notice handheld advantages in portability, quick setup, and control on thin to medium stock.
Automated systems shine on thick plate and repeatable runs. Guided motion helps improve kerf consistency, squareness, and dross control on production jobs.
Match the tool to thickness, tolerance, and throughput. A small handheld cutter suits repair work. A computer numerical control (CNC) plasma table suits repeated parts and longer runs.
Prioritize proper grounding, clean consumables, and correct standoff. Use fume extraction, eye protection, skin protection, and secure workpieces before you start the cut.
Power and Material Factors
Cutting thickness depends on both power and metal type, so start by matching amperage and conductivity to your job. Higher amperage increases arc energy, kerf stability, and travel speed on thicker stock.
Use rated machine charts as your first guide. A machine may list separate ratings for ideal cuts, rough severance cuts, and piercing. Choose the rating that matches your real task, not just the largest number on the label.
Account for material conductivity during power setup. Copper and aluminum conduct heat quickly, so they may draw heat away from the cut. Stainless steel responds differently and may need slower travel or a different setup.
Never attempt to cut plastics. They’re nonconductive and hazardous when heated. Match power source capacity, duty cycle, and gas selection to your thickness target so you can maintain cut quality and safety.
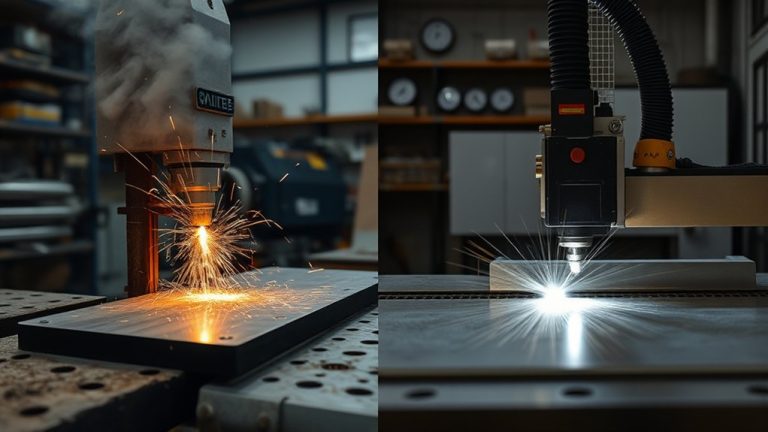
Handheld vs. Automated Plasma Cutters
Handheld and automated plasma cutters serve different roles. You’ll weigh handheld advantages, such as portability, quick setup, and flexibility, against automated precision, repeatable paths, tighter tolerances, and higher throughput.
Handheld units fit do-it-yourself (DIY), maintenance, repair, and on-site fabrication tasks. Automated systems on CNC gantries work best for production cutting, nested parts, and repeatable jobs.
Consider duty cycle ratings, torch consumable life, and motion control accuracy. For safety, control arc glare, fumes, and hot slag. Use PPE and verified grounding on both systems.
| Factor | Handheld Cutter | Automated Cutter |
|---|---|---|
| Best use | Repair, field work, and on-site fit-up | Production, nested parts, and repeated cuts |
| Accuracy | Depends on operator skill | Programmable and repeatable |
| Cost profile | Lower initial cost | Higher investment, lower per-part cost at scale |
| Mobility | High and portable | Usually fixed to a table or gantry |
| Best operator focus | Steady hand, standoff, and travel speed | Program quality, height control, and consumable condition |
Choose based on project scale, tolerance targets, and budgeted throughput.
Products Worth Considering

POWERFUL CUTTING THICKNESS: This plasma cutter handles 1/2" (12mm) steel at 120V/35A and 5/8" (16mm) at 240V/60A. Dual voltage auto-detection (10-35A@120V / 30-60A@240V) with PSI guidance (70-75 PSI / 0.48-0.52MPa). Optimized for quick, efficient cuts in automotive repairs and metal fabrication

Ultimate Portability – Internal air compressor enables operation in environments where external compressed air is not available.

Cartridges are easy to identify by process with clear laser marking and color coding to eliminate part mix-ups.
Material Properties That Affect Cut Quality
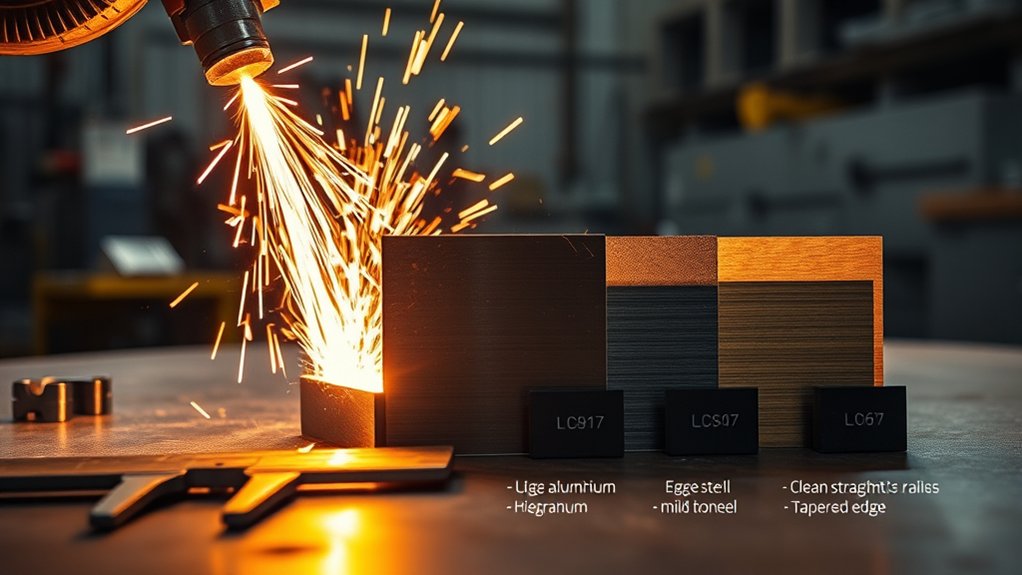
You should account for thermal conductivity, because each metal moves heat in a different way. Aluminum and copper pull heat away quickly. Stainless steel holds heat closer to the cut zone.
Verify electrical conductivity and adjust amperage and consumables to match the metal. Current transfer affects arc stability, cut speed, and usable thickness within the machine’s rating.
Inspect and prepare the surface before you start. Remove heavy rust, paint, oil, and loose scale so you can maintain consistent arc initiation, reduce dross, and lower fume risk.
Thermal Conductivity Effects
Amperage and thickness drive capacity, but thermal conductivity shapes cut quality and speed. High-conductivity metals, such as aluminum and copper, move heat away from the kerf quickly.
That fast heat movement can help in some cuts, but it can also demand more power or slower travel. Stainless steel conducts heat less than aluminum, so it may hold more heat near the cut and discolor faster.
For metals within your machine’s range, adjust settings by alloy and thickness. Use tight standoff control, correct consumables, and steady travel to prevent warping.
Electrical Conductivity Impact
Heat flow sets the stage, but the arc only behaves if the workpiece conducts electricity well. Plasma cutting relies on a stable electrical circuit, so your material selection shapes cutting efficiency and cut quality.
Conductive metals carry current well enough for the arc to transfer heat into the cut. Nonconductive materials, such as plastic, wood, and glass, won’t sustain the arc.
Match amperage to conductivity and thickness. As you increase current, you can cut thicker conductive metals, but only within your machine’s rating.
Use proper clamping and grounding to keep the circuit stable and safe. Clean the clamp area when paint, rust, or oil blocks contact.
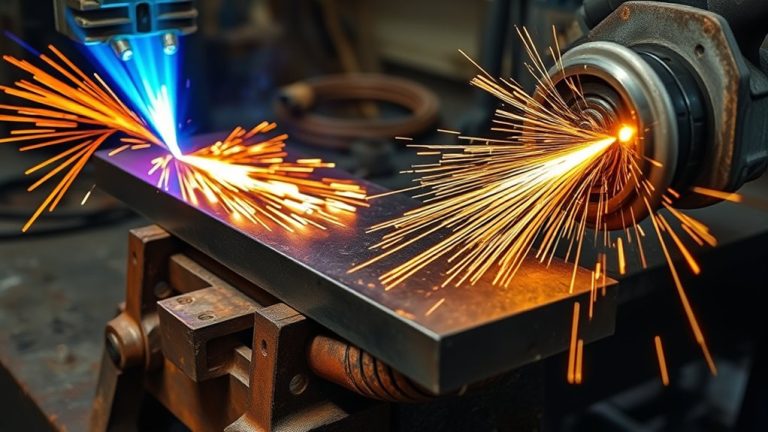
Surface Condition Influence
The metal’s surface condition often decides whether the cut stays clean or degrades into dross and wander. Heavy rust, paint, oil, and scale can affect arc starts and create more fumes.
Prioritize surface preparation. Degrease the metal, remove heavy buildup, and secure the work so it can’t shift during the cut.
Low-speed passes on thin stock add heat and raise the risk of distortion. Increase travel speed or reduce amperage to control warping.
On thin metals, FineCut consumables or similar precision consumables can narrow the kerf and focus the arc. Thicker plate needs slower speed, higher amperage, steady clamping, and cooling breaks.
Power and Amperage: Matching Machine to Thickness
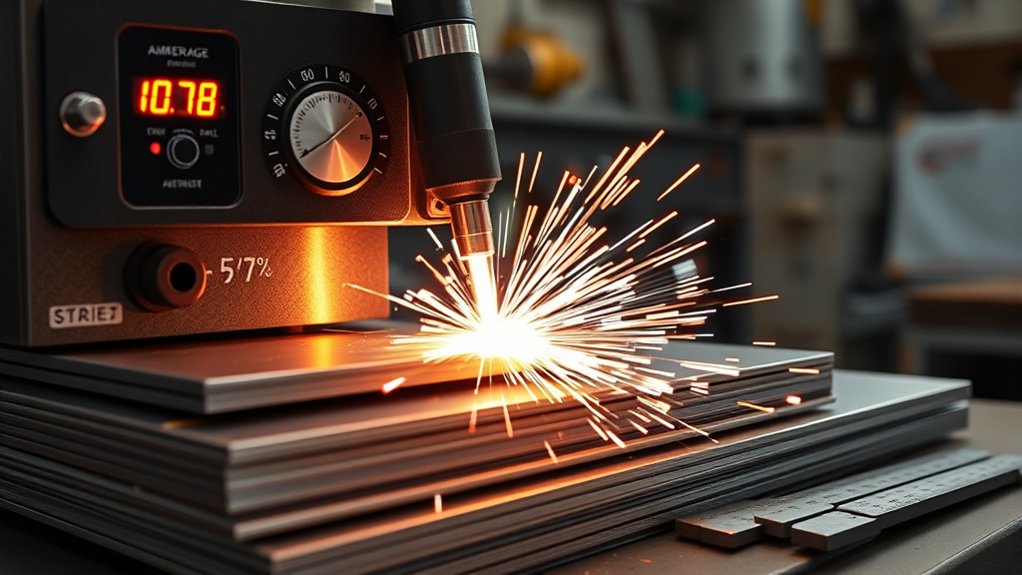
Plasma cutting capacity depends on electrical output, so match machine amperage to material thickness with care. Start with the manufacturer’s cutting chart, then fine-tune amperage and speed after a test cut.
Output power relates to amperage and voltage. More current can deliver greater cutting force for thicker stock, but too much current can widen the kerf and add heat.
| Machine Amps | Typical Use |
|---|---|
| Lower amperage | Thin sheet and light fabrication |
| Medium amperage | General shop cutting and repair work |
| Higher amperage | Thicker plate within the machine’s rated chart |
| Check chart | Material-specific limits, speed, and consumables |
Choose a machine that gives you some room above your target thickness. Undersized units force slow travel and dross. Oversized current can create excess heat and a wider cut.
Maintain proper standoff and steady travel speed as you test cut. Watch for full penetration and a slight trailing arc angle. If the arc lags too much, adjust amperage, speed, or consumables.
Wear PPE, verify duty cycle, and allow cooldown to protect torch parts. These habits help you get more consistent results.
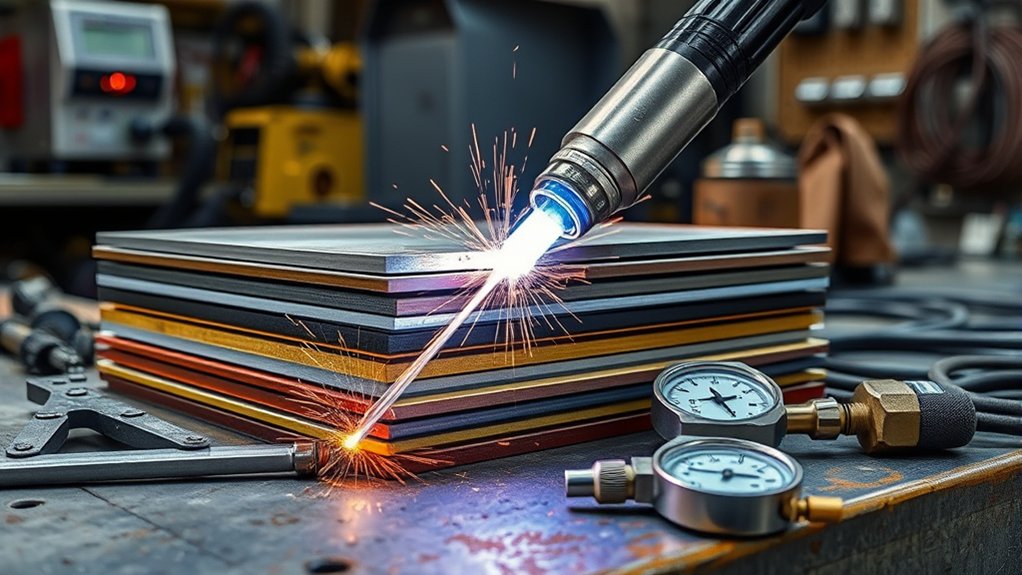
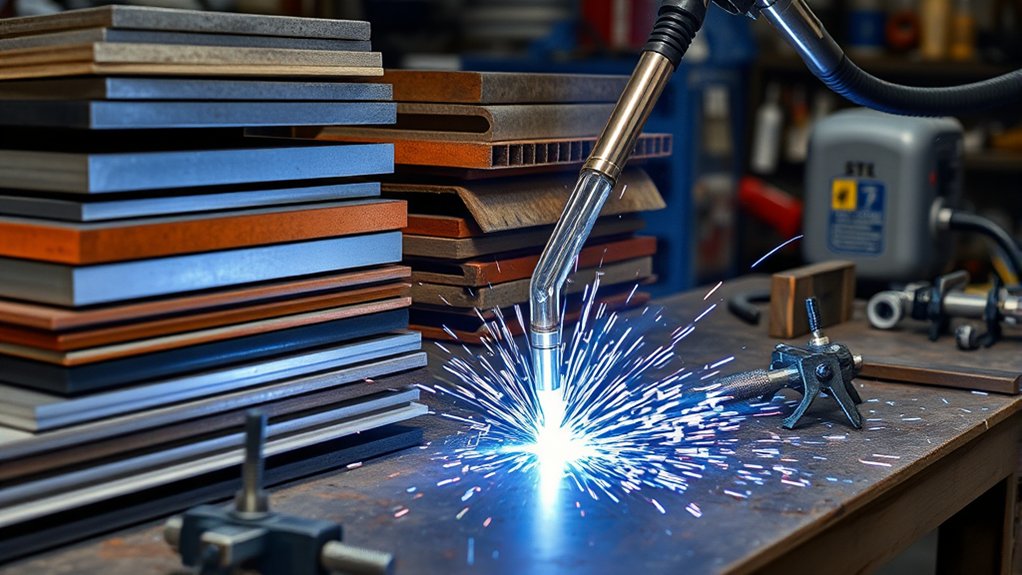
Tips for Cutting Thin Sheet Metal Without Warping

Thin sheet can distort fast, so control heat input and mechanical stability from the start. Support the panel before you strike the arc.
Use material clamping across the cut path so the sheet can’t flutter or slide. Add backing slats close together to support small offcuts.
Clamp across the cut path and tighten support: close slats stop flutter and save small offcuts.
Favor cutting techniques that keep the torch moving. Higher travel speed can move heat away from the cut and shorten dwell time.
Choose FineCut consumables or similar precision consumables for a narrow kerf and a focused arc. Match amperage to thickness because too much current widens the heat-affected zone and invites buckling.
Avoid stacking sheets when accuracy matters. Lower layers can receive a wider kerf and lose cut quality.
If you must pierce inside the part, use a short pierce delay and place the lead-in away from critical geometry. Keep cables strain-free and your stance stable so you don’t hesitate mid-cut.
- Protect the panel: Clamp it firmly before you start.
- Control heat: Keep the torch moving at a steady speed.
- Choose precision: Use the right consumables and settings for thin sheet.
Techniques and Settings for Clean, Precise Cuts
Once you control heat and stability, set the machine to cut clean. Dial amperage to match thickness and use your machine’s cutting chart as the baseline.
Aim for the lowest amperage that still maintains a continuous, stiff arc. Excess amperage can widen the kerf and overheat the edge.
For thin sheet, switch to FineCut consumables or the precision parts recommended by your torch maker. A narrow orifice and focused plume can help create a tight kerf and crisp edge.
Use cutting techniques that favor speed and consistency. Maintain steady travel to limit heat spread and reduce panel distortion, especially on polished stainless or aluminum.
Watch arc lag and dross as you cut. Heavy backside dross often means you’re moving too slowly, using too much heat, or cutting with worn consumables.
Maintain a steady standoff with a drag shield or height control when your setup supports it. This helps keep arc voltage stable and improves edge quality.
Pro tip: Make a short test cut on scrap from the same metal before you cut the final part.
Safety Essentials for Plasma Cutting
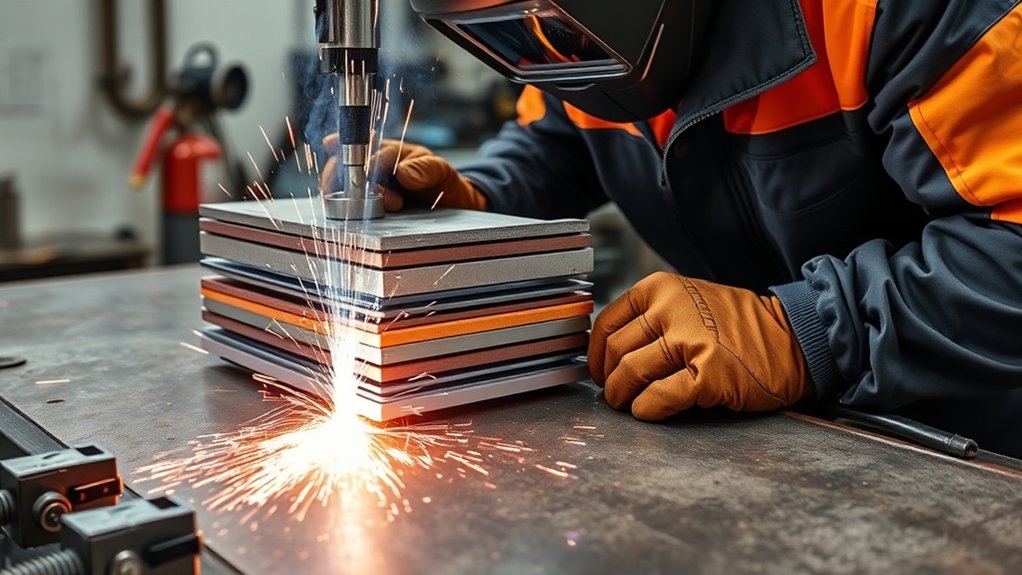
Plasma cutting may feel simple once the arc runs well, but safety starts with disciplined PPE and hot-work habits. Treat every cut as a fire, fume, burn, eye, and electrical risk.
Use a welding helmet or plasma-rated face shield with the shade your machine manual recommends. Wear safety glasses under the shield to protect your eyes from sparks and flying debris.
Wear heavy-duty gloves, flame-resistant clothing, and reinforced boots. Hot slag and sharp offcuts can injure your hands, feet, and skin fast.
Assume every part you cut is still hot. Test with care, then handle the metal with pliers, clamps, or proper lifting tools.
When you work with thick plate, follow team-lift and pinch-point habits. Heavy hot metal can cause burns, crush injuries, and cuts.
Respect electrical risks. Keep leads dry, inspect torch cables, and maintain solid work clamps. Remove flammable items from the area before sparks fly.
- Protect your hands: Use gloves that suit heat and sharp edges.
- Guard your eyes: Use proper shade protection on every cut.
- Defend your feet: Wear boots that can handle hot falling metal.
Choosing the Right Plasma Cutter for Your Projects
Safe habits set the baseline. The next step involves matching the cutter to your material, thickness, power supply, and workflow.
Start plasma cutter selection with thickness. Compare your target material to the machine’s rated cut, clean cut, and pierce capacity. Give yourself extra capacity when you plan to cut thicker metal often.
Check duty cycle for your work rhythm. Short repair cuts need less duty cycle than long production runs. Longer cutting sessions need a machine that can handle more heat.
Confirm input power early. Dual-voltage machines can help with fieldwork and shop use, but you still need the correct circuit, plug, and breaker size.
Choose consumables with intent. Precision tips can tighten kerf on thin sheet, while standard consumables often suit general cutting.
Match torch style, lead length, air quality, and work clamp setup to your process. These small details can change cut quality more than many beginners expect.
Products Worth Considering
![ARCCAPTAIN Plasma Cutter, [Large LED Display] 50Amps Cutter Machine with 110/220V Dual Voltage DC Inverter IGBT 1/2 Inch Clean Cut Post Flow and 2T/4T, for Beginners DIY](https://m.media-amazon.com/images/I/418eA5bRMGL._SL500_.jpg)
【Powerful Cutting Aibility】Switch effortlessly between 110V/220V for home or workshop use. Achieve professional 1/2" clean cuts on steel, aluminum and copper with advanced IGBT technology. Perfect for DIY projects and heavy-duty tasks! The maximum cutting thickness is recommended to be 12mm @ 35A 110V, 55PSI; 18mm@50A 220V, 75 PSI. NOTE: Requires compressed air (compressor sold separately).

POWERFUL CUTTING CAPACITY: 20-50A output, Ideal Clean Cut: 1/4''(6mm) @110V, 1/2"(12mm) @220V, Maximum Cut: 3/8''(10mm)@ 110V, 5/8''(16mm) @ 220V. Uses non-hazardous compressed air to cut stainless steel, alloy steel, mild steel, copper, and aluminum. Note: When making the maximum thickness cut, slow down the cutting speed appropriately to ensure excellent cutting results

【Non-Touch Pilot Arc Function】The ARCCAPTAIN 55A plasma cutter features a pilot arc function. It utilizes a high-frequency non-touch arc starting mode. The torch head does not need to touch the metal plate, reducing energy consumption during non-cutting work, minimizing electrode burning, and extending service life. NOTE: Do not switch voltages until the screen turns off and the fan stops.
Common Mistakes That Ruin Plasma Cuts
Many poor plasma cuts come from simple setup errors. You may blame the machine, but worn consumables, wet air, weak grounding, or slow travel often cause the problem.
Check the easy items first. Replace damaged electrodes and nozzles, drain moisture from the air system, clean the clamp area, and make a short test cut.
- Using worn consumables after the arc quality drops.
- Cutting with moisture or oil in the air supply.
- Placing the work clamp on paint, rust, or loose scale.
- Moving too slowly and adding too much heat.
- Ignoring the manufacturer’s cut chart for the metal thickness.
Frequently Asked Questions
Can a Plasma Cutter Engrave or Pierce-Start Small Holes Accurately?
Yes, you can engrave or pierce-start small holes, but it takes careful setup. Use fine-tip consumables, low amperage, high travel speed, and tight standoff for better control. A pilot arc, proper gas flow, and a guide can improve accuracy and safety.
How Does Altitude or Outdoor Wind Affect Plasma Cutting Performance?
Altitude and wind can weaken cut performance because they affect air flow and arc behavior. Wind can disrupt the plasma stream and cause dross or wander. Use wind screens, steady standoff, proper gas flow, and eye and respiratory protection.
What Consumables Wear Out Fastest and How Often Should They Be Replaced?
Electrodes and nozzles usually wear fastest. Replace them when you notice poor starts, wider kerf, rough edges, or unstable arc behavior. Check the swirl ring and shield too, but those parts often last longer.
Can a Plasma Cutter Be Powered by a Generator, and What Specs Are Needed?
Yes, you can power some plasma cutters with a generator if the generator matches the machine’s input needs. Verify wattage, voltage stability, surge capacity, receptacle type, grounding, and compatibility in the manual. Use proper ventilation and PPE when you cut outdoors or in a shop.
How Do You Manage Fumes and Ventilation for Indoor Plasma Cutting?
Use local fume extraction near the torch and keep fresh air moving through the work area. Stainless steel, galvanized metal, paint, coatings, and unknown materials can create serious fume risks. Use a suitable respirator when ventilation alone does not control exposure.
Conclusion
A plasma cutter works best when you match the metal, amperage, consumables, and travel speed before you cut. Choose conductive metals, clean the surface, clamp the work, and test your setup on scrap first.
Protect yourself with proper PPE, fume control, and safe hot-work habits on every cut. When your setup stays clean and stable, your cuts become easier to repeat.
Use your machine’s chart as your guide, then fine-tune with careful test cuts until the edge looks clean and controlled.