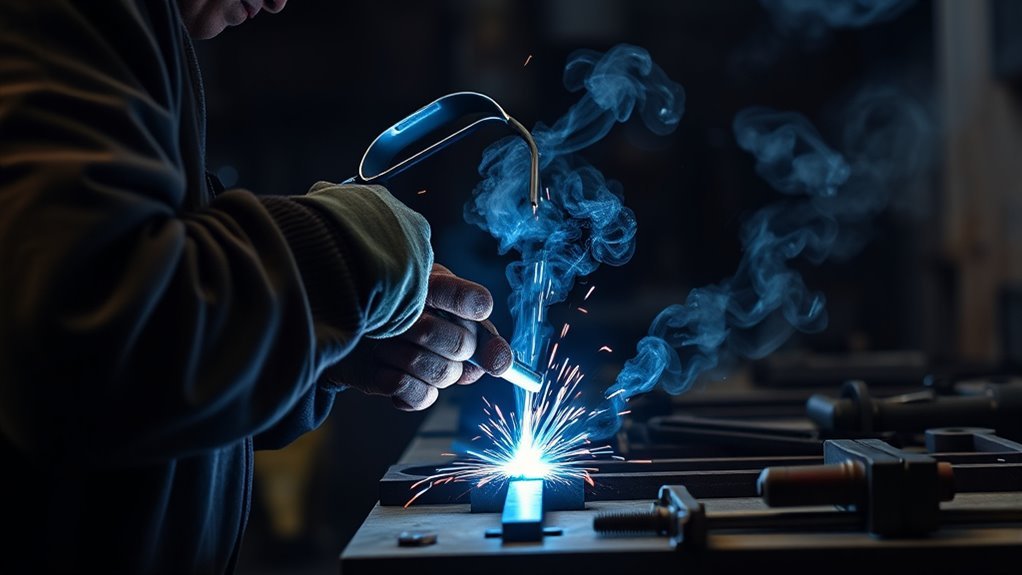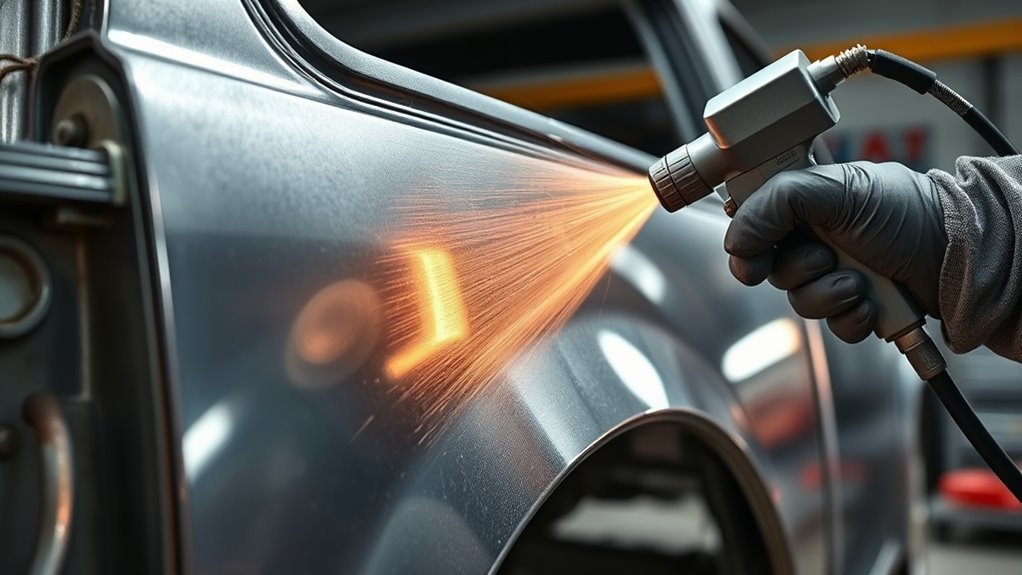
Apply epoxy primer after welding as soon as the weld area is cool, clean, dry, and properly scuffed. Bare steel can flash rust fast, especially in humid shops, so the safest target is the same day and ideally within 24 hours. Do not spray over hot metal, welding slag, spatter, oxide, oil, moisture, rust, or old coatings. The exact flash time, cure time, sanding window, and topcoat window must come from the epoxy primer’s technical data sheet.
Quick Answer
Prime welded bare metal as soon as practical after the weld cools and the surface is cleaned, sanded, and dry. Same-day priming is best, and within 24 hours is a smart target. If flash rust appears first, remove it before spraying. Always follow the primer maker’s recoat and cure window.
Key Takeaways
- Apply epoxy primer to welded bare metal quickly, but only after the metal is cool, clean, dry, and scuffed.
- Clean before sanding so grease and silicone do not get ground into the metal scratches.
- Remove flash rust, weld slag, spatter, mill scale, and oxide before primer. Do not seal contamination under epoxy.
- Recoat and topcoat windows are product-specific. The primer’s technical data sheet is the final rule.
- For long-term rust protection, finish the full system: epoxy primer, filler or surfacer if needed, seam sealer, topcoat, and backside protection.
At a Glance
| Time Required | 30 minutes to 2 hours for prep and spraying, plus the primer’s required flash, recoat, and cure time |
| Difficulty | Moderate; the coating is simple, but surface prep and product timing matter |
| Tools Needed | Wax and grease remover, clean lint-free towels, 80 to 180 grit abrasives, Scotch-Brite pad, compressed air, epoxy primer, activator, mixing cups, spray gun or approved aerosol, gloves, eye protection, and respirator suited to the coating |
| Cost | Usually $25 to $150+ depending on aerosol versus 2K spray-gun materials, panel size, and safety supplies |
Warning: Welding, grinding, solvent wiping, and spray coating can expose you to fumes, sparks, fire risk, and coating vapors. Work in a ventilated area, keep ignition sources away from solvents, wear proper PPE, and follow the coating SDS. If you weld or grind galvanized metal, remove the zinc coating safely and use proper ventilation because zinc fumes can make you sick.
How Soon Should You Apply Epoxy Primer After Welding?
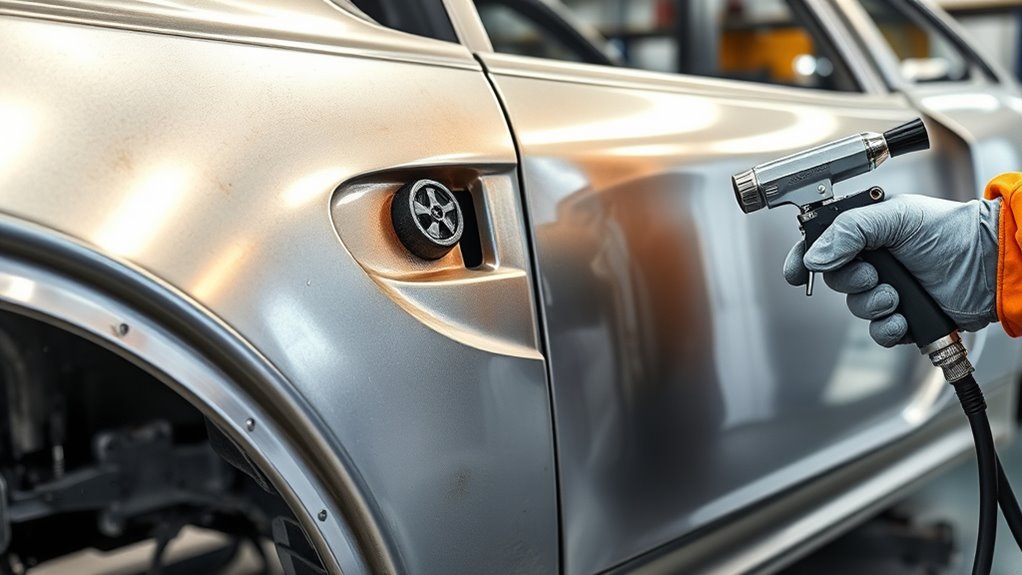
You should apply epoxy primer to welded areas as soon as the metal is ready, not simply as soon as the welding stops. Let the weld cool to room temperature first. Then remove slag, spatter, soot, grinding dust, oxide, oil, and moisture before you spray.
The best time to apply epoxy primer is the same day the welded metal is cleaned and scuffed. The best recoat time is whatever the primer’s technical data sheet says.
For most auto body welds, a practical target is to prime the same day and ideally within 24 hours. In humid, coastal, or winter-salt areas, prime even sooner if you can. Bare steel can start to flash rust quickly once it is exposed to air and moisture.
Do not treat the 24-hour target as a cure or recoat rule. A 2K epoxy primer may have an induction time, pot life, flash time, dry time, sanding time, and topcoat window. Those windows change by brand, temperature, film thickness, reducer, and shop humidity.
Note: Epoxy primer is not a shortcut for dirty metal. If the weld has rust, oil, silicone, zinc residue, weld-through primer residue, or grinding dust on it, clean and remove the contamination before spraying.
Before You Prime: Check the Weld and Metal
Before you reach for primer, inspect the weld. A coating can protect a good repair, but it cannot fix a weak weld, pinhole, cracked seam, or trapped contamination.
- Let the metal cool: Do not spray primer onto hot welds. Heat can affect solvent flash, adhesion, and cure.
- Remove welding residue: Chip or brush away slag, clean soot, and grind or dress welds only as much as the repair allows.
- Knock off spatter: Spatter can leave sharp points and weak spots that make coating coverage uneven.
- Check for pinholes: Hold a light behind patch panels when possible. Primer will not seal a poor weld repair by itself.
- Remove old coatings near the weld: Burned paint, undercoating, seam sealer, and primer residue can contaminate the surface.
If you worked near galvanized steel, zinc coating, e-coat, or factory seam sealer, use extra care. Heating coated metal can create harmful fumes. OSHA’s welding, cutting, and brazing rules explain the need for safe work practices, fire prevention, and ventilation during hot work. OSHA welding, cutting, and brazing standard
How to Prep Bare Metal and Welds
Start by cleaning the bare metal and welds with wax and grease remover or the cleaner recommended by your coating system. Use clean lint-free towels, and wipe in one direction. Do this before sanding so you do not grind oil, silicone, or road film into the surface.
Next, scuff the welded area and nearby bare metal. Many epoxy primers want a coarse mechanical profile on bare steel, often in the 80 to 180 grit range, but the correct grit depends on the product. Use the grit listed in the technical data sheet whenever it differs from general advice.
- Clean first: Remove wax, grease, oil, silicone, and fingerprints.
- Sand or scuff: Use the primer maker’s recommended grit. Keep the scratches even and avoid glossy spots.
- Remove rust: Sand off flash rust until clean metal is visible. Do not seal rust under epoxy.
- Blow off dust: Use clean, dry compressed air if available.
- Final wipe: Wipe again with approved cleaner and let the surface dry fully.
If you see light flash rust, remove it mechanically with sanding or a clean abrasive pad. Avoid rust converters or rust-inhibiting chemicals under epoxy unless the primer manufacturer says they are compatible. Chemical residue can cause peeling, lifting, or poor cure.
If the repair includes galvanized metal, first review how to properly clean galvanized metal. For welded galvanized areas, make sure damaged zinc, oxide, and residue are removed from the repair zone before primer, and protect yourself from zinc fumes during any hot work.
Pro Tip: Wear clean nitrile gloves after final cleaning. Bare fingers can leave oils and salts that interfere with epoxy primer adhesion.
Products Worth Considering

The very first step in any paint project
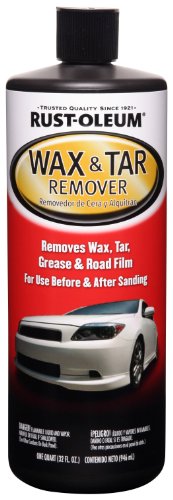
RUST-OLEUM REMOVER WAX & TAR 32OZ 251475

[Fast and Effective] Achieve professional-grade cleaning before painting; Klean-Strip's Prep-All removes wax, grease, and road film effectively and quickly.
How to Apply Epoxy Primer for Best Adhesion
After the welds are clean and scuffed, mix the epoxy primer exactly to the manufacturer’s ratio. If the product requires induction time, let the mixed primer sit for the listed time before spraying. Also watch pot life, because activated epoxy can thicken or fail after its usable window expires.
Apply epoxy primer in thin, even coats. Do not flood seams, lap joints, plug weld areas, or panel edges. Heavy coats can trap solvent, slow cure, and create soft primer that sands poorly or causes problems under the next coating.
Use the spray gun tip, air pressure, flash time, and film build listed for your product. If you are using a 2K aerosol epoxy primer, shake and activate it exactly as directed, and remember that activated cans also have a limited pot life.
- For bare steel: Spray enough epoxy to cover the metal evenly without dry spray or heavy buildup.
- For aluminum: Confirm the epoxy primer is approved for aluminum and follow the metal prep directions closely.
- For existing paint edges: Feather the edge, clean the surface, and avoid leaving a hard ridge under the primer.
- For weld seams: Make sure the primer reaches the edge of the repair, but do not rely on primer alone to fill gaps.
When cured correctly, epoxy primer creates a strong base for the next compatible coating. It can act as a sealer under surfacer, filler, basecoat, or topcoat when the coating system allows it. It should not be treated as the final exposed finish unless the product sheet says it can be left that way.
Products Worth Considering
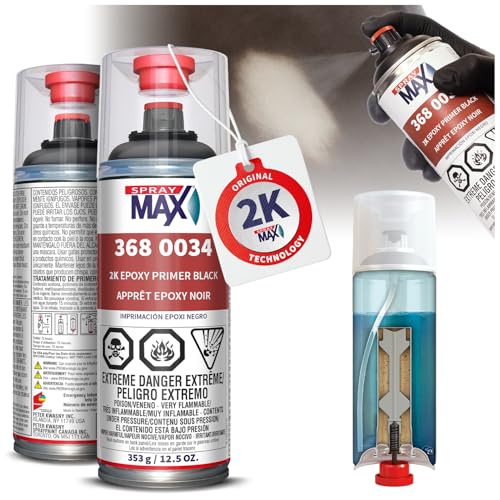
SUPERIOR CORROSION PROTECTION: This epoxy primer automotive coating provides excellent adhesion and rust protection on steel, aluminum, and galvanized metal surfaces – ideal for cars, motorcycles, and restorations.

Primer helps bond any top coat paint to even the most difficult of automotive surfaces

SUPERIOR CORROSION PROTECTION: This epoxy primer automotive coating provides excellent adhesion and rust protection on steel, aluminum, and galvanized metal surfaces – ideal for cars, motorcycles, and restorations.
When to Sand or Recoat Epoxy Primer
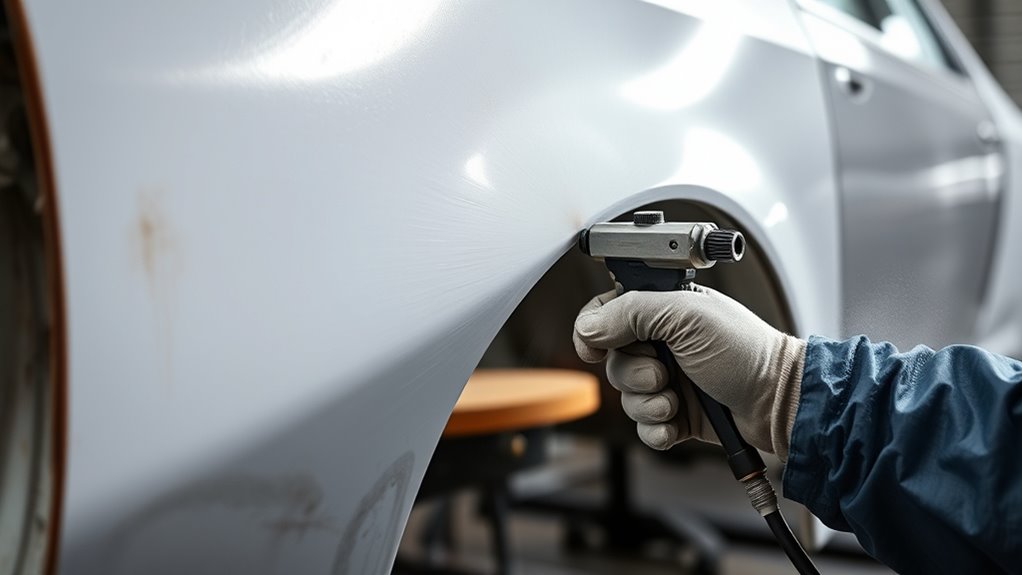
Once the epoxy primer is applied, timing matters for the next coat. Many epoxy primers allow another coating within a set recoat window without sanding. If you miss that window, you normally need to scuff or sand the surface so the next layer has mechanical bite.
Do not assume every epoxy primer uses a three-day window. Some products have shorter windows, and some allow longer windows under certain conditions. Temperature, humidity, film thickness, and the next coating all matter.
- Inside the recoat window: Apply the next compatible coat after the required flash time, if the product sheet allows it.
- Outside the recoat window: Sand or scuff as directed, often with 180 to 320 grit depending on the next layer.
- If the primer is fully cured: Expect to sand before applying filler, surfacer, sealer, or paint unless the product says otherwise.
- If the primer feels soft: Stop and let it cure. Soft primer can signal heavy coats, cold temperatures, wrong mix ratio, or expired material.
During sanding and spraying, use PPE that matches the job. For welding-related work, flame-resistant clothing helps protect you from sparks and heat. For spray coatings, check the primer SDS and use the required respirator and ventilation. OSHA’s respiratory protection standard explains when respirator selection, fit testing, and a proper program are required. OSHA respiratory protection standard
Can You Apply Body Filler Over Epoxy Primer?
Yes, you can apply polyester body filler over epoxy primer if the primer and filler are compatible and the surface is prepared correctly. Many builders prefer this method because the epoxy seals the metal first. Still, product instructions control the exact order.
If filler goes over fresh epoxy, apply it within the epoxy’s allowed filler window. If the epoxy has cured past that window, scuff it first, usually with a coarse enough grit for filler grip. Clean the surface after sanding and before filler.
Some filler makers also allow filler over clean bare metal. That does not mean every repair should be done that way. If the panel may sit before paint, epoxy first can reduce the chance of hidden rust under the repair.
Note: Do not apply filler over rust, uncured primer, glossy primer, solvent-wet primer, or contaminated primer. Any of those can lead to edge mapping, peeling, or bubbling later.
How to Topcoat Epoxy Primer Without Rust
To keep rust from creeping back, topcoat the epoxy primer within the product’s recoat window. This helps preserve adhesion and reduces extra sanding. If you miss the window, scuff the epoxy, feather the edges, clean the surface, and then apply the next compatible layer.
Before you spray, clean the surface with approved wax and grease remover and blow off dust. Use a compatible top coat made for epoxy primer and automotive refinishing systems. Modern automotive paint usually works as a layered system, so primer, surfacer, sealer, basecoat, and clearcoat must be compatible.
Clean with wax and grease remover, blow off dust, and use a compatible top coat to lock in adhesion.
On welded panels, protect both sides when possible. The front side may get epoxy primer, filler, surfacer, sealer, basecoat, and clearcoat. The back side may need epoxy primer, seam sealer, undercoating, or cavity wax, depending on the location. A weld can rust from the back side even when the visible side looks finished.
Apply seam sealer only after the coating stage recommended by the sealer and primer makers. Many repairs use epoxy first, then seam sealer, then topcoat. Do not smear seam sealer over bare rusty metal and expect it to stop corrosion.
If you spray automotive coatings professionally or in a regulated shop, review the EPA requirements for autobody refinishing and local rules for spray operations, ventilation, and coating waste. EPA autobody refinishing area source rule
Common Mistakes That Cause Rust or Peeling
Most epoxy primer failures start before the primer is sprayed. The coating only bonds to what is underneath it, so the surface has to be clean, dry, and properly profiled.
- Priming over flash rust: Sand it off first. Epoxy seals the surface, but it should not bury active rust.
- Skipping the first degrease: Sanding a greasy panel spreads contamination into the scratches.
- Using the wrong grit: Too smooth can reduce bite. Too coarse can show through thin coatings.
- Spraying too heavy: Heavy coats can trap solvent and slow cure.
- Ignoring pot life: Activated epoxy that is too old may not cure or bond correctly.
- Leaving the backside bare: Weld seams can rust from behind the repair.
- Mixing coating systems blindly: Primer, filler, sealer, basecoat, clearcoat, and seam sealer must be compatible.
Troubleshooting Epoxy Primer After Welding
If the primer does not look or cure right, stop before adding more products. Adding filler, surfacer, or paint over a bad primer layer only buries the problem.
| Problem | Likely Cause | Fix |
| Fisheyes or craters | Silicone, oil, wax, or dirty air supply | Stop, let it cure, sand affected areas, clean thoroughly, and check air filtration |
| Peeling or poor adhesion | Glossy metal, rust, wrong cleaner, missed prep, or incompatible product | Strip the failed area, sand to a proper profile, clean, and re-prime |
| Primer stays soft | Wrong mix ratio, expired activator, heavy coats, cold shop, or poor flash time | Check the product sheet, allow more cure time if appropriate, or remove and reapply if it will not cure |
| Rust shows through later | Rust was sealed in, backside was left bare, or seams were not protected | Remove the failed coating, clean the metal, re-prime, seal seams, and protect the backside |
Frequently Asked Questions
When should you apply epoxy primer after welding?
Apply epoxy primer after the weld cools and the metal is clean, dry, and sanded. Same-day priming is best, and within 24 hours is a smart target for bare steel. If flash rust appears first, sand it off before spraying.
Will epoxy primer stick to bare metal?
Yes, epoxy primer can stick very well to bare metal when the surface is properly prepared. The metal must be free of oil, wax, silicone, rust, oxide, dust, and moisture. It also needs the sanding profile recommended by the primer maker.
Can Bondo be put over epoxy primer?
Yes, polyester body filler, often called Bondo, can go over epoxy primer if the epoxy and filler are compatible. Apply it inside the epoxy’s allowed filler window, or scuff cured epoxy first. Do not apply filler over glossy, soft, rusty, or contaminated primer.
Do you do body work before or after epoxy primer?
Do the welding, grinding, metal finishing, and major shaping before epoxy primer. Then many repairs use epoxy primer on the bare metal before body filler or surfacer. Some products allow filler over bare metal, so follow the filler and primer instructions for the system you are using.
Do you need to sand epoxy primer before topcoat?
You may not need to sand if you topcoat inside the primer’s recoat window and the product sheet allows it. If the epoxy has cured beyond that window, sand or scuff it with the recommended grit before applying the next layer.
Can epoxy primer stop rust by itself?
Epoxy primer helps seal clean metal from moisture, but it should not be used to cover active rust. Remove rust first, then prime. For welded auto body panels, protect seams and the backside too, or rust can return from behind the repair.
Sources
- OSHA 1910.252 Welding, Cutting, and Brazing — supports welding safety, ventilation, and fire-prevention guidance.
- OSHA 1910.134 Respiratory Protection — supports respirator selection and respiratory protection guidance when required.
- OSHA 1910.133 Eye and Face Protection — supports eye and face protection guidance during grinding, welding, and coating prep.
- EPA Autobody Refinishing Area Source Rule — supports coating, spray operation, and refinishing compliance awareness.
Conclusion
After welding, bare metal needs protection fast, but speed only helps if the prep is right. Let the weld cool, remove residue, degrease, sand, clean again, and apply epoxy primer before flash rust has a chance to form. Use the primer’s technical data sheet for mix ratio, pot life, flash time, sanding window, and topcoat timing. Then finish the repair with compatible filler, sealer, paint, seam protection, and backside coating so moisture cannot sneak back into the weld seam.