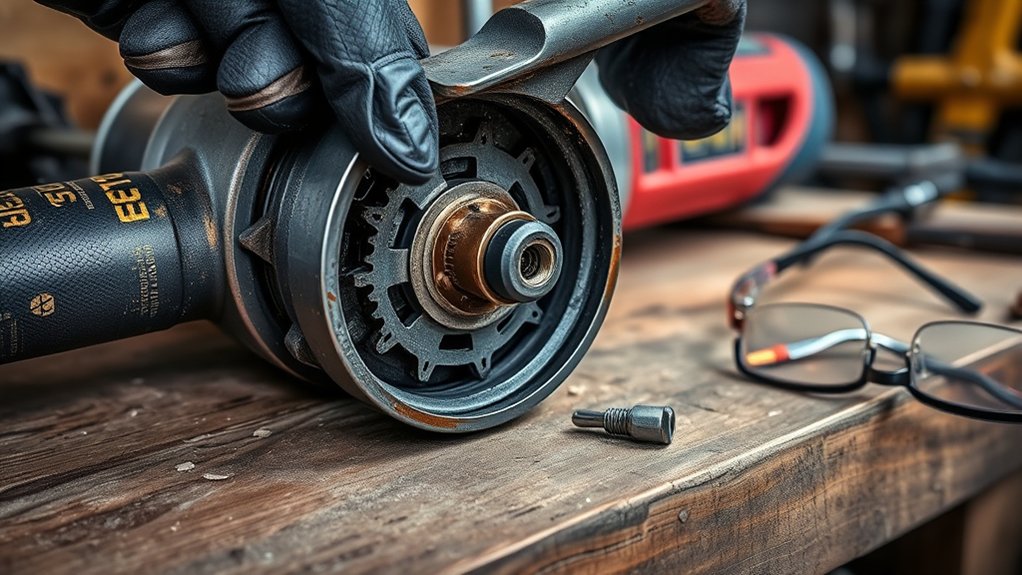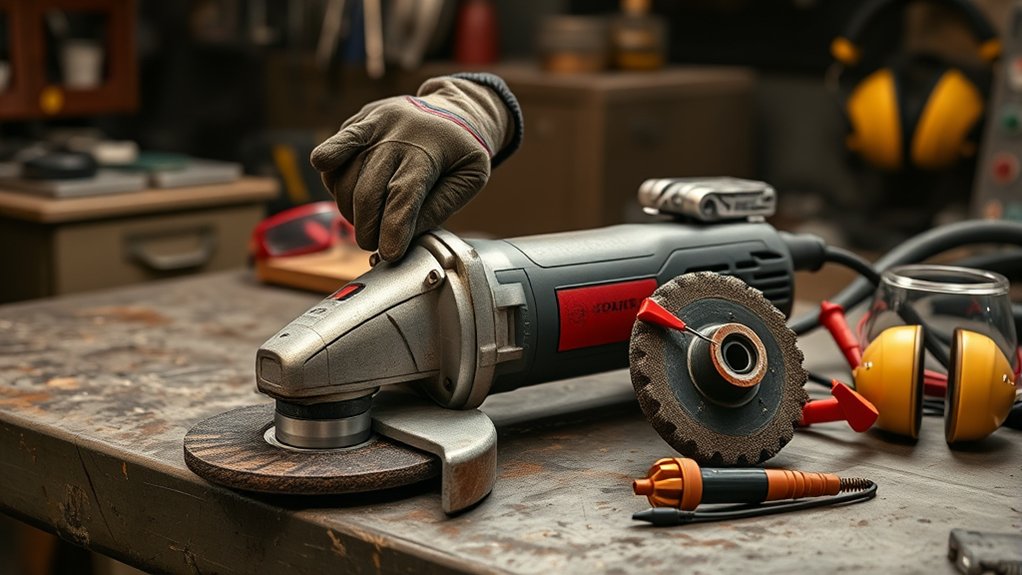
An angle grinder that stops mid-cut may have a simple power or accessory problem, but smoke, repeated breaker trips, severe vibration, or an unreliable switch can signal a fault that should not be repaired casually. Start with safe external checks, identify whether the grinder is corded, cordless, brushed, or brushless, and follow the instructions for the exact model.
Quick Answer
If an angle grinder stops, release the switch, unplug it or remove the battery, and wait for the wheel to stop. Check the outlet or battery, cord, vents, wheel fit, and switch action. Do not bypass the switch or open the motor unless the model’s manual permits the work and you are qualified.
Key Takeaways
- Disconnect the grinder before inspecting the wheel, guard, vents, cord, battery, or switch.
- Check corded and cordless power sources separately; battery, GFCI, outlet, breaker, and extension-cord problems can look like tool failure.
- Confirm that the wheel has the correct diameter, arbor or thread, guard, flange arrangement, and speed rating.
- Check carbon brushes only on brushed models whose manuals provide an inspection procedure.
- Stop using the grinder if it smokes, smells burnt, trips power repeatedly, vibrates severely, or cannot be switched off reliably.
At a Glance
| Time Required | 10–20 minutes for external diagnosis; internal repair time varies by model |
| Difficulty | Basic for visual checks; advanced for internal electrical diagnosis |
| Tools Needed | Owner’s manual, flashlight, safety glasses, clean soft brush or vacuum; multimeter only for qualified model-specific testing |
| Cost | External inspection may cost nothing; batteries, switches, brushes, cords, and professional service vary by model |
How to Troubleshoot an Angle Grinder That Stops or Will Not Start
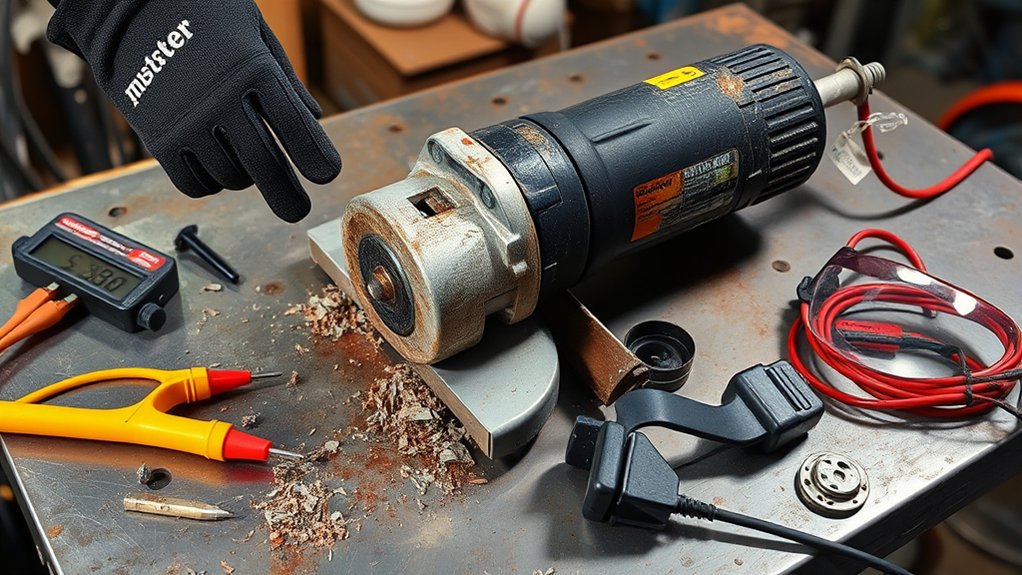
Warning: Release the switch, unplug a corded grinder or remove the battery from a cordless grinder, and wait for the wheel to stop before inspecting or adjusting the tool. Do not bypass the switch, defeat a safety device, or test live internal wiring.
- Identify the exact model. Read the nameplate and owner’s manual before ordering parts or opening a cover. Determine whether the grinder is corded or cordless and whether it has a brushed or brushless motor. A brushless grinder has no motor carbon brushes to replace.
- Disconnect the power source. Unplug the cord or remove the battery. Move the switch to the off position and wait until the accessory has stopped completely.
- Check the power supply. For a corded grinder, test the outlet with a known-working device and inspect the breaker or GFCI. Reset a tripped device only after checking for an obvious cause. If it trips again, stop using the grinder. For a cordless grinder, fully charge and securely seat a compatible battery. If available, test with another known-good battery approved for the tool.
- Inspect the cord, plug, battery, and housing. Look for cuts, crushed insulation, loose plug blades, burn marks, cracks, melted plastic, damaged battery terminals, swelling, or leakage. OSHA requires damaged cord-and-plug equipment to be removed from service until it has been properly repaired and tested. See OSHA’s requirements for cord-and-plug equipment.
- Inspect the wheel and mounting parts. Confirm that the accessory matches the grinder’s diameter, arbor or thread, flange arrangement, guard, and intended operation. Its maximum operating speed must be at least equal to the maximum speed marked on the grinder. Do not use a cracked, expired, badly worn, warped, or incorrectly fitted abrasive wheel. OSHA’s portable-grinder guarding standard also requires the guard to be positioned between the operator and the wheel during normal operation.
- Check for binding or overload. A pinched cut-off wheel, excessive pressure, unsuitable accessory, incorrect cutting angle, low battery charge, or overloaded extension cord can make a grinder slow or stop. Remove the tool from the work, correct the setup, and let the wheel reach full speed before re-entering the cut. Apply only enough pressure to keep the accessory cutting.
- Allow protection systems to reset. Some cordless and electronic grinders shut down when they detect overload, excessive temperature, battery temperature, or a bind-up event. Release the switch, remove the battery or unplug the cord, and let the equipment cool naturally. Follow the reset instructions in the exact manual; protection features are not the same on every grinder.
- Clean obstructed vents safely. Clear dust from the air intake vents with a clean soft brush, suitable vacuum, or the cleaning method specified by the manufacturer. When a manual permits compressed air, use clean, dry, low-pressure air and wear eye protection. In covered workplaces, OSHA limits compressed air used for cleaning to less than 30 psi and requires effective chip guarding and PPE.
- Check the external switch action. The paddle or slide switch should move freely, return or latch as designed, and turn the grinder off reliably. If it sticks, feels melted, works only when held in a certain position, or fails to stop the tool, remove the grinder from service.
- Check model-approved service items. On a brushed grinder with user-accessible brush caps, inspect the brushes only as directed by the manual. Do not assume brushes are the fault on a brushless grinder or a model whose brush inspection is assigned to an authorized service center.
Pro Tip: Record exactly what happened before the shutdown: the material, accessory type, battery charge, pressure applied, sound, odor, indicator lights, and whether the grinder restarted after cooling. These details help separate an overload event from an electrical or mechanical fault.
Angle Grinder Failure Symptoms and Likely Causes
The symptom usually narrows the search, but it rarely proves that one specific component has failed. Use the table as a screening guide rather than a final internal diagnosis.
| Symptom | Possible Causes | Safe Next Step |
|---|---|---|
| No response | Dead outlet, tripped breaker or GFCI, discharged battery, anti-restart condition, damaged cord, faulty switch, or internal fault | Check the external power source, battery, cord, and off-position reset. Seek service if those checks pass. |
| Stops under load | Excessive pressure, binding wheel, unsuitable accessory, weak or hot battery, blocked vents, electronic overload, worn brushes, or motor fault | Correct the setup, reduce pressure, inspect the wheel and vents, cool the tool, and test a known-good battery where applicable. |
| Starts intermittently | Loose battery connection, damaged cord, worn switch, worn brushes on a brushed motor, or loose internal connection | Stop using the grinder. Do not flex the cord or strike the housing to make it run. |
| Breaker or GFCI trips | Damaged cord, moisture, insulation fault, short circuit, overloaded branch circuit, or unsuitable extension cord | Disconnect the grinder and remove it from service if the protective device trips again. |
| Heavy sparking from the housing | Worn brushes, damaged commutator, armature fault, loose connection, or switch fault | Switch off immediately and arrange qualified inspection. |
| Grinding, squealing, or severe vibration | Damaged or loose accessory, incorrect flange, bent spindle, bearing wear, gearbox damage, or debris | Disconnect power, inspect the accessory and mounting parts, and seek service if the noise or vibration remains. |
| Smoke or strong burning odor | Overheated wiring, motor, switch, brushes, commutator, battery, or trapped debris | Disconnect power, move the tool away from combustible material, and do not restart it. |
How to Check the Trigger or Slide Switch Safely
Begin without opening the grinder. With the power disconnected, operate the paddle, lock-off lever, or slide switch several times. It should move smoothly and return, release, or latch exactly as described in the manual. Look for cracks, melted plastic, grit around the mechanism, or a switch that remains stuck in the on position.
Do not use a power tool whose switch cannot turn it on and off reliably. The DeWalt DCG407/DCG408 instruction manual, like many power-tool manuals, directs users to qualified repair personnel and identical replacement parts for service work.
Note: An internal continuity test is meaningful only after the switch has been disconnected from the correct circuit terminals. Wire locations and switch designs differ by model. Case opening, mains-voltage wiring work, and post-repair safety testing should be performed only when the exact service information authorizes the procedure and the person doing it is qualified.
A qualified technician may test an isolated switch with a multimeter. The meter should show the state specified by the wiring or service diagram when the switch is actuated and released. A result outside that specification can indicate an open, shorted, or intermittent switch, but it does not rule out damaged wiring, electronic controls, brushes, or motor components.
Products Worth Considering

Angle grinder release switch made of plastic and metal material, which is sturdy, durable and practical for a long time.

Brand New and Unused: This replacement switch is a brand-new, unused part specifically designed for DeWalt angle grinders, ensuring top-notch quality and performance.

The angle grinder release switch is constructed from plastic and metal materials, ensuring robust durability and long term practicality.
How to Check and Replace Carbon Brushes
First confirm that the grinder has a brushed motor. Many current cordless grinders are brushless and do not contain replaceable motor brushes.
On a brushed model with user-accessible brush caps, unplug the tool or remove the battery and follow the exact manual. Inspect both brushes for uneven wear, cracks, chips, damaged leads, weak springs, heat damage, or wear beyond the specified limit mark or minimum length.
The Makita BGA452 instruction manual directs users of that applicable model to replace both brushes at the same time with identical brushes once they reach the limit mark. Treat this as model-specific guidance rather than a universal specification.
- Use the exact brush part listed for the grinder.
- Replace brushes as a matched pair when the manual requires it.
- Make sure each brush moves freely in its holder.
- Do not sand a brush to force it to fit.
- Stop if the holder, spring, commutator, wiring, or surrounding plastic is burnt or damaged.
New brushes will not repair a damaged commutator, armature, switch, controller, or brush holder. If heavy sparking continues after a correct brush replacement, disconnect the grinder and have it professionally inspected.
Products Worth Considering

Premium Graphite & Copper Build – Crafted from high-quality graphite and copper, these carbon brushes deliver excellent conductivity, stable performance, and extended durability—ensuring your power tools and motors run at their best.

[Compatibility]: Compatible With WS125, Black & Decker G720.

Material is Carbon and Metal, size is 13x9x6mm/0.51"x0.35"x0.23“
How to Prevent Grinder Overheating and Repeated Shutdowns
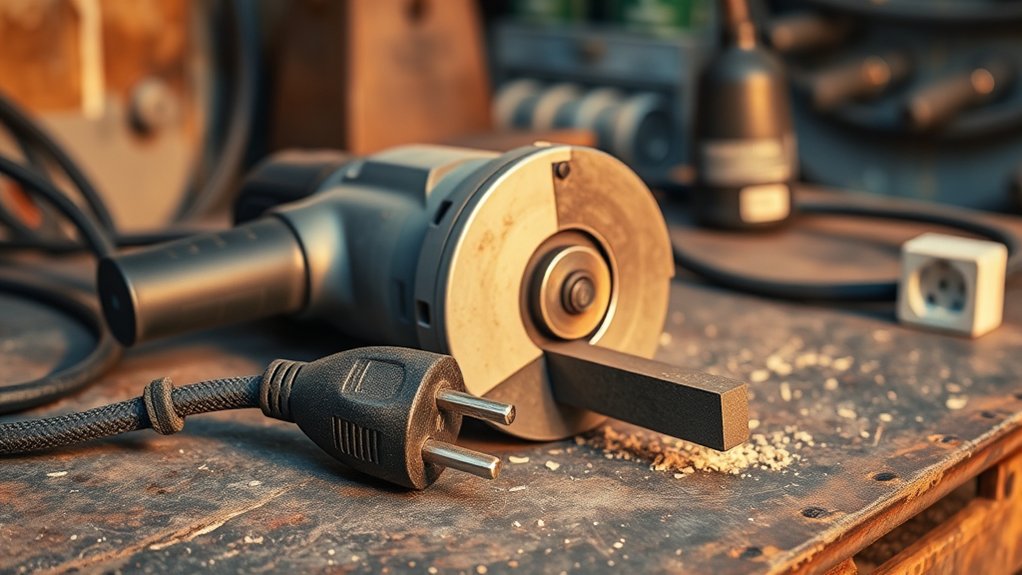
Heat rises when airflow is restricted, the wheel binds, the operator pushes too hard, the accessory is unsuitable, or the battery and motor are asked to deliver more current than the system can handle.
- Keep the ventilation openings clear according to the manufacturer’s cleaning schedule.
- Use the correct wheel, guard, flange, and operating angle.
- Let the grinder reach full speed before contacting the work.
- Use light, controlled pressure instead of forcing the accessory.
- Support the workpiece so a cut-off wheel cannot be pinched.
- Use a properly rated extension cord for a corded grinder.
- Use a compatible battery that can supply the tool’s required current.
- Pause when the tool repeatedly reduces speed, shuts down, or becomes unusually hot.
If the grinder or battery becomes unusually hot, release the switch and disconnect the power source. Let it cool naturally in a dry, ventilated area away from combustible material. Do not place a hot battery in water, a refrigerator, or a freezer, and do not keep restarting the grinder to force it through the job.
Repeated shutdown is a warning to correct the load, power source, accessory, airflow, or tool fault—not a signal to keep pulling the trigger.
Safety Rules for Grinder Inspection and Repair
Warning: Never bypass a switch, defeat an anti-restart feature, operate the grinder without the correct wheel guard, or use an accessory whose speed rating is below the grinder’s maximum speed.
Wear safety glasses during inspection and cleaning. Wear suitable gloves when handling sharp wheels, wire brushes, flanges, or damaged metal parts, but never handle a rotating accessory.
| Safety Measure | Required Action |
|---|---|
| Disconnect Power | Unplug the cord or remove the battery before inspection, cleaning, accessory changes, or cover removal. |
| Prevent Accidental Startup | Place the switch in the off position and keep the power source separate from the work area. |
| Inspect Accessories | Reject damaged, incompatible, expired, incorrectly rated, or improperly mounted wheels and accessories. |
| Protect Eyes and Face | Wear suitable eye protection during cleaning and inspection; use task-appropriate face protection during grinding. |
| Use Correct Parts | Use only parts and accessories approved for the exact grinder model. |
| Remove Unsafe Tools From Service | Tag or clearly separate a grinder with cord damage, smoke, severe vibration, unreliable switching, exposed wiring, or repeated electrical trips. |
When to Seek Professional Help
Take the grinder to the manufacturer or an authorized repair center when any of these conditions occur:
- Smoke, flame, a strong burning odor, or heat-damaged plastic
- A switch that sticks, works intermittently, or cannot stop the tool
- A damaged cord near the strain relief or inside the housing
- A breaker or GFCI that trips repeatedly
- Heavy internal sparking or visible arcing
- Grinding, squealing, knocking, or severe vibration after the accessory is removed or replaced
- A bent spindle, damaged gearbox, loose bearing, or cracked housing
- Battery swelling, leakage, impact damage, unusual odor, or abnormal heat
- A fault that requires opening sealed electronics or testing energized circuits
Internal bearing, gearbox, armature, field-winding, electronic-controller, cord, and switch repairs vary by model. Qualified service personnel can identify the correct parts and perform the electrical and mechanical checks needed before the grinder returns to use.
Frequently Asked Questions
Why does my angle grinder stop under load?
Common causes include excessive pressure, a pinched or unsuitable wheel, a weak or overheated battery, an undersized extension cord, blocked vents, electronic overload protection, worn brushes on a brushed model, or an internal motor fault. Correct the setup and reduce pressure. Stop using the grinder if it repeatedly shuts down.
How can I tell if my grinder motor is burnt out?
Smoke, a strong electrical odor, heavy internal sparking, loss of power, repeated shutdown, or heat-damaged plastic can indicate a serious motor or electrical fault, but those symptoms do not prove that the windings alone have failed. Disconnect the grinder and have it tested rather than restarting it.
Can I bypass a broken grinder switch?
No. Bypassing the switch can cause the grinder to start as soon as power is connected and defeats an essential control. Remove the tool from service and replace the switch only through a model-approved repair procedure.
Why will my grinder not restart after a power interruption?
Some grinders have anti-restart or power-loss protection. Return the switch fully to the off position, disconnect and reconnect the approved power source, and follow the reset procedure in the manual. Do not defeat the feature.
Do all angle grinders have carbon brushes?
No. Traditional brushed motors use carbon brushes, while brushless motors do not. Check the nameplate, product specifications, parts diagram, or owner’s manual before looking for brush caps or ordering replacement brushes.
Can I replace a damaged angle grinder cord myself?
A damaged cord should be removed from service immediately. Replacement requires the correct hard-service cord, strain relief, terminals, routing, insulation, and post-repair testing for the exact model. Use an authorized repair center unless the manufacturer provides a user-service procedure and you are qualified to complete it.
Safety Disclaimer: This article provides general inspection and troubleshooting information, not model-specific electrical repair instructions. Consult the exact owner’s or service manual and use a qualified repair technician for internal wiring, switch, cord, motor, controller, bearing, or gearbox work.
Conclusion
When an angle grinder stops working, begin with the power source, battery or cord, switch action, ventilation openings, and wheel installation. Account for overload and anti-restart systems before assuming that the motor has failed. Carbon brushes are relevant only to applicable brushed models. If the grinder smokes, sparks heavily, vibrates severely, trips power repeatedly, or cannot be switched off reliably, disconnect it and arrange professional service.
Sources
- OSHA 29 CFR 1910.243 — Guarding of Portable Powered Tools — supports grinder-guard and accessory-speed requirements.
- OSHA 29 CFR 1910.334 — Use of Electrical Equipment — supports inspection and removal from service of damaged cord-and-plug equipment.
- OSHA 29 CFR 1910.242 — Hand and Portable Powered Tools — supports compressed-air cleaning limits in covered workplaces.
- DeWalt DCG407/DCG408 Instruction Manual — supports switch, service, accessory-speed, power-disconnection, operation, and vent-cleaning guidance.
- Makita BGA452 Instruction Manual — supports model-specific vent maintenance and carbon-brush inspection and replacement.