Swapping a plasma cutter torch can look simple until the machine refuses to fire, trips a fault, or damages a control board. The torch must match the cutter’s start method, amperage range, connector pinout, and control circuit. This guide explains what you can safely interchange, what you should verify first, and when an adapter or OEM torch makes more sense.
Quick Answer
Plasma cutter torches are not universally interchangeable. You must match the torch to the power source by start method, amperage rating, connector, pinout, pilot-arc wiring, and consumable family. A torch that only fits the plug can still misfire, cut poorly, or damage the machine.
Key Takeaways
- Match the torch’s start method, such as high frequency or blowback, to the plasma cutter.
- Choose a torch with an amperage rating that meets or exceeds the machine’s output.
- Verify the connector, pinout, pilot lead, trigger wiring, and safety circuit before power-up.
- Use the correct consumable family because nozzle and electrode geometry affect arc quality.
- Check the OEM manual before using aftermarket torches or adapter harnesses.
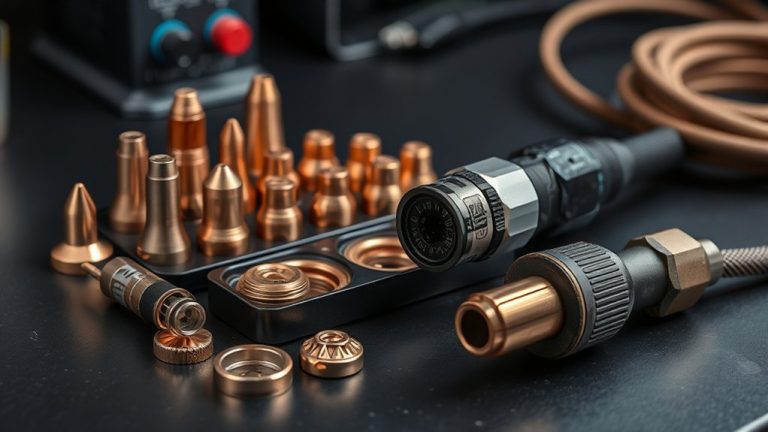
How Plasma Torches Work and Key Components
A plasma torch sends electric current through compressed gas. The current ionizes the gas and creates a hot, focused plasma jet. That jet melts metal while gas pressure blows molten material out of the cut.
Plasma cutting depends on a stable arc, clean gas flow, and consumables that match the machine’s amperage.
The torch forms and holds a plasma arc between the electrode and the workpiece. The electrode acts as the cathode, while the workpiece acts as the anode. The nozzle orifice narrows the arc, which helps create a tighter kerf and a smaller heat-affected zone.
The shield cap protects and cools the nozzle. It also helps keep gas flow stable, which improves edge quality. You should inspect the electrode often because emitter wear raises arc voltage and reduces cut accuracy.
Pair each electrode with the correct nozzle for your amperage. A mismatched nozzle can overheat, widen the kerf, and shorten consumable life. Use clean, dry gas that meets the manufacturer’s spec to reduce spatter, double-arcing, and hard starts.
Types of Torches and Starting Methods: HF vs. Blowback
The start method often decides whether a replacement torch will work. The two common methods are high-frequency (HF) start and blowback start. You should not mix them unless the cutter manual clearly supports that setup.
HF start uses high-voltage, high-frequency energy to ionize the gas and start the arc. Blowback start uses a moving electrode that lifts back to create a pilot arc. Each method needs matching torch parts and machine-side control logic.
High-Frequency Start Basics
HF-start torches start the arc without the electrode touching the workpiece. This can reduce tip wear and help the torch start cleanly. The power source must include HF-compatible circuitry and proper shielding.
If you connect an HF torch to the wrong machine, you risk misfires, electrical noise, and weak cut quality. You should verify the pilot-arc circuit, shielding, grounding, and connector pinout before you test the torch.
- Confirm the cutter supports HF start.
- Check the torch plug and pinout against the wiring diagram.
- Route cables to reduce electromagnetic interference.
- Inspect shielding and grounding paths before cutting.
- Use consumables made for the HF torch family.
Blowback Start Compatibility
Blowback-start torches often offer more interchange options, but only when the main specs match. You still need the same start method, amperage class, connector, pilot lead, and switch circuit. A matching plug alone does not prove compatibility.
| Criterion | Requirement |
|---|---|
| Starting method | Use blowback with blowback, not HF |
| Amperage class | Match rated output, such as 30, 45, or 65 amps |
| Connector and pinout | Match plug, pins, trigger, and pilot lead |
| Control logic | Match torch switch and pilot-sense circuit |
| Grounding and EMI | Meet the machine’s electrical design |
HF-start torches are not drop-in replacements for blowback systems. They use different ignition circuits and grounding paths. A wiring mismatch can disable the pilot arc or damage internal boards.
Warning: Never test a swapped torch until you have checked the wiring diagram, start method, and amperage rating.
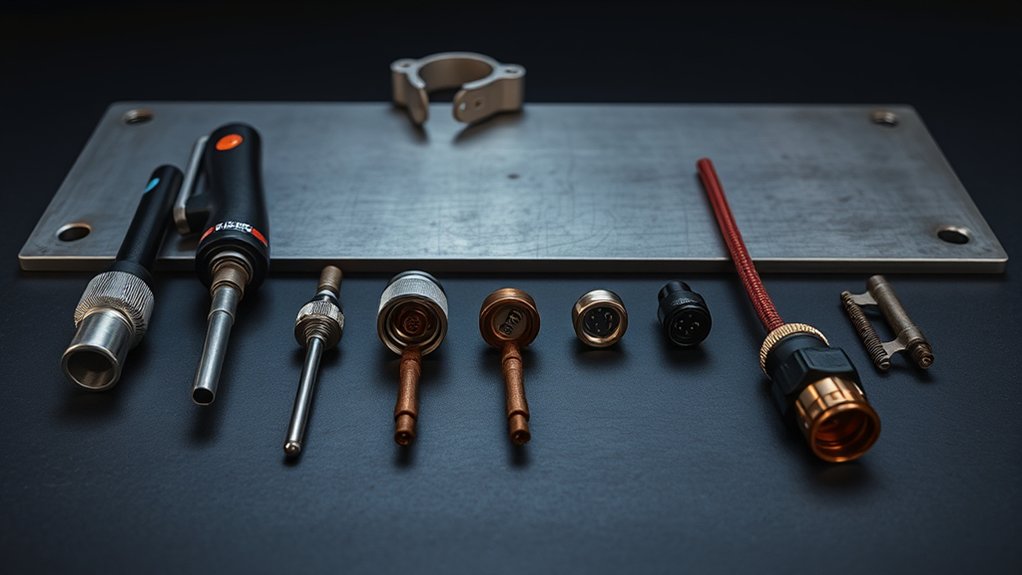
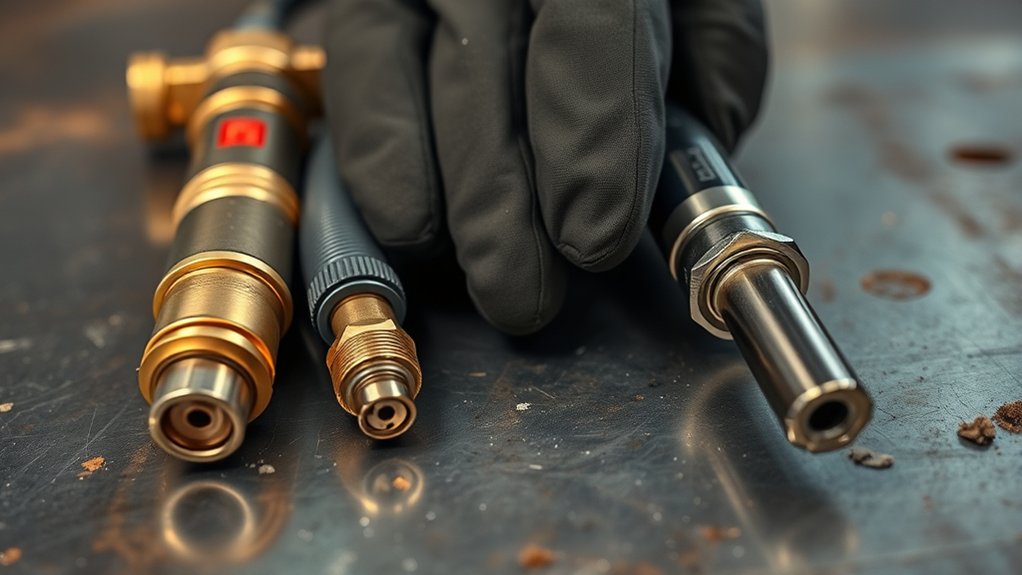
Compatibility Factors: Amperage, Wiring, and Connector Styles
Start with the torch’s amperage rating. The torch must handle the cutter’s maximum output and duty cycle. An under-rated torch can overheat, erode consumables, and fail early.
Next, compare the start method, plug type, pinout, trigger wires, pilot lead, and safety-interlock circuit. If the connector style differs, use only a properly rated adapter harness. Then check continuity before you energize the machine.
Products Worth Considering

Standard size plasma torch double pointed spacer guide for: PT-60 / PT-40

PT31 Plasma Torch: standard length: 16ft; air pressure: 4.5-5.5bar; duty cycle for 60% with 30A

APPLICATION: Apply to YESWELDER CUT-60DS PRO, CUT-65DS PLUS,CUT-65DS PRO plasma cutter with central interface.
Matching Amperage Ratings
Before you swap torches, confirm that the torch’s amperage rating meets or exceeds the plasma cutter’s output. Treat amperage as a hard limit. A torch below the machine’s output can overheat and damage parts.
A higher-rated torch may work if the other specs match. It may also feel heavier and cost more. Check the duty cycle at the amperage you plan to use because heat buildup changes performance.
- Check nameplate amps against the cutter’s maximum output.
- Compare duty cycle at the target amperage.
- Verify the cable gauge can handle the load.
- Match nozzle current range to the cut setting.
- Confirm environmental ratings for your shop conditions.
Start Method Compatibility
Amperage matters, but the start method often decides whether the torch fires. Match high-frequency start to an HF power source. Match blowback or pilot-arc start to a cutter built for that system.
Mixing start methods can prevent ignition, trip fault circuits, or damage components. Map the trigger, pilot, and safety-interlock leads before you connect the torch. Then confirm mechanical fit and circuit continuity across every contact.
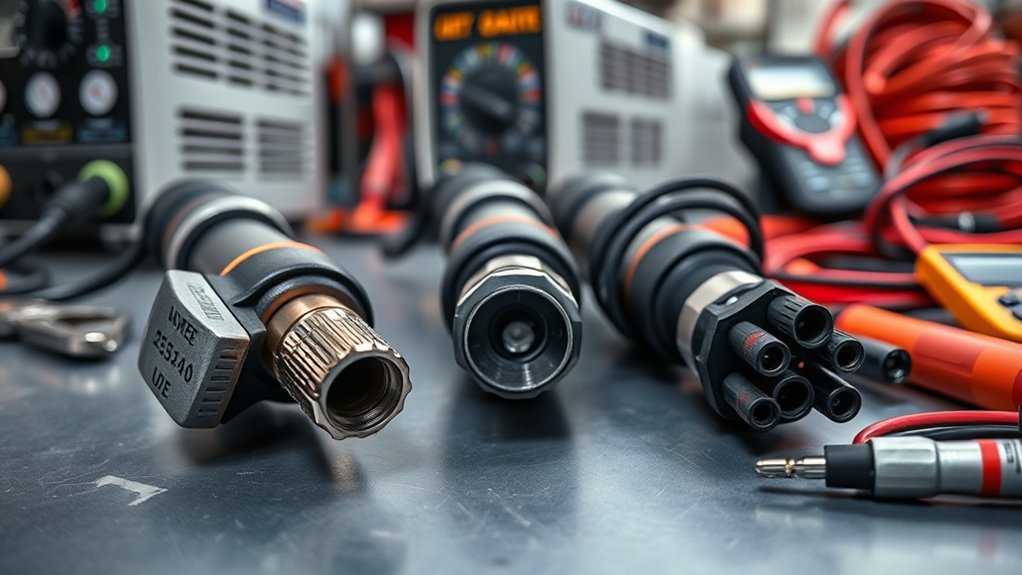
Plug, Pinout, and Adapters
Even when amperage and start method match, the plug and pinout can stop the swap. You must compare the connector against the cutter’s wiring map. A mismatched pin can short the trigger, disable the pilot arc, or stress current paths.
Adapters can solve physical fit issues. They do not fix electrical incompatibility. Confirm current rating, insulation class, start circuit, and pilot-arc wiring before you cut.
- Match keyed plugs and locking rings.
- Compare trigger, pilot, and current-sense pins.
- Check wire colors against terminal numbers.
- Use only rated adapter pigtails.
- Test continuity and isolation with a multimeter.
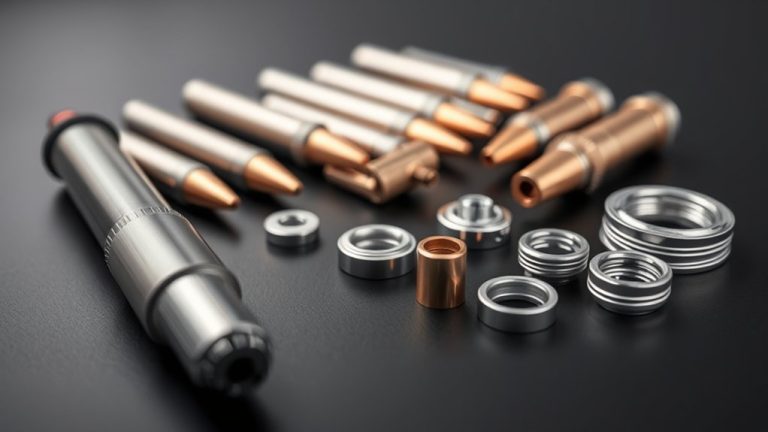
How Consumables Affect Plasma Torch Interchangeability
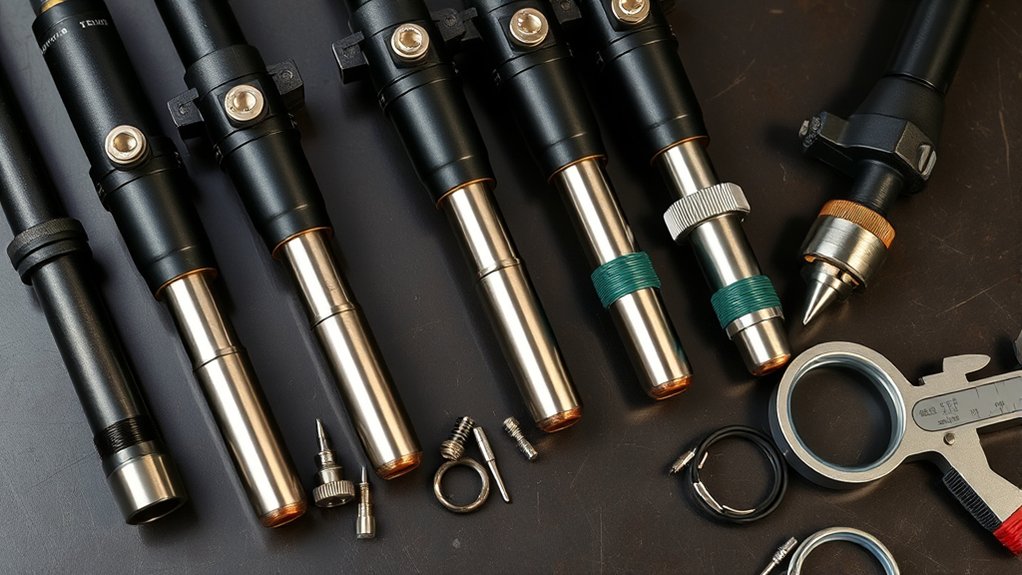
Consumables do more than fit inside the torch. The electrode, nozzle, swirl ring, and shield cap shape the arc and control heat. If those parts do not match the torch and power source, cut quality drops fast.
Match electrode and nozzle geometry, orifice size, amperage range, and gas flow path. Physical fit does not prove electrical or thermal fit. The wrong parts can cause hard starts, rough kerfs, double-arcing, and early wear.
| Parameter | Why It Matters | Typical Check |
|---|---|---|
| Amperage rating | Helps prevent overheating and arc blowout | Match the stated amp range |
| Start method | Supports reliable ignition | Confirm HF or blowback |
| Nozzle orifice | Controls arc shape and kerf width | Use the listed nozzle size |
| Electrode insert | Affects arc root stability | Match material and series |
| Gas flow design | Maintains cooling and arc focus | Follow LPM or CFM specs |
Inspect consumables before each job. Replace electrodes with deep pits, nozzles with oval openings, and shields with heavy spatter. Worn parts can make a compatible torch seem faulty.
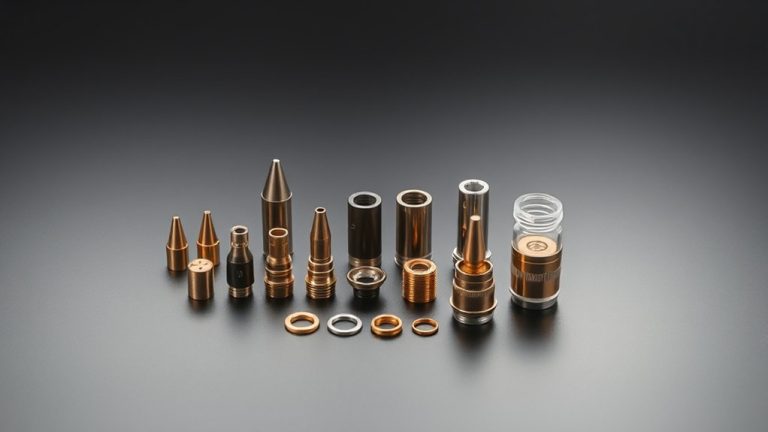
Products Worth Considering

Fit for : AG-60 AG-60P SG-55 WSD-60 Plasma cutter torch head

Crafted from high-quality durable materials, copper components offer excellent electrical conductivity and heat resistance, stable for high-frequency, high-intensity cutting. .045"/1.1 aperture ideal for 50-60A current.

Package list : Electrode 52574 Nozzle 51206.11 20PK
Brand-Specific Fit and Warranty Concerns
Brand and model limits often decide whether a torch swap will work. Manufacturers do not use one shared torch standard across all plasma cutters. Torch bodies, lead sets, pins, consumables, and control signals can vary by model.
If you install a non-approved torch, you may get misfires, unstable arcs, and premature consumable wear. You may also create warranty problems if the torch causes damage. Review the warranty terms and manual before you use an aftermarket setup.
Brand-specific torches often use unique wiring, start logic, and consumables, so a matching plug does not prove safe fit.
- Pinout mismatch: One wrong pin can damage a board or disable the trigger.
- Ignition mismatch: A blowback torch may not work with an HF-start power source.
- Gas-flow mismatch: A swirl ring may not match another brand’s nozzle geometry.
- Control mismatch: Trigger and safety circuits may use different logic.
- Warranty risk: Service records may show non-approved torch use after a failure.
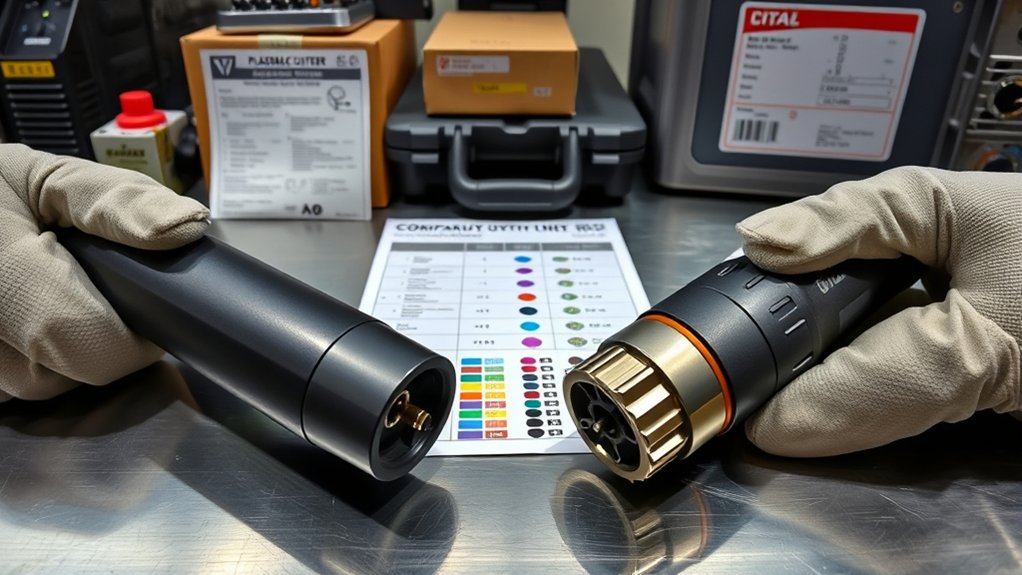
How to Verify Fit With Part Numbers, Manuals, and Compatibility Guides
Start with exact part numbers for the torch head, handle, lead set, connector, and consumable series. Then match those numbers against the plasma cutter manual and OEM compatibility chart. Do not rely on photos or plug shape alone.
Check the manual for pinout, connector type, duty cycle, gas requirements, and start method. Confirm whether the torch needs an internal gas valve, machine-side solenoid, or separate pilot lead. Then compare the approved torch’s current rating to the machine’s maximum output.
If any data conflicts, contact the manufacturer or a qualified distributor with the model and serial number. Keep the answer in your service records. That record can help if you later need warranty support.
Pro tip: Build a simple checklist with model number, torch part number, pinout, start method, amperage, and consumable series.
Best Practices for Adapting Plasma Torches
A full torch swap is rarely plug-and-play. You can adapt a torch more safely when you match three pillars: ignition method, current rating, and wiring interface. If one pillar does not match, stop and verify before you cut.
Favor brand-specific torches when reliability and warranty coverage matter. Use generic substitutes only when the manual, wiring diagram, and consumable chart support the swap. Document changes and test the setup on scrap before production work.
Match the start method, amperage, wiring, gas flow, and consumables before you make test cuts.
- Match nameplate amperage to duty-cycle data.
- Confirm the consumable family and nozzle orifice size.
- Inspect connector type and continuity-test each conductor.
- Use strain relief and proper grounding for torch leads.
- Run test coupons to check cut speed, kerf width, bevel, and arc stability.
Do not mix aftermarket consumables at random. Parts that look similar can change gas flow, arc voltage, and cooling. A small mismatch can lead to poor cuts or torch damage.
Compatibility Checklist Before You Swap a Plasma Torch
Use a checklist before you connect a replacement torch. This helps you catch problems before they become electrical faults or poor cuts. Record the results for future service and troubleshooting.
- Confirm the cutter model, serial number, and maximum amperage.
- Match the start method, such as HF start or blowback start.
- Compare the torch part number with the OEM compatibility chart.
- Verify the connector, pinout, trigger circuit, and pilot lead.
- Match the consumable series, nozzle size, electrode type, and gas flow spec.
- Check warranty terms before using non-OEM parts.
- Perform a low-risk test cut on scrap material.
Frequently Asked Questions
Can Torch Interchangeability Affect CNC Controller Noise or Interference?
Yes. A torch swap can change the machine’s electromagnetic compatibility (EMC) and electromagnetic interference (EMI) behavior. Check grounding, shielding, cable routing, and controller error logs before you run long CNC jobs.
Do Interchangeable Torches Change Duty Cycle or Cooling Requirements?
Yes. A replacement torch can change duty cycle, cooling needs, and heat load. Match the torch’s amperage, cooling method, consumables, and gas flow to the power source’s rating.
How Does Torch Weight Impact User Fatigue and Cut Consistency?
A heavier torch can increase hand fatigue during long cuts. Fatigue makes it harder to hold a steady standoff and travel speed. A balanced torch helps improve kerf consistency and edge quality.
Are There Insurance or Safety Certification Issues When Swapping Torches?
Yes. A non-approved torch can create safety, warranty, and insurance concerns after a failure or shop incident. Verify the OEM compatibility list, electrical rating, and shop safety requirements before you modify the setup.
Will Torch Swapping Affect Arc Voltage Calibration for THC Systems?
Yes. Different torches can change the arc voltage that a torch height control (THC) system reads during a cut. Measure cut voltage on test coupons and update presets before you run production parts.
Conclusion
You can interchange some plasma cutter torches, but only when the torch and power source match in the right ways. Start with the start method, amperage rating, duty cycle, pinout, connector, gas flow, and consumable family. Use OEM manuals, part numbers, wiring diagrams, and compatibility charts before you energize the machine. If anything conflicts, choose an approved torch or ask the manufacturer for written guidance. A careful check protects your machine, your cuts, and your warranty.