Can You Use a Welding Helmet for Plasma Cutting?
What’s in This Article
- Understanding Plasma Cutting and Its Unique Requirements
- Differences Between Welding Helmets and Plasma Cutting Helmets
- Choosing the Right Shade for Plasma Cutting
- Key Features to Consider in a Helmet for Plasma Cutting
- Safety Considerations and Additional Protective Gear
- User Experiences and Recommendations for Helmet Use
- Frequently Asked Questions
- Conclusion
You can use some welding helmets for plasma cutting, but only if the lens shade fits the cutting amperage. Plasma cutting creates a bright arc, heat, sparks, ultraviolet light, and infrared light. A standard helmet with the wrong shade can leave your eyes exposed. This guide explains how to choose the right filter shade, what helmet features matter, and what extra gear you need for safer cutting.
Quick Answer
Yes, you can use a welding helmet for plasma cutting if it has the correct shade range and protects against ultraviolet and infrared light. For many light cuts, shade 5 works well. Higher amperage usually needs a darker shade, such as shade 8 or higher. Check your helmet settings before each cut.
Key Takeaways
- Use a welding helmet only if its shade rating matches your plasma cutter amperage.
- Start around shade 5 for many light plasma cuts, then go darker as amperage rises.
- Choose a helmet with ultraviolet and infrared protection, clear optics, and stable auto-darkening sensors.
- Wear flame-resistant clothing, gloves, eye protection, hearing protection, and respiratory protection when needed.
- Stop cutting if your helmet flickers, flashes, or fails to darken at the right time.
Understanding Plasma Cutting and Its Unique Requirements
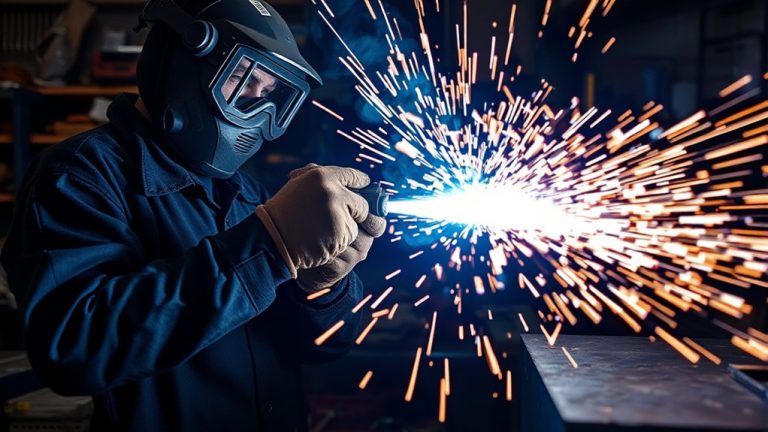
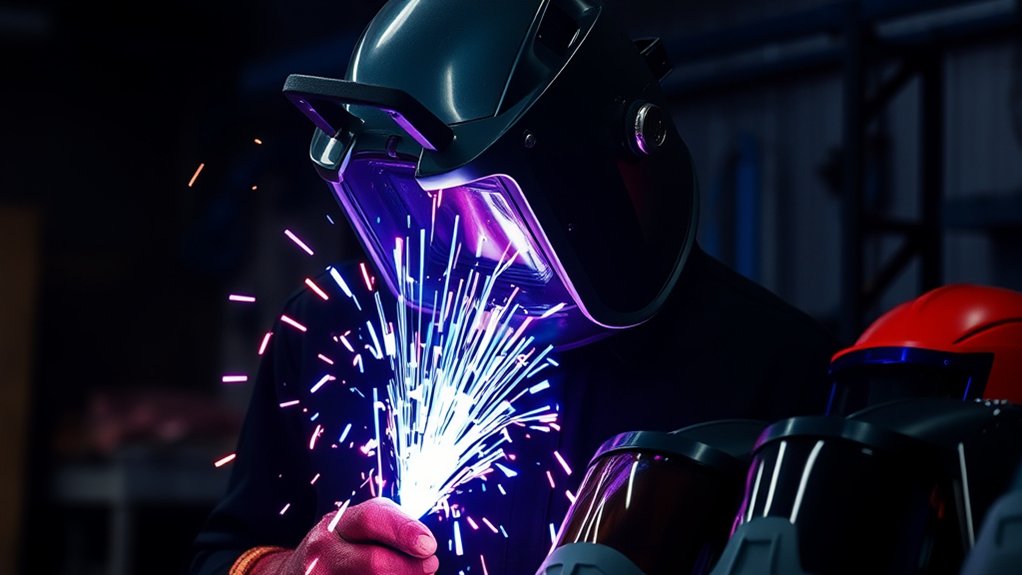
Plasma cutting works differently from most welding tasks. It uses an electrical arc and compressed gas to cut through metal. The process creates bright light, heat, sparks, and radiation that can harm your eyes and skin.
Plasma arcs can produce very high temperatures, often described in the tens of thousands of degrees. That heat cuts metal fast, but it also increases risk. You need a helmet that blocks harmful light and gives you enough visibility to follow the cut line.
Shade choice matters because plasma cutting light changes with amperage. Lower current can need a lighter shade, while high current needs a darker lens. Many safety charts place low-current plasma cutting around shade 4 or 5, while heavy cutting may need shade 8, 9, or darker.
Auto-darkening filters can help because they adjust the lens when the arc starts. You still need to set the correct shade range. A fast lens response does not replace the need for the right protection level.
Differences Between Welding Helmets and Plasma Cutting Helmets
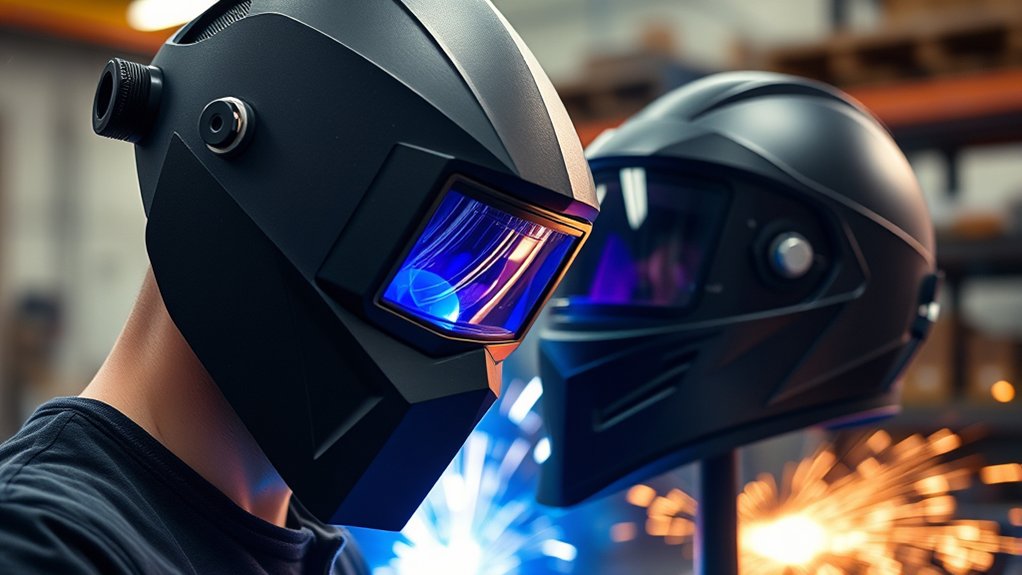
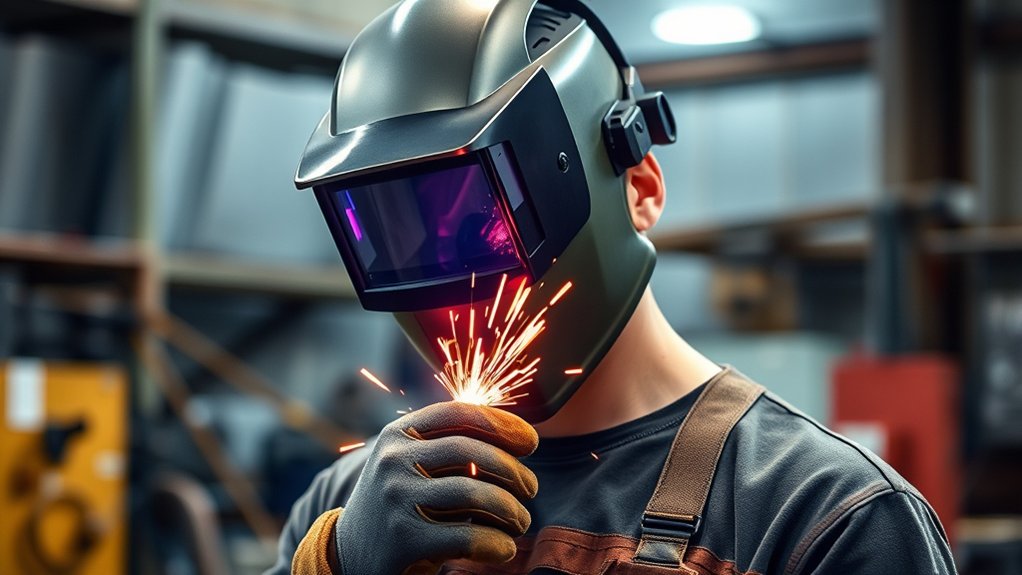
Welding helmets and plasma cutting helmets may look similar, but they do not always work the same way. A welding helmet protects your eyes during welding arcs. A plasma-ready helmet must also handle the bright, sharp arc that comes from a plasma cutter.
Some welding helmets include a cutting mode. This mode often supports lower shade settings, such as shade 5. That makes it easier to see the cut line while still protecting your eyes.
Plasma cutting helmets often include wider shade ranges, clear lenses, and better sensor control. These features help the helmet react to a fast arc without constant flicker. They also help you see the workpiece more clearly.
You should not assume every welding helmet works for plasma cutting. Check the shade range, cutting mode, sensor settings, and safety markings before use. If the helmet cannot reach the needed shade, choose another helmet.
Warning: Do not use a helmet that flashes, flickers, or fails to darken when the plasma arc starts.
Choosing the Right Shade for Plasma Cutting

The right shade depends on your plasma cutter amperage and the brightness of the arc. A lens that looks comfortable may still expose your eyes to harmful light. Use your machine manual and helmet chart as your main guide.
For currents between 20 and 40 amps, many users start with shade 5. For 60 to 100 amps, shade 8 or higher often gives better protection. Very low current cuts may use shade 4 if your helmet and safety chart allow it.
Use these general points as a starting guide:
- Minimum shade of 4: Suitable for some low-current cuts below 20 amps.
- Shade 5: Common for many light and moderate plasma cutting jobs.
- Shades 8 to 12: Better for medium and heavy cutting applications.
- Adjustable shade settings: Help you match the lens to changing cutting conditions.
Selecting the correct helmet shade helps protect your eyes from ultraviolet and infrared radiation. It also helps you keep a steady cut line. Do not lower the shade just to see better if the arc feels too bright.
Products Worth Considering

INFARED (IR) PROTECTION - Certified IR 5.0 protection for use in grinding, oxyfuel cutting, plasma cutting and more

Wide Applications: Shade range 4/5-9/9-13 covering most common welding and plasma cutting processes, great For TIG MIG MMA CUT and GRIND (Supplied with face shield).

FACE SHIELD - Sellstrom's DP4 Face Shield is made to protect people at home or at work in construction, manufacturing, oil & gas, metal work, and more; Ideal for protection in various types of grinding, brazing, and cutting operations
Key Features to Consider in a Helmet for Plasma Cutting
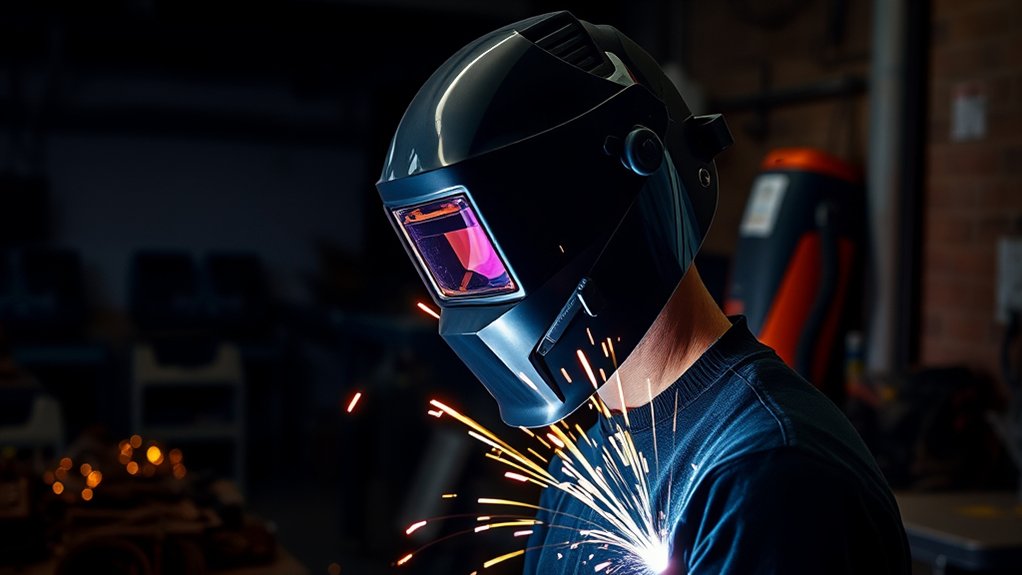
Choose a helmet for plasma cutting with clear optics, reliable sensors, and the right shade range. Clear lens quality helps you see the cut path without distortion. Better visibility also helps reduce mistakes on thin or detailed cuts.
Look for adjustable shade levels that start around shade 5. This range helps you handle the bright light from plasma arcs. It also helps protect your eyes from harmful UV and infrared rays.
Comfort matters during longer cutting jobs. A lighter helmet with balanced headgear can reduce neck strain. Good ventilation can also help reduce heat buildup inside the helmet.
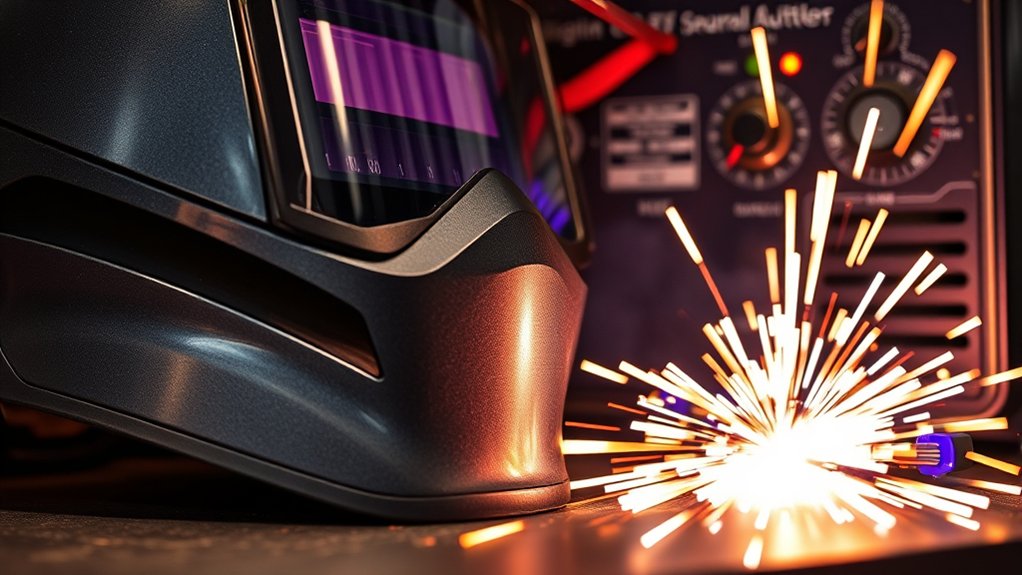
Auto-darkening technology can make plasma cutting easier. The lens darkens when the arc starts and returns to a lighter state after the cut. Choose a helmet with adjustable sensitivity and delay so you can reduce flicker.
Pro tip: Test your helmet on scrap metal before cutting your main workpiece.
Products Worth Considering

Detachable Design: Our welding helmet offers the convenience of a separable design where the face shield and the welding goggles can be detached, ensuring an easier and more comfortable use for welders.

【Professional Welding Safety Goggles】Made of high quality PC + ABS material, features anti-ultraviolet, infrared radiation, anti-glare, which can resist 99% of the harmful light to the eyes.

Large Viewing and Hemispherical Lense: The 3.94" x 3.66" large viewing screen with Hemispherical lense design, combined with exceptional 1/1/1/1 Optical Clarity, guarantees a crystal-clear view, depicting true color views with cinematic quality. Weld with confidence as if you were watching a picture in a movie theater.
Safety Considerations and Additional Protective Gear
Your helmet protects your eyes and face, but it does not protect your whole body. Plasma cutting throws sparks, hot metal, and slag. You need complete personal protective equipment (PPE) before you start.
Wear flame-resistant clothing, gloves, and full skin coverage. Use hearing protection when cutting noise feels loud. Work in a ventilated space, especially when cutting coated, painted, or galvanized metal.
Keep your work area clear of flammable materials. Remove paper, oily rags, solvents, and loose dust near the cutting zone. A clean work area lowers fire risk and helps you move safely.
Essential Protective Equipment
Plasma cutting needs more than a helmet. Start with a helmet that has the correct filter shade. Then add gear that protects your hands, skin, ears, and lungs.
Inspect your gear before each job. Cracked lenses, worn gloves, and loose headgear can reduce protection. Replace damaged parts before you cut.
Prioritize this protective equipment:
- Flame-resistant clothing and gloves: Protect your skin from sparks and hot metal.
- Eye and face protection: Use the correct helmet shade and a clean outer lens.
- Ear protection: Use earplugs or earmuffs during loud cutting work.
- Respiratory protection: Use proper protection if ventilation cannot control fumes.
- Regular equipment checks: Make sure every item fits well and works correctly.
Comprehensive Skin Coverage
Full skin coverage helps protect you from heat, sparks, and ultraviolet light. Wear long sleeves, long pants, and a welding jacket when the job creates heavy sparks. Avoid synthetic clothing because it can melt against your skin.
Use heat-resistant gloves when you handle cut metal. Freshly cut parts can stay hot after the arc stops. Keep your hands away from the cut edge until the metal cools.
Check your clothing and PPE for holes, oil, grease, or other flammable materials. Small defects can turn into a real safety risk during plasma cutting.
User Experiences and Recommendations for Helmet Use
When you use a welding helmet for plasma cutting, you may notice flickering. This often happens when sensors do not read the plasma arc clearly. It can also happen when outside light or reflections trigger the lens.
Many users prefer at least shade 5 for light plasma cutting. Some choose shade 8 or darker for stronger arcs. Your best setting depends on amperage, lens quality, and how bright the cut feels.
Check your helmet before each use. Adjust sensitivity, delay, and shade settings to match your cutting conditions. Stop the job if the lens flashes or fails to darken.
Helmet Flickering Challenges
Helmet flickering can distract you and reduce cut quality. It can also signal that your helmet settings do not match the plasma arc. Fix the issue before you continue.
Sensor sensitivity plays a major role. If sensitivity sits too low, the helmet may not darken fast enough. If sensitivity sits too high, shop lights or reflections may trigger it.
Use these steps to reduce flicker:
- Adjust sensor sensitivity and delay settings: Fine-tune both settings before your main cut.
- Reduce external light interference: Move reflective surfaces and bright screens away from the work area.
- Choose a stable helmet: Use a model that supports cutting mode and steady arc detection.
- Use a tinted face shield when needed: Add suitable face protection if your helmet still struggles.
Careful setup can make plasma cutting smoother and safer.
Shade Preferences Explained
Shade preference depends on amperage, eyesight, lens clarity, and work conditions. You need enough shade to protect your eyes. You also need enough visibility to follow your cut line.
A minimum shade 5 often works for many light plasma cuts. Higher current usually needs a darker shade. Older fixed-shade helmets can work if the shade matches the job, but adjustable helmets give you more control.
| Amperage Range | Recommended Shade | Additional Notes |
|---|---|---|
| Below 20A | #4 | May suit some low-intensity cuts |
| 20A – 60A | #5 | Common starting point for light cutting |
| Over 60A | #8+ | Often better for stronger arcs |
Performance Adjustment Tips
Fine-tuning your helmet can improve both comfort and safety. Start with the shade setting, then adjust sensitivity and delay. Make small changes and test each setting on scrap metal.
Use these tips when your helmet does not respond well:
- Stand in a stable position: Keep your helmet sensors facing the arc when possible.
- Use a straight edge: Guide the torch and reduce sudden head movement.
- Check the cover lens: Replace scratched or dirty lenses that block sensor response.
- Adjust delay settings: Set the lens delay to match the arc and afterglow.
If flickering continues, use a helmet made for plasma cutting or ask a qualified safety professional for guidance.
Frequently Asked Questions
Can Auto-Darkening Helmets Be Used for Plasma Cutting?
Yes, you can use auto-darkening helmets for plasma cutting if they support the correct shade range. Set the shade and sensitivity to match the plasma arc. Test the helmet before you start the main cut.
How Does Helmet Weight Impact Plasma Cutting?
Helmet weight affects comfort during longer cutting jobs. A balanced helmet can reduce neck strain and help you stay focused. Choose headgear that holds the helmet steady without pressure points.
Are There Specific Brands Recommended for Plasma Cutting Helmets?
Brands such as Miller, Lincoln Electric, and Hobart sell welding helmets with features that may suit plasma cutting. Focus on shade range, cutting mode, clear optics, and stable sensors. Do not choose by brand alone.
Is It Necessary to Use Ear Protection While Plasma Cutting?
Yes, you should use ear protection when plasma cutting creates loud noise. Cutting metal can produce sound levels that may harm your hearing over time. Earplugs or earmuffs can reduce that risk.
What Maintenance Is Required for Plasma Cutting Helmets?
Clean the helmet, inspect the shell, and replace scratched lenses. Check the sensors and headgear before each use. Replace batteries or solar-assisted parts according to the helmet manual.
Can You Plasma Cut With a Shade 10 Welding Helmet?
Yes, shade 10 can protect your eyes during many plasma cutting jobs, but it may feel too dark for light cuts. If you cannot see the line, use a proper cutting shade that still matches the amperage. Never use a shade that feels painfully bright.
Why Does My Welding Helmet Flicker During Plasma Cutting?
Your helmet may flicker because the sensors cannot read the arc well. Bright shop lights, reflections, dirty lenses, and weak batteries can also cause problems. Adjust the sensitivity and delay, then test again on scrap metal.
Conclusion
A welding helmet can work for plasma cutting only when it gives the right shade, clear visibility, and reliable arc protection. Match the helmet shade to your amperage before you cut. Wear full PPE, control fumes, and keep flammable items away from the work area. If your helmet flickers or feels too bright, stop and fix the problem before you continue. The right setup helps you cut cleaner while protecting your eyes, skin, and hearing.