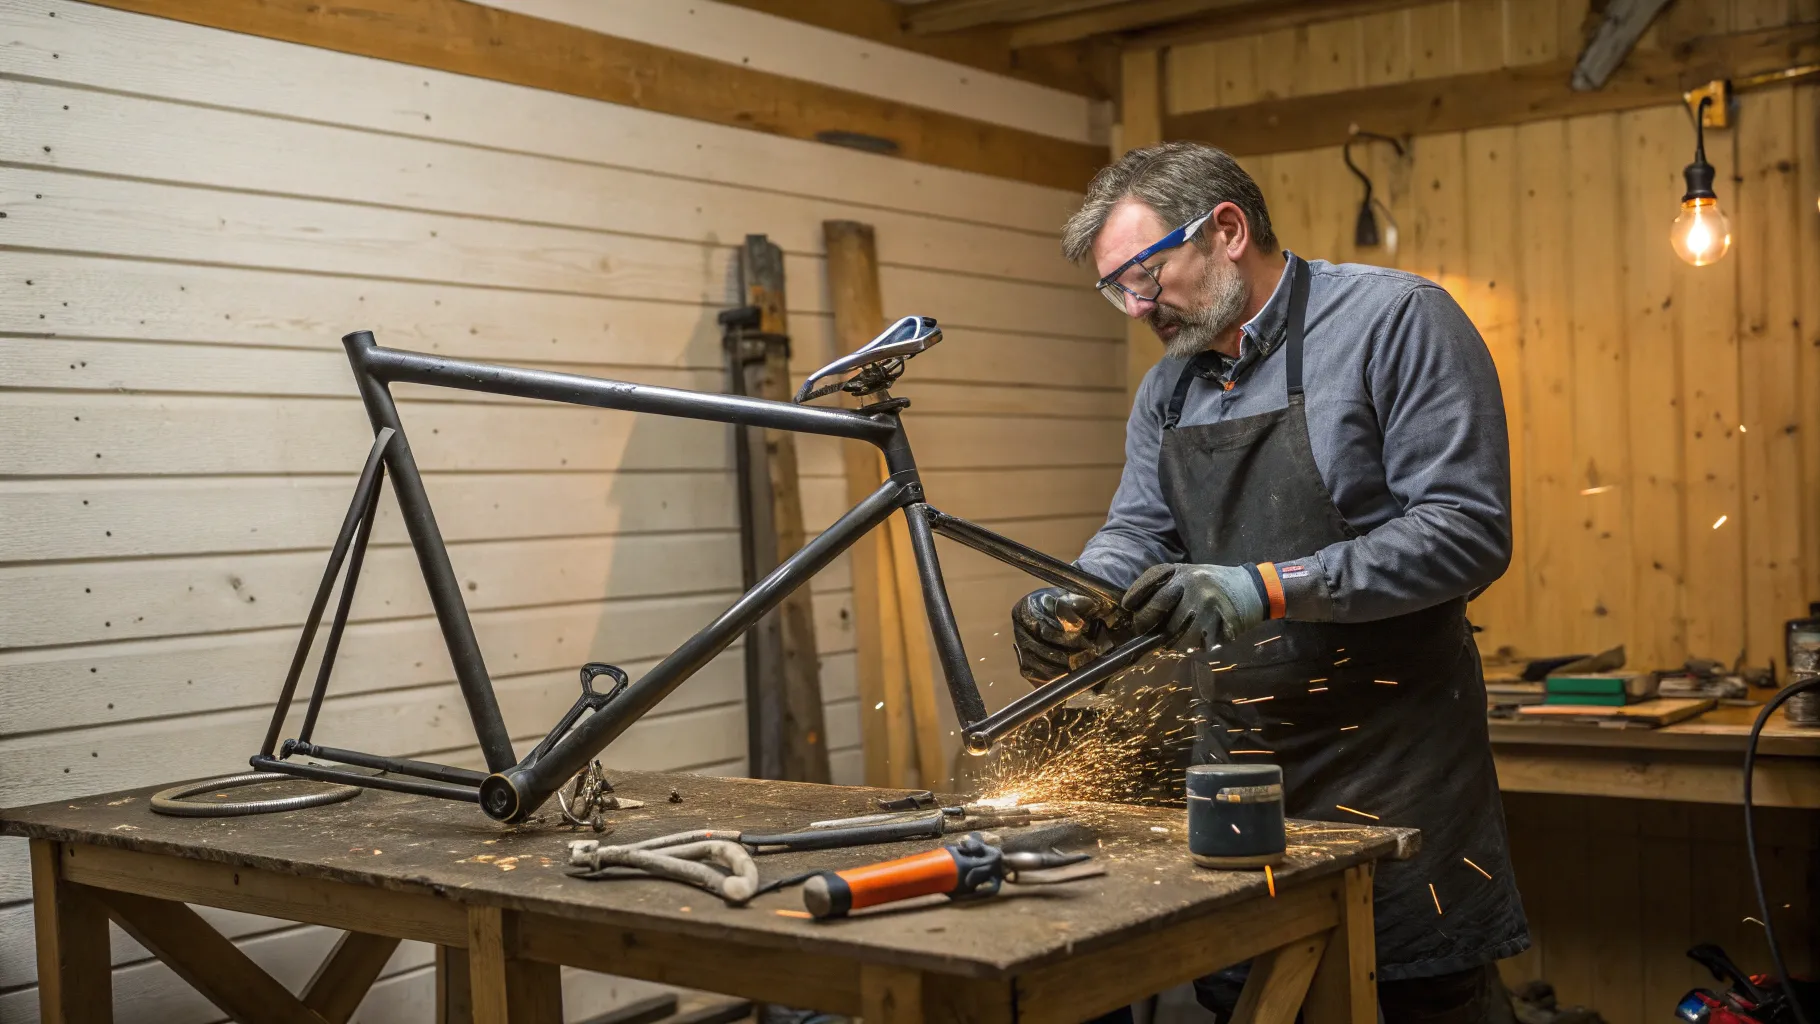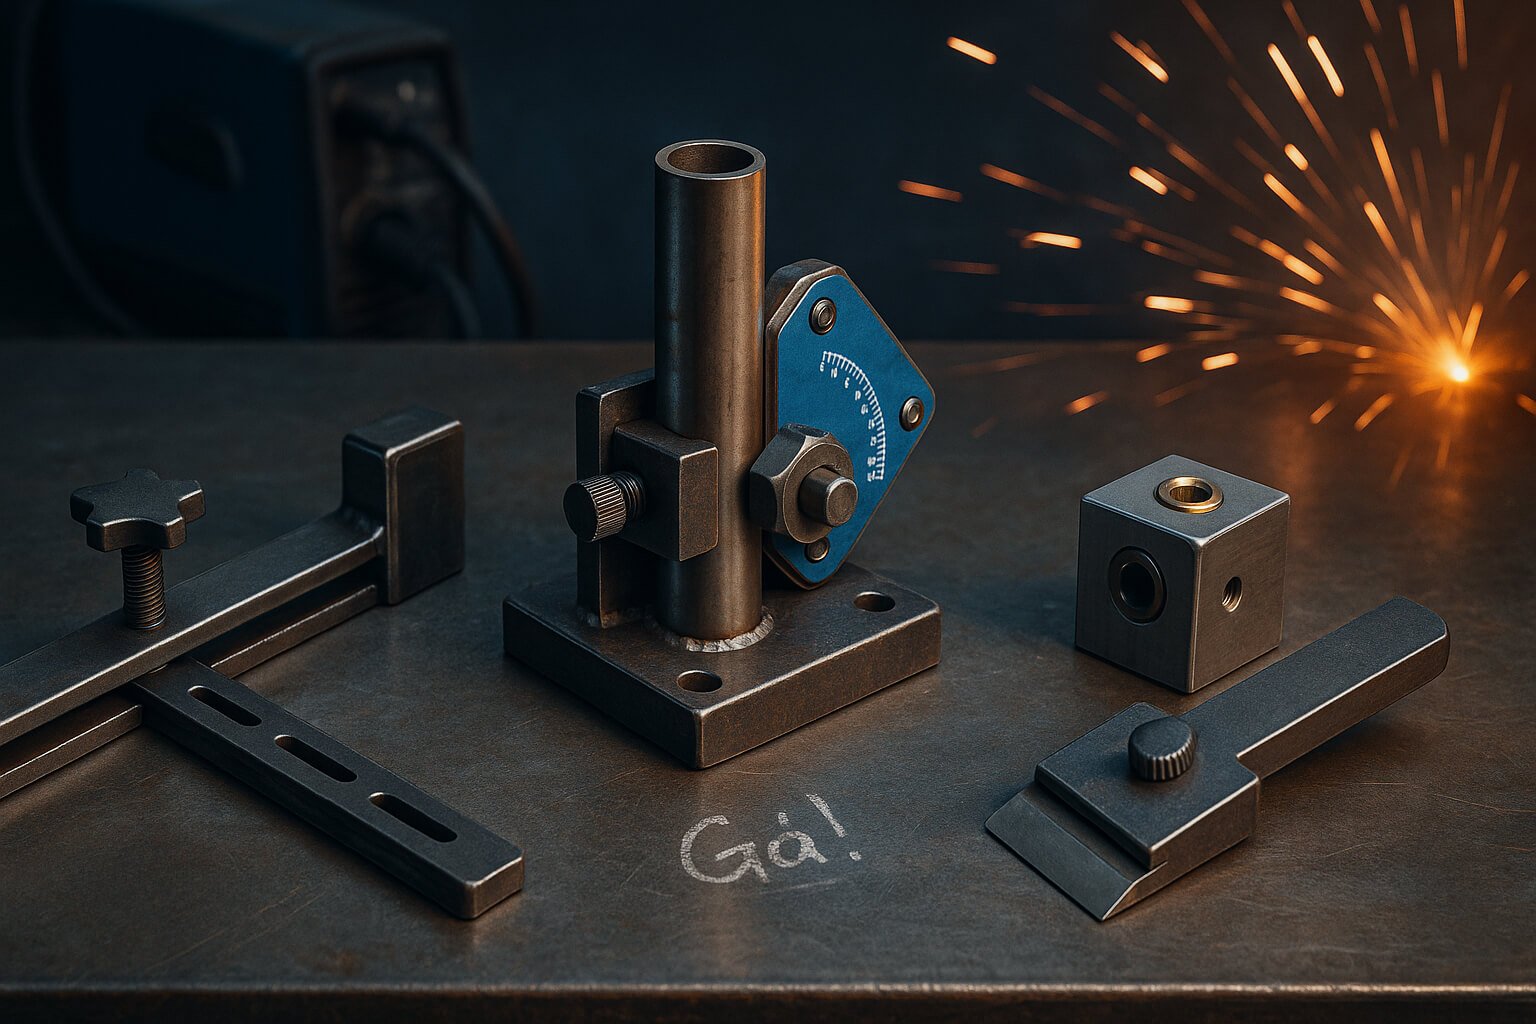
I love turning small workshop problems into simple, reliable tools. A well-built jig does not need to be fancy. It just needs to hold parts securely, repeat the same setup, and help you work safely. Below are five practical DIY welding tools and metalworking helpers you can build from common steel, basic hardware, and a careful setup process.
Quick Answer
The most useful DIY welding tools to build first are a quick-change clamp bar, a 90-degree corner fixture, a reversible edge guide, a magnetic angle setter, and a portable depth block/drill guide. These tools improve clamping, layout, tack welding, drilling accuracy, and repeatability without requiring expensive shop fixtures.
Key Takeaways
- Start with the clamp bar or drill guide if you want the fastest improvement for everyday jobs.
- Use heavier steel for fixtures that need to resist heat, movement, or repeated tack welding.
- Magnets are helpful for positioning, but they should not replace mechanical clamps on heavy or high-force work.
- Check every homemade jig for square, flatness, burrs, and repeatability before trusting it on a finished project.
- Use welding PPE, ventilation, fire control, and coating cleanup every time you cut, grind, drill, or weld metal.
At a Glance
| Time Required | 30 minutes to 3 hours per tool, depending on finish quality and welding experience |
| Difficulty | Beginner to intermediate metalworking |
| Tools Needed | Welder, grinder, drill or drill press, clamps, square, center punch, files, PPE, and measuring tools |
| Cost | Usually $5 to $40 per tool if you already have scrap steel and basic hardware |
Warning: These homemade tools are shop jigs, not rated lifting devices. Do not use magnets alone for heavy parts, overhead work, or high-force clamping. Wear proper welding PPE, control fumes with ventilation, remove hazardous coatings before welding, and keep a fire extinguisher nearby when cutting, grinding, or welding.
Tool 1 – Quick-Change Clamp Bar
When you need to clamp odd-shaped parts or change clamping points often, a quick-change clamp bar saves time. The idea is simple: build a flat steel bar with a series of slots and a movable clamp head that can slide and lock in place. This replaces the constant search for different clamp sizes and makes repeat work faster.
Why this tool matters
Standard clamps have fixed ranges and can be slow to reposition. A quick-change clamp bar gives you adjustable clamping positions along the length of the bar. You can use it to hold plates for tack welding, align small pipe sections, or support jigs that need quick repeat setups.
Materials
- 1 piece of mild steel flat bar, about 25 mm by 6 mm, 300 mm to 600 mm long
- 1 small T-slot bolt or T-bolt with matching nut
- 1 short piece of square tube or angle iron for the clamp head
- A small piece of rubber, leather, or copper-faced scrap to protect workpieces
- Basic fasteners and welding filler rod, if you choose to weld the head
Step-by-step build
- Mark and cut the flat bar to length. File or grind every edge so the bar will not snag your gloves or scratch the workpiece.
- Lay out the slots along the bar. A 15 mm to 25 mm pitch works well for small fixtures. Make each slot slightly longer than the bolt head so the bolt can slide freely.
- Drill a starter hole at each slot, then connect the holes with a narrow cutting wheel, file, or rotary burr. Deburr both sides.
- Prepare the clamp head from square tube or angle iron. Weld or bolt a small plate under the head so it captures the bolt and pulls the head down when tightened.
- Test the sliding action. The head should move easily when loose and lock firmly when tight. Add a washer or thin shim if the head rocks too much.
- Add rubber, leather, copper, or smooth steel to the clamp face so finished parts are not marred.
- Finish by deburring again, wiping the tool clean, and coating it with light oil, wax, or paint to slow rust.
Pro Tip: Clamp the bar to a flat scrap plate before tack welding the head. That small step helps reduce heat distortion and keeps the sliding face straighter.
Practical tips from the shop
- Keep slot spacing consistent so the tool feels predictable in use.
- Use a low-profile T-bolt so the clamp head sits close to the work.
- Do not over-tighten thin flat bar. If it bends, upgrade to thicker stock or add a welded spine along the back.
- For round stock, cut a shallow V-groove in the protective pad or weld on a removable V-block.

Tool 2 – Angle Stop and Corner Fixture
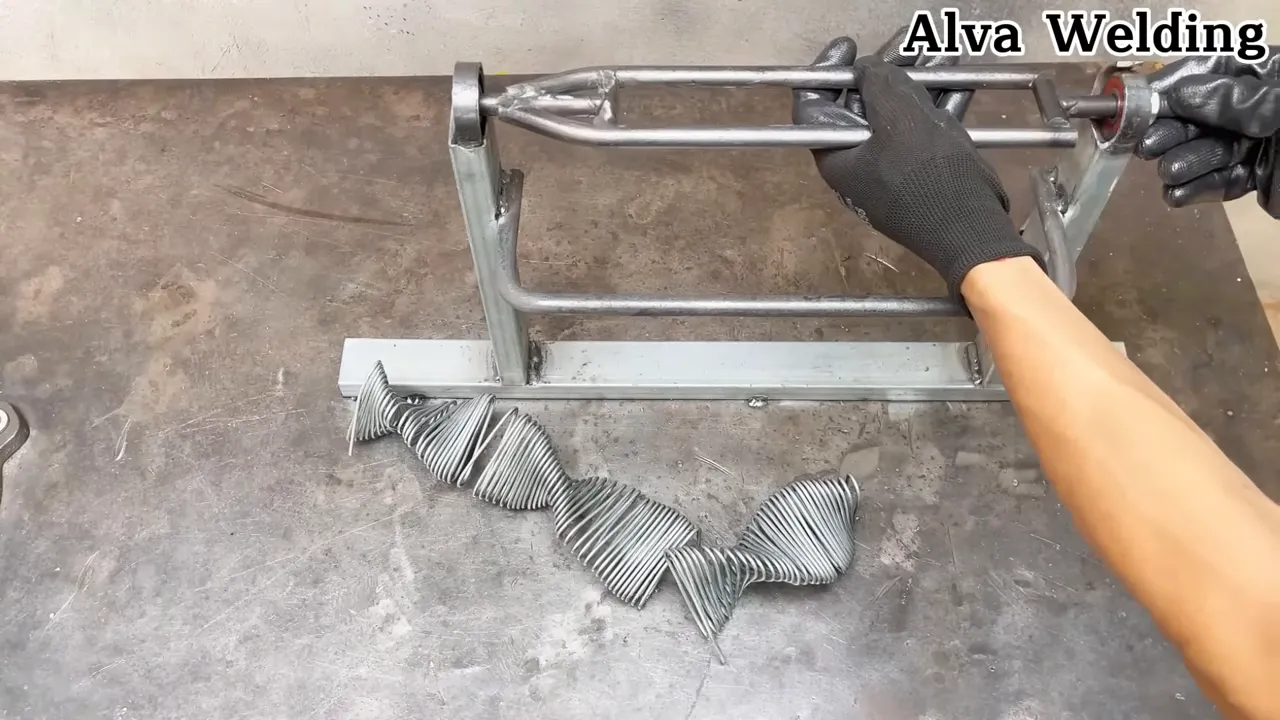
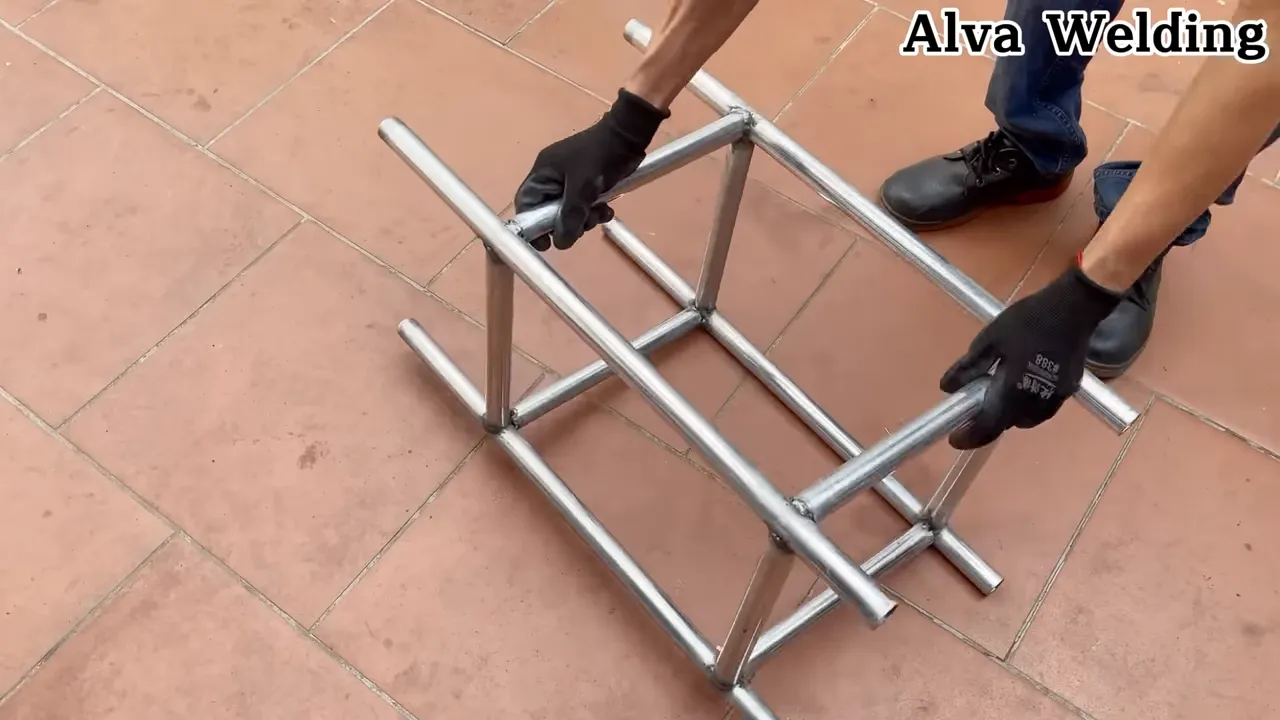
Welding repeatable 90-degree corners is hard without a stable fixture. An angle stop and corner fixture uses a heavy base with adjustable stops to hold pipe, plate, or channel at a consistent angle. Magnets are useful for light positioning, but a mechanical fixture gives stronger support for tacking and repeat assembly.
What it solves
In fabrication, the time spent aligning parts can easily double a small project. This fixture reduces layout time and helps welded assemblies fit together consistently. That repeatability is the difference between clean assembly and frustrating rework.
Materials
- Flat base plate, about 150 mm by 150 mm, 6 mm to 10 mm thick
- Two adjustable stop bars made from 20 mm square bar
- Thumb bolts with T-nuts, T-slot bolts, or captive weld nuts
- Optional magnetic bases for light positioning only
- Machinist square or reliable framing square for setup checks
How to build it
- Cut the base plate and grind the edges smooth. A heavier base helps absorb heat and limits movement during tacking.
- Mark a true 90-degree reference line on the base using a square. Scribe the line instead of relying only on marker ink.
- Weld or bolt two sliding channels to the base. These channels hold the stop bars and allow width adjustment.
- Make stop bars from square stock. Drill holes for thumb bolts, then round the contact ends slightly so they do not gouge pipe or plate.
- Set both stops at 90 degrees and tack them lightly if they are fixed. For adjustable stops, add index holes at common sizes such as 25 mm, 50 mm, and 75 mm.
- Check the fixture with scrap pieces before trusting it on a finished project. Tack two pieces, let them cool, and confirm the angle again.
Use cases and workflow
Set the stops to the part dimension, dry-fit the work, run one or two tacks, check square, then finish the weld in short passes. With the fixture, you can assemble multiple matching parts in sequence while focusing on weld quality instead of constant measuring.
Tool 3 – Reversible Edge Guide and Scraper
Many jobs need a consistent offset from an edge. A reversible edge guide gives you a repeatable reference for filing, cutting, scraping, marking, or scribing. The same body can hold a scraper blade, scribe, small brush, or replaceable guide shoe.
Why this design works
Instead of buying several separate guides and scribes, one reversible body with interchangeable heads handles several small layout and cleanup tasks. The guide is a flat plate with a slot or pocket that accepts removable heads. Flip the head for a different action or reverse it to change the offset.
Materials and heads
- Base plate, about 120 mm by 40 mm mild steel, 5 mm thick
- Scraper head made from 2 mm spring steel
- Scribe head made from hardened tool steel
- Small locking bolt, cam clamp, or thumb screw
- Optional brush or deburring insert for cleanup work
Construction notes
- Cut a slot in the base plate sized to the head thickness. A simple rectangular pocket is enough if the locking bolt prevents sideways movement.
- Make each head slightly proud of the body so you can replace or sharpen it without removing the guide from the bench.
- Harden the scribe head if you plan to mark harder materials. Keep the scraper head flexible enough to sharpen easily.
- Round all outside corners. Sharp tool corners snag clothing, scratch finished work, and make the guide uncomfortable to handle.
- Add a small witness mark on the body so you can return to your most-used offset quickly.
For fast repeat work, set the offset once, test it on scrap, and leave the guide assembled until the batch is complete. That simple habit keeps every scribe line or scrape pass in the same place.
Tool 4 – Magnetic Welding Angle Setter
Magnetic holders are common, but many basic versions do not offer fine control for thin gauge or precision assemblies. A magnetic welding angle setter adds a pivot, index plate, and lock screw to a magnetic base so you can set common angles between 45 and 90 degrees.
Products Worth Considering

POWERFUL HOLDING FORCE: Featuring robust magnets embedded in the welding holder, these durable magnets boasts a strong magnetic holding force of up to 77lbs/35kg, ensuring reliable performance.
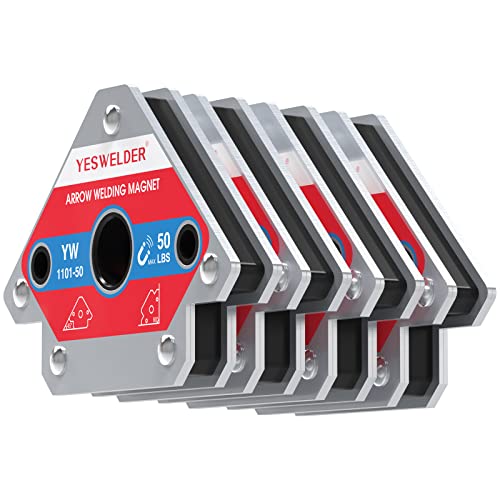
POWERFUL HOLDING FORCE: Featuring robust magnets embedded in the welding holder, these durable magnets boasts a strong magnetic holding force of up to 50 lbs, ensuring reliable performance.

Hold and position sheet metal, round pipes, square, angled or flat stock.
Core idea
Add a pivot joint and angle scale to a magnetic base so the angle can be set and locked before tacking. Think of it as a compact protractor with magnetic positioning. It is useful for light parts, braces, tabs, and thin stock where one hand is often busy holding the torch.
Parts and assembly
- Small rectangular magnet block, about 30 mm by 20 mm by 10 mm
- Thin pivot pin and small index plate with angle marks
- Locking screw, thumb screw, or cam clamp
- Thin copper or steel heat shield to protect the magnet while welding
- Optional mechanical backup clamp for heavier parts
How to use it
- Bring the magnet to the part and set the pivot to the desired angle.
- Lock the angle before you tack. Do not try to adjust the angle while the work is hot.
- Place a copper or steel heat shield between the magnet and the weld zone if the tack will be close to the magnet.
- Tack in a short burst, check alignment, then remove or move the magnet before final welding if heat will build up.
- Let the magnet cool between tacks if it has been close to the arc.
Note: Many standard neodymium magnets can lose holding force if heated beyond their rated working temperature. Keep the magnet away from the hottest zone, use a heat shield, and rely on mechanical clamps when the part is heavy or the joint will move under stress.
Tool 5 – Portable Depth Block and Drill Guide
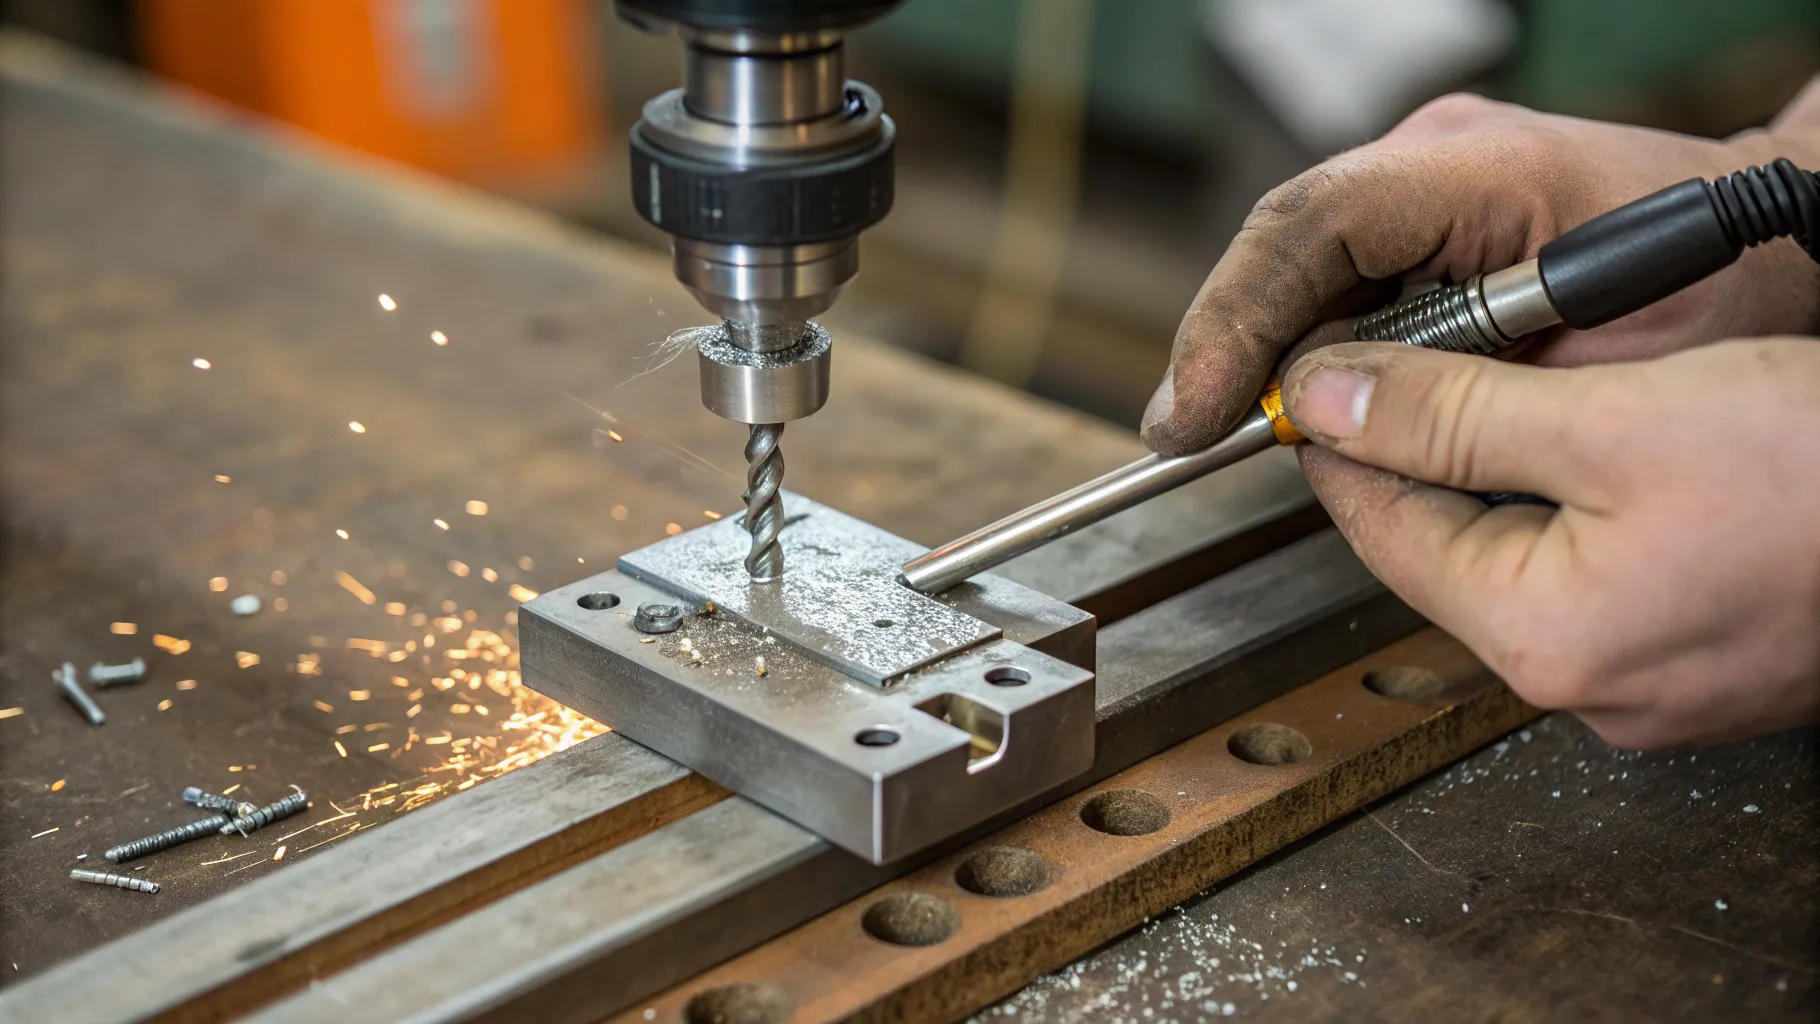
Accurate drilling at a set depth and angle comes up often in fabrication. A portable depth block and drill guide is a small handheld jig that supports the bit, keeps the hole straighter, and stops the bit at a repeatable depth. It is useful when a full drill press is not available or the workpiece is already installed.
Products Worth Considering

Versatile drilling capabilities. Suitable for straight or angled drilling, drilling on the edge of a board, on walls or on round stock.

Portable Drilling Solution: The Kreg Drill Guide Pro is a drill guide compatible with 3/18” and ½” cordless drills; with included 3/8” capacity chuck with key
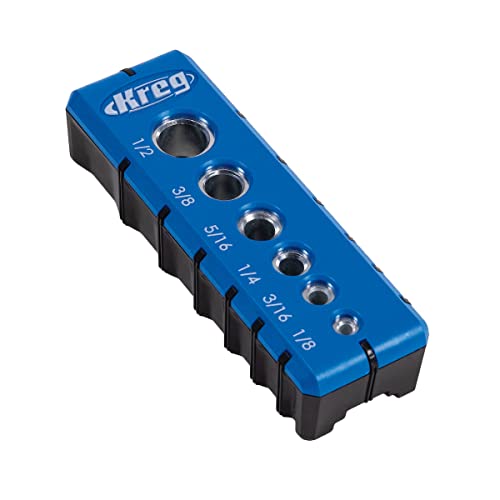
Premium Home Improvement Tools: Drill guide can create perfectly positioned holes thanks to 6 built-in hole alignment marks
Why you need it
A handheld drill is fine for rough holes, but depth and angle control matter when holes must align with pins, brackets, hinge plates, or through-bolts. This block is fast to make, durable, and portable enough for field work.
Materials
- 1 block of hardwood or aluminum, about 60 mm by 50 mm by 30 mm
- 1 bushing or sleeve sized for the drill bit you use most often
- 1 threaded stop collar or set screw depth stop
- Small clamps or magnets to hold the guide to a metal surface
- Cutting fluid for drilling metal
Build instructions
- Square the block first. If the block is crooked, every hole you drill through it will inherit that error.
- Drill a guide bushing hole through the block. Keep this hole as straight as possible.
- Press or glue the bushing into the block so the drill bit runs true.
- Drill and tap a threaded hole for a set screw depth stop. The screw can contact a collar, spacer sleeve, or drill stop.
- Chamfer the entry and exit of the guide hole so the bit indexes smoothly on center-punch marks.
- Add a small magnetic base or clamp lugs so the guide can be attached quickly.
This is one of those jigs you make once and use for years. Pair it with the quick-change clamp bar and set the depth stop before drilling. That habit reduces bit walking and creates cleaner, straighter holes.

Which DIY Welding Tool Should You Build First?
If you are not sure where to start, choose the tool that solves your most common frustration. A small shop benefits most from tools that reduce setup time and mistakes.
| If your problem is… | Build this first | Why it helps |
| Slow clamping and odd-shaped parts | Quick-change clamp bar | Speeds up repeat setups and small tack jobs |
| Corners coming out crooked | Angle stop and corner fixture | Keeps 90-degree joints repeatable |
| Uneven layout marks or offsets | Reversible edge guide | Makes scribe lines and edge work consistent |
| Tabs and braces shifting before tack welds | Magnetic angle setter | Holds light parts at repeatable angles |
| Drill holes walking or going too deep | Portable depth block and drill guide | Improves depth and angle control |
Safety, Finishing, and Small Shop Habits
Good tools are only as safe as the habits around them. Before you strike an arc, drill a hole, or grind a slot, set up the work area so the tool helps you instead of creating a new hazard.
Basic safety checklist
- Wear a welding helmet or proper eye and face protection for arc work, and use safety glasses when grinding, drilling, or chipping slag.
- Use flame-resistant clothing, suitable gloves, and hearing protection when grinding or cutting.
- Use ventilation or local exhaust when welding, especially when fumes can build near your breathing zone.
- Remove paint, oil, zinc coating, rust inhibitors, and unknown coatings from the weld area before welding when safe to do so.
- Keep clamps and fixturing stable. Never rely on magnetism alone for heavy or high-force operations.
- Protect magnets and heat-sensitive parts with copper or steel shields when welding nearby.
- Avoid loose clothing, jewelry, dangling sleeves, and unsecured long hair around drills, grinders, and rotating tools.
- Keep a fire extinguisher nearby and clear flammable material from the work area before hot work.
Finishing touches for longevity
Once a fixture is built, finish it properly. Deburr all edges, add light oil or paint, and install rubber, leather, copper, or smooth steel faces where the tool touches finished work. A clean, finished jig is safer to handle and less likely to scratch the project.
Checklist Before You Start
Run through this checklist before fabricating any of these DIY welding tools. It saves time and improves the final result.
- Material check: Confirm that steel, fasteners, bushings, pads, and shields match the job.
- Tool check: Make sure grinder wheels, welding tips, drill bits, and files are ready and in good condition.
- Workspace check: Clear the bench, improve ventilation, and keep fire protection nearby.
- Dry fit: Clamp parts together before welding or drilling and check the movement of every sliding piece.
- Accuracy check: Use a square, ruler, caliper, or test scrap before trusting the jig on a finished part.
- Final pass: Deburr, clean, oil or paint, and label the jig if it has a fixed size or common setup.
Accuracy and Repeatability Checks
A homemade jig does not need to be perfect, but it must be predictable. Test each tool on scrap before using it on a customer job, finished part, or structural repair.
- Clamp bar: Tighten the head at several slots and check whether the bar bends or the head rocks.
- Corner fixture: Tack two pieces of scrap, let them cool, then confirm the angle with a square.
- Edge guide: Make three scribe lines from the same reference edge and measure the spacing.
- Magnetic angle setter: Compare the set angle against a known protractor or digital angle gauge.
- Drill guide: Drill two test holes through scrap and check depth, entry position, and exit alignment.
A good shop-made tool is not the one that looks most polished. It is the one that repeats the same safe, accurate setup every time you use it.
Ideas for Modifications and Variations
Every shop is different. Use these five tools as starting points and adapt them to your material, budget, and workload.
- Clamp bar with quick-release foot: Replace the bolt with a lever clamp for faster changes when high precision is less critical.
- Corner fixture with removable chamfer blocks: Add replaceable blocks to handle different corner radii.
- Edge guide with a dust channel: Add a small vacuum or chip channel if you cut a lot of sheet metal.
- Magnetic angle setter with a digital protractor: Add a compact angle sensor when you need precise repeat angles beyond simple detents.
- Drill guide with interchangeable bushings: Keep bushings for common bit sizes and swap them as needed.
- No-welder versions: Use bolted plates, threaded inserts, rivnuts, and countersunk screws when welding is not available.

Troubleshooting Common Problems
Even a well-made jig can have quirks. Here are common problems and how to fix them quickly.
Clamp bar binding when sliding
If the clamp head binds, check for weld distortion, burrs, and uneven slot edges. Regrind the seating face, deburr the slots, and add a thin washer or shim if the head drags under load.
Corner fixture not holding square
Check the base plate for warp and verify that the stops did not move during welding. If the stops slip, add a wedge, index pin, or second locking screw so the fixture is not relying only on friction.
Edge guide gives inconsistent offset
Debris under the guide or wear on the reference face can cause offset errors. Clean the face, regrind it flat if needed, and add index marks or a small detent for common positions.
Magnet losing holding force near welds
Heat can permanently reduce magnet strength, especially on standard neodymium magnets. Use a copper or steel heat shield, tack away from the magnet, and replace any magnet that has clearly lost holding power.
Drill guide walking or drilling off-center
Check the bushing for wear and make sure the bit is sharp. Center-punch the start point, clamp the guide securely, and use cutting fluid when drilling metal. Replace oversized bushings before they ruin hole accuracy.
Project Examples Using These Tools
Nothing explains a tool better than using it for real work. These examples show how the five tools can work together.
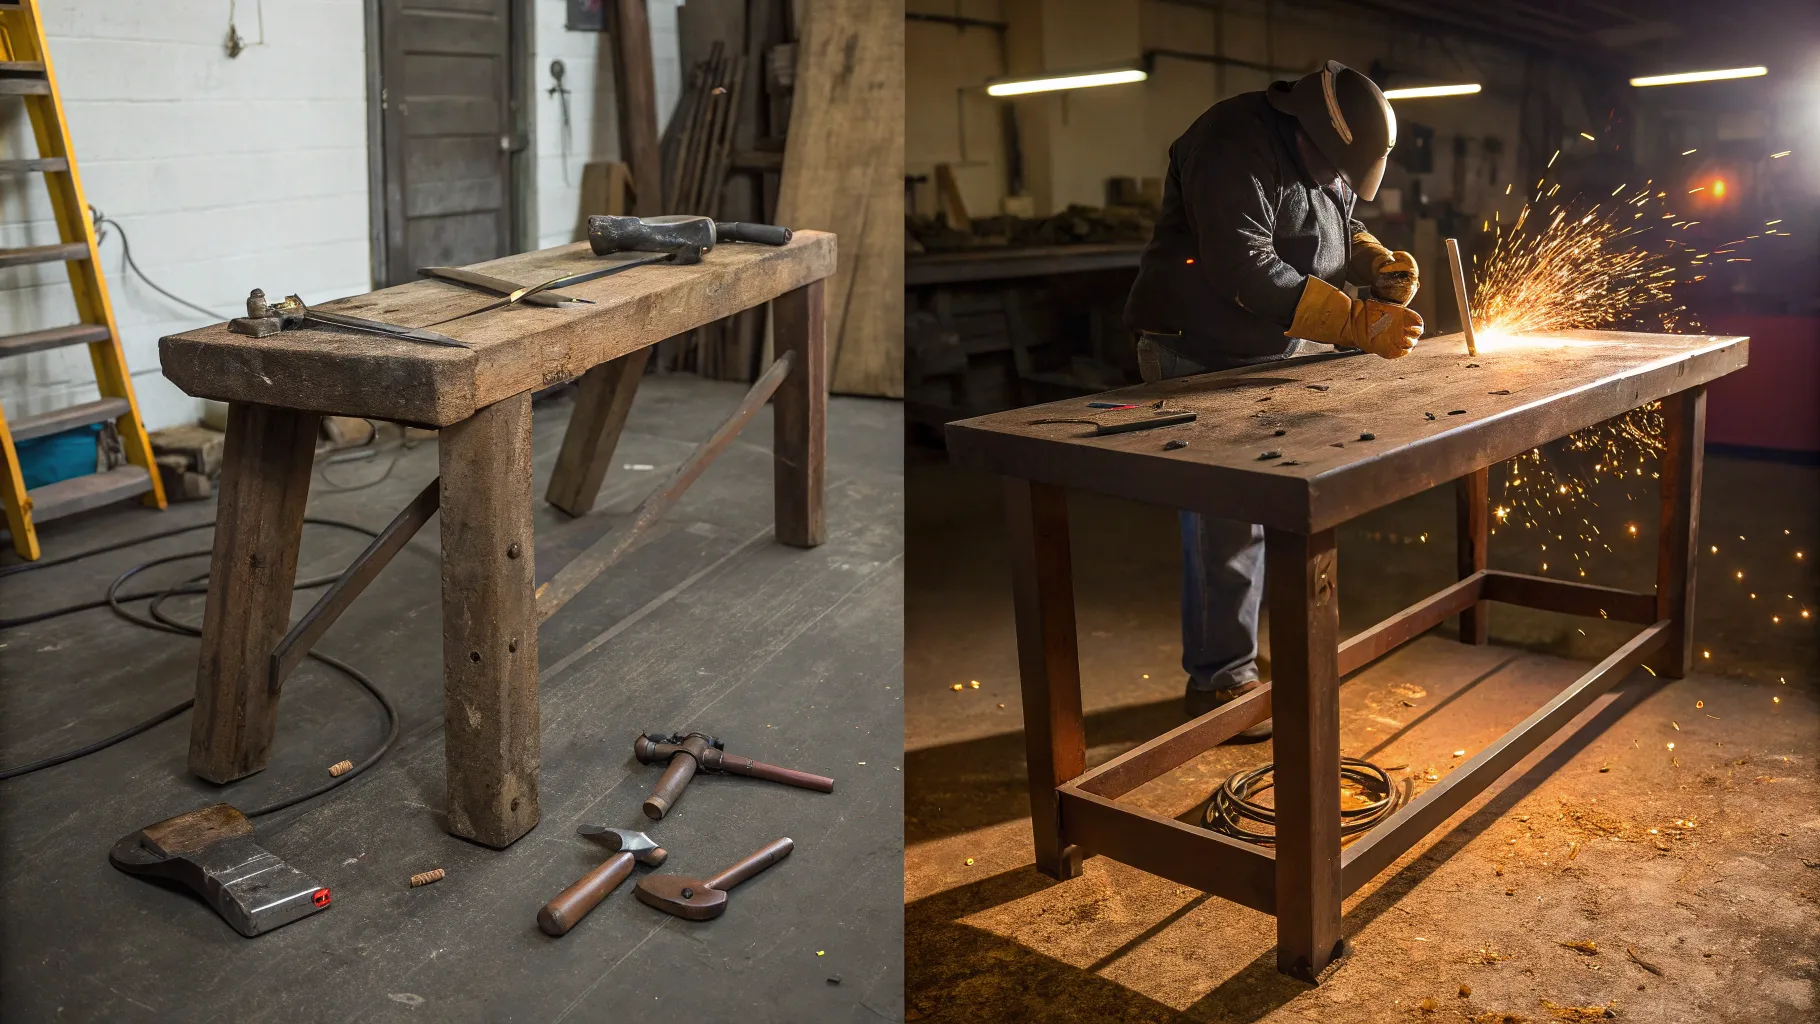
Example 1 – Simple Table Frame
Use the quick-change clamp bar to hold legs against the apron, the corner fixture to align the joints, and the magnetic angle setter to position braces. The portable drill guide handles bolt holes for attaching the top. The result is a square table frame that is easier to assemble and disassemble.
Example 2 – Gate Hinge Assembly
For a gate hinge, the reversible edge guide helps scribe a consistent offset for hinge plates. The magnetic angle setter holds the mounting plate while you tack it to the post, and the drill guide keeps through-bolt holes aligned. Small tools make a gate less likely to sag later.
Example 3 – Custom Exhaust Hanger
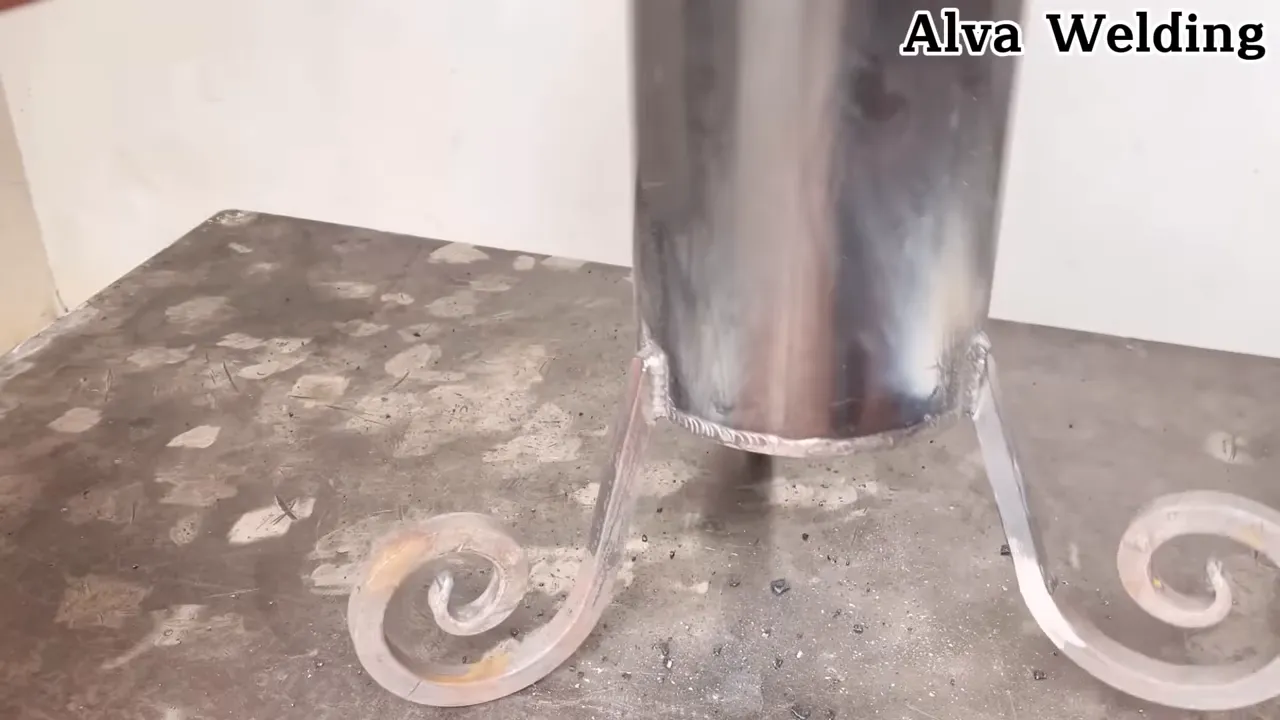
For a custom exhaust hanger, use the clamp bar to hold pipe while you tack the hanger, the corner fixture to make repeat mounting ears, and the edge guide to create uniform slots. The magnetic setter helps with small angle changes needed to fit tight geometry. A repeatable hanger reduces vibration and noise.
Frequently Asked Questions
What materials do I need to start building these DIY tools?
You need common mild steel stock such as flat bar, angle iron, square tubing, bolts, nuts, T-slot bolts, set screws, and small accessories such as rubber, leather, copper, or steel pads. A welder, grinder, drill, clamps, square, files, and basic PPE complete the setup.
Can these tools be made without a welder?
Yes. Many of these designs can be adapted with bolts, rivnuts, countersunk screws, and threaded inserts. Welding makes the fixtures compact and stiff, but bolted construction works well when you use thick enough material and prevent the parts from shifting.
How do I keep magnets safe while welding?
Keep magnets away from the hottest part of the weld, tack away from the magnet when possible, and use a copper or steel heat shield. Do not use magnets as the only clamp on heavy parts. If a magnet loses holding force after overheating, replace it.
What is the quickest tool to build that gives the most benefit?
The quick-change clamp bar is usually the fastest and most useful first build. It improves clamping, alignment, and small tack-welding setups across many jobs, and it can be made from a short piece of flat bar and basic hardware.
How do I stop a drill guide from walking when starting a hole?
Center-punch the start point, clamp the guide firmly, use a sharp bit, and make sure the bushing is not worn. For larger holes, start with a smaller pilot hole, then step up to the final bit size.
Are there any finishing recommendations to prevent rust on these jigs?
Yes. Clean and degrease the finished tool, deburr all edges, and apply light machine oil, paste wax, cold blue, or spray paint. Keep protective pads on contact faces so the jig does not scratch finished work.
How do I scale these designs for larger production needs?
Use heavier base plates, thicker stop bars, index pins, hardened bushings, and quick-release clamps. For high-volume work, build modular tooling that bolts to a larger fixture table and can be swapped quickly.
Can beginners make these safely?
Yes, if they start with simple designs, work on scrap, use PPE, and avoid rushing. The clamp bar and drill guide are good first projects. Practice drilling, deburring, fitting, and tack welding before making fixtures for critical parts.
Final Thoughts and Closing Notes
These five tools are intentionally simple, practical, and adaptable. A clamp that adjusts quickly, a corner fixture that removes guesswork, an edge guide that repeats offsets, a magnetic angle setter with fine control, and a portable drill guide can make a small shop feel more organized and capable.
Build the first tool that solves your biggest daily frustration, then refine it after a few real projects. Keep the bench tidy, protect your magnets, use proper personal protection, and work deliberately. Good homemade tools are not just cheaper. They teach you how to solve shop problems with control, patience, and repeatable results.
Sources
- OSHA – Welding, Cutting, and Brazing – supports general welding safety and standards context.
- CCOHS – Welding Personal Protective Equipment and Clothing – supports PPE recommendations.
- CCOHS – Welding Ventilation – supports ventilation and local exhaust guidance.
- CCOHS – Welding Fumes and Gases – supports fume and coating safety guidance.
- CCOHS – Metalworking Machines: Drill Presses – supports drilling, clamping, chip removal, and drill safety practices.
- Supermagnete – What Temperatures Can Magnets Withstand? – supports magnet heat and demagnetization cautions.