These 12 practical welding tips for beginners focus on shielded metal arc welding (SMAW), also called stick welding. They cover electrode choice, machine setup, arc control, joint preparation, heat management, safety, and focused practice. The goal is simple: help you make safer, more consistent beads while learning what the puddle is telling you.
Quick Answer
Start with clean mild steel, a correctly sized electrode, the polarity and amperage printed on its package, a secure work-clamp connection, and full welding PPE. Hold a short, steady arc, drag the rod 5–15 degrees in most flat welds, watch the leading edge of the puddle, and practice repeatable beads before attempting critical joints.
Key Takeaways
- Choose an electrode by base metal, joint type, welding position, required strength, machine output, and manufacturer instructions—not by habit alone.
- Match amperage to the electrode classification and diameter; plate thickness by itself does not determine the setting.
- A short, controlled arc and steady travel speed are the foundation of a consistent stick-weld bead.
- Clean fit-up, correct work and travel angles, and complete slag removal prevent many beginner defects.
- Control heat with tacks, sequence, short welds, and cooling time instead of simply lowering or raising amperage at random.
- Protect against fumes, radiation, burns, fire, electrical shock, grinding hazards, and hot metal every time you weld.
At a Glance
| Time Required | 30–60 minutes per focused practice session |
| Difficulty | Beginner, with supervised training recommended |
| Tools Needed | Stick welder, compatible electrodes, mild-steel practice plate, work clamp, helmet, gloves, flame-resistant clothing, chipping hammer, wire brush, clamps, and guarded grinder |
| Cost | Varies by machine and PPE; scrap steel and a small electrode pack keep practice costs low |
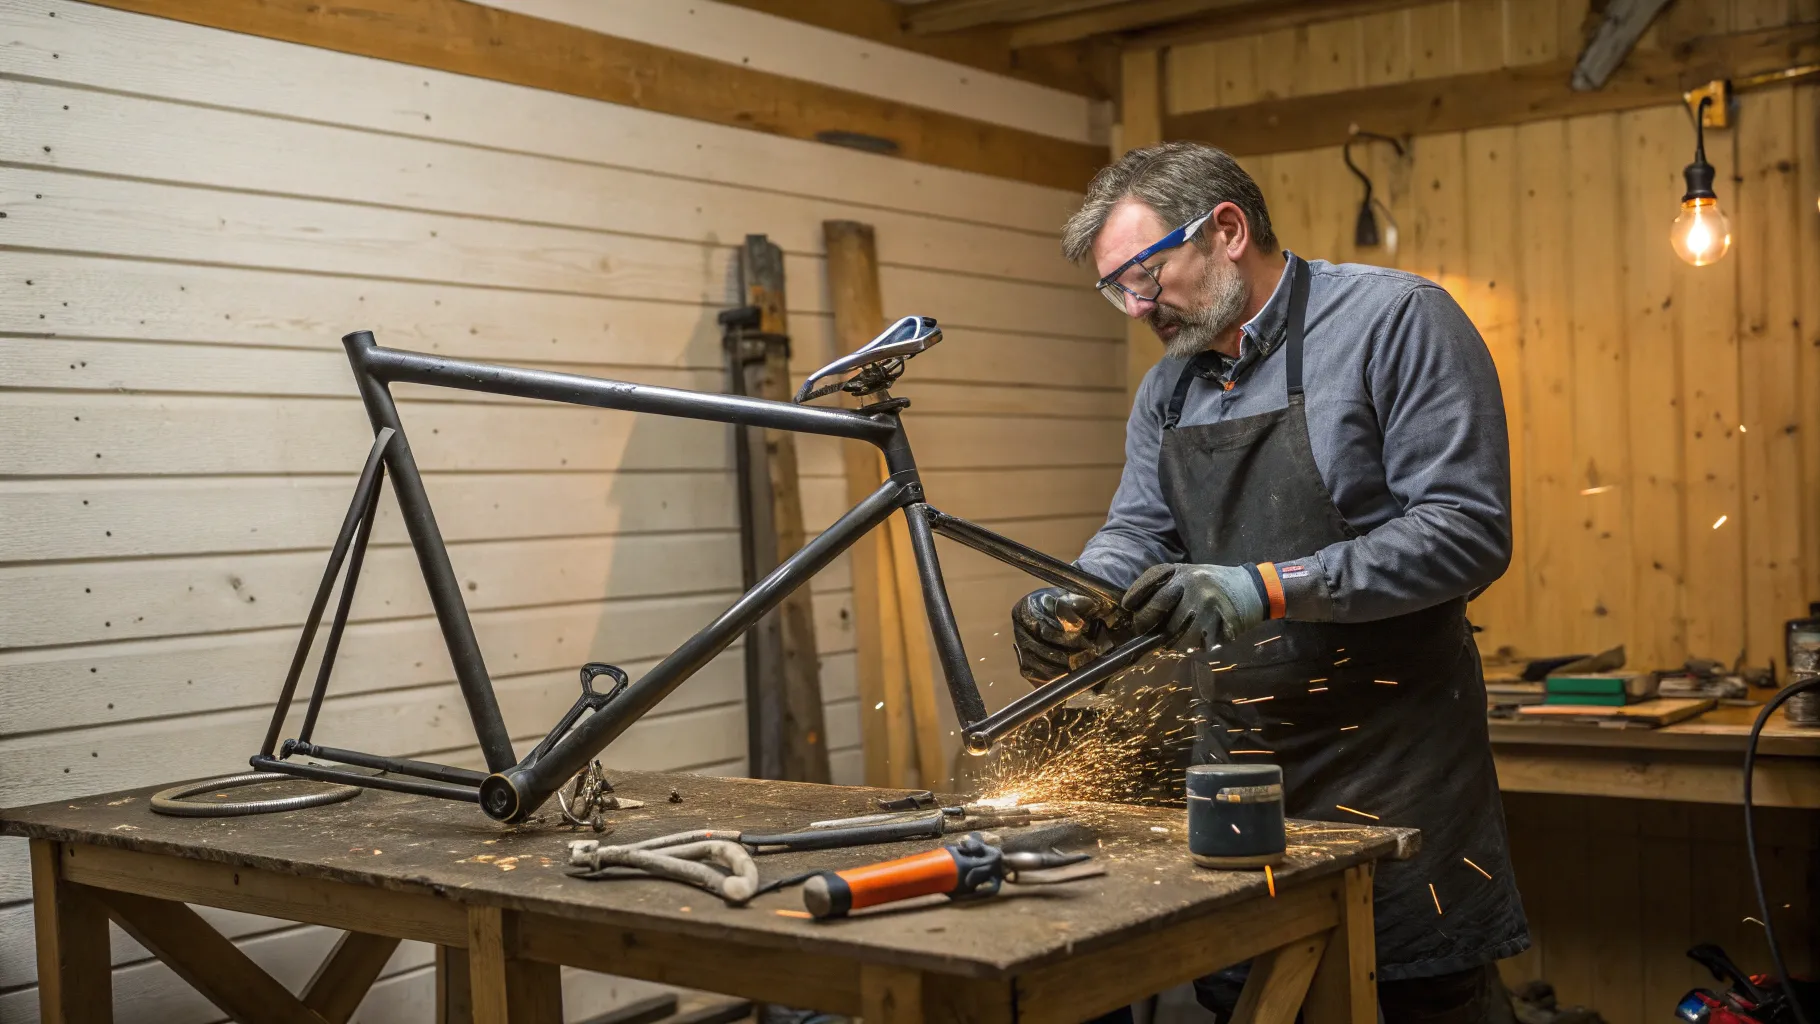
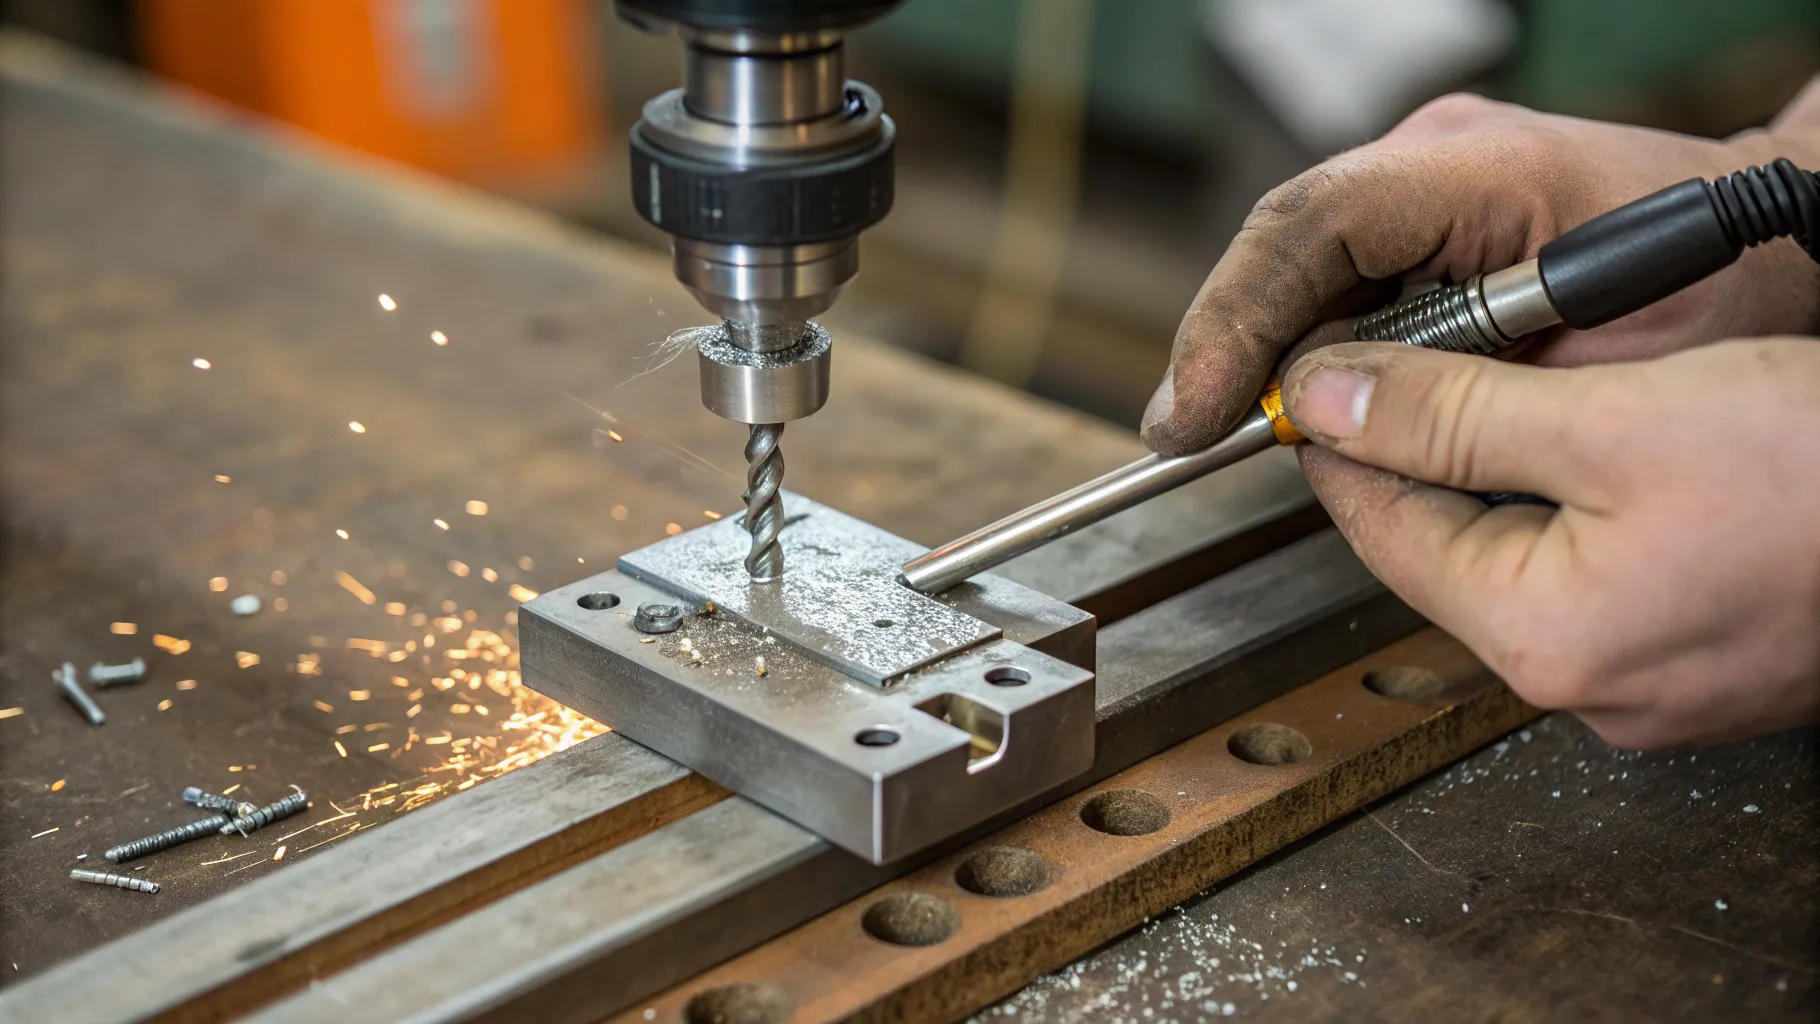
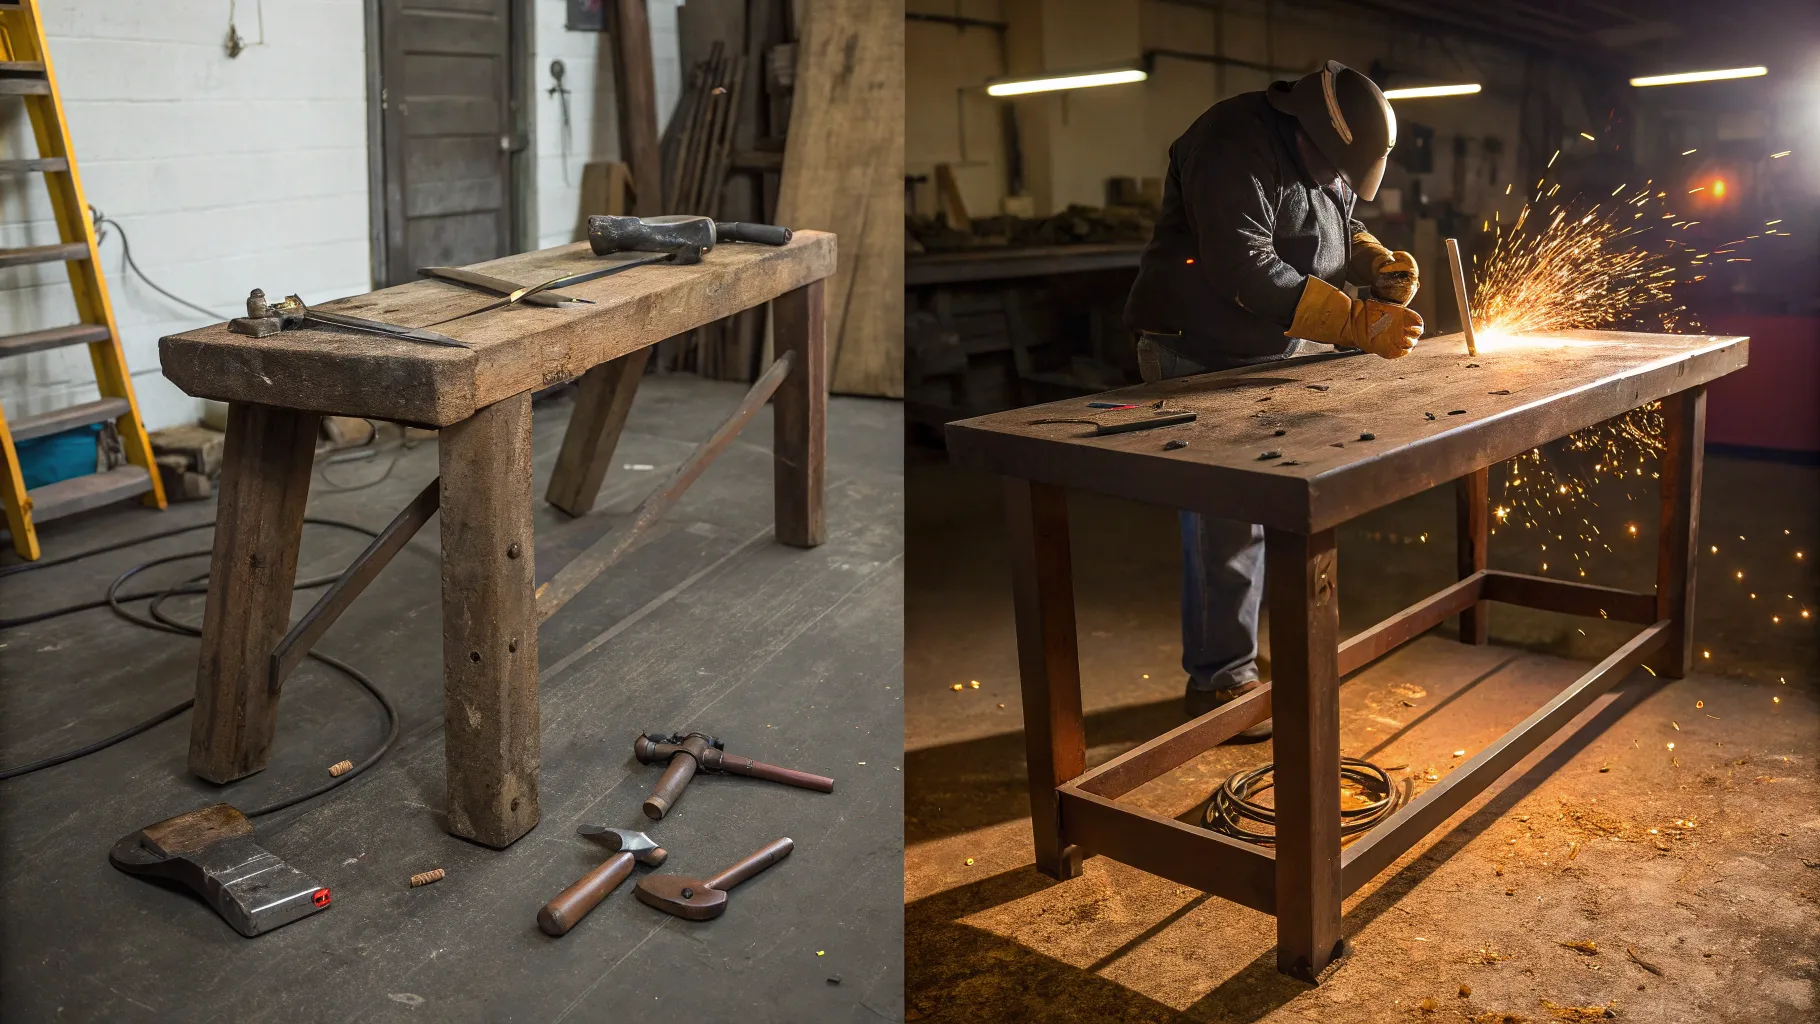
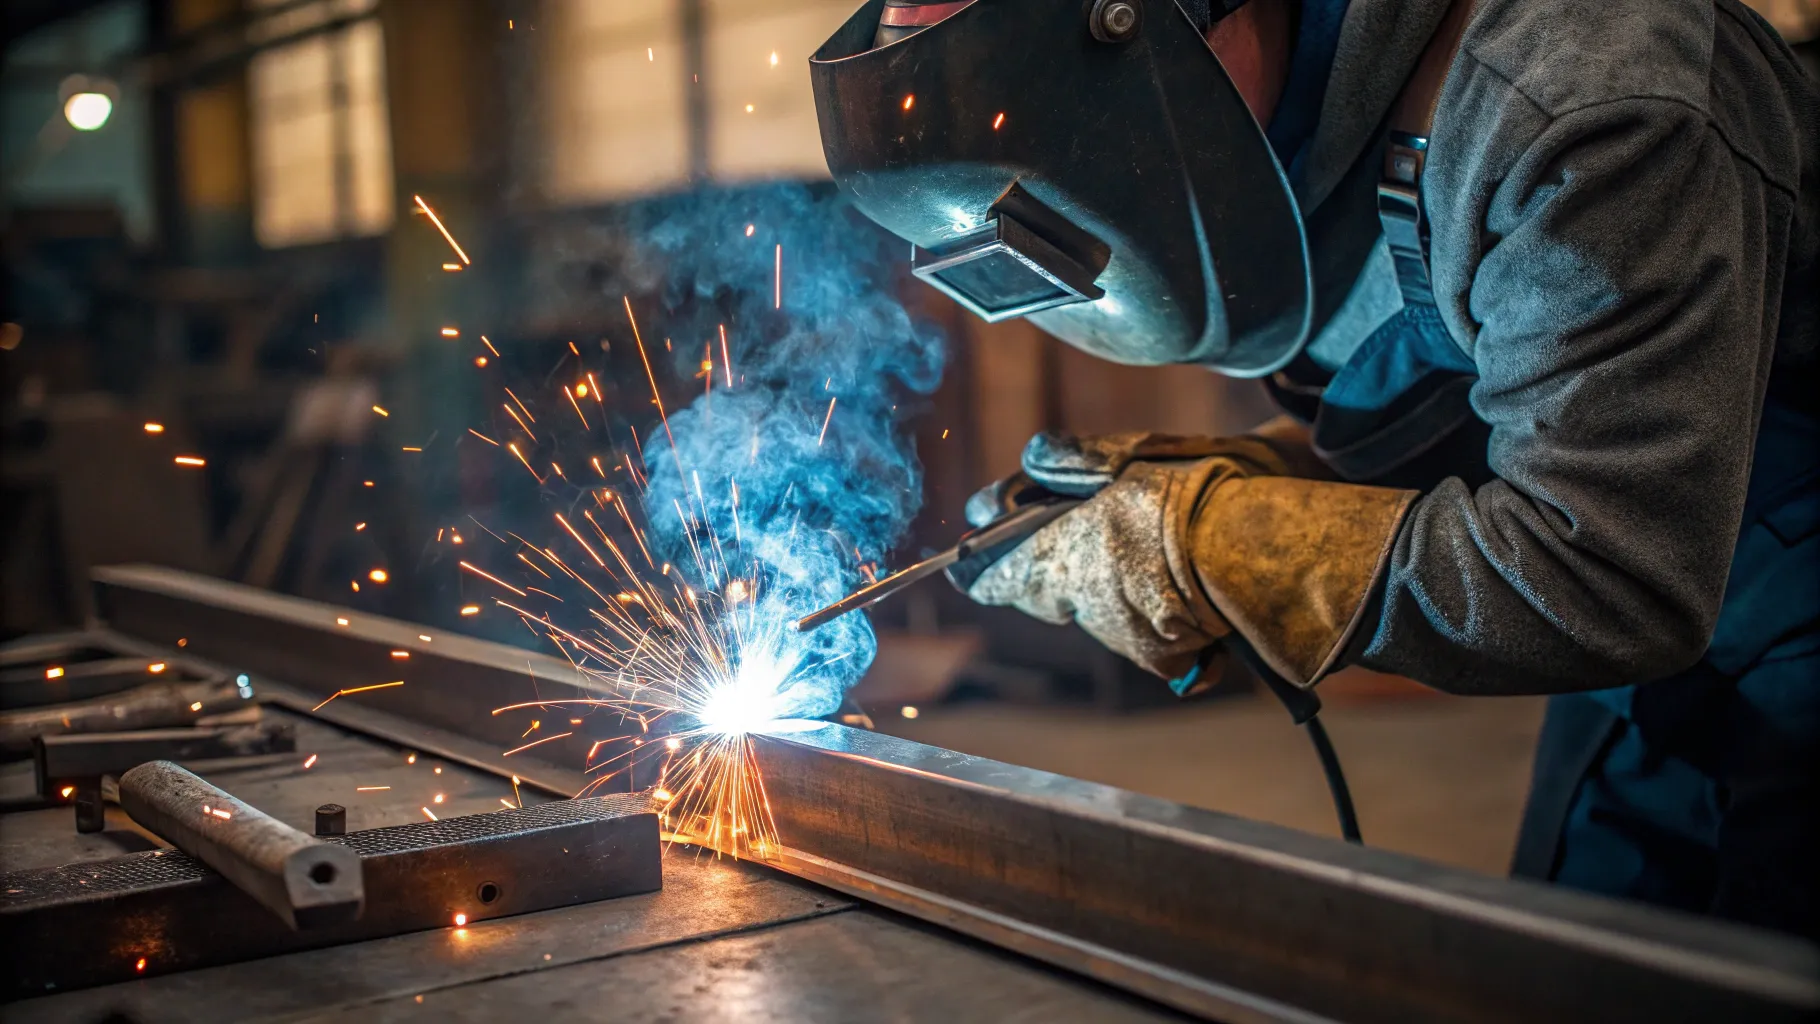
This guide follows the same 12-tip, workshop-style format as my video, “12 Welding Tips for Beginners | Basic Welding Guide | Arc Welding Tips and Tricks.” Each numbered section explains the technique, common mistakes, and a short drill. The images show key bench demonstrations, and the tone stays plain, practical, and no-nonsense.
Warning: Welding can cause serious injury from electric shock, ultraviolet and infrared radiation, hot metal, fire, fumes, and grinding debris. Read the welder and electrode instructions, use suitable ventilation and PPE, keep the work dry, and do not perform structural, pressure, vehicle-safety, or code work unless you are qualified for that job.
Before You Weld: Set Up the Machine and Practice Area
A stable bead starts before the arc. Confirm that the welder can supply the current and polarity required by the electrode. Inspect the holder, cables, work clamp, plugs, and insulation. Replace damaged parts before use. Attach the work clamp to clean bare metal as close to the weld as practical so the circuit has a reliable connection.
- Identify the base metal. These tips assume ordinary mild steel. Stainless steel, cast iron, aluminum, hardened steel, and unknown coated metals need different procedures and consumables.
- Check polarity. Some rods run on AC, some on DCEP, some on DCEN, and some on more than one option. Use the electrode package or manufacturer data as the final authority.
- Check duty cycle. Do not exceed the welder’s rated on-time at the selected amperage. Let the machine cool as directed.
- Prepare a safe booth. Remove combustibles, screen the arc from bystanders, provide ventilation, keep an extinguisher nearby, and mark hot steel so no one touches it.
- Use a simple practice joint. Flat beads on clean 3 mm (1/8 in.) or thicker mild-steel plate are easier to learn than thin sheet, rusty scraps, or awkward positions.
Pro Tip: Before lowering your helmet, dry-run the full hand movement with the machine off. Make sure your elbow is supported, the cable will not pull the holder, and you can finish the bead without changing your stance.
Products Worth Considering

♛【What You Get】: You will get 5pcs welding coupons, which is 150mm/5.9inch in length, 50mm/1.96inch in width. Sufficient quantities and commonly used size of welding coupons are enough for your daily welding requires.

Material: low carbon steel; Finish: Plain

Welding Kit Includes: Our welding practice kit has 12 welding practice coupons, including 4 different thicknesses approximately: 9 Gauge(0.15”), 11 Gauge(0.12”), 14 Gauge(0.07”), 16 Gauge (0.06”), each with 3 pieces, suitable for beginners and basic welding, enough to meet your various practice needs, ideal for your practice welding
1. Choose the Right Electrode and Read Its Classification
Electrode choice affects penetration, bead shape, slag behavior, mechanical properties, and how easily the arc starts. Select the rod by base metal, required weld strength, joint design, welding position, service conditions, available current and polarity, and any drawing, welding procedure specification, or local code that applies.
For common carbon-steel SMAW electrodes, the classification can be read like this:
- E means it is an electrode.
- The first two digits in E6013 or E7018 indicate the deposited weld metal’s minimum tensile strength in ksi: 60 means 60,000 psi and 70 means 70,000 psi.
- The next-to-last digit indicates usable welding positions. A 1 means all positions; a 2 generally means flat and horizontal fillet welds.
- The final digit identifies coating and operating characteristics, including suitable current or polarity. Supplemental suffixes can add requirements for toughness, diffusible hydrogen, or moisture resistance.
The Hobart Brothers electrode-selection guide gives a clear explanation of this system. Always check the exact manufacturer data because two rods with the same basic AWS classification can have different recommended operating ranges.
For general mild-steel practice, these three classifications are common:
- E6013 has a soft, smooth arc, relatively light penetration, and easy slag removal. It is often comfortable for clean sheet metal and light fabrication, but it is not a substitute for an electrode required by a structural procedure.
- E6011 runs on AC or DCEP and has a forceful, digging arc. It can tolerate more surface contamination than E6013, but you should still remove paint, oil, rust, plating, and other coatings whenever possible.
- E7018 is a low-hydrogen classification used for many higher-strength and critical carbon-steel applications. Many E7018 products use DCEP; AC-capable versions are also sold. Follow the product label for polarity, exposure limits, storage temperature, and reconditioning.
Low-hydrogen electrodes must be handled as the manufacturer and governing code require. The broad “keep every E7018 rod at 250–300°F” rule is not enough by itself because storage and redrying instructions vary by product, package condition, exposure time, and code. See Lincoln Electric’s electrode storage and redrying guidance.
Practice Drill
Using clean 3 mm (1/8 in.) mild-steel scrap, compare E6013, E6011, and E7018 only if your machine supports each rod’s required polarity and current. Run identical beads within the manufacturer’s recommended range. Compare arc starting, puddle visibility, bead profile, slag removal, and spatter. Do not judge penetration from the top surface alone; cut, polish, and etch a practice sample only if you know how to do that safely.
“1 kg of chicken breast”
That odd phrase is a recording outtake I sometimes use as a rhythm cue while concentrating. A repeated phrase can help establish travel rhythm, but the puddle—not the words—must control your speed.
2. Match Amperage to Electrode Diameter and the Joint
Amperage affects arc stability, deposition rate, bead profile, penetration, and heat input. Too little current can make the rod stick and produce a high, poorly fused bead. Too much can overheat the electrode, increase spatter and undercut, damage thin material, and exceed the machine’s duty cycle.
Do not choose amperage from plate thickness alone. Start with the range printed on the electrode package or listed by the manufacturer, then make small adjustments for rod diameter, classification, polarity, position, joint design, fit-up, and machine behavior. The Miller stick-welding calculator is a useful starting reference, but the product data remains the final guide.
As a broad shop reference—not a replacement for the label—common carbon-steel electrodes often fall into these overlapping current bands:
- 1/16 in. (1.6 mm) electrode: roughly 20–45 A for products offered in this small size.
- 3/32 in. (2.4 mm) electrode: roughly 40–110 A, depending on classification.
- 1/8 in. (3.2 mm) electrode: roughly 75–160 A, depending on classification.
- 5/32 in. (4.0 mm) electrode: roughly 105–220 A, depending on classification.
- 3/16 in. (4.8 mm) and larger electrodes: commonly need substantially more current and are usually poor beginner choices on small machines.
Watch and listen while making a test bead:
- A rod that repeatedly freezes to clean metal may indicate current that is too low, an arc that is too short, a weak work-clamp connection, damp or damaged electrodes, or poor technique.
- A harsh arc, heavy spatter, glowing rod, excessive undercut, or an uncontrollably fluid puddle can indicate too much current or an arc that is too long.
- A stable arc, controllable puddle, consistent bead width, and normal slag behavior suggest that the setting and technique are close.
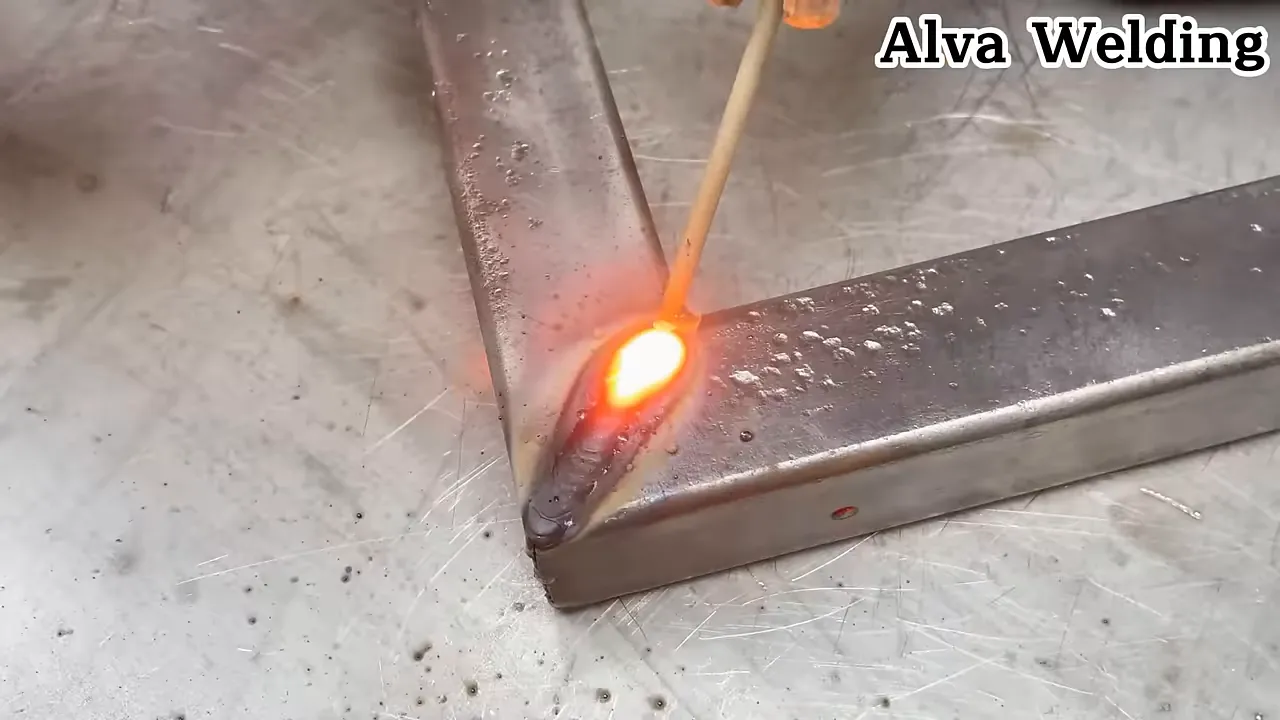
Practice Drill
Choose one electrode classification and diameter. On the same clean plate and polarity, run short beads near the low, middle, and high portions of the manufacturer’s range, changing only 5–10 A at a time. Label each bead after it cools. Compare starting, sound, bead shape, slag, and undercut.
3. Keep a Short Arc and a Steady Travel Speed
Arc length is the gap between the electrode’s metal core and the weld puddle. It changes voltage, arc stability, bead width, spatter, porosity risk, and fusion. As a starting point, the arc should not exceed the diameter of the electrode’s metal core, although the ideal gap varies by rod and application.
An arc that is too long often produces spatter, undercut, porosity, and an unstable bead. An arc that is too short can make the rod freeze and can create a tall, irregular bead. The goal is a tight, controlled arc that stays consistent as the electrode gets shorter.
Travel speed works with arc length and amperage:
- Too fast: narrow, underfilled, inconsistent bead with reduced fusion or undercut.
- Too slow: excessive deposit, a wide or highly convex bead, and possible cold lap because the arc spends too much time heating the puddle instead of the leading edge.
- About right: the arc remains near the leading third of a controllable puddle and the bead width stays uniform.
For thin steel, use a suitable small electrode, the approved lower current range, a tight arc, and short weld segments. Stick welding very thin sheet is difficult; this stick-welding thin sheet metal guide explains the extra heat-control steps. On thicker material, do not simply slow down and raise current—use the correct joint design, rod size, and number of passes.
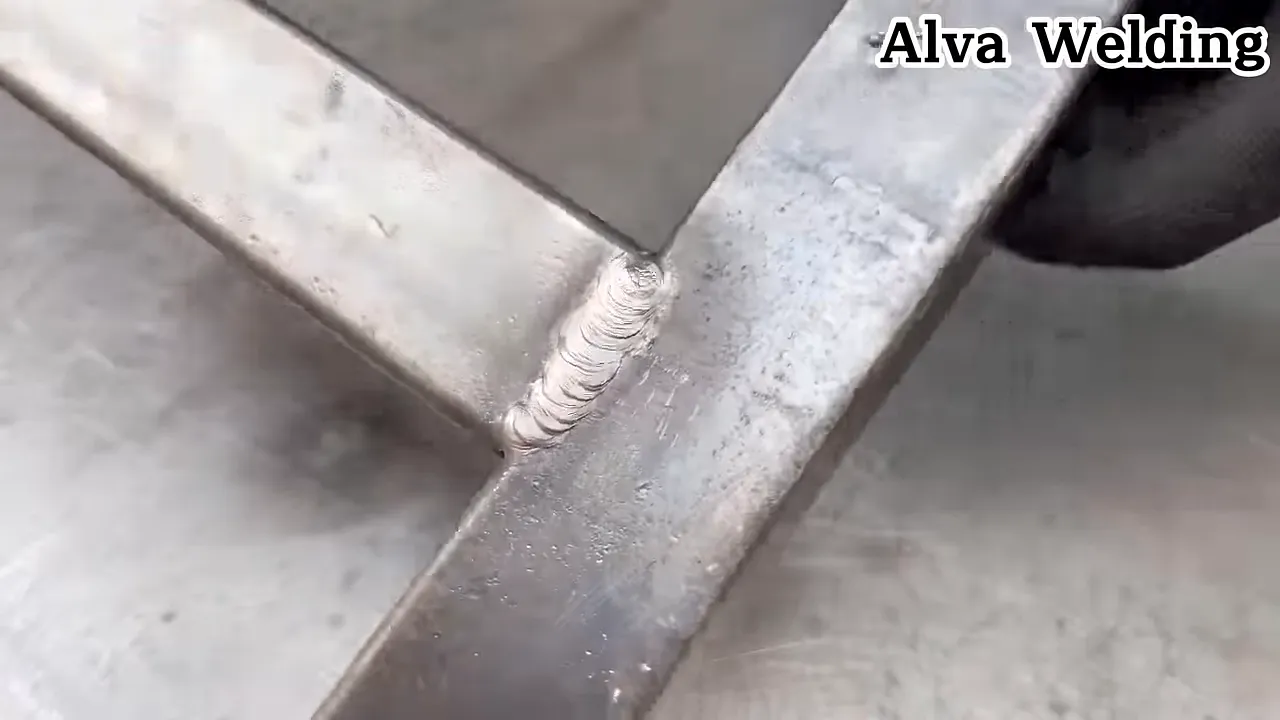
Practice Drill
Run three beads with the same rod, current, angle, and plate: one with an intentionally long arc, one with a controlled arc, and one so short that the rod nearly freezes. Label the beads. Compare spatter, width, crown, undercut, and consistency after the slag is removed.
4. Control Work Angle and Travel Angle
The electrode has two angles:
- Work angle aims the rod across the joint and controls how the weld is shared between the pieces.
- Travel angle tilts the rod along the direction of travel and affects puddle control, slag position, and bead shape.
For a flat butt joint, begin near a 90-degree work angle so heat is shared evenly. For a flat fillet weld, begin near 45 degrees between the two pieces, then make small changes if one member is thicker or the puddle is washing unevenly.
For flat, horizontal, and overhead stick welding, a drag or backhand travel angle of about 5–15 degrees is a common starting point. Vertical-up welding generally uses a slight push angle. Miller’s stick-welding technique guide explains these starting angles and how they change by position.
Avoid using a push angle on a slag-producing rod merely to flatten the bead. In the wrong position or with the wrong electrode, the slag can run ahead of the puddle and become trapped. Follow the electrode instructions and keep the puddle visible.
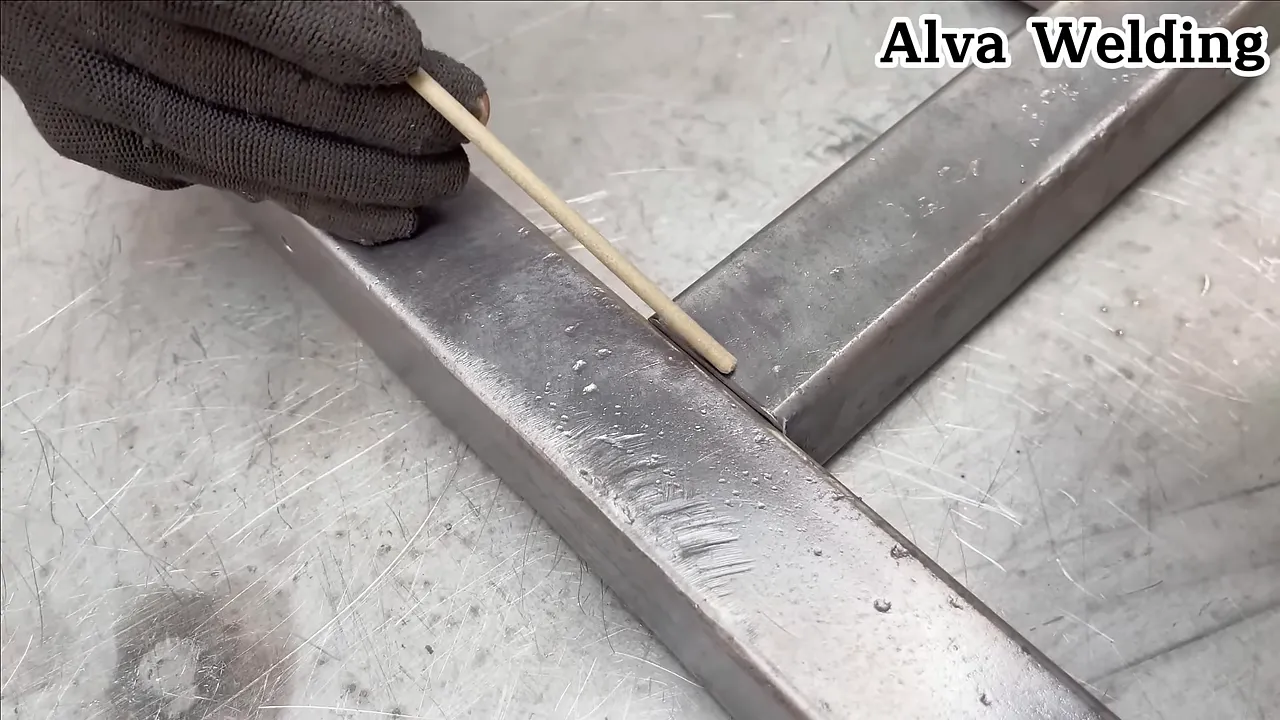
Practice Drill
Mark straight lines on a plate and run beads at approximately 0, 10, 20, and 30 degrees of travel angle while keeping every other variable the same. Compare bead symmetry, slag behavior, spatter, and undercut. The goal is not to prove one angle always wins; it is to learn how quickly the puddle changes.
5. Make Joint Fit-Up and Groove Preparation Predictable
Good welding begins with repeatable fit-up. Misalignment, changing root gaps, damaged edges, and poor tacks force you to correct several problems while also controlling the arc.
- Clean and square the edges unless the drawing or procedure calls for a bevel.
- Set the root opening and root face to the joint design or welding procedure. Do not guess on critical work.
- Use clamps, strongbacks, blocks, or a fixture to hold alignment.
- Place sound tack welds where they will control movement. Clean and feather tack ends when the final pass must tie into them.
- Check dimensions again after tacking because parts can pull out of position.
Thin butt joints may use square edges. Thicker joints often need a V, double-V, J, U, or other groove so the weld can reach the root without an oversized bead. However, “when in doubt, bevel” is not a safe design rule. Excessive bevel increases weld volume, time, heat input, and distortion. Use the joint detail, qualified procedure, or a proven practice joint.
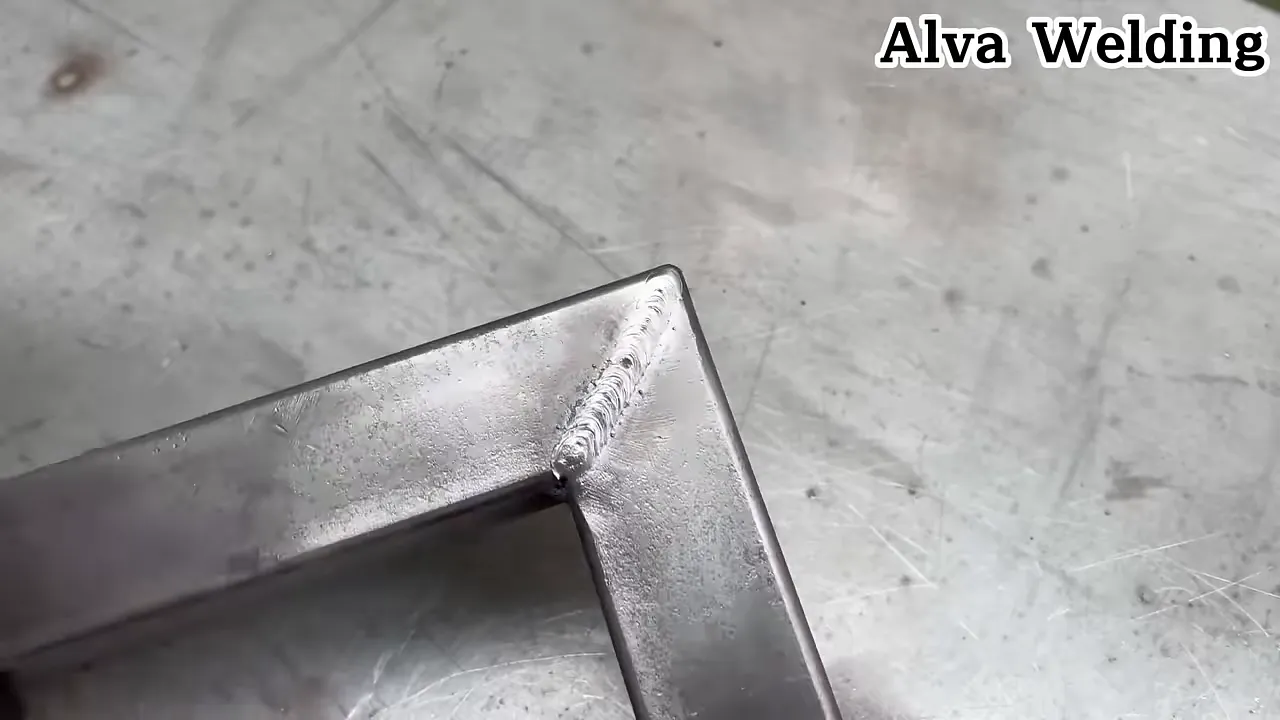
“Femte”
“Femte” means “fifth” in Swedish. I sometimes count passes or preparation steps aloud. That kind of verbal anchor can help during practice, but each pass still needs a clean surface, a clear sequence, and inspection before the next bead.
Practice Drill
Prepare two matching scrap plates with a simple practice V-groove. Tack them at both ends, verify the gap, and make a root, filler, and cap sequence using a suitable procedure for the plate and electrode. Clean each pass completely and inspect the tie-in before continuing.
6. Strike the Arc Cleanly and Control Restarts
Two common starting methods are the tap strike and scratch strike:
- Tap strike: touch the electrode briefly to clean metal, then lift to the working arc length.
- Scratch strike: move the tip across clean metal like striking a match, then lift as the arc starts.
Strike within the weld area or on a run-on tab when the procedure allows. Random arc strikes outside the joint can damage the base metal and may be unacceptable on critical parts. Do not use paint, plating, or dirt as a starting aid; clean the area first.
After the arc starts, focus on the molten puddle rather than the bright arc. Keep its size and leading edge consistent. At a stop, pause long enough to fill the crater without building a large lump. For a restart, remove slag, clean the crater, start slightly ahead or behind as the technique requires, then move back through the crater and continue so the beads tie together.
- A smaller puddle usually needs faster travel, lower current, or less manipulation.
- A larger puddle usually needs slower travel, higher current, or more dwell—but change one variable at a time.
- Watch the slag line. If slag runs in front of the arc, correct the angle, speed, or manipulation before it is trapped.
Practice Drill
Make 20 controlled starts on clean scrap. Form a small puddle, travel 25–50 mm (1–2 in.), fill the crater, and stop. After cooling, clean each bead and practice tying a new bead into the previous crater without leaving a hole, mound, or slag pocket.
7. Remove Rust, Paint, Oil, Plating, and Moisture
Contamination can cause porosity, unstable arcs, slag inclusions, lack of fusion, cracking, and hazardous fumes. Clean farther than the visible bead width so the arc does not pull contamination into the puddle.
- Use a wire brush for loose rust and light scale.
- Use a guarded grinder with the correct wheel for heavy scale, bevel preparation, or stubborn coatings.
- Use a compatible degreaser for oil only after reading its safety data sheet. Keep it away from ignition sources and let the surface dry fully.
- Remove unknown paint, galvanizing, plating, sealers, and chemical residue only with a process that controls the dust and fumes.
Warning: Never clean welding work with chlorinated brake cleaner or another chlorinated solvent. Arc heat and ultraviolet radiation can create highly toxic decomposition products. Use only a cleaner approved for the material and welding environment, keep solvents away from the arc, and make sure the part is completely dry.
E6011 can tolerate more rust or scale than a soft-arc rod, but that is not permission to weld through paint, grease, or an unknown coating. OSHA advises cleaning coatings and solvent residue that could create toxic exposure and using controls that keep fumes out of the breathing zone.
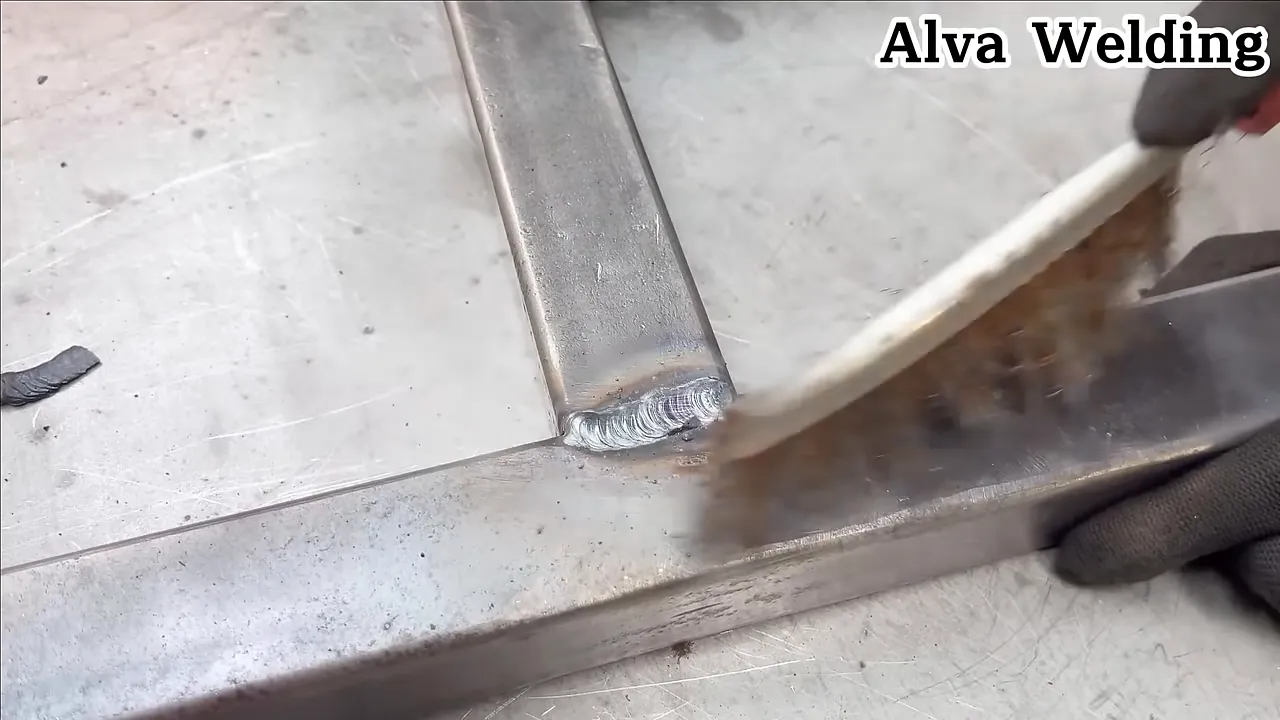
Practice Drill
Divide a rusty practice plate into three labeled zones: untouched, wire-brushed, and ground to clean metal. Weld each zone only if the coating is known to be safe and ventilation is suitable. Compare arc stability, porosity, spatter, and bead appearance. Do not intentionally weld unknown paint, galvanized coating, or oily metal.
8. Remove Slag and Inspect Every Pass
Most stick electrodes leave slag over the bead. Slag protects the hot weld as it cools, but it must be removed before a restart or another pass. Trapped slag creates inclusions and can block fusion between beads.
- Let the bead cool enough for safe cleaning, but remember that steel can remain hot after it stops glowing.
- Use safety glasses under the helmet and when chipping or brushing.
- Chip at a shallow angle and direct fragments away from yourself and others.
- Brush along the bead and clean both toes, craters, and tie-in points.
- Use a grinder only when the procedure permits it, with the guard, side handle, correct disc, safe RPM rating, and secured workpiece.
Inspect for cracks, pores, undercut, overlap, lack of fill, trapped slag, and poor tie-in. A smooth-looking surface is not proof of penetration or strength, but visible defects are a clear reason to stop and correct the cause.
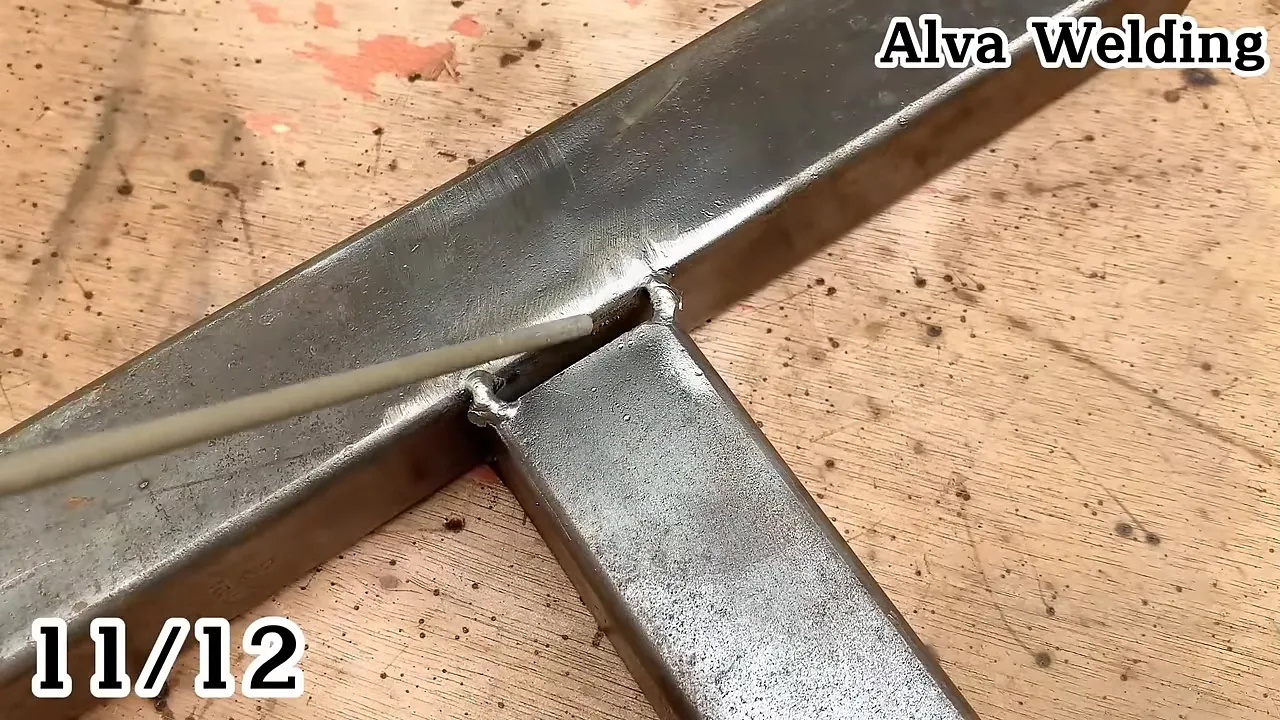
Practice Drill
Run several parallel beads. Clean each one before placing the next bead so it overlaps the previous bead by a consistent amount. Leave one short noncritical sample partly uncleaned for comparison, then section it safely to see how slag at the toe can become trapped.
9. Manage Heat Input, Warpage, and Distortion
Welding heat expands the metal near the joint. Uneven cooling then shrinks it, which can pull parts out of shape. Heat also changes the microstructure in the heat-affected zone. That zone is not automatically “weakened,” but its properties can change, especially in hardened, high-carbon, alloy, or heat-treated steels.
Use these controls:
- Make only the weld size required by the joint.
- Use balanced tack locations and a planned sequence.
- Alternate sides or use back-step and skip sequences when suitable.
- Use short weld segments on thin or long parts and allow controlled cooling.
- Clamp or fixture the assembly without creating unsafe restraint.
- Choose the correct electrode diameter, current, travel speed, and number of passes instead of trying to solve every heat problem with one control.
Preheat and interpass temperature depend on base-metal chemistry, thickness, restraint, hydrogen level, heat input, service, and the applicable code or welding procedure. Do not apply a universal thickness threshold. On critical work, measure and follow the specified temperature range.
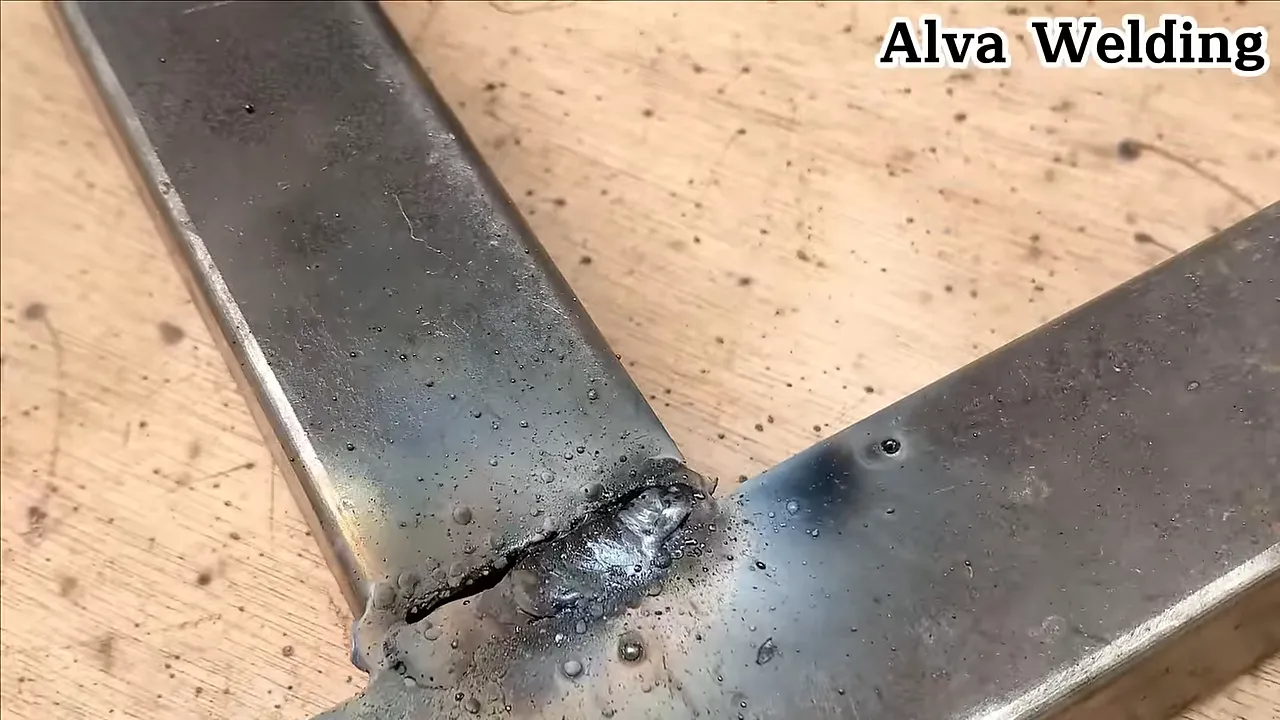
Practice Drill
Use two identical flat practice assemblies. Weld one continuously from one end and weld the other with a balanced skip or stitch sequence suitable for the joint. After both cool naturally, compare bow, twist, gap, and overall dimensions. Do not quench a critical weld unless the procedure specifically permits it.
10. Improve Positioning, Visibility, and Ergonomics
Good posture is a welding control. If you are stretched, off balance, or fighting the cable, your arc length and travel angle will change.
- Place the work at a comfortable height and rotate it into the flat position whenever the job allows.
- Brace a forearm or elbow without placing your body against live electrical parts or hot metal.
- Arrange the cable so its weight does not pull the holder.
- Clean the helmet lenses and use suitable lighting outside the arc so you can see the joint before starting.
- Use clamps or a jig to stabilize small pieces; never hold the work in your hand while welding or grinding.
This beginner home welding setup covers basic bench planning. Learn flat and horizontal welding first. Vertical and overhead welding increase the difficulty and exposure to hot slag, so beginners should practice them with qualified supervision and a safe booth.
Products Worth Considering

【High Quality Materials】The main body of the cast iron welders angle clamp is made of high-quality cast iron and steel materials, with high tensile strength and more durable characteristics. The surface of the welding table clamp is sprayed with plastic to prevent rust and corrosion.

ANGLE ADJUSTABLE: Offers a versatile range from 10° to 180°, allowing for various angle settings to suit different project needs.

Clamp for holding items in place; ideal for pocket hole joinery, woodworking, welding, and other projects or repairs
Practice Drill
With the machine off, rehearse the same joint in flat, horizontal, vertical, and overhead orientations. Note where your view, brace point, cable route, and escape path change. Weld only the positions for which you have suitable training, PPE, and a safe setup.
11. Put PPE, Ventilation, Fire Prevention, and Electrical Safety First
Stick welding exposes you and nearby people to arc radiation, hot metal, sparks, slag, fumes, noise, and electrical energy. At minimum, use:
- A welding helmet with the correct filter shade for the process and amperage, plus safety glasses with side protection underneath.
- Flame-resistant clothing that covers the skin. Avoid synthetic fabrics that can melt.
- Dry leather welding gloves that still allow control of the holder.
- Closed leather footwear and clothing that keeps sparks out of cuffs, pockets, and boot tops.
- Hearing and face protection for grinding, as required by the task.
- Welding screens or barriers to protect other people from the arc.
Use local exhaust ventilation near the plume when possible and keep your head out of the fumes. Welding outdoors or in an open door does not guarantee safe exposure. OSHA’s welding-fume fact sheet explains that the process, metals, coatings, location, air movement, and work practices all affect exposure. Respiratory protection may be needed when ventilation and work practices do not control the hazard; in workplaces, respirator selection, medical evaluation, fit testing, and use must follow the respiratory-protection program.
Also control these hazards:
- Fire: clear combustibles, protect openings where sparks can travel, keep an extinguisher ready, and use a fire watch when required.
- Electric shock: keep gloves, clothing, cables, holder, and work area dry; do not touch the electrode or live conductive parts with bare skin; disconnect power before service.
- Hot metal: mark recently welded parts and use pliers or suitable tools. Never assume dark metal is cool.
- Containers and confined spaces: never weld a tank, drum, pipe, or enclosed space unless it has been identified, cleaned, tested, ventilated, and handled under the required permit and procedure.
- Coated and alloy metals: identify the coating and alloy before welding. Zinc, lead, cadmium, chromium, nickel, manganese, and other constituents can create serious fume hazards.
Review OSHA’s welding hazards and solutions and the NIOSH Pocket Guide entry for zinc oxide. For a clothing checklist, see what protective clothing I use.
Practice Drill
Before every session, complete a written pre-weld check: PPE, cables, clamp, electrode, polarity, ventilation, screens, fire hazards, hot-metal area, grinder guard, and exit path. Fix every failed item before energizing the machine.
“I’m going to make a little bit of”
That unfinished workshop phrase is another reminder to keep practice small and controlled. Short, focused repetitions are more useful than a long session after your posture, attention, or safety habits begin to slip.
12. Build Muscle Memory With Deliberate Practice and Records
Repetition helps only when the setup is repeatable and you study the result. Change one variable at a time so you know what caused the improvement or defect.
- Pick one electrode classification and diameter, one plate thickness, one position, and one polarity.
- Record the current, joint type, work angle, travel angle, approximate speed, and result.
- Begin with straight stringer beads before circles, whips, weaves, vertical-up patterns, or multi-pass joints.
- Keep weave width within the electrode or procedure guidance; several stringer beads are often better than one oversized weave.
- Photograph cleaned beads with their labels. Video can reveal changing hand speed, arc length, and body position.
- Stop when your concentration or PPE condition drops. Quality practice beats exhausted practice.
Set a measurable goal, such as “ten 150 mm (6 in.) beads with uniform width and no visible undercut,” rather than simply burning a fixed number of rods.
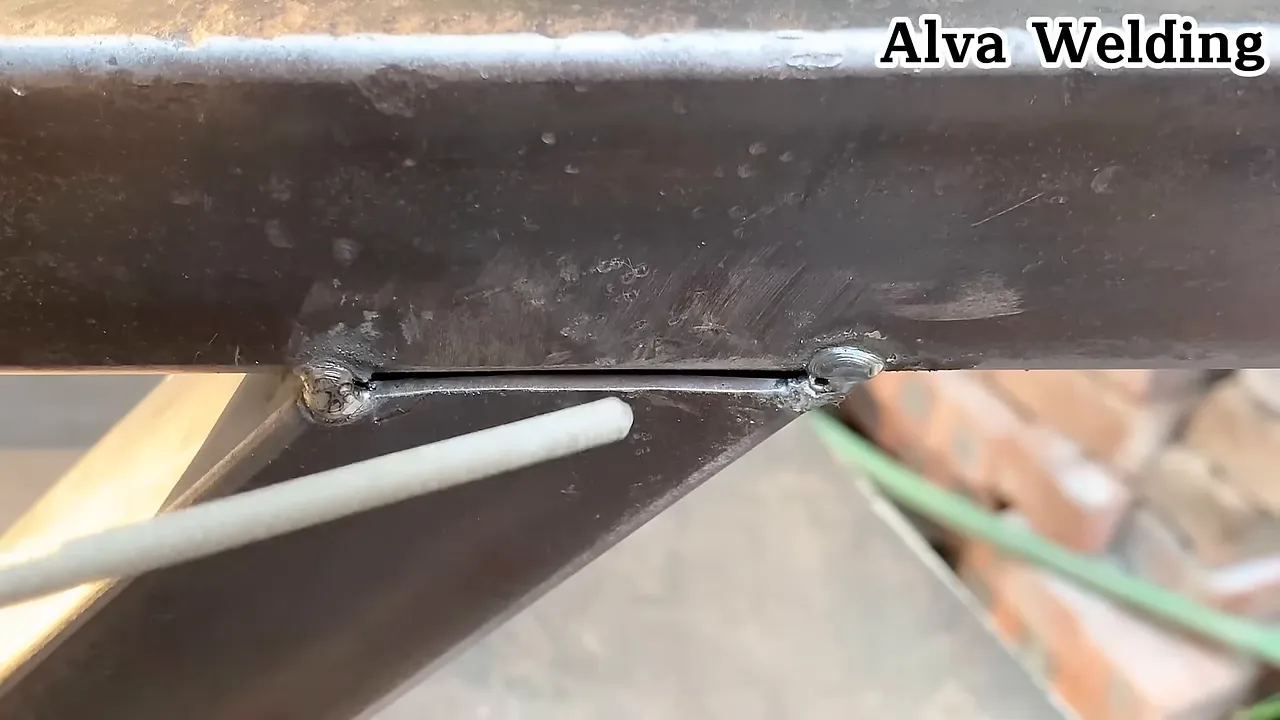
Practice Drill
Create a 30-minute plan: 10 minutes of starts and straight beads, 10 minutes of consistent restarts and overlapping beads, and 10 minutes of tacking and joint preparation. Practice vertical-up only after you can control flat beads and have suitable supervision. Log one metric to improve during the next session.
Common Stick-Welding Defects and What to Check
| Problem | Likely Checks |
| Electrode keeps sticking | Current too low, arc too short, poor clamp contact, damp or damaged rod, wrong polarity, or hesitant start |
| Heavy spatter or undercut | Arc too long, current too high, travel too fast, wrong angle or polarity, or magnetic arc blow |
| Porosity | Oil, paint, moisture, long arc, damaged flux, incorrect storage, or poor restart cleaning |
| Slag inclusion | Incomplete cleaning, slag running ahead, poor joint angle, oversized weave, low heat at the sidewall, or bad tie-in |
| High bead or cold lap | Travel too slow, current too low, rod too large, incorrect angle, or puddle covering the arc’s leading edge |
| Burn-through | Current too high, gap too wide, electrode too large, travel too slow, or weld segment too long for the sheet |
A good practice bead is repeatable: the same setup produces the same puddle, width, tie-in, slag behavior, and finish from start to stop.
Frequently Asked Questions
How do I choose between stick, MIG, and TIG as a beginner?
Stick is portable, works outdoors well, and does not need an external shielding-gas cylinder, but controlling the arc and slag takes practice. MIG is often easier for clean thin steel and production work, but wind can disturb shielding gas. TIG gives excellent heat and puddle control but is slower and usually has the steepest learning curve. Choose by material, thickness, location, quality needs, and budget; this MIG vs. TIG guide explains two of the processes in more detail.
What thickness can I weld with E6013?
There is no single thickness limit for the classification. The usable range depends on electrode diameter, machine output, joint design, position, fit-up, access, and the product’s approved current range. Small E6013 rods are often used on clean light-gauge steel, but stick welding below about 1.5–2 mm can be difficult because the arc can burn through before the joint fuses. MIG or TIG may offer better control on very thin sheet.
Why is my stick electrode sticking to the metal?
Common causes are current that is too low, a gap that collapses during the start, poor work-clamp contact, wrong polarity, damp or damaged flux, or a rod that is too large for the machine and plate. Clean the clamp area, verify polarity and the package range, brace your hand, strike cleanly, and lift immediately to a controlled arc length.
Why is my weld porous, and how can I stop it?
Check for oil, paint, rust, moisture, damaged flux, excessively long arc length, poor restarts, and electrode-storage problems. Clean and dry the steel, use sound electrodes, keep a tight arc, remove all slag at stops, and follow the manufacturer’s storage rules. Grind out porosity before repairing a critical weld under an approved procedure.
How do I prevent burn-through on thin steel?
Use a smaller suitable electrode, the approved lower current range, tight fit-up, a short arc, fast controlled travel, and short stitch or skip segments. A copper backing bar can absorb heat when the joint permits it. If the sheet is extremely thin, switch to MIG or TIG rather than forcing a large stick electrode to work.
What is the difference between push and drag techniques?
With drag, the top of the electrode tilts toward the direction of travel while the tip trails behind. This is the usual starting method for flat, horizontal, and overhead stick welding. With push, the top tilts away from the direction of travel; it is commonly used for vertical-up SMAW. The correct technique depends on the electrode, position, joint, and manufacturer guidance.
What polarity should I use for E6011, E6013, or E7018?
E6011 commonly runs on AC or DCEP. Many E6013 products can run on AC, DCEP, or DCEN. Many E7018 products run on DCEP, while AC-rated E7018 products can also use AC. These are classification-level patterns, not permission to guess. Use the polarity printed on the exact electrode package and supported by your machine.
How often should I replace grinding discs and wire-wheel brushes?
Remove a disc or wheel immediately if it is cracked, chipped, bent, contaminated, expired where an expiry date is marked, or worn beyond the manufacturer’s limit. Replace a wire wheel when wires are missing, badly bent, loose, or no longer clean effectively. Always use the guard and side handle, secure the work, and confirm that the accessory’s rated RPM meets or exceeds the grinder speed. OSHA’s angle-grinder safety sheet covers these controls.
Can I weld galvanized steel?
It can be welded with the correct procedure, but heating zinc creates zinc-oxide fume that can cause metal fume fever. Identify the coating, remove zinc from the weld zone when the procedure permits, control the removed dust, use effective local exhaust, and keep your head out of the plume. Respiratory protection may also be required after exposure assessment. Read this guide to welding galvanized steel and the official OSHA and NIOSH sources below before attempting it.
What belongs in a beginner stick-welding toolkit?
Start with a suitable welder, sound electrodes, helmet, safety glasses, leather gloves, flame-resistant clothing, leather footwear, chipping hammer, wire brush, clamps, measuring tools, soapstone, pliers, and a guarded angle grinder with correctly rated wheels. Add ventilation equipment appropriate to the work. A rod oven is not a routine substitute for correct electrode handling; buy and store low-hydrogen electrodes according to the manufacturer and any governing code.
Final Thoughts and Next Steps
Welding is a hands-on skill that rewards patience, repeatable setup, and honest inspection. Start with the correct electrode, polarity, and current. Keep a short arc, steady travel speed, and useful work angle. Prepare the joint, remove slag, control heat, and record what changed.
- Practice on known, clean mild steel before working on thin, coated, alloy, or safety-critical parts.
- Change one variable at a time and label each bead.
- Use short, focused sessions instead of continuing after fatigue changes your posture and attention.
- Never compromise on PPE, ventilation, electrical safety, fire control, or grinder guarding.
One phrase I use while teaching is, “I’m going to make a little bit of” practice each day. The sentence may be unfinished, but the method works: small, consistent sessions build more control than an unfocused marathon.
Thanks for reading. Follow along with the full workshop tutorial to see the movements in context. Keep your tools ready, your headlamp charged if you work at odd hours, and your curiosity open. Welding is a craft, and getting comfortable with being a careful learner is part of the progress.
Sources
- Hobart Brothers — Choosing the Right Stick Electrode — AWS classification, common carbon-steel electrodes, polarity, and storage principles.
- Miller — Five Steps to Improving Stick-Welding Technique — current, arc length, travel angle, manipulation, and travel speed.
- Lincoln Electric — Storing and Redrying Electrodes — manufacturer-specific storage and reconditioning guidance.
- OSHA — Controlling Hazardous Fume and Gases During Welding — ventilation, coating removal, fume exposure, and respiratory controls.
- OSHA — Welding, Cutting, and Brazing Hazards and Solutions — radiation, burns, shock, fumes, and PPE.
- NIOSH Pocket Guide — Zinc Oxide — zinc-fume symptoms and respiratory hazards.