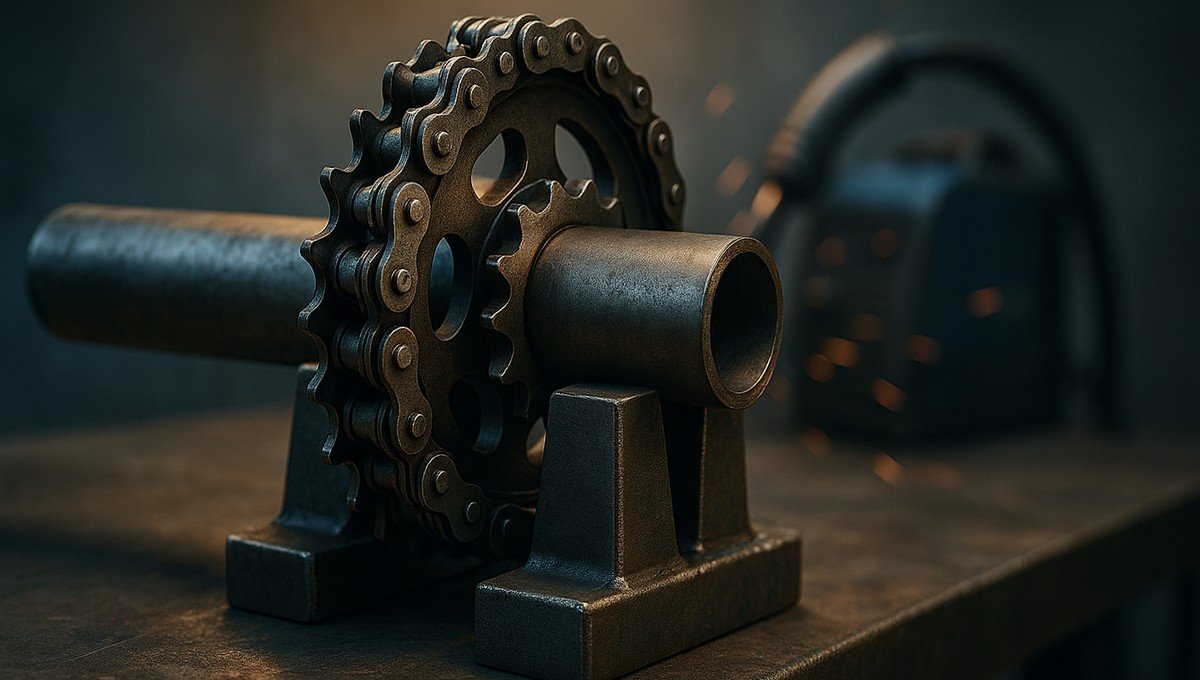
I build shop tools by breaking a problem into simple parts and joining those parts into something useful. A sprocket-and-chain vise clamp can hold round or awkward work that ordinary flat jaws struggle to grip, but it needs more than a sprocket, a chain, and a handle. A safe build also needs a strong frame, a V-shaped support, a positive tension lock, secure bench mounting, and controlled testing.
This guide shows how I plan, fabricate, assemble, test, and maintain a homemade sprocket-and-chain vise clamp. It also explains the design limits that matter most, including chain condition, sprocket compatibility, shaft support, welding heat, guarding, and the difference between a chain’s advertised tensile strength and the working capacity of the completed tool.
Quick Answer
Build a sprocket-and-chain vise clamp around a rigid base, a fixed V-shaped jaw, a correctly matched chain and sprocket, and a positive screw or ratchet lock. Tack and align the parts before final welding, guard the chain path, mount the tool securely, and test it gradually on scrap without assuming it has a certified load rating.
Key Takeaways
- Use a new or known-history chain. Do not build the clamp with a stretched, rusty, cracked, kinked, or impact-damaged chain.
- Match the exact chain size to the sprocket. Pitch alone does not guarantee correct width, roller fit, tooth thickness, or connector compatibility.
- A sprocket can take up chain, but it needs a positive lock or self-locking tension screw to keep the clamp from unwinding.
- Treat every dimension in a homemade design as a starting point, not a certified working-load rating.
- Attach the welding return lead directly to the workpiece so welding current does not pass through the chain, sprocket, shaft, or frame.
At a Glance
| Time Required | About 6 to 10 hours for layout, fabrication, assembly, finishing, and gradual testing |
| Difficulty | Intermediate to advanced metal fabrication |
| Tools Needed | Welder, guarded angle grinder, drill or drill press, chain tool, layout tools, clamps, measuring tools, ventilation, and suitable PPE |
| Cost | Variable. Price the chain, sprocket, steel, shaft, screw mechanism, hardware, guard material, and consumables before deciding whether the build saves money. |
Warning: A homemade clamp has no certified working-load rating unless a qualified engineer designs and validates it. Never use this tool for lifting, overhead restraint, vehicle support, human support, suspended loads, pressure testing, or any job where a release could cause severe injury. Keep your face and body outside the chain’s recoil path whenever you tighten or test it.
Why build a sprocket-and-chain vise clamp?
A chain-style clamp is useful because the chain can wrap around round stock, pipe, and irregular shapes. The wrap creates contact at several points around the workpiece, while a V-shaped lower support helps keep round material centered. Commercial chain vises use similar principles, normally with a positive screw or cam take-up and a shaped lower support.
The chain does not divide its tensile load among several links. The loaded links carry substantially the same chain tension. The real advantage is the way the chain conforms to the workpiece and creates contact around a shape that flat jaws may not hold well.
I like this project because it combines layout, fitting, drilling, chain work, and controlled welding in one build. It also scales well for different work sizes, provided you redesign the frame, shaft, chain, locking system, mounting hardware, and guards rather than simply enlarging one part.
A chain’s advertised breaking strength does not become the safe working capacity of a homemade clamp. The entire load path is only as reliable as its weakest chain link, connector, shaft, weld, frame member, mounting bolt, or bench attachment.
Materials and tools I use
Gather all materials before cutting. A half-finished mock-up often exposes clearance, alignment, or locking problems that are much easier to correct before final welding.
Products Worth Considering

Compatible with Front Sprocket OEM Parts Kawasaki 13144-0579
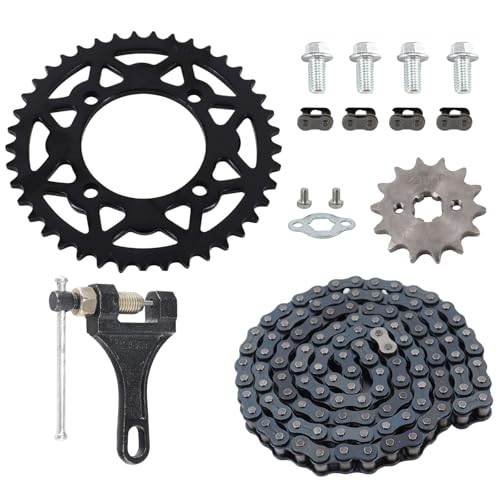
This 428 76mm 41 Tooth Rear Sprocket kit is designed specifically for Chinese 50cc 70cc 90cc 110cc 125cc Pit Dirt Trail Quad Motor Bike ATV Motorcycle Parts

MX650 Upgrade Kit Replacement for: Modified MX650 chain and sprocket kit is compatible with Razor MX650 dirt bike, Razor MX500 electric dirt rocket bike, SX500 Mcgrath dirt bike, RSF650 pit bike off-road
Core materials
- Matched sprocket and chain: Use parts with the exact same chain designation and compatible width. Current motorcycle-chain specifications show that products within the 520, 525, and 530 families can differ in pin length, plate thickness, connector type, and strength. Check the chain and sprocket manufacturers rather than relying on appearance alone.
- Known-condition chain: I prefer a new chain or one with a known service history. Reject any chain with corrosion pits, cracked plates, loose pins, damaged rollers, stiff joints, missing seals, bent parts, obvious elongation, or a questionable connecting link.
- Steel plate: Use suitable structural steel for the base, jaw support, sprocket carrier, and gussets. Thickness depends on material grade, span, load path, weld design, and intended torque.
- Square tube, rectangular tube, or angle: Use it for the frame only after checking that the wall thickness and section shape can resist twisting and spreading.
- Shaft and hub parts: Use a shaft with shoulders, collars, bushings, bearings, or another positive method that controls radial and axial movement.
- Threaded take-up or positive lock: Add a strong lead screw, sliding sprocket carrier, engineered ratchet and pawl, over-center mechanism, or locking pin system. Do not rely on sprocket friction alone.
- Mounting hardware: Use through-bolts, washers, and locking nuts sized for the base and bench. The bench must carry the applied loads without splitting, bending, moving, or tipping.
- Guard material: A steel or impact-resistant guard should cover the connector and the part of the chain most likely to recoil toward the operator.
- Replaceable jaw material: Use serrated steel inserts for rough pipe work or removable aluminum, copper, leather, or suitable polymer pads for surfaces that must not be marked.
Fabrication tools
- MIG, flux-cored, or stick welder suited to the chosen material and weld size
- Guarded angle grinder with correctly rated cutting and grinding wheels
- Chain breaker and the correct riveting or connecting-link tool
- Drill or drill press with suitable bits
- Square, straightedge, dividers, center punch, and calipers
- Clamps, magnetic squares, and temporary spacers
- Deburring tools and files
- Local exhaust or another suitable ventilation system
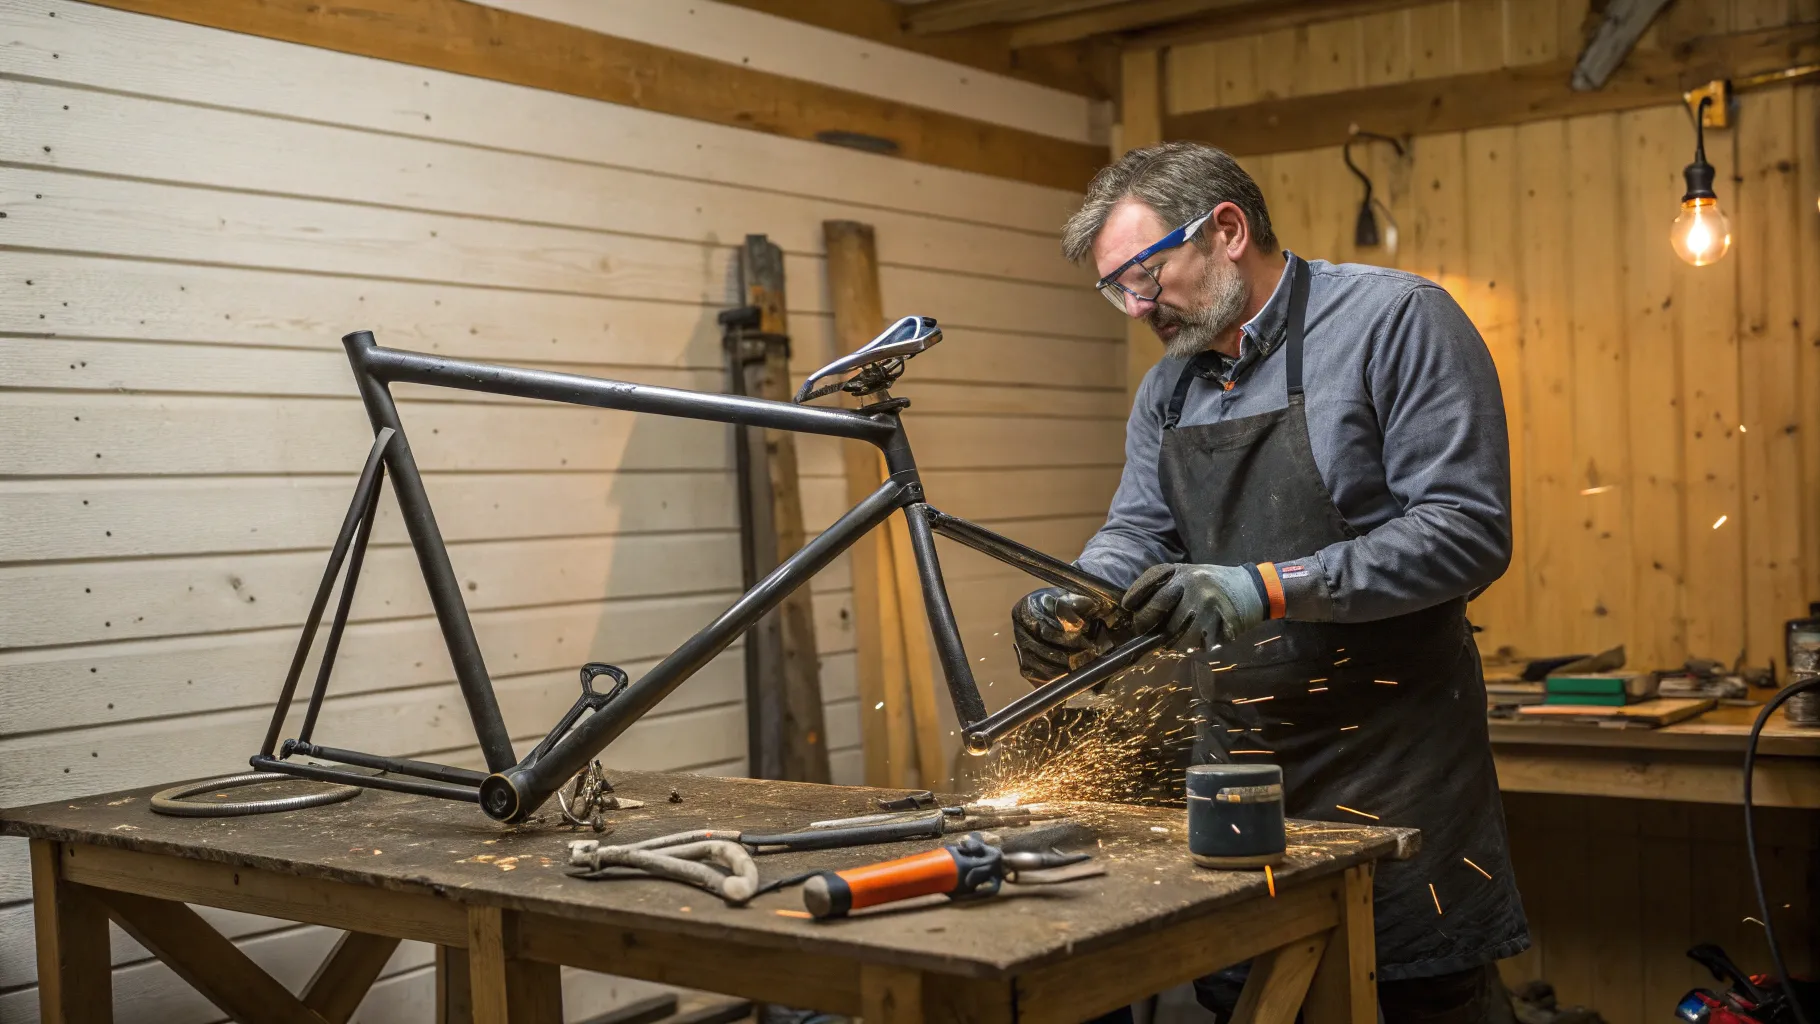
- Welding helmet, safety glasses, face shield for grinding, gloves, hearing protection, protective clothing, and suitable footwear
OSHA identifies welding hazards that include fumes, ultraviolet radiation, burns, electrical shock, cuts, and impact injuries. Ventilation and PPE must match the metal, coatings, process, and working environment. A respirator should be selected for the actual hazard and used according to its instructions and applicable respiratory-protection requirements.
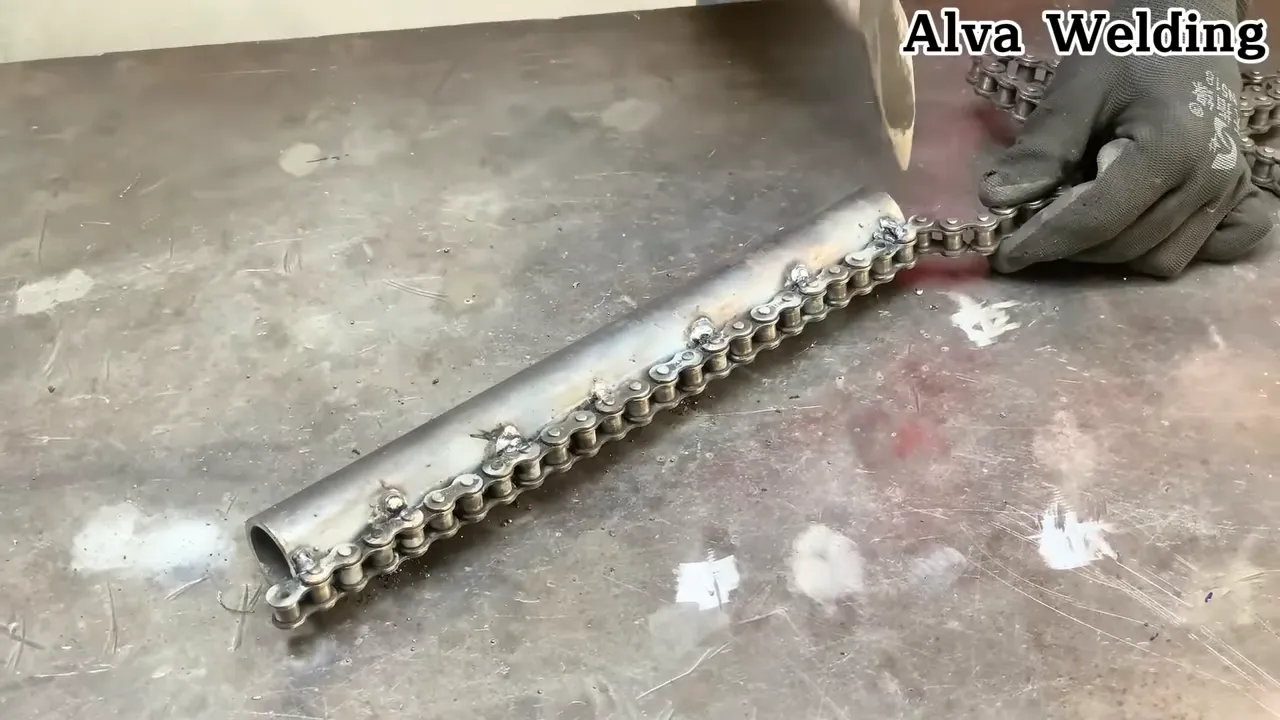
Planning the clamp and its load path
Start with a full-size cardboard, plywood, or scrap-steel mock-up. Set the largest and smallest workpiece sizes you expect to hold, then check the chain path through the complete range.
A practical layout has five main parts:
- A stable base: The base spreads force into the bench and provides room for through-bolts.
- A fixed V-shaped cradle: The cradle centers round work and supports it from below.
- A chain anchor: One chain end attaches to a pin, hook, or replaceable anchor that cannot pull through the frame.
- A sprocket or indexed take-up: This provides coarse adjustment and keeps the chain properly engaged.
- A positive final tensioner: A lead screw, cam, or engineered ratchet creates and holds the final clamping pressure.
Why the clamp needs a positive lock
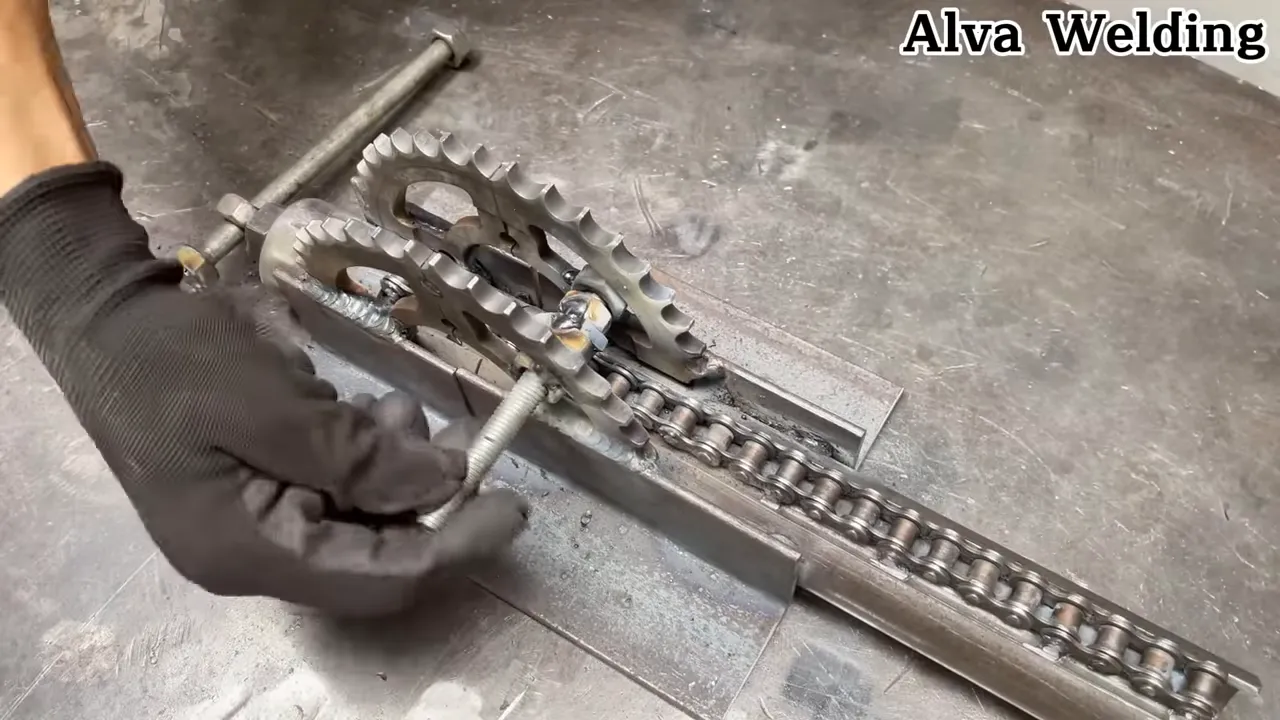
A sprocket mounted on a free shaft can rotate backward when you release the handle. The simplest way to avoid that problem is to let the sprocket provide coarse chain adjustment while a self-locking threaded screw moves the sprocket carrier or chain anchor through a short final tightening stroke.
An engineered ratchet and pawl can also work, but its tooth form, material, pivot, spring, release, guard, and engagement depth must withstand the full reaction force. A decorative ratchet plate or shallow pin is not enough.
Pro Tip: Separate coarse adjustment from final tightening. Hook or index the chain close to the workpiece first, then use a screw for the last few millimeters of travel. This gives better control and reduces the amount of stored energy in a long handle movement.
Choosing the sprocket size
A larger sprocket can give smoother engagement and more tooth contact, but it does not automatically increase chain pull. Before friction losses, approximate chain tension follows this relationship:
Chain tension ≈ shaft torque ÷ sprocket pitch radius
For the same shaft torque, a smaller pitch radius produces more chain pull. A larger sprocket needs more input torque or a longer handle to create the same pull. Choose a sprocket that gives reliable engagement, suitable packaging, enough shaft strength, and a controllable handle force.
Planning the mounting position
Place the clamp near the edge of a solid bench so long stock can extend without hitting the benchtop. Use suitable stands for long or heavy pipe. The RIDGID Pipe Vise User Guide stresses stable mounting, through-fastening, centered work, and external support for long material.
Preparing the sprocket and chain
Clean the parts before measuring or welding. Remove oil, grease, dirt, adhesive, rubber residue, and loose corrosion. Keep lubricant away from every weld zone until hot work is complete.
Identify all coatings before applying heat. Zinc, lead, cadmium, paint, oil, and unknown surface treatments can create hazardous fumes or contamination. OSHA’s welding, cutting, and brazing requirements include specific ventilation provisions for coated and alloyed metals.
Inspect the sprocket for hooked teeth, cracks, heavy corrosion, bent sections, and side runout. A chain that rides up a hooked or damaged tooth can skip suddenly under load.
Inspect every chain section under good light. Flex each joint and look for:
- Cracked, bent, or separated side plates
- Loose or visibly damaged pins
- Missing or damaged rollers
- Stiff links that do not articulate freely
- Corrosion pitting
- Damaged seals on sealed motorcycle chain
- An unknown or incorrectly installed connecting link
- Obvious pitch elongation or poor fit on the sprocket
The iwis Chain Engineering Handbook explains that alignment, wear elongation, tension, lubrication condition, and tracking damage all affect chain life.

I prefer to attach a separate low-carbon-steel hub, flange, or carrier to the center of the sprocket instead of welding near the teeth. Welding hardened teeth can change their properties, distort the tooth form, or create cracks. A bolt-on adapter also makes sprocket replacement easier.
Note: Do not weld the motorcycle chain. Chain plates and pins are manufactured and heat-treated parts, and welding can create brittle areas, distortion, damaged seals, and unpredictable failure points.
Cutting and shortening the chain
Use a chain breaker or the manufacturer’s specified chain tool whenever possible. It gives better control than cutting through a link with a grinder and reduces the chance of damaging the adjacent plates or pins.
- Wrap the chain through the complete clamp path with the final tensioner near the middle of its travel.
- Mark the shortest chain length that still allows the largest intended workpiece to enter and the smallest intended workpiece to tighten securely.
- Confirm that the chosen cut leaves compatible inner and outer chain ends for the exact connecting link you plan to use.
- Support the chain in the chain tool and press or remove the selected pin according to the tool and chain instructions.
- Install the exact rivet, clip, dual, or other connecting link specified for that chain.
- Check link articulation and connector retention before placing the chain under tension.
A standard chain alternates inner and outer links, so shortening often involves removing links in pairs. Do not rely only on the instruction to remove an even number. Confirm the actual end configuration and connecting-link requirements before cutting.
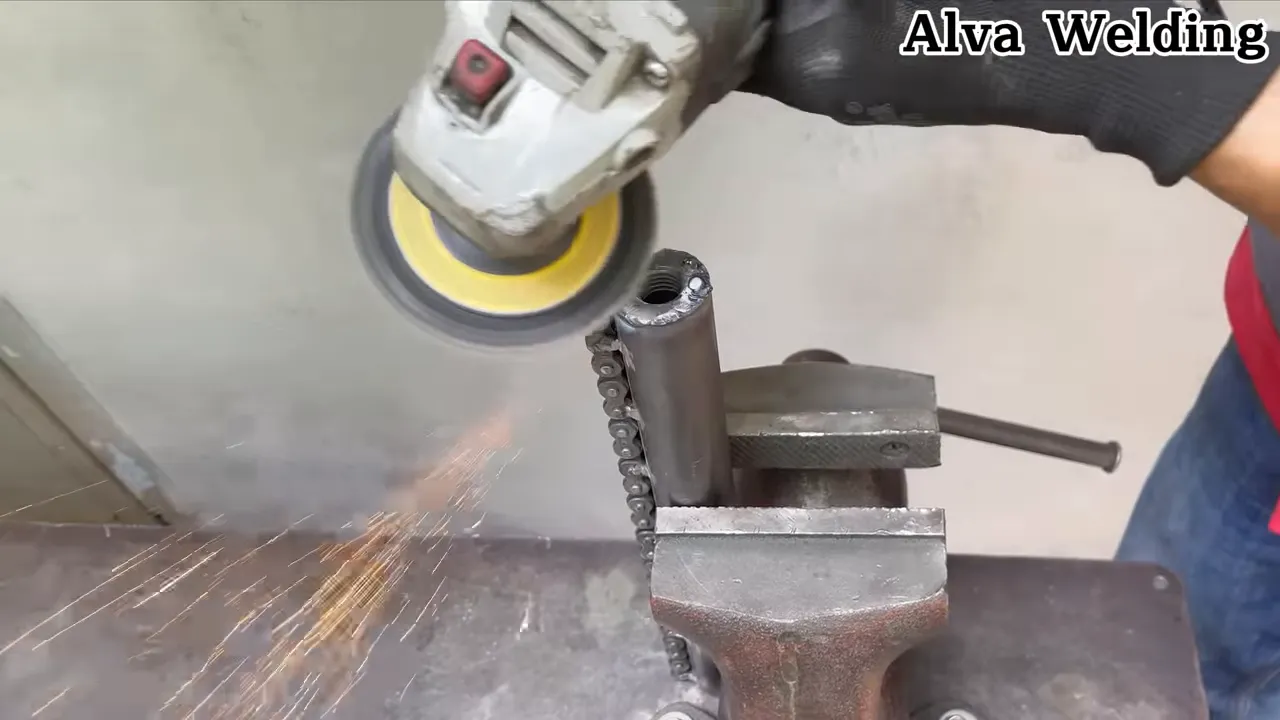
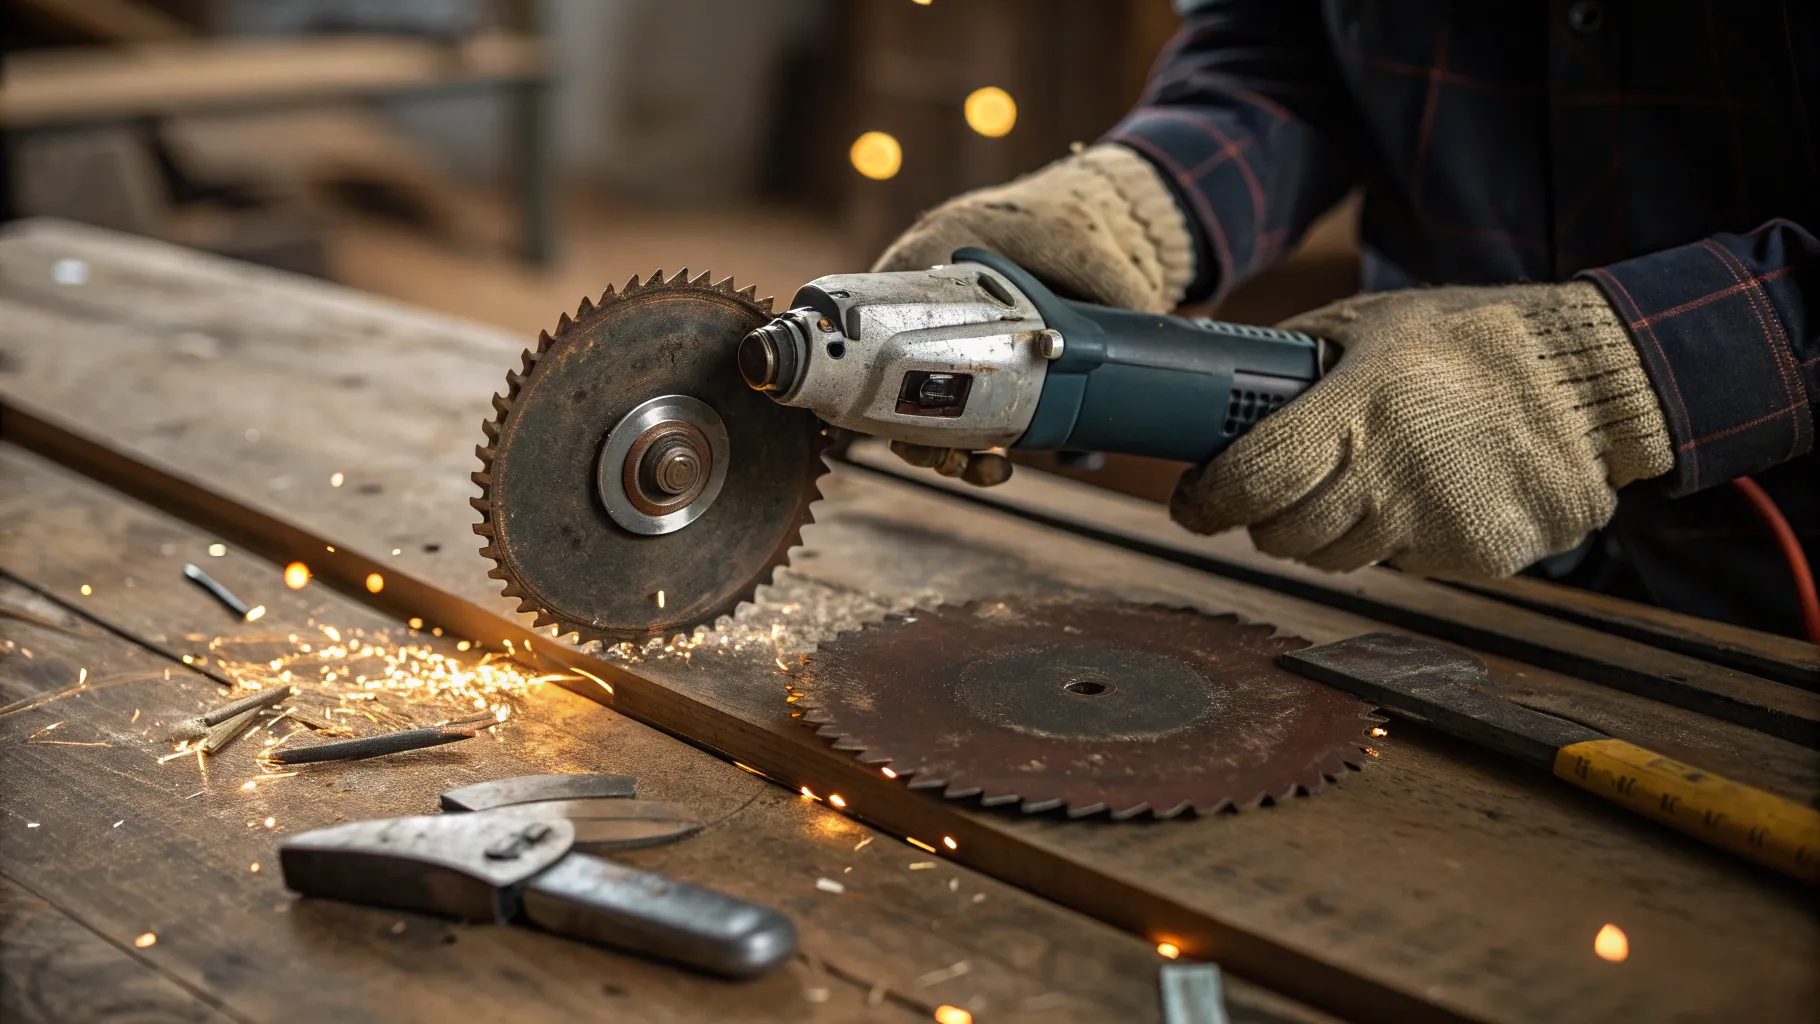
If a grinder is the only practical removal method, clamp the chain securely and keep the wheel away from adjacent pins and plates. Use an intact guard, a wheel rated above the grinder’s maximum speed, eye protection, a face shield, and correct wheel orientation. Never twist or side-load a thin cut-off wheel. OSHA’s portable power-tool guidance explains wheel inspection, speed compatibility, guarding, and safe startup practices.
After joining the chain, place it over the sprocket and rotate the assembly by hand. The rollers should settle into the tooth spaces without binding, riding high, or forcing the side plates against the sprocket.
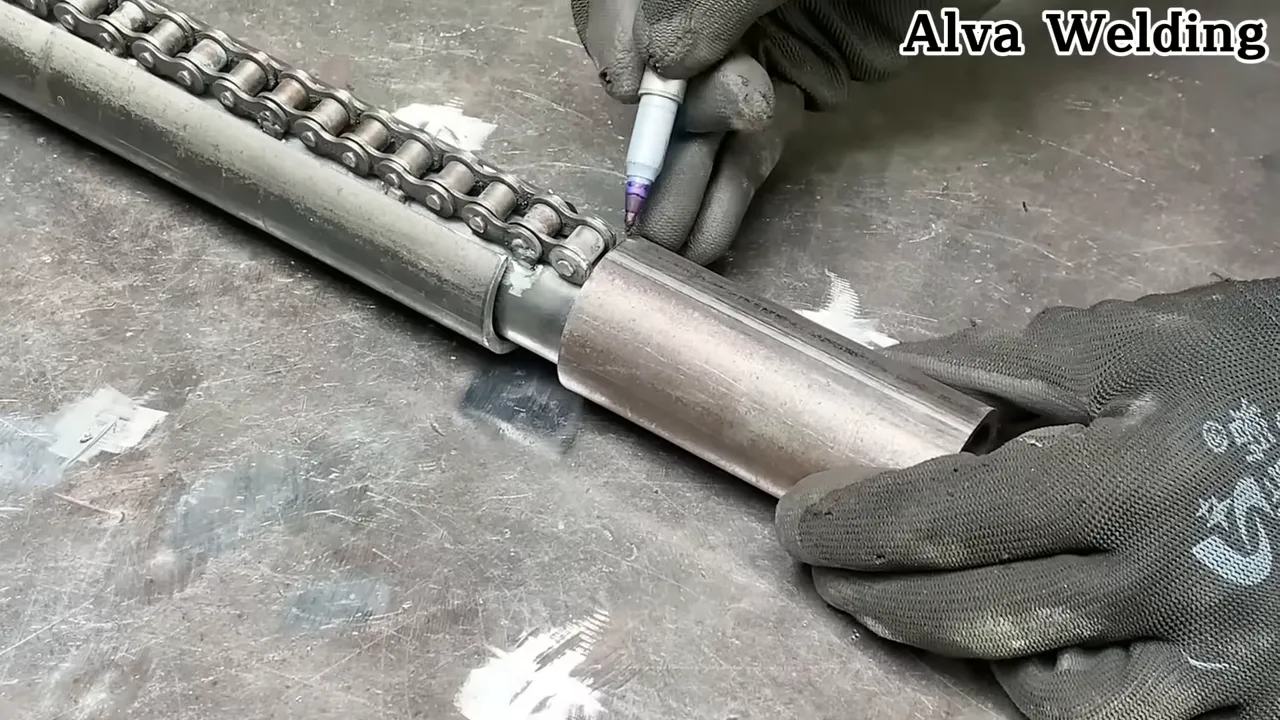
Fabricating the jaws and body
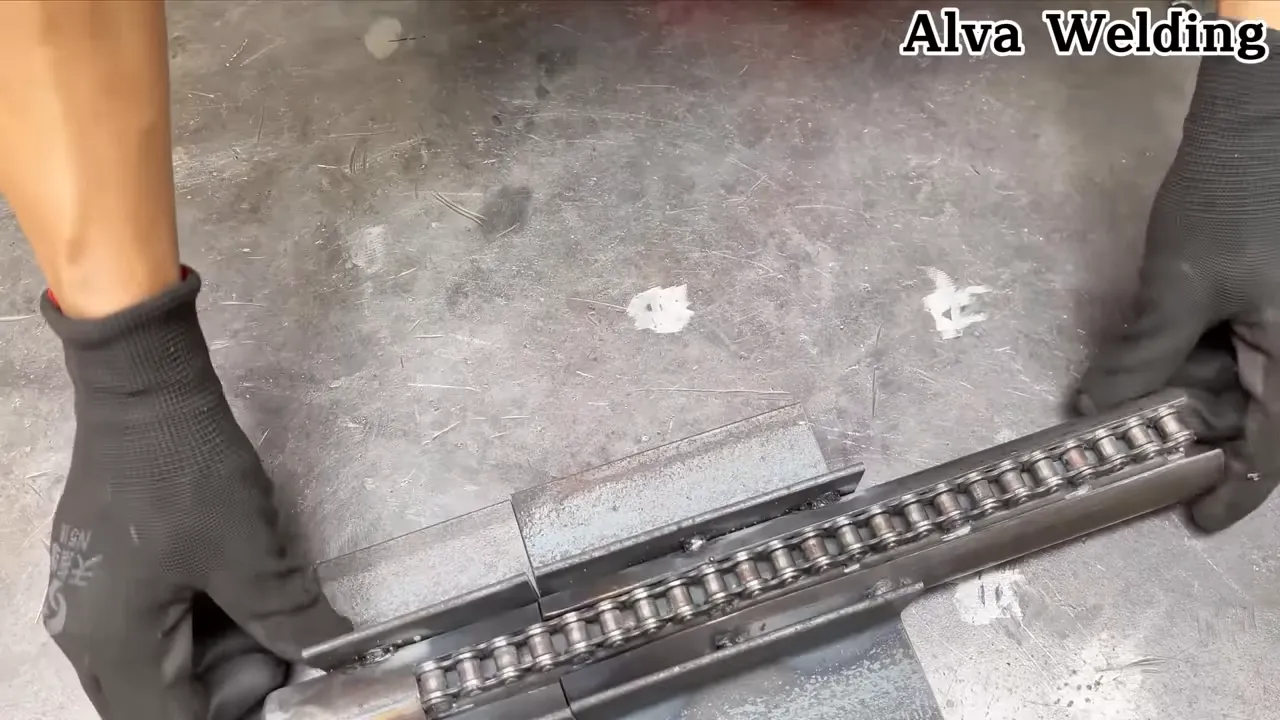
The lower jaw should support the work instead of forcing the chain to carry the workpiece’s full weight. For round stock, I use a V-shaped cradle with enough depth to keep the material centered before the chain becomes tight.
Commercial chain vises commonly use a V-shaped support and replaceable wear parts. ROTHENBERGER describes a V-shaped serrated support, replaceable jaws, and replaceable tensioning chain in its chain-vise design.
Jaw construction tips
- Use two angled jaw plates or machine a V into a thick block.
- Keep the V centered under the chain’s intended pulling line.
- Round or chamfer exposed corners that could cut the operator or damage the work.
- Use replaceable serrated inserts for dirty steel pipe.
- Use removable soft pads for finished or thin-wall material.
- Add an intermediate support under thin pipe if clamping force could flatten it.
- Keep oil, paint, and loose scale off gripping surfaces.
Fit the frame members around the expected load path. Chain tension pulls on the anchor and sprocket carrier, while the workpiece pushes into the V cradle. These reactions try to spread, twist, or bend the frame. Add gussets where the frame changes direction and avoid long unsupported plate edges.
Welding and assembly sequence
Alignment matters more than appearance. If the sprocket axis is tilted or offset, the chain will rub the side plates, ride up the teeth, or pull the workpiece sideways.
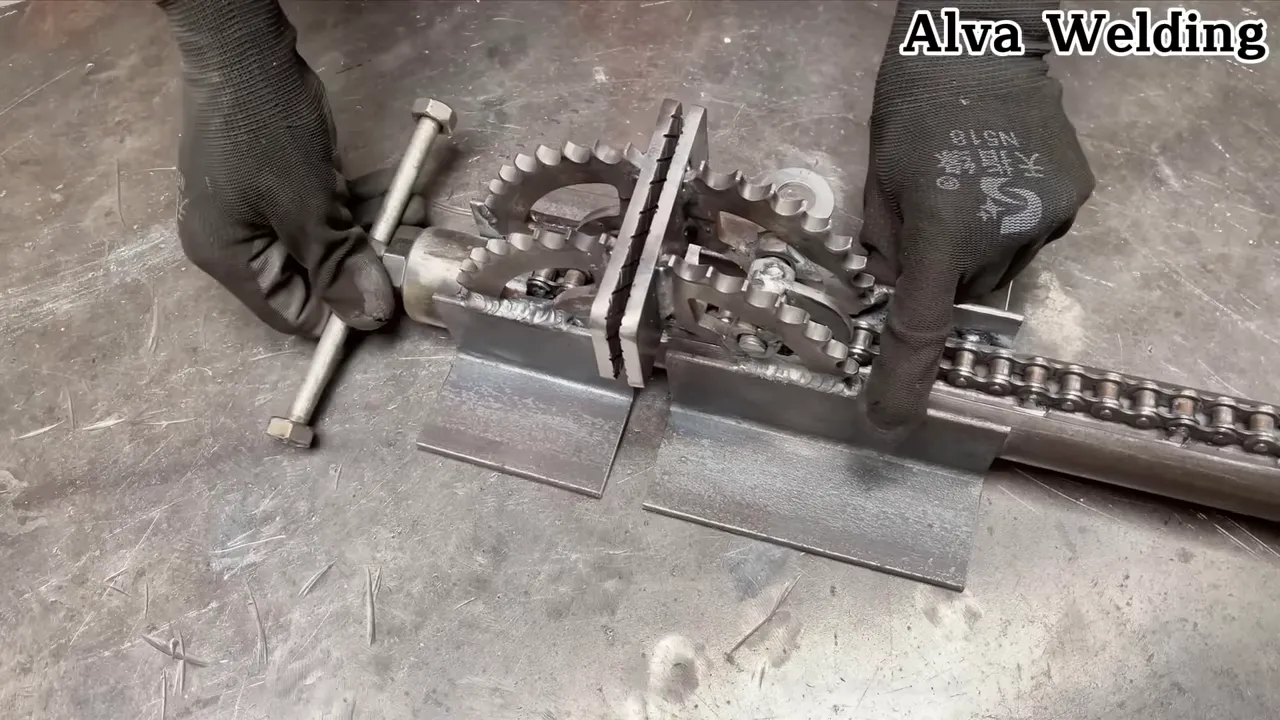
- Lay out the base: Mark the V cradle centerline, sprocket axis, chain anchor, screw axis, and mounting holes from one common reference.
- Build the fixed cradle: Tack the jaw plates and verify that the V is centered and square to the base.
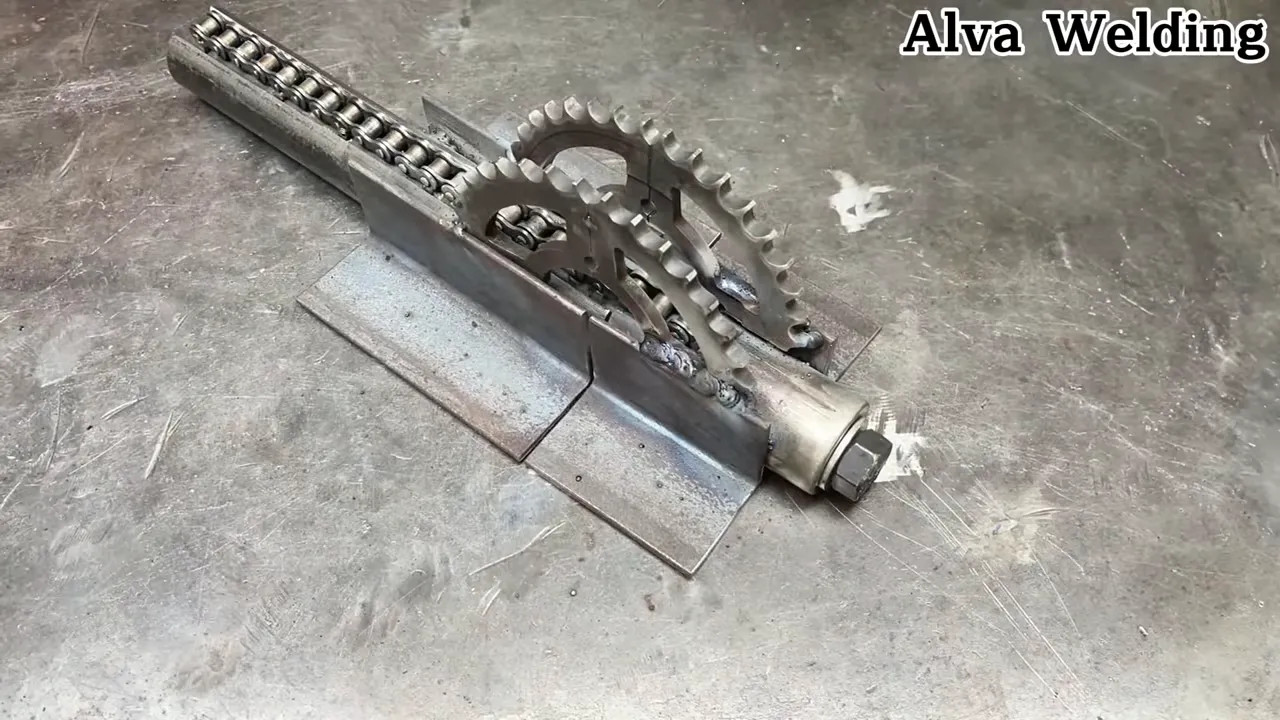
- Make the sprocket carrier: Support the shaft on both sides when possible. Add bushings or bearings, axial collars, and a positive shaft-retention method.
- Add the final tensioner: Install the lead screw, sliding carrier, cam, or engineered locking mechanism before final welding.
- Mock up the chain path: Fit the chain and a sample workpiece. Rotate the sprocket through its useful range.
- Tack the main frame: Use several balanced tacks and recheck every alignment point.
- Complete the structural welds: Use weld sizes and joint preparation suitable for the material thickness and intended torque. Alternate weld locations to control distortion.
- Cool and recheck: Allow the assembly to cool naturally, then confirm that the shaft still turns and the carrier has not pulled out of line.
- Deburr and guard: Remove sharp edges and weld spatter from the chain path without reducing required structural weld throat.
MIG welding is convenient for repeated tacks and controlled deposition, but process choice does not replace sound joint design. Stick or flux-cored welding may suit thicker material, provided the operator can produce sound fusion and control distortion.
Do not automatically grind structural welds flush. Grinding can remove effective weld throat or hide undercut and lack of fusion. Dress only the areas that interfere with the chain, carrier, guard, mounting surface, or workpiece.

Handle and drive options
- Square drive: A square drive allows a removable handle or torque wrench to be used for repeatable input. A torque reading improves consistency but does not establish a certified clamp load.
- Sliding T-handle: This is compact, but add end stops so the bar cannot fall out.
- Removable handle: Removing the handle after tightening reduces snagging and accidental impact.
- Lead-screw handle: A short handle on a self-locking screw gives better control than a long lever directly attached to the sprocket.
Do not use a pipe extension, cheater bar, impact wrench, or hammer on the handle. Extra leverage can overload the chain, connector, shaft, frame, mounting bolts, or workpiece before the operator notices deformation.
Final assembly and progressive testing
Clean the assembly and install the shaft, collars, bushings, sprocket, chain, connector, tension screw, guard, and mounting hardware. Confirm that fasteners cannot loosen into the chain path.
Pre-use mechanical checks
- The sprocket rotates without visible wobble.
- The chain seats fully on the teeth.
- The side plates do not rub the sprocket or frame.
- The connecting link is fully installed and guarded.
- The shaft cannot move sideways out of its supports.
- The lead screw has enough thread engagement throughout its working range.
- The lock cannot release when the handle is removed.
- The base and bench remain flat and stable.
- The workpiece rests across the V cradle instead of balancing on one edge.
How I test the clamp
- Place a short piece of scrap pipe in the center of the V cradle.
- Take up the chain slack without applying heavy pressure.
- Stand to the side, outside the likely recoil path of the chain and connector.
- Tighten only enough to stop the scrap from turning by hand.
- Release the clamp and inspect the chain, connector, sprocket teeth, shaft, frame, welds, base, bolts, and bench.
- Repeat with small increases in input torque.
- Stop immediately if the chain rides up, the shaft shifts, the screw binds, the frame spreads, a weld cracks, the mounting surface moves, or any part remains permanently bent.
- Record the maximum input you choose to use for ordinary work and fit a mechanical stop or short handle that discourages accidental over-tightening.
This procedure is a functional shop test, not certification or proof of a safe working-load rating. Destructive validation and an engineering review would be needed before assigning a defensible load limit.
Using the clamp during welding
Attach the welding return clamp directly to clean metal on the workpiece and place it as close to the weld as practical. Do not attach the return lead to the vise base or bench and allow current to travel through the motorcycle chain, connecting link, sprocket, shaft, bushings, or bearings.
Welding current through moving joints can produce arcing, pitting, localized heating, damaged seals, and hidden weak points. Also keep the welding arc and concentrated heat away from the chain and tension mechanism.
Finishing and maintenance
After testing, remove loose scale, clean the frame, and apply a corrosion-resistant coating. Mask the following areas before painting:
- Sprocket teeth
- Chain contact surfaces
- Shaft bearing or bushing surfaces
- Lead-screw threads unless the coating is intended for them
- Jaw teeth and removable pad seats
- Electrical grounding point, if you add a dedicated workpiece-grounding lug
Lubricate chain pins and rollers lightly after all hot work is finished. Wipe excess lubricant from the outside of the chain so it does not reduce grip, attract grinding dust, or contaminate work that will be welded or painted.
Inspect the tool before each heavy job and after any overload, impact, chain skip, or unusual noise. Check:
- Chain plates, pins, rollers, seals, and connecting link
- Sprocket tooth wear and side runout
- Shaft collars, bearings, bushings, and axial retention
- Lead-screw threads, nut engagement, and locking parts
- Frame welds and heat-affected areas
- Mounting bolts, washers, nuts, and bench condition
- Jaw inserts, pads, and V-cradle alignment
- Guard attachment and coverage
The chain manufacturer’s condition limits should take priority over a calendar schedule. The iwis handbook recommends regular visual inspection and attention to elongation, alignment, tracking wear, tension, contamination, and lubrication.
Uses and limits of this clamp design
A properly built and conservatively used sprocket-and-chain vise clamp can help with:
- Holding round stock for cutting, filing, cleaning, or light grinding
- Holding irregular shapes that do not sit well in parallel jaws
- Positioning parts for tack welding
- Securing pipe while fitting or marking
- Holding work for low-force straightening or adjustment within the tool’s tested limits
The chain wrap and V cradle can reduce rotation, but the clamp is not automatically suitable for high-leverage bending. Bending creates large side loads and tipping forces that may be much higher than the force needed to hold a stationary pipe.
Do not use a homemade clamp for:
- Lifting or suspending material
- Supporting a vehicle or machinery
- Holding anything above a person
- Pressure-vessel or pressure-test work
- Pulling, winching, or recovery
- Safety-critical production
- High-force bending without a separately validated design
- Work where failure could release stored spring energy toward a person
Safety and common mistakes to avoid
Follow these rules every time you fabricate or operate the clamp:
- Wear safety glasses under a welding helmet or grinding face shield.
- Keep the grinder guard installed and use only compatible, correctly rated wheels.
- Secure small parts before drilling, grinding, or chain-pin removal.
- Remove combustibles and keep suitable fire-control equipment nearby during hot work.
- Identify coatings and use effective ventilation before welding or grinding.
- Keep fingers away from sprocket teeth, the chain path, the anchor, and the tension screw.
- Guard the connecting link and likely recoil direction.
- Support long pipe independently.
- Use through-bolts and a stable bench rather than relying on a few screws in thin wood.
- Never add a cheater bar or strike the handle.
- Stop using the clamp after any visible deformation or chain skip until every part is inspected.
Common fabrication mistakes
- Mismatched chain and sprocket: The chain rides high, binds, or rubs the tooth sides.
- No positive lock: The sprocket unwinds when the handle is released.
- One-sided shaft support: The shaft bends or tilts under chain pull.
- Weak chain anchor: A small pin, thin tab, or poor weld carries the full chain reaction.
- Undersized structural welds: Neat-looking tacks are mistaken for completed load-carrying welds.
- Overgrinding: Weld throat is removed to improve appearance.
- No guard: The operator is directly exposed to a connector or chain recoil.
- Poor mounting: The clamp is strong enough to pull the bench edge loose.
- Welding through the vise: Current damages the chain, shaft, or bearing surfaces.
Troubleshooting the finished clamp
The chain rides up or skips teeth
- Confirm the exact chain and sprocket sizes.
- Inspect for hooked, damaged, or contaminated teeth.
- Check sprocket side runout and shaft movement.
- Verify that the chain approaches and leaves the sprocket in the same plane.
- Replace stiff, stretched, or damaged chain.
The chain pulls toward one side
- Check whether the sprocket axis is square to the frame.
- Confirm that the V cradle is centered under the chain.
- Inspect the shaft supports for unequal height or movement.
- Check whether the workpiece has an uneven surface that needs a shaped insert.
The workpiece rotates under light force
- Clean oil and glaze from the jaw faces.
- Add replaceable serrated V inserts for rough steel pipe.
- Use suitable nonmarring pads for finished material.
- Move the work deeper into the V cradle.
- Make sure the chain contacts the workpiece evenly rather than touching one edge.
The tension screw is difficult to turn
- Release the load and inspect the screw for bent threads or side loading.
- Check alignment between the screw, nut, and moving carrier.
- Clean chips, weld spatter, and damaged coating from the threads.
- Lubricate the threads with a suitable lubricant after hot work is complete.
- Increase screw or nut size only as part of a reviewed redesign, not as a repair for a bent frame.
The frame or base moves while tightening
- Stop using the clamp immediately.
- Inspect for permanent deformation or cracked welds.
- Check through-bolts, washers, locking nuts, and bench backing.
- Reduce overhang and support long work independently.
- Rebuild the mounting system before applying pressure again.
Variations and useful upgrades
- Sliding sprocket carriage: Use the sprocket for coarse chain control and a lead screw for final movement.
- Replaceable V jaws: Swap serrated steel, smooth aluminum, copper, or padded inserts.
- Full chain guard: Cover the connector and recoil side while leaving enough access for inspection.
- Torque-limiting handle: Use a deliberately short handle, shear feature, or suitable torque-limiting device to discourage overload.
- Square-drive input: A removable square drive allows repeatable tightening and compact storage.
- Positive release: Add a controlled release that cannot open accidentally while loaded.
- Dedicated welding-return point: Add a clearly marked lug that connects directly to the workpiece rather than routing current through moving parts.
- Replaceable chain anchor: Use a captured pin or bolted anchor that can be inspected and replaced without cutting the frame.
A ratchet mechanism can speed repetitive work, but it must be treated as a load-carrying component. The ratchet teeth, pawl, pivot, spring, carrier, release lever, and guard all need enough strength and engagement to resist back-driving.
A torque indicator can improve repeatability, but it does not directly measure clamping force unless sprocket radius, screw geometry, friction, frame deflection, and losses are known. Use it as a process-control aid, not as proof of a safe load rating.
Parts sourcing and cost
Motorcycle shops, industrial chain suppliers, fabrication suppliers, and salvage yards can all provide parts. I divide them into two groups:
- Parts that may be reused after inspection: Sprocket, low-carbon steel plate, tube, angle, noncritical guards, and mounting plates.
- Parts worth buying new or from a known source: Chain, connecting link, lead screw and nut, shaft-retention hardware, bearings or bushings, and mounting fasteners.
A used sprocket can be practical if the teeth are not hooked, cracked, bent, or heavily worn. A worn drive chain is a poor place to save money because its internal pin and bushing condition may be difficult to verify.
Compare the full cost of materials, consumables, guarding, mounting hardware, and your time with the price of a commercially rated chain vise. A homemade build makes the most sense when you want a learning project or a custom shape that an ordinary vise cannot handle.
Products Worth Considering

Replacement Chain Assembly for 450 and 460 chain vises.

This chainsaw vise is the perfect accessory for tree care professionals in the field, letting you tackle routine chainsaw and pole saw maintenance on the job

Function: The Chainsaw Vise can safely hold your saw in place while sharpening the chainsaw teeth/rakers to maintain and preserve your chain saw blade.
Measurements from an example build
One shop prototype used the following dimensions. These measurements describe a physical layout only. They are not engineering specifications, a working-load rating, or proof that the same dimensions will be safe with different materials, welds, handles, or mounting conditions.
- Sprocket: 30-tooth motorcycle sprocket intended for 520 chain
- Chain: 520 chain adjusted to approximately 26 to 32 links for the required wrap range
- Jaw plates: 100 mm by 60 mm by 8 mm steel
- Frame: 40 mm square tube with a 5 mm wall, approximately 200 mm between the main jaw-center references
- Prototype shaft: 12 mm round bar through the sprocket hub
- Mounting plate: 120 mm by 80 mm by 6 mm with four mounting holes
That prototype could physically accept pipe near 70 mm in diameter and flat stock near 80 mm wide, depending on chain position. Those numbers describe geometric fit, not safe clamping force.
I would not copy the 12 mm shaft automatically. Shaft diameter, material, unsupported length, bearing spacing, hub connection, handle torque, and stress concentration all affect whether the shaft remains straight. Size the shaft and supports for the intended torque and inspect them during every test increase.
Note: Before cutting the final frame, make a full-size mock-up with the actual sprocket, chain, screw, shaft supports, largest workpiece, and smallest workpiece. Published nominal dimensions cannot replace a physical fit check.
Frequently Asked Questions
What size sprocket and chain should I use?
Choose an exact matching chain-and-sprocket combination with enough capacity for the intended prototype and enough tooth engagement to prevent skipping. Do not choose only by pitch. Confirm roller fit, inner width, sprocket tooth thickness, connector type, and manufacturer specifications. A 520-size combination can suit a compact prototype, but the rest of the clamp must still be designed around the expected torque and load path.
Can I use an old motorcycle chain?
Use a new chain or a known-history chain that passes a detailed inspection. Do not use chain with corrosion pits, stiff links, cracked or separated plates, damaged rollers, loose pins, visible elongation, impact damage, or an unknown connecting link. A chain removed because it was worn out on a motorcycle should not be treated as dependable clamp material.
How does the sprocket stay tight after I release the handle?
It needs a positive tension-retention mechanism. A practical design uses the sprocket for coarse adjustment and a self-locking lead screw for final tightening. An engineered ratchet and pawl, over-center mechanism, or positively pinned carrier may also work. Do not rely on friction in a free-turning shaft.
Do I need advanced welding skills?
You need enough skill to prepare joints, control distortion, recognize poor fusion and undercut, and produce suitable load-carrying welds. Practice the same joints on scrap before welding the clamp. A neat bead is not proof that the joint can carry the intended force.
How do I stop round pipe from slipping?
Use a centered V-shaped lower cradle and keep the chain aligned over it. Serrated replaceable inserts help with rough steel pipe. Smooth aluminum, copper, leather, or suitable polymer pads can protect finished material. Clean oil from the gripping faces and support long pipe independently.
Is it safe to weld directly on the sprocket teeth?
Avoid welding the teeth. Heat can distort the tooth profile and alter hardened material. Attach a separate hub, flange, or carrier near the sprocket center whenever possible. Never weld the motorcycle chain or its connecting link.
Can I weld a workpiece while it is held in the clamp?
Yes, for suitable light fixturing, but connect the welding return lead directly to clean metal on the workpiece near the weld. Do not route welding current through the vise frame, chain, connecting link, sprocket, shaft, bushings, or bearings. Keep the arc and concentrated heat away from the chain and tension mechanism.
How often should I lubricate and inspect it?
Inspect the clamp before heavy use and after any overload, impact, skip, or unusual noise. Lubricate the chain pins, rollers, screw, and pivots when they become dry or contaminated, following the component manufacturer’s guidance. Wipe excess oil from gripping surfaces and clean grinding dust before relubricating.
Can I scale this design for industrial work?
Scaling increases chain force, frame stress, shaft torque, mounting loads, and stored energy. A larger version needs engineering calculations, suitable materials, guards, documented weld procedures, controlled testing, and a defined load rating. For safety-critical or production work, use a commercially rated chain vise or have the design reviewed by a qualified engineer.
Final thoughts
Making a sprocket-and-chain vise clamp is a rewarding fabrication project because it teaches more than cutting and welding. It forces you to think about alignment, load paths, mechanical locking, work support, guarding, maintenance, and how a small design choice can affect every other component.
I still like the idea behind my first salvaged-parts clamp: make a little bit of something solid from simple shop materials. The better version, however, is not just heavier. It uses a sound chain, a matching sprocket, a centered V cradle, supported shaft, positive tension lock, secure base, and controlled test procedure.
Build conservatively, keep your body out of the chain’s recoil path, and stop using the tool as soon as any part bends, cracks, loosens, skips, or changes alignment. A custom clamp is useful only while you can inspect and control it.
Sources
- OSHA: Welding, Cutting, and Brazing Hazards and Solutions — welding fumes, radiation, burns, electrical hazards, work practices, and PPE
- OSHA 29 CFR 1910.252 — ventilation, coated-metal, and general welding requirements
- OSHA: Safe Use of Portable and Hand-Held Power Tools — grinder guards, wheel inspection, accessory speed, and eye or face protection
- iwis Chain Engineering Handbook — chain alignment, tension, wear inspection, and lubrication
- JT Sprockets Chain Specifications — model-specific motorcycle-chain dimensions, connectors, plate thicknesses, and average tensile strengths
- RIDGID Pipe Vise User Guide — stable mounting, pre-use inspection, work support, chain-vise operation, and prohibition on handle extensions