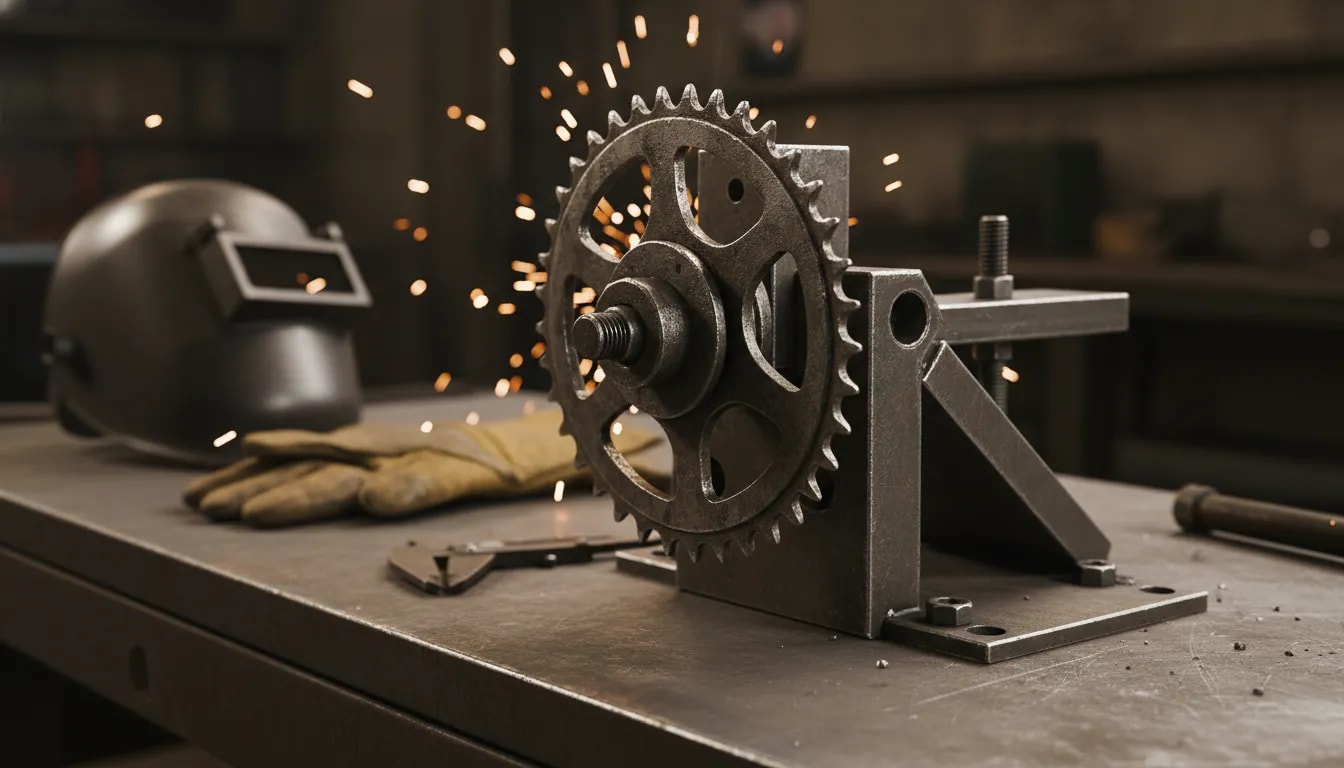
You can turn an old bicycle sprocket into a useful handmade shop tool if you treat it like a small welding project, not a quick scrap hack. The safest approach is to choose a steel sprocket, clean it to bare metal, design a strong handle or base, tack it in alignment, weld in short controlled passes, grind only the unsafe edges, and protect the finished tool from rust.
Quick Answer
To repurpose a bicycle sprocket into a DIY metalworking tool, inspect it for cracks, clean off grease and coatings, clamp it to a handle or base, tack weld the joint, complete short weld passes, smooth sharp edges, test it under light force, and finish it with paint or oil.
Key Takeaways
- Use a steel sprocket when possible, and reject any sprocket with cracks, deep pitting, or unknown coatings you cannot remove safely.
- Clean the weld area to bare metal because grease, paint, plating, and rust can weaken the weld and create harmful fumes.
- Build the joint with enough contact area, clamps, tack welds, and reinforcement so the tool does not twist under hand pressure.
- Use the finished sprocket tool only for light shop tasks such as scraping, cleaning, positioning, or gripping, not for lifting or critical load-bearing work.
At a Glance
| Time Required | 1 to 3 hours, depending on cleaning, fit-up, welding method, and finish |
| Difficulty | Beginner to intermediate welding project |
| Tools Needed | Welder, angle grinder, wire brush, clamps or vise, degreaser, marking tool, PPE, primer, paint, or oil |
| Cost | Usually $0 to $25 if you already have scrap metal, consumables, and welding gear |
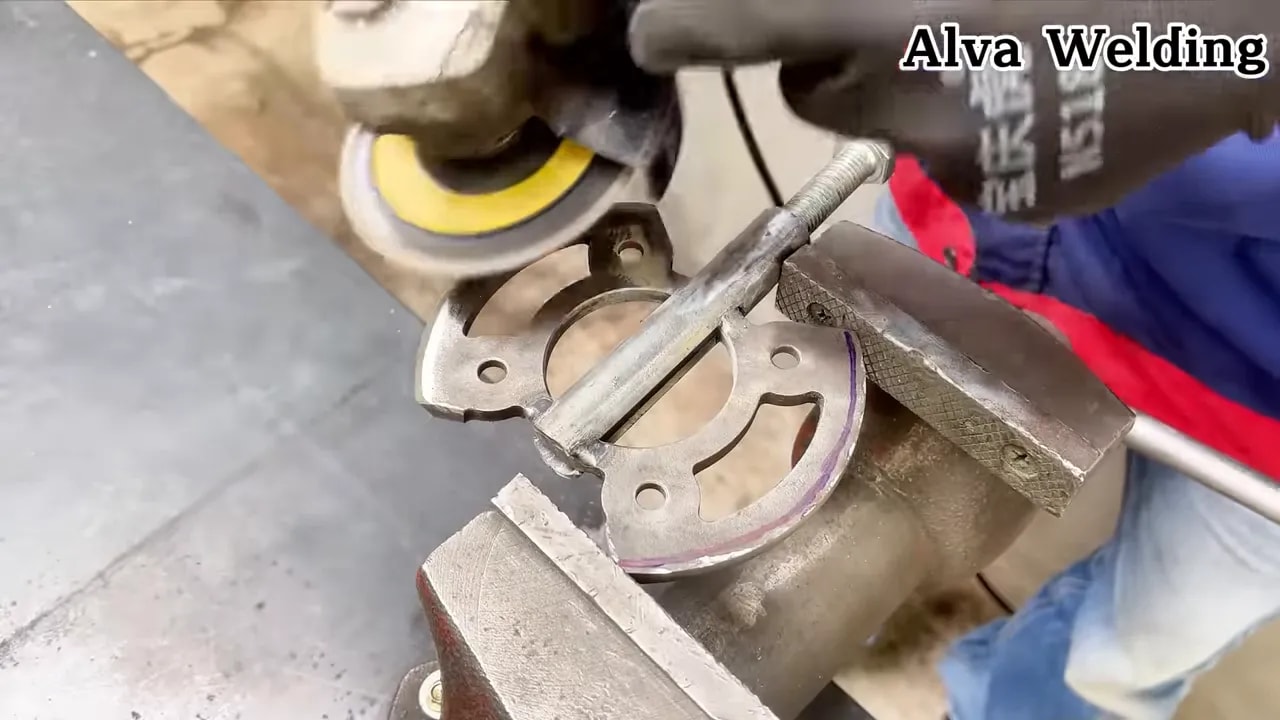
Why recycle a bicycle sprocket instead of throwing it away?
A bicycle sprocket already has a useful shape, strong tooth geometry, and steel that can often be repurposed for small shop tasks. Once it is too worn for a bike, the part may still work well as a scraper, gripping edge, positioning guide, or custom fixture component.
Reusing scrap also makes practical sense. The U.S. Environmental Protection Agency notes that reducing and reusing materials can conserve resources, reduce waste, and save money. A sprocket project fits that idea because you are turning a discarded part into a working tool instead of buying new steel.
Recycling it can help you:
- Save money by using an existing steel part.
- Reduce scrap waste by giving an old component a second life.
- Practice welding fundamentals on a small, manageable part.
- Build a purposeful tool for cleaning, scraping, gripping, or general shop tasks.
Warning: Do not use a homemade sprocket tool for lifting, vehicle suspension work, load-bearing repairs, towing, climbing, or any job where failure could injure someone. Treat it as a light-duty hand tool unless it has been designed, tested, and rated by a qualified professional.
What you can build with a sprocket
The right design depends on the sprocket size, tooth condition, and how the tool will contact the work. You are not trying to make the sprocket “work like a bike part.” You are using its steel shape and tooth profile for a new shop purpose.
Common repurposing ideas include:
- Scraping and cleaning tools that use the tooth profile to break loose dirt, slag, paint chips, or scale.
- Grip or traction attachments for holding rough material during layout or light shop handling.
- Small shop jigs or guides where the teeth help index or locate repeated positions.
- Light-duty hooks or rake-style tools for pulling debris across a bench or out of a metal bin.
- Decorative or practice weld projects where the main goal is learning layout, tack welding, grinding, and finishing.
Choose a safe sprocket before you weld
Start by sorting the part before you commit time to welding. Many bicycle sprockets are steel, but some bike parts can be aluminum or coated. Steel is usually the better choice for a beginner welding project because it is more forgiving with common MIG and stick setups.
Reject the sprocket if you find:
- Cracks around the hub, bolt holes, or tooth roots.
- Deep rust pits where the handle or base must attach.
- Severe bending that cannot be corrected without weakening the part.
- Heavy plating, paint, or unknown coating that you cannot safely remove.
- Oil-soaked contamination that keeps returning after cleaning.
Note: Treat unknown scrap as unknown metal. If it melts strangely, cracks beside the bead, gives off heavy fumes, or will not clean to bright metal, stop and choose a different part.
Materials and tools checklist for a sprocket welding project
Most successful scrap-metal tool projects follow the same pattern: clean metal, secure alignment, smart joint design, controlled welding, careful grinding, and rust protection.
Products Worth Considering

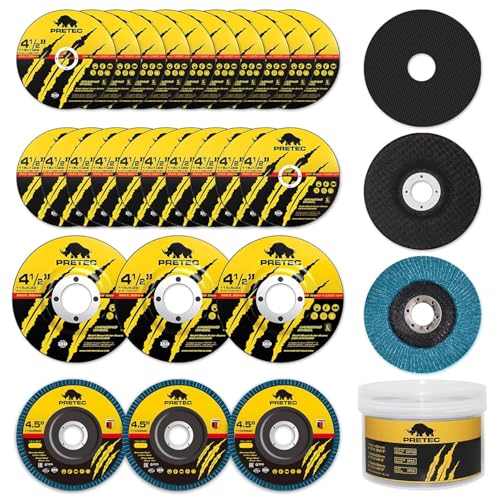
26pcs Angle Grinder Disc 4-1/2 inch & 3 Different Types : ✅ The 26 packs angle grinder wheels 4-1/2 inch including 20 Packs 4.5"x1/4"x7/8" Cut off Wheels, 3 Packs 4.5"x7/8" 60 Grit Flap Discs, 3 Packs 4.5"x1/25"x7/8" Grinding Wheels, with each type of disk collectively wrapped with those of its kind. This kit has everything you need to prep steel.

VALUE PACK: Pack of 20, 40 60 80 120 grit Assorted kit, 5 flap discs of each grit, 4-1/2 Inch Diameter, 7/8 Inch Arbor, Flat wheel bevel Type 27, 13300RPM maximum speed
Materials
- Old bicycle sprocket, ideally steel rather than aluminum.
- Handle or mounting metal, such as flat bar, round rod, scrap plate, or a solid existing handle.
- Optional reinforcement pieces, such as gussets, washers, tabs, or small brackets.
- Grinding consumables, including cutting wheels, grinding wheels, and flap discs.
- Rust protection, such as spray primer, paint, wax, or light oil depending on how the tool will be used.
Tools
- Welding equipment, such as MIG, stick, or TIG, matched to the metal thickness and your skill level.
- Angle grinder with the correct rated discs and a working guard.
- Clamp set or a vise to hold parts tight during tack welding.
- Steel brush and a suitable degreasing solvent.
- Marker, square, and measuring tape for layout.
- Personal protective equipment: welding helmet, safety glasses, gloves, hearing protection, flame-resistant cotton or leather clothing, and respiratory protection when fumes or coatings are a concern.
The OSHA PPE overview explains that personal protective equipment helps reduce exposure to physical, chemical, electrical, mechanical, and other hazards. For arc welding, OSHA welding requirements also call for helmets or hand shields and proper eye protection.
Set up the work area before welding or grinding
Welding and grinding both create sparks, hot metal, noise, and airborne particles. Before you start, clear the bench and floor around the work area. OSHA welding guidance says movable fire hazards should be moved away when possible, and suitable fire extinguishing equipment should be ready for use.
- Move paper, cardboard, rags, sawdust, fuel, aerosol cans, and solvents away from the work area.
- Keep a suitable fire extinguisher nearby and know how to use it.
- Use welding screens or shields if other people are nearby.
- Work with ventilation, especially if the part had paint, grease, plating, or unknown residue.
- Do not weld on closed containers, sealed tubes, or parts that may trap vapor or pressure.
- Let hot metal cool in a safe place where no one will grab it by mistake.
Welding fumes can contain metal particles. NIOSH notes that welding fumes are composed of metals and may include manganese, and that exposure can vary by wire, rods, flux, and base metal. That is why cleaning and ventilation matter even on a small project.
Products Worth Considering

Reliable Fire Protection: Stop basic home fires involving trash, wood, paper, liquids, gases, and electrical equipment

The First Alert PRO10 Fire Extinguisher is UL rated 4-A:60-B:C; it features durable all-metal construction with a commercial-grade metal valve and head

HIGH-TEMPERATURE RESISTANT: The fire suppression blanket can isolate high temperatures up to 1076℉( 580℃), enabled by it's Composed of two layers of 100% flame retardant woven fiberglass fabric and an inner layer of fire retardant film, meets safety blanket standards set by UL and SGS, helping people extinguish the fire source promptly in case of a sudden fire.
Step-by-step: build a welded DIY tool from a scrap sprocket
The exact design depends on your intended job, but the workflow below gives you a safe, repeatable way to build a simple sprocket-based hand tool.
Step 1: Inspect and choose the right sprocket
- Check for cracks near mounting holes, tooth roots, and the hub area.
- Look for heavy pitting that might weaken the weld holding points.
- Confirm material type if possible. Steel sprockets weld differently than aluminum.
- Make sure the teeth still match the job. Rounded teeth may work for scraping, while sharper teeth may grip better but need safer handling.
Step 2: Plan the tool design
Before cutting or welding, decide where your hand will go, where the sprocket will touch the work, and what direction the force will travel. A tool that looks fine on the bench can fail if the handle creates too much leverage on a tiny weld.
- For a scraper, line the handle up so pushing force goes through the center of the sprocket.
- For a hook or rake, add a brace or gusset so the sprocket does not peel away from the handle.
- For a guide or jig, use a flat mounting plate so the sprocket sits square and stable.
- Keep the grip area away from sharp teeth, weld spatter, and pinch points.
Step 3: Clean and prep surfaces for welding
- Remove rust, dirt, old grease, and oil with a wire brush and degreaser.
- Grind weld contact points until you reach clean, bare metal.
- Remove paint, plating, zinc coating, and unknown residue from the weld zone before striking an arc.
- Dry all parts completely before welding.
Pro Tip: Clean a wider area than the weld bead itself. Grinding only a tiny strip can leave coating or oil close enough to contaminate the puddle or smoke when the metal heats up.
Step 4: Fit-up and align the handle or base
Fit-up accuracy determines strength. Plan how the sprocket tooth area will contact the work, then align the mounting piece so the tool does not twist under load.
- Dry-fit parts first.
- Use clamps or a fixture so alignment does not shift while tack welding.
- Ensure the sprocket sits square relative to the handle.
- Leave enough access for the welding gun, electrode, or torch.
- Check that the handle angle feels natural before you tack it in place.
Step 5: Tack weld in a pattern
Start with small tacks, not full welds. A tack pattern reduces distortion and keeps parts from pulling out of alignment.
- Tack at multiple points around the joint.
- Re-check alignment after tacking.
- Tap the part back into position while the tacks are still small if needed.
- Only then proceed to full weld passes.
Step 6: Weld in controlled passes
Scrap metal pieces can vary in thickness and chemistry. Work in short segments to manage heat and reduce warping.
- Let the metal cool slightly between passes.
- Avoid overheating thin mounting pieces.
- Focus on strong fusion at the joint, not excessive bead size.
- Add a gusset, washer, or small plate if the joint needs more contact area.
- Stop if you see cracking beside the bead, repeated porosity, or metal that behaves unpredictably.
A strong scrap-metal tool is built more by clean fit-up, good joint design, and controlled heat than by piling on a large weld bead.
Step 7: Grind and finish safely
Grinding makes the tool safer to hold, but it can also damage the working teeth if you remove too much metal. Keep the grinder focused on sharp burrs, spatter, and unsafe hand-contact points.
- Use a grinder guard and the correct disc for the job.
- Check that the wheel rating is suitable for your grinder speed.
- Clamp the tool before grinding instead of holding it loose by hand.
- Wear safety glasses and a face shield when grinding.
- Grind any sharp edges where hands will contact the tool.
- Clear slag and spatter so the contact teeth or working edge stays usable.
OSHA portable powered tool rules require abrasive wheels to be used on machines with safety guards and call for wheel inspection before mounting. Keep that same habit in a home or hobby shop.
Step 8: Test the tool under light force
Do not take the finished tool straight into heavy use. Test it slowly so you can find weak welds, sharp edges, and balance problems before the tool is under real pressure.
- Push or pull lightly in the same direction the tool will be used.
- Watch the weld and handle for flexing.
- Inspect for cracks after the first few test movements.
- Reinforce the joint if the handle twists or the sprocket rocks.
- Retire the tool if cracks return after repair.
Step 9: Protect against rust
Many bicycle parts spend time outdoors, and sprocket tooth cavities can trap moisture. After fabrication:
- Wipe down the tool and remove grinding dust.
- Apply primer and paint if the tool will be exposed to moisture.
- Use a light oil coating for heavy-duty indoor shop use.
- Store the tool dry, not on a damp concrete floor.
- Recheck the welds and teeth after the first few uses.
Welding tips specific to bicycle sprockets and mixed scrap
Sprockets are often small steel parts with wear-hardened or heat-treated areas. Mixed scrap can also have unknown thickness, coatings, and contamination. Use these practical tips to improve results.
Control heat to reduce warping
Small steel rings can distort when overheated. Tack first, weld in sections, and avoid continuous long beads. Let the sprocket cool naturally between short passes instead of forcing all the heat into one side.
Be cautious around hardened steel areas
Some regions near teeth, press-fit zones, or bolt holes can be harder than the handle material. If you notice cracking around welds, reduce heat input, improve fit-up, and consider adding reinforcement instead of forcing heavy weld buildup.
Use proper clamps and support
Even small handmade tools can experience leverage forces. Good clamping during tack welding prevents misalignment that later requires extra grinding and can weaken edges.
Match your welding method to your setup
- MIG welding is often faster for beginners and scrap builds, especially on flat mounting pieces.
- Stick welding can work on thicker scrap, but the weld area still needs to be cleaned well enough for sound fusion.
- TIG welding offers precision for thin or clean material but requires more experience and setup.
The American Welding Society provides free welding safety resources, including AWS/ANSI Z49.1 and fact sheets on fumes, radiation, fire prevention, PPE, ventilation, and respiratory protection.
Pitfalls to avoid and how to fix them
Most failures in scrap metal tool projects come from prep mistakes, heat distortion, weak joint design, or unsafe finishing. Here are common issues and practical fixes.
Problem: weak attachment that breaks under load
Fix: Improve the joint design. Add a larger contact area, use a thicker mounting plate, or include a gusset for shear resistance. Do not rely on one tiny edge weld if the handle will create leverage.
Problem: sprocket teeth become damaged during grinding
Fix: Grind only where needed for fit-up and hand safety. Keep the functional tooth edge as intact as possible unless your design requires a smoother contact surface.
Problem: cracking around welds
Fix: Reduce heat input, weld in segments, and inspect for cracks before welding further. If cracks keep returning, the sprocket may be too brittle, too contaminated, or too hard for that weld design.
Problem: rust returns quickly
Fix: Clean thoroughly after fabrication and use primer plus top coat, especially in tooth cavities and under brackets. For indoor tools, oil the contact surfaces after use.
Problem: the tool twists in your hand
Fix: Shorten the handle, widen the mounting area, add a second brace, or rotate the sprocket so the working force runs in line with the handle.
Design checklist for a practical sprocket-based tool
Before you weld, verify these items so the finished tool is actually useful and safe for light shop work:
- Function: What will the tool do, and where will the teeth or edge contact?
- Material: Is the sprocket steel, clean, and free from cracks or unsafe coatings?
- Grip and balance: Is the handle comfortable, and does the tool feel stable?
- Joint strength: Is the mounting area large enough and properly reinforced?
- Heat control: Can you weld in sections without overheating the sprocket?
- Grinding plan: Can you smooth hand-contact edges without ruining the working teeth?
- Safety: Are there sharp edges, burrs, pinch points, or hot spots?
- Corrosion protection: Will the tool be used indoors, outdoors, or around moisture?
- Use limit: Is the finished tool limited to light-duty shop use?
Frequently Asked Questions
Can a bicycle sprocket be welded safely if its material is unknown?
Sometimes, but you should be cautious. Clean a small area to bare metal, test the weld behavior on a non-critical spot if possible, and stop if you see severe cracking, unusual melting, heavy fumes, or brittleness. When you cannot identify the material or coating, choose a different sprocket.
What welding method works best for scrap metal sprocket projects?
MIG welding is often the easiest choice for clean steel scrap and beginner shop projects. Stick welding can work on thicker pieces but needs more slag cleanup and control. TIG welding gives better precision on clean material, but it takes more setup and skill.
How do I prevent warping when welding a small round part?
Clamp the part securely, place several small tack welds first, recheck alignment, then weld in short segments. Let the metal cool between passes and avoid one long bead on one side of the sprocket.
What should I do before grinding the tool after welding?
Let the work cool, remove slag and spatter, inspect the weld, clamp the tool, and confirm the grinder wheel is rated for your grinder. Grind only the areas that need smoothing, and leave useful tooth geometry intact unless it creates a hand hazard.
How can I stop the tool from rusting quickly?
Clean away grinding dust, wipe the metal dry, then apply primer and paint if the tool will see moisture. For an indoor shop tool, a light oil film can help protect bare teeth and hard-to-paint cavities.
Can I use the finished sprocket tool for prying or lifting?
No. A homemade sprocket tool should be treated as a light-duty hand tool unless it has been engineered and tested for a rated load. Use it for scraping, cleaning, positioning, or light gripping, not lifting, towing, suspension work, or safety-critical tasks.
Key takeaway: turn scrap into a durable, practical tool
A worn bicycle sprocket is more than scrap if it is clean, crack-free, and made from weldable steel. With careful design, good fit-up, controlled welding, safe grinding, and rust protection, it can become a useful handmade metalworking tool while helping you practice real fabrication skills.
Sources
- OSHA 1910.252, Welding, Cutting, and Brazing General Requirements — fire prevention, extinguishing equipment, fire watch, and welding eye protection.
- OSHA 1910.243, Guarding of Portable Powered Tools — portable abrasive wheel guards, inspection, and grinder safety requirements.
- OSHA Personal Protective Equipment Overview — PPE purpose, selection, fit, training, and hazard protection basics.
- NIOSH Welding Fumes and Manganese — welding fume composition, manganese exposure, and health concerns.
- American Welding Society Free Safety Resources — AWS/ANSI Z49.1 and welding safety fact sheets.
- EPA Reducing and Reusing Basics — environmental and cost benefits of reducing and reusing materials.