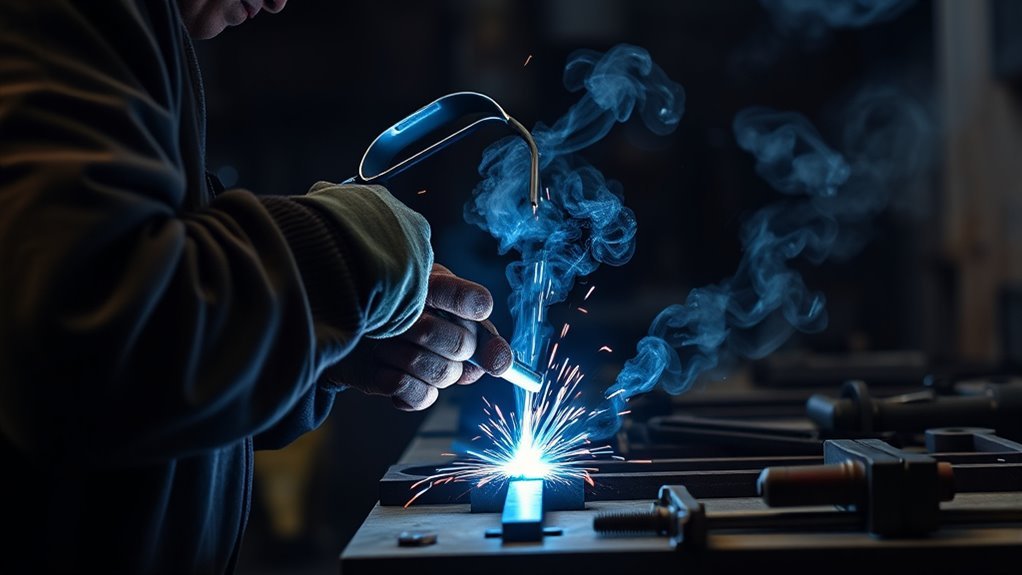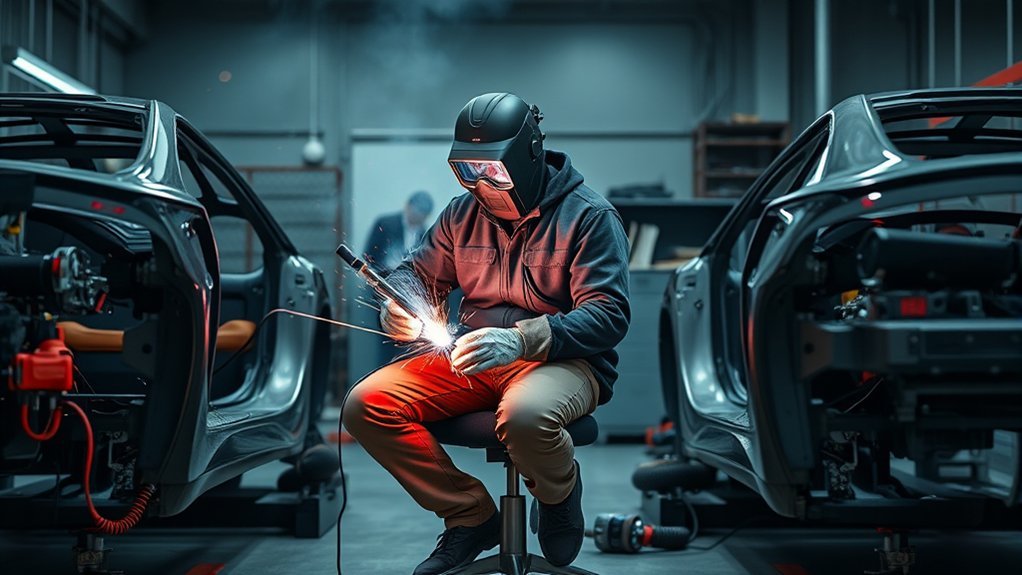
Good welding ergonomics helps you protect your back, shoulders, neck, wrists, hands, knees, and eyes while you work on vehicle panels, frames, brackets, exhaust parts, and underbody repairs. The goal is simple: fit the job to your body instead of forcing your body into awkward positions for long periods.
Quick Answer
Automotive welders can prevent many strain injuries by keeping work near elbow height, supporting heavy tools and cables, avoiding long reaches, rotating tasks, using short movement breaks, and keeping the head out of the welding fume plume. If numbness, tingling, weakness, dizziness, or persistent pain appears, stop and reassess the setup.
Key Takeaways
- Keep the weld area close, stable, and near elbow height whenever the job allows.
- Use tool supports, cable hangers, carts, adjustable tables, kneeling pads, and stools to reduce force and awkward posture.
- Choose tools that let your wrist stay neutral and your trigger finger relax between welds.
- Break up long static positions with short movement breaks, stretching, and task rotation.
- Do not trade better posture for poor breathing-zone safety. Keep fumes moving away from your face and use ventilation or fume extraction.
At a Glance
| Time Required | 10 minutes for a quick workstation check; 30 to 60 minutes to reorganize a welding bay. |
| Difficulty | Easy to moderate. Most fixes involve setup changes, tool support, and better work habits. |
| Tools Needed | Adjustable table or stands, clamps, task lighting, fume extractor, cable support, cart, kneeling pad, stool, and properly fitted PPE. |
| Cost | Low for layout fixes and breaks; moderate if you add adjustable tables, extraction arms, or tool balancers. |
Understanding the Importance of Ergonomics in Welding
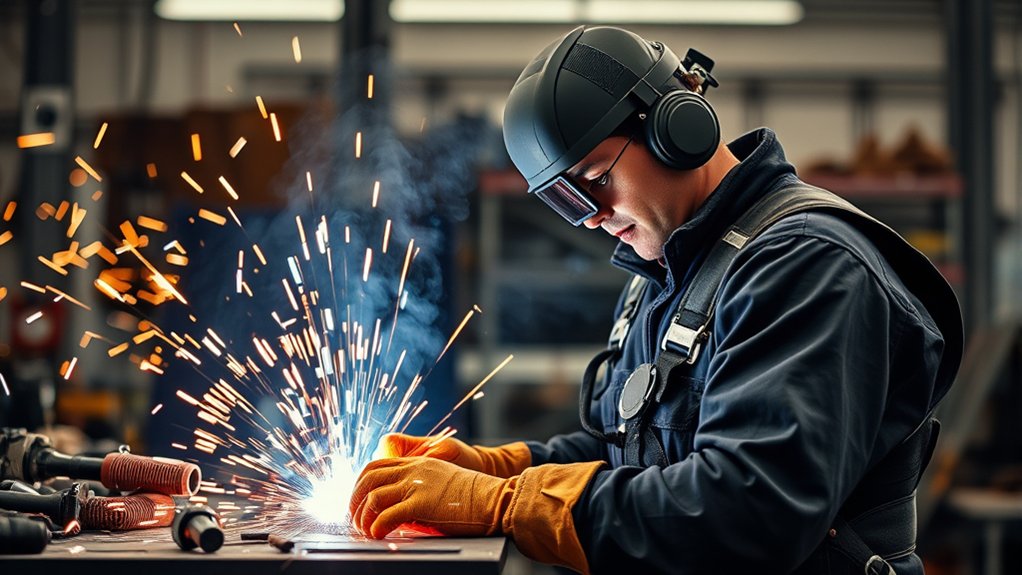
Ergonomics means designing the work task, tools, and workstation around the worker. In an auto shop, that includes table height, lighting, cable position, torch grip, panel access, fume control, and how long you hold one posture.
The main injury concern is work-related musculoskeletal disorders, often called WMSDs. These can affect muscles, nerves, tendons, ligaments, joints, cartilage, and spinal discs. According to CDC/NIOSH ergonomics guidance, risk factors include force, vibration, repetitive motion, awkward posture, lifting, pushing, pulling, and long task duration.
For automotive welders, those risks show up when you hunch over a rocker panel, hold a MIG gun away from your body, weld under a vehicle, kneel on hard concrete, drag a heavy cable, or keep your helmeted head fixed in one position while chasing the puddle.
The best ergonomic fix is usually not “try harder to stand straight.” It is changing the job setup so a safer posture becomes the easiest posture.
Warning: Welding ergonomics and welding exposure control must work together. Do not place your head in the fume plume just to see better or reach better. OSHA notes that welding outdoors or in open spaces does not automatically guarantee adequate ventilation. Use proper positioning, local exhaust, and respiratory protection when required.
Common Injuries Welders Face and How to Prevent Them
Welders commonly deal with back pain, shoulder strain, neck fatigue, wrist irritation, trigger-finger symptoms, knee discomfort, and hand numbness. OSHA lists examples of musculoskeletal disorders that include carpal tunnel syndrome, tendinitis, rotator cuff injuries, epicondylitis, trigger finger, muscle strains, and low back injuries.
| Problem Area | Common Welding Cause | Prevention Fix |
| Low back | Bending over panels, lifting cylinders, reaching into engine bays | Raise the work, use stands, keep loads close, and avoid twisting while lifting. |
| Shoulders and neck | Overhead welding, fixed helmet posture, raised elbows | Move the vehicle or part, support arms when possible, and limit overhead time. |
| Hands and wrists | Trigger repetition, tight grip, bent wrist, cable drag | Use a relaxed grip, neutral wrist, easy trigger access, and cable support. |
| Knees | Floor-level welding, kneeling near rocker panels, working on concrete | Use kneeling pads, creepers, low stools, or raise the vehicle safely. |
Prevention starts before the arc starts. Check the part position, clamp stability, cable path, lighting, ventilation, and your escape path. If a weld requires you to twist, reach, or brace hard for more than a few minutes, pause and reset the job.
Creating an Ergonomic Welding Workstation
An ergonomic welding workstation should help you stay close to the work, keep your joints near neutral, see the joint clearly, and keep fumes away from your breathing zone. For bench work, aim to place the weld near elbow height. For detailed TIG or thin-panel MIG work, a slightly higher position may reduce neck flexion. For heavier grinding or high-force prep work, a slightly lower surface may help you use your body weight safely.
Products Worth Considering

Strong Weight Capacity: Crafted with a sturdy carbon steel frame, the welding table supports up to 500 lbs load-bearing. High-strength frame delivers superior weight capacity, wear and rust prevention, providing stable support for your welding projects.
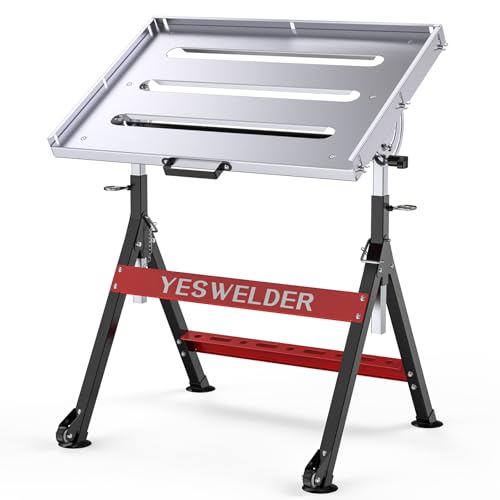
Heavy-Duty Stability: Built with robust carbon steel, this heavy duty table supports up to 400lbs with rock-solid stability. Welding table can withstand the rigors of daily use, ensuring years of reliable service. Perfect for demanding applications, it is trusted by DIY hobbyist and seasoned welders

Achieve Perfect Welds: Whether you're a metal hobbyist or a seasoned professional, VEVOR welding table offers a wide range of applications. Boasting a spacious desktop area measuring 30" x 20", it accommodates diverse work needs, facilitating the easy welding of intricate and petite parts.
Adjustable Workstations Benefits
Adjustable tables, lift carts, jack stands, rotisserie fixtures, and movable clamps reduce the need to bend or reach. They also let you reposition the part instead of forcing your back, neck, and shoulders to do all the adjusting.
- Keep the workpiece within easy reach, ideally close enough that your elbows can stay near your sides.
- Use clamps so you do not have to hold the part with one hand while welding with the other.
- Route the torch cable over a support or hook so it does not pull on your wrist.
- Place filler rods, pliers, wire brush, and chipping tools in the normal reach zone, not behind you.
- Use a stool or leaning support for long bench welds when seated work is safe and stable.
Pro Tip: Before welding a long seam, do a dry run with the helmet down and the torch off. If your shoulder rises, your wrist bends sharply, or your cable drags, fix the setup before striking the arc.
Proper Lighting Solutions
Good lighting reduces neck strain because you do not have to lean in as far to find the joint. Use bright, diffused overhead lighting for the bay and add angled task lighting for layout, fit-up, and inspection. Avoid glare that bounces off bare metal into your helmet lens.
Lighting should not replace proper eye protection. Use a welding helmet shade and lens setup that matches the process and amperage. An auto-darkening helmet can reduce repeated helmet nodding, but it still needs a clear lens cover and proper shade setting.
Ventilation and Breathing-Zone Setup
Ventilation is part of ergonomic setup because body position affects exposure. Keep your head out of the plume, position yourself upwind when welding outdoors, and use local exhaust ventilation when fumes collect near your face. OSHA’s welding fume guidance recommends positioning workers to avoid breathing fumes and keeping exhaust hoods, extractor guns, or vacuum nozzles close to the plume source.
Never weld in a confined or enclosed space unless the job has been evaluated and the required ventilation, atmospheric testing, permit procedures, rescue planning, and respiratory protection are in place.
Choosing Ergonomic Tools for Maximum Comfort and Efficiency
The best welding tool is not just the one with enough amperage. It should also fit your hand, reduce force, reduce repeated motion, and help you keep a neutral wrist. NIOSH hand-tool guidance explains that tool design and selection can help reduce force, repeated movement, and awkward body positioning.
Products Worth Considering

Direct replacement for Miller Millermatic M-25 Mig Welding Gun Torch Stinger 15ft 250 Amp,Replace Miller Part # 169598

A brand new Replacement Tweco #2 Mig gun. The gun is rated for a maximum of 250 amps and has a 15ft lead.

Replacement & Compatible Welders: Replacement for the M-15 / M-150 (249041) gun. Compatible with Miller Millermatic series welders: 135, 140, 140 Auto-Set, 141, 150, 175, 180, 180 Auto-Set, 185, 190, 200, 210, 211 (non-MDX Quick-Connect version), 212, 250, 250X, 251, 252, Vintage, DVI, Pulser
Lightweight Welding Equipment Benefits
A lighter torch or gun can reduce wrist, forearm, and shoulder fatigue during long jobs. This matters most during out-of-position welding, thin sheet-metal repairs, and repeated tack welding where your hand stays active for a long time.
- Use the shortest practical torch or gun setup that still handles the amperage and duty cycle.
- Support heavy cables with hooks, booms, or overhead arms.
- Keep cable loops off the floor where they add drag or create trip hazards.
- Use a cart so you can move the machine closer instead of stretching the lead across the bay.
Ergonomic Handle Design Features
Look for a handle that lets your fingers wrap naturally without a hard pinch grip. Your wrist should stay straight instead of bent up, down, or sideways. A trigger should be easy to reach without overextending one finger.
If you use a MIG gun for repeated tacks, consider equipment with a smooth trigger, comfortable grip diameter, and a cable that does not fight your hand. If your finger aches after long sessions, rotate tasks, check glove fit, and inspect whether the trigger force or position is causing strain.
Gloves, Helmet, and PPE Fit
PPE should protect you without forcing awkward movement. Oversized gloves can make you grip harder. A poorly balanced helmet can make your neck work harder. A stiff jacket can limit shoulder motion and push you into a poor position.
- Choose gloves that match the process: more dexterity for TIG, more heat protection for heavier MIG or stick work.
- Keep helmet lenses clean so you do not lean forward to see the puddle.
- Use sleeves, jackets, and aprons that allow safe movement without exposing skin.
- Replace worn PPE that makes you grip, squint, or twist more than necessary.
Master Safe Lifting Techniques
Safe lifting is vital for automotive welders because welding work often includes gas cylinders, welders, cables, fixtures, panels, hoods, doors, exhaust sections, and frame parts. A single awkward lift can cause an acute injury, while repeated poor lifts can build into chronic pain.
- Plan the lift before touching the load. Clear the route and decide where the load will land.
- Use a cart, dolly, hoist, jack, or another person when the item is heavy, awkward, or unstable.
- Keep the load close to your body and avoid twisting while lifting.
- Store heavy items between knee and chest height when possible.
- Secure gas cylinder caps before moving cylinders, and use a cylinder cart instead of dragging or rolling cylinders by hand.
When lifting a panel or fixture with another person, agree on commands first. Uneven timing is a common cause of sudden shoulder and back strain.
How to Build Healthy Work Habits and Take Breaks
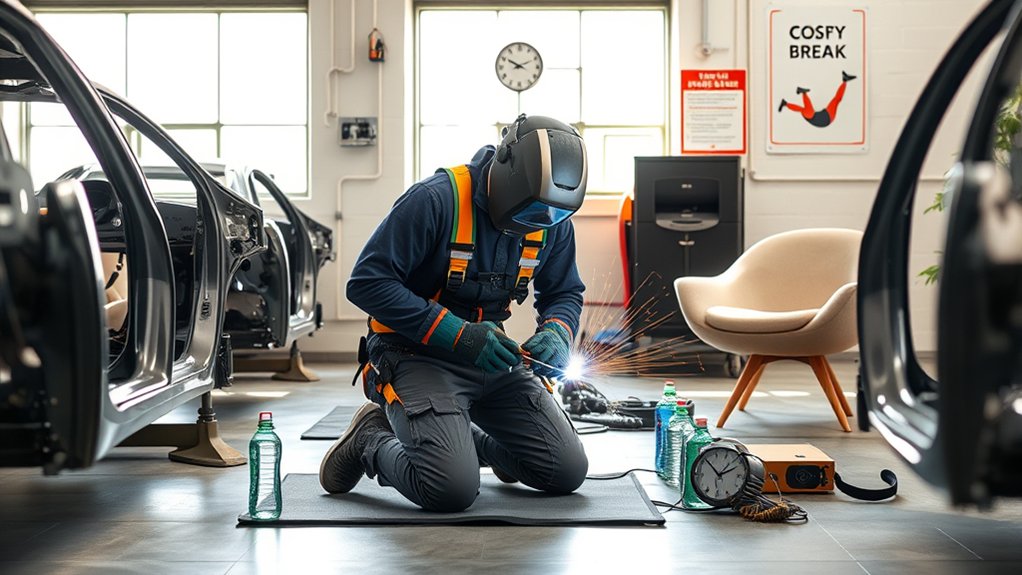
Healthy work habits matter because welding often locks you into static positions. A perfect setup can still become risky if you hold the same neck, shoulder, or wrist position for too long.
- Use short movement breaks every 30 to 60 minutes during repetitive or static work.
- Change tasks when possible: fit-up, tack, weld, inspect, clean, then reset.
- Stretch gently before long shifts, especially your shoulders, forearms, neck, hips, and calves.
- Alternate standing, sitting, kneeling, and supported leaning when the job allows.
- Report early symptoms instead of waiting until pain affects grip strength or sleep.
Note: Breaks do not need to be long to help. Even a short reset can restore circulation, relax a tight grip, clear your lens, check cable drag, and improve your next weld position.
Practical Techniques for Using Ergonomic Tools Effectively
Ergonomic tools only help if you use them in a way that reduces strain. A lightweight gun can still hurt your wrist if the cable pulls downward. A good helmet can still strain your neck if the lens is dirty and you keep leaning in.
- Hold the torch with a relaxed grip. White-knuckle pressure increases hand and forearm fatigue.
- Brace your hand or forearm when safe, especially for precision TIG or thin sheet-metal work.
- Keep your wrist straight and move from your shoulder or body when the weld path allows.
- Reposition the work instead of reaching farther as the weld progresses.
- Use clamps, magnets, and fixtures so your non-dominant hand is not acting as a vise.
- Inspect triggers, handles, cables, and liners. Poorly maintained equipment often makes you push, pull, or grip harder.
Ergonomic Risk Checklist Before You Weld
Use this quick check before a long weld, an awkward repair, or any underbody job.
- Work height: Is the joint near elbow height, or can the vehicle or part be raised safely?
- Reach: Can you keep elbows near your sides for most of the weld?
- Wrist: Can you hold the torch without bending your wrist sharply?
- Head position: Can you see the puddle without putting your face in the fume plume?
- Cable path: Is the cable supported and free of snags?
- Lighting: Can you see fit-up and edges before lowering your hood?
- Footing: Are you stable, dry, and clear of trip hazards?
- Break plan: Will you pause before fatigue changes your posture?
Welding Positions That Need Extra Ergonomic Care
Some automotive welding positions create more strain than others. Plan these jobs carefully before you begin.
Underbody and Overhead Welding
Overhead work loads the neck, shoulders, and arms. Raise the vehicle only with approved equipment and support it securely. Use creepers, arm supports, and shorter weld intervals. Keep your body out of falling sparks and maintain a clear exit path.
Floor-Level and Rocker Panel Welding
Rocker panels, patch panels, and lower quarter repairs often force kneeling or squatting. Use knee pads, a low stool, or a creeper seat. Bring tools close before you start so you are not twisting repeatedly to reach clamps or pliers.
Engine Bay and Tight-Space Welding
Engine-bay work can create long reaches and awkward head positions. Remove nearby parts when practical, protect sensitive components, and use mirrors or better lighting when visibility is poor. Do not lean on sharp edges or hot parts for support.
When to Stop and Reassess
Stop the job and reassess the setup if you notice any of these signs:
- Numbness, tingling, burning, or weakness in your fingers, wrist, arm, shoulder, or leg.
- Back, neck, or shoulder pain that keeps building as you weld.
- Loss of grip strength or dropping tools.
- Dizziness, nausea, throat irritation, shortness of breath, or unusual fume exposure.
- A posture that forces twisting, kneeling, reaching, or overhead work longer than planned.
Persistent symptoms should be reported through your workplace safety process and evaluated by a qualified professional. Do not ignore symptoms just to finish a weld faster.
Building a Shop-Wide Ergonomics Program
In a professional auto shop, ergonomics should not depend only on individual welders. NIOSH ergonomics program guidance supports a workplace process that includes worker participation, training, risk-factor identification, evaluation, and controls.
A simple shop program can include:
- Monthly checks of welding tables, stands, carts, and fume extraction arms.
- Worker feedback on painful tasks, hard-to-reach welds, or heavy lifts.
- Training on safe lifting, tool grip, cable routing, and ventilation setup.
- Task rotation for long welding, grinding, fitting, and overhead repair jobs.
- Early reporting of symptoms without blame or pressure to “push through.”
Frequently Asked Questions
How can I assess my current workstation’s ergonomic setup?
Start with four checks: work height, reach distance, wrist angle, and head position. The weld should be close enough that you are not reaching hard, the cable should not pull on the torch, and your head should stay out of the fume plume. Then check lighting, footing, clamps, and whether tools are within easy reach.
What are the signs of poor ergonomic practices in welding?
Common signs include back tightness, shoulder burning, neck fatigue, wrist pain, finger numbness, tingling, weak grip, and needing to brace your body awkwardly to finish a weld. Poor cable routing, bad lighting, and repeated overhead work are also setup warning signs.
Are there specific exercises to improve welding posture?
Gentle shoulder rolls, forearm stretches, neck mobility, hip flexor stretches, and calf stretches can help prepare your body for static work. Keep stretches controlled and pain-free. Exercises help, but they should not replace fixing poor work height, reach, cable drag, or ventilation.
How often should I take microbreaks during welding?
For repetitive or static welding, use short movement breaks about every 30 to 60 minutes. You may need more frequent resets during overhead, underbody, or tight-space work. A microbreak can be as simple as relaxing your grip, standing tall, moving your shoulders, and checking cable position.
Can ergonomic training be included in safety programs?
Yes. Ergonomic training belongs in a welding safety program because posture, tool force, lifting, lighting, ventilation, PPE fit, and task rotation all affect injury risk. Training works best when welders can report painful tasks and help choose practical controls.
What is the best height for automotive welding work?
For most bench welding, place the joint near elbow height. Raise detailed work slightly if it helps you see without bending your neck. Lower heavy prep work slightly if it requires more force. The right height lets your shoulders relax and your wrists stay neutral.
Do ergonomic gloves or helmets really matter?
Yes, fit matters. Gloves that are too bulky can make you grip harder, while a poorly balanced helmet can add neck fatigue. Choose PPE that protects against welding hazards while still letting you hold the torch, see the joint, and move safely.
Conclusion
Automotive welding ergonomics is about making safer work easier to repeat. Raise or reposition the work when you can, support the tool and cable, keep your wrist neutral, improve lighting, control fumes, and take short movement breaks before fatigue changes your posture. Small setup changes can protect your body, improve weld control, and help you stay productive through long repair jobs.
Sources
- CDC/NIOSH: About Ergonomics and Work-Related Musculoskeletal Disorders — supports WMSD definitions, workplace risk factors, and ergonomic work design.
- OSHA: Ergonomics — supports examples of MSDs, common workplace risk factors, and prevention principles.
- NIOSH: A Guide to Selecting Non-Powered Hand Tools — supports tool-selection guidance to reduce force, repeated movement, and awkward posture.
- NIOSH: Elements of Ergonomics Programs — supports workplace ergonomics programs, worker participation, training, and risk-factor control.
- OSHA: Controlling Hazardous Fume and Gases during Welding — supports ventilation, breathing-zone positioning, fume hazards, and confined-space cautions.