
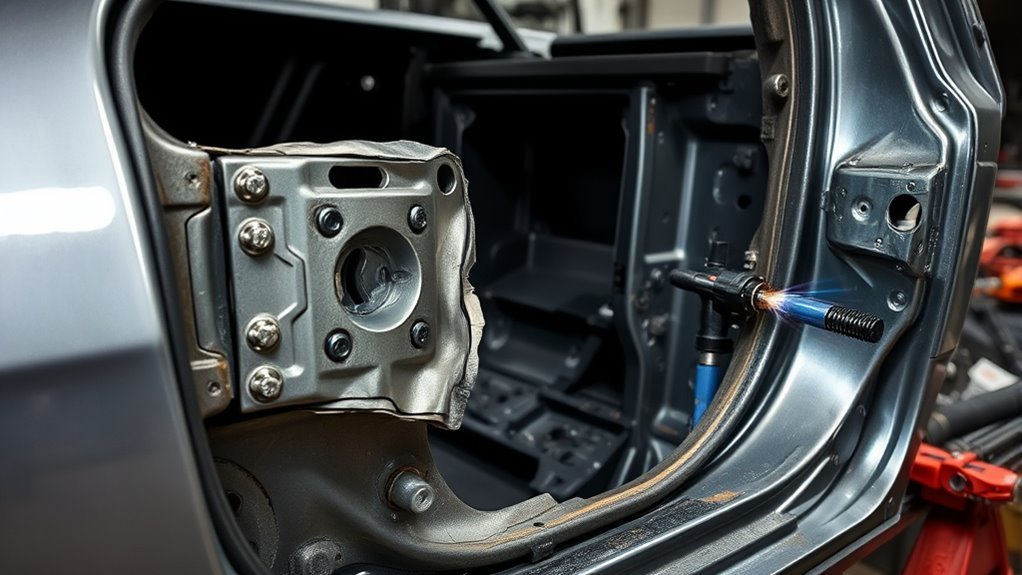
You should use high-strength steel rivet bonding only when the vehicle maker’s repair procedure calls for it or allows it for that exact year, make, model, and repair location. The process combines structural adhesive with approved rivets or mechanical fasteners, so the joint can spread load, limit heat damage, and restore panel fit without treating every repair like a welding job.
Quick Answer
High-strength steel rivet bonding is an OEM-controlled collision repair method that joins panels with structural adhesive and approved rivets. It is useful when welding heat could change advanced steel properties, distort panels, or complicate dissimilar-material joints. The repair still needs correct rivets, surface prep, clamping, cure time, PPE, and corrosion protection.
Key Takeaways
- Rivet bonding is not a shortcut. It is a controlled structural repair method that must match the OEM procedure.
- Heat is the main reason it is used. Some advanced high-strength steels can lose intended properties when exposed to repair heat.
- The adhesive and rivets work together. The adhesive spreads load across the overlap, while the rivets hold clamp force and add mechanical security.
- Corrosion protection matters. Bare metal, dissimilar metals, drilled holes, and panel seams must be sealed and refinished as specified.
- Inspection is part of the repair. Check rivet fit, squeeze-out, clamp stability, cure time, panel alignment, and final sealing before the vehicle leaves the shop.
At a Glance
| Time Required | Varies by panel and OEM procedure; the adhesive cure window may add several hours before refinishing or full handling. |
| Difficulty | Professional collision repair level; not a casual DIY structural repair. |
| Tools Needed | OEM repair information, material identification, approved rivets, calibrated rivet gun or setter, correct dies, adhesive applicator, clamps, surface-prep tools, PPE, seam sealer, primer, and corrosion protection. |
| Cost | Shop-dependent; cost is driven by OEM information access, panel removal, fasteners, adhesive, calibration/tooling, cure time, refinishing, and corrosion-protection materials. |
Warning: Do not substitute rivet bonding for welding, or welding for rivet bonding, unless the OEM repair procedure allows it. A structural collision repair can affect crash performance, airbag timing, corrosion life, and warranty or liability exposure.
Why Rivet Bonding Matters in Auto Repair
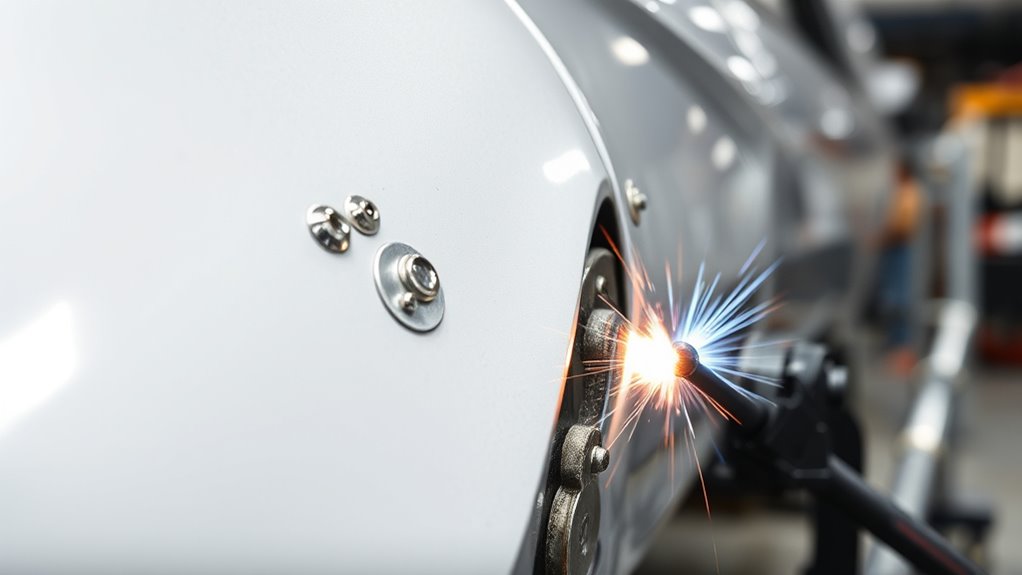
Rivet bonding matters because many modern vehicles use advanced high-strength steel, aluminum, coated steels, and mixed-material structures. These parts are designed around specific load paths. When the repair procedure specifies adhesive and rivets, you are not just attaching a panel; you are rebuilding the way that joint manages force.
The main advantage is lower heat input. Advanced high-strength steel repairability guidance explains that some AHSS microstructures can be changed by elevated repair temperatures. That is why many procedures limit heat straightening, sectioning, and welding locations.
Rivet bonding also helps with fit and distortion control. Because the adhesive spreads load across a larger overlap area, it can improve stiffness and fatigue behavior when the joint is designed for bonding. The rivets hold the parts in position, maintain clamp force during cure, and add a mechanical lock where the OEM calls for it.
The strongest repair is not the one with the most heat or the most fasteners. It is the one that follows the approved load path, attachment method, cure process, and corrosion-protection plan.
What Rivet Bonding Means
Rivet bonding is a hybrid joining method. It uses a structural adhesive between overlapping panels and approved rivets or mechanical fasteners through the joint. The adhesive carries load across the bonded surface, seals parts of the joint, and can help reduce local stress peaks. The rivets provide immediate mechanical holding power and keep the parts clamped while the adhesive cures.
It is different from simple panel bonding. Panel bonding may rely mainly on adhesive for non-structural or specific panel joints. Rivet bonding adds a mechanical fastener pattern, which is why rivet size, rivet type, spacing, die selection, and access matter.
It is also different from weld bonding. Weld bonding combines adhesive with resistance spot welds or other welds. Rivet bonding uses mechanical fasteners instead of weld nuggets in the locations specified by the repair manual.
Note: The phrase “high-strength steel rivet bonding” does not mean every high-strength steel part can be riveted. Some grades, stackups, or locations may require replacement, weld bonding, spot welding, flow-form rivets, or another OEM-approved method.
Common Rivet Types Used in Auto Body Repair
The correct fastener comes from the vehicle maker’s procedure, not from guesswork. Body shops may see several rivet styles depending on the vehicle and repair area.
- Self-piercing rivets: These are driven through the top layer and flare into the lower layer without drilling a full hole through both panels. They are common in production and some repair settings, but they require the right rivet, die, squeeze force, and material stack.
- Blind rivets: These can be installed from one side when rear access is limited. They must match the material, grip range, and structural requirement.
- Solid rivets: These require access for forming the tail side and are used only where the procedure and tooling support them.
- Flow-form or punch rivets: These are used in some OEM procedures for mixed-material structures and require dedicated equipment.
- OEM-specific fasteners: Some repair procedures call out a branded rivet, sleeve, bolt, or insert. Substituting a similar-looking fastener can change joint strength and corrosion behavior.
AHSS mechanical joining guidance notes that mechanical joining performance depends on material strength, formability, tool force, and the joining method. That is why material identification is a required step before the repair begins.
Products Worth Considering

Other Names: Back Panel Rivet, Roof Panel Rivet, Rivet - Self Piercing , Rivet Semi Tubular 5.3 x 6 FL , Miscellaneous
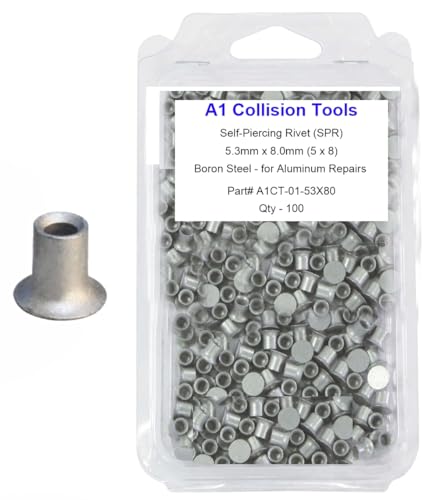
Self-Piercing (SPR) Boron Steel Rivets - Ideal for Aluminum Repairs

Self-Piercing Rivets also known as SPR - Self Piercing rivets made to be used on most SPR Rivet Guns originally designed for aluminum repairs. The rivets also work on steel repairs, designed for Ford F-150 repairs as well as many OEM repairs like BMW, Audi, Jaguar, Land Rover, Mercedes Benz and more foreign and domestic vehicles. Aluminum and steel bonding applications also. Rivet Installation can be performed with a number of SPR guns on the market.
How Rivet Bonding Works Step by Step
A good rivet-bonded repair starts before the adhesive cartridge is opened. You first confirm the exact repair procedure, identify the material, and check whether the joint is structural, cosmetic, or part of a crash load path.
- Confirm the OEM procedure. Use the repair manual for the exact vehicle. Check attachment method, cut lines, rivet locations, adhesive type, cure requirements, and corrosion-protection steps.
- Identify the material and stackup. Verify whether the parts are mild steel, high-strength steel, press-hardened steel, aluminum, coated steel, or a mixed-material stack.
- Dry-fit the panel. Test alignment before adhesive is applied. Check gaps, flanges, hole locations, clamps, rivet access, and tool clearance.
- Prepare the surfaces. Remove only the coatings the procedure tells you to remove. Clean the bond area, treat bare metal as specified, and avoid touching prepared surfaces with bare hands.
- Apply adhesive correctly. Use the required cartridge, mixing tip, bead size, working time, and application pattern. Discard poorly mixed material at the start of the nozzle when required by the product instructions.
- Position and clamp the parts. Bring the joint together within the adhesive open time. Maintain panel alignment and avoid sliding the parts after the adhesive starts to set.
- Install the rivets. Use the approved rivets, tool pressure, die, and sequence. The rivet head should seat cleanly without cracks, panel gaps, or excessive distortion.
- Control cure time. Hold the joint stable until the adhesive reaches handling strength or full cure as required. Temperature and humidity can change cure time.
- Inspect the joint. Check rivet seating, adhesive squeeze-out, flange contact, panel fit, and any required destructive or visual test coupons.
- Restore corrosion protection. Apply primer, seam sealer, cavity wax, coatings, and refinishing materials where the procedure requires them.
Pro Tip: Photograph the repair plan, material labels, prepared flanges, adhesive lot information, rivet pattern, and final corrosion protection. That documentation helps prove the repair followed the procedure.
Rivet Bonding vs Welding and Weld Bonding
The key difference is how the joint is formed. Welding creates a fused joint with heat. Rivet bonding creates a bonded and mechanically fastened joint with little or no welding heat at that attachment point.
That difference matters on heat-sensitive steels. Some dual-phase, martensitic, press-hardened, and newer AHSS parts can lose intended performance if heated outside approved limits. In those cases, the OEM may require part replacement, rivet bonding, weld bonding, or a specific weld location instead of open-ended heat repair.
Welding still has a major place in collision repair. Resistance spot welding, plug welding, MIG/MAG welding, and MIG brazing may be required in other locations on the same vehicle. The repair manual decides which method belongs where.
Rivet bonding may be preferred when welding could distort a panel, burn coatings, weaken a heat-sensitive part, or create problems in a mixed aluminum-steel joint. AHSS guidance on aluminum-steel resistance spot welding notes that oxide layers, intermetallic compounds, heat balance, and process settings make dissimilar-material welding more complex.
When Rivet Bonding Is the Better Choice
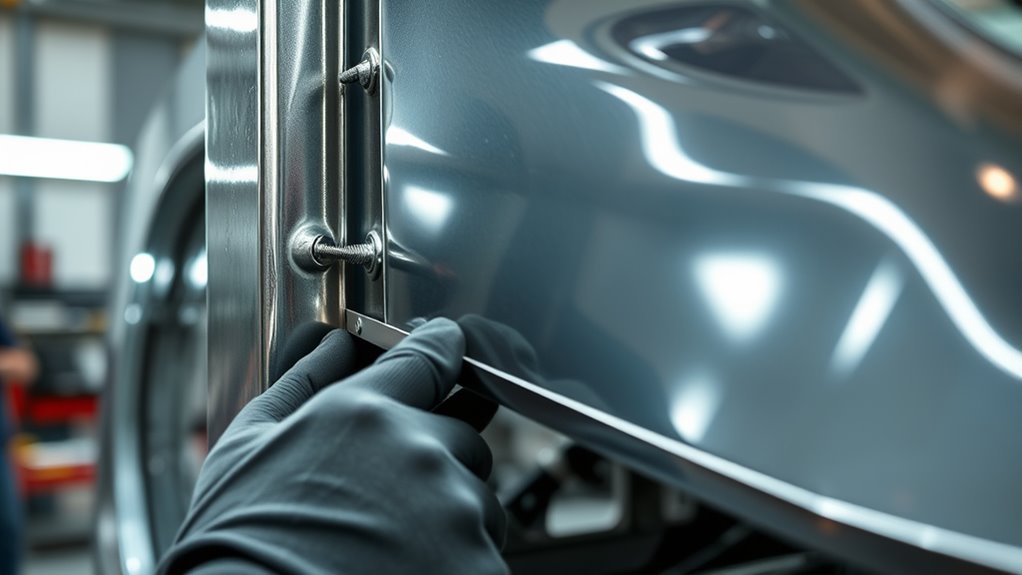
Rivet bonding is the better choice when the OEM procedure says it is the correct attachment method. It is often used where heat control, panel fit, corrosion sealing, and mixed-material joining matter.
- Heat-sensitive steel: Use rivet bonding when welding heat could alter the part and the OEM procedure approves bonded fasteners.
- Mixed-material joints: Use it when aluminum, steel, coated steel, or other material combinations need isolation and controlled fastening.
- Large overlap flanges: Adhesive works best when the joint has enough bonded area to carry load.
- Panel-fit-sensitive repairs: Lower heat input can help reduce distortion on outer panels, quarter panels, roof panels, and structural flanges.
- Noise and sealing benefits: Adhesive can help seal seams and reduce vibration when used correctly.
OEM1Stop’s repair-procedure statement says post-collision repairs must follow the OEM procedure for the specific year, make, and model. That is the standard you should use before choosing any joining method.
When Rivet Bonding Is Not the Right Choice
Rivet bonding is not always allowed, even if the joint looks like a good candidate. Do not use it when the procedure calls for welding, replacement, or another fastener type. Do not use it when the panel overlap is too small, the metal is too damaged, the rivet cannot form correctly, or the adhesive cannot be applied within the correct working conditions.
You should also avoid rivet bonding when corrosion, old adhesive, paint, seam sealer, oil, or grinding dust remains in the bond area. Adhesive strength depends on clean, properly prepared surfaces. If the surface is contaminated, the joint may look complete but fail under load.
For damaged high-strength or press-hardened steel parts, do not assume straightening and re-bonding is allowed. Many heat-sensitive structural parts must be replaced at approved sectioning locations rather than reshaped with heat or repaired outside the published procedure.
Tools, Training, and Rivet Bonding Rules
Rivet bonding only works as intended when you use the right information, tools, fasteners, adhesive, and repair sequence. You need current OEM repair access, adhesive product instructions, calibrated equipment, correct dies, and training for the specific joining system.
Common requirements include:
- OEM repair procedure and vehicle material map
- Approved structural adhesive and mixing tips
- Approved rivets, sleeves, bolts, or fasteners
- Calibrated rivet gun, squeeze-type tool, or flow-form rivet tool
- Correct dies, nose pieces, and access arms
- Cleaners, abrasives, primers, seam sealer, and cavity wax
- Clamps that hold alignment without crushing the flange
- Temperature control for adhesive cure
- PPE for grinding, cleaning, adhesive handling, and any welding nearby
The safety side matters too. OSHA’s PPE guidance explains that gloves, safety glasses, respirators, coveralls, and other PPE are used to reduce exposure to workplace hazards. For any nearby welding, cutting, or brazing, follow OSHA welding, cutting, and brazing guidance and the shop’s safety program.
Products Worth Considering

【4 Interchangeable Rivet Heads】Our professional riveter tool comes with 4 tool-free interchangeable rivet heads:3/32"(2.4mm), 1/8" (3.2mm), 5/32"(4mm), and 3/16"(4.8mm).Other types of rivet heads placed on the handle, which creates more convenient to use and save more space.And each size is equipped with 50 pcs rivets, which meets all your needs while riveting

【1/4 Inch Heavy Duty Rivet Gun】The 10" long rivet gun provides superior leverage for effortless 1/4" pop rivets installation; Its two-handed design delivers more effortless operation than a single-handed one.

Four-Sizes Rivet Heads - Our BEETRO hand rivet gun provides portable fastening, includes 4 replaceable heads 3/32" (2.4mm), 1/8" (3.2mm), 5/32" (4.0mm) and 3/16" (4.8mm), meeting most of your rivet needs.
Corrosion Protection After Rivet Bonding
Corrosion protection is not optional. Rivet bonding can help seal a joint, but it does not automatically prevent corrosion. Bare steel, drilled holes, cut edges, aluminum-to-steel contact, damaged e-coat, and open seams still need protection.
Follow the repair procedure for weld-through primer, epoxy primer, adhesive over bare metal, seam sealer, cavity wax, undercoating, and refinishing. Some procedures prohibit certain primers in the bond area because they can weaken adhesion. Others require specific corrosion-protection materials after the joint is cured.
Check the backside of the repair whenever possible. A clean front-side rivet pattern does not help if the hidden flange is unsealed, burned, cracked, or missing cavity protection.
Inspection and Troubleshooting
Before the repair is considered complete, inspect the joint like a structural system, not just a row of fasteners.
- Loose or proud rivet head: Check tool pressure, rivet length, die choice, and material stack thickness.
- Panel gap at the flange: Recheck clamping sequence, dry fit, adhesive thickness, and hidden obstruction.
- No adhesive squeeze-out: The bead may be too small, misplaced, expired, or blocked by poor fit.
- Excessive squeeze-out: The bead may be too large, clamp pressure may be wrong, or the flange may be distorted.
- Cracked coating around rivets: Inspect for wrong rivet, wrong die, over-squeeze, brittle material, or missing corrosion repair.
- Adhesive cured too quickly: Check shop temperature, cartridge age, working time, and whether the panel was positioned too late.
- Contamination in the joint: Stop and correct it before final assembly. Oil, dust, rust, old adhesive, and fingerprints can reduce bond strength.
Some shops create test coupons when required by the OEM, training program, or repair plan. A test coupon can confirm adhesive mix, squeeze, rivet formation, and technician setup before the vehicle panel is installed.
Frequently Asked Questions
Is riveting as strong as welding?
It depends on the joint, material, loading direction, fastener type, adhesive, and OEM design. A rivet-bonded joint may perform very well in stiffness and fatigue because the adhesive spreads load over a wider area. A weld may be stronger in other locations. Use the repair method specified by the OEM.
What is the strongest way to permanently join two pieces of metal?
There is no single strongest method for every vehicle repair. Welding, weld bonding, rivet bonding, bolts, clinching, and replacement can all be correct in different locations. The strongest practical repair is the one that restores the original load path and follows the OEM procedure.
Is panel bond as strong as a weld?
Panel bond can be very strong when it is used in the right joint design, with the right surface prep, overlap, cure time, and fasteners. It should not be treated as a universal weld replacement. Structural use must be approved by the vehicle maker’s repair information.
Is riveting still used in modern collision repair?
Yes. Rivets and other mechanical fasteners are still used in many modern vehicle structures, especially mixed-material designs. What changed is that technicians must use the exact fastener, tool, adhesive, and sequence listed by the OEM instead of choosing a generic rivet.
Can you rivet bond high-strength steel at home?
A cosmetic non-structural project is one thing, but a structural collision repair is different. High-strength steel rivet bonding requires OEM repair access, correct fasteners, calibrated tools, adhesive control, PPE, corrosion protection, and inspection. It is best handled by a trained collision repair professional.
Conclusion
High-strength steel rivet bonding is a clean and controlled repair method when the OEM procedure calls for it. It can reduce welding heat, protect panel fit, help manage mixed materials, and spread load through a bonded overlap. The result depends on the details: correct rivets, clean surfaces, proper adhesive, stable clamping, full cure, inspection, and restored corrosion protection. Treat the process as a structural repair system, not just adhesive plus a few fasteners.
Sources
- OEM1Stop — Statement on Use of OEM Repair Procedures — supports the requirement to follow OEM procedures for post-collision repairs.
- AHSS Insights — Joining — supports the importance of AHSS microstructure and process control during joining.
- AHSS Insights — Adhesive and Mechanical Joining — supports adhesive bonding principles, surface preparation, overlap area, stiffness, and fatigue benefits.
- AHSS Insights — Mechanical Joining — supports mechanical joining, self-piercing rivet limitations, and rivet-versus-spot-weld performance context.
- AHSS Insights — Advanced High-Strength Steel Repairability — supports heat-sensitivity guidance for AHSS repair.
- OSHA — Personal Protective Equipment — supports PPE and worker-safety guidance for repair operations.




