You’ll get cleaner, steadier plasma cuts when your air system delivers the pressure and flow your cutter needs while the torch is actually flowing air. Most problems come from three things: pressure set too low, pressure set too high, or air that is wet, oily, or restricted by small hoses and clogged filters. Start with your plasma cutter manual, check pressure under flow, then fine-tune with short test cuts.
Quick Answer
Most handheld air plasma cutters run best when the cutter’s regulator is set to the manufacturer’s required dynamic pressure, usually about 60–80 PSI under flow on many portable units. Some small CUT-40 style machines use about 40–60 PSI, while larger systems may need 90–120 PSI inlet supply. Always check the gauge while air is flowing.
Key Takeaways
- Set plasma cutter air pressure from the manual or cut chart, not by material alone.
- Check pressure under flow because static pressure can look correct while cutting pressure drops too low.
- Size the compressor by SCFM at the required PSI, then add a 25–50% reserve for steady cutting.
- Use clean, dry air with a water separator, particulate filter, coalescing filter, and dryer when needed.
- Use dross, bevel, arc dropouts, and consumable wear as clues when fine-tuning pressure.
At a Glance
| Time Required | 10–20 minutes to set up and test |
| Difficulty | Beginner to intermediate |
| Tools Needed | Plasma cutter manual, compressor, regulator, clean air hose, filters, scrap metal, PPE |
| Cost | Usually $0 if your compressor is sized correctly; $30–$250+ if you need better filtration or a dryer |
Normal Air Pressure Settings for Plasma Cutters

Normal plasma cutter air pressure depends on the machine, torch, nozzle, amperage, and required airflow. For many portable air plasma cutters, the working pressure at the cutter is often around 60–80 PSI under flow. Smaller CUT-40 style machines may call for about 40–60 PSI, while larger machines may need a compressor supply closer to 90–120 PSI so the cutter can hold its required dynamic pressure.
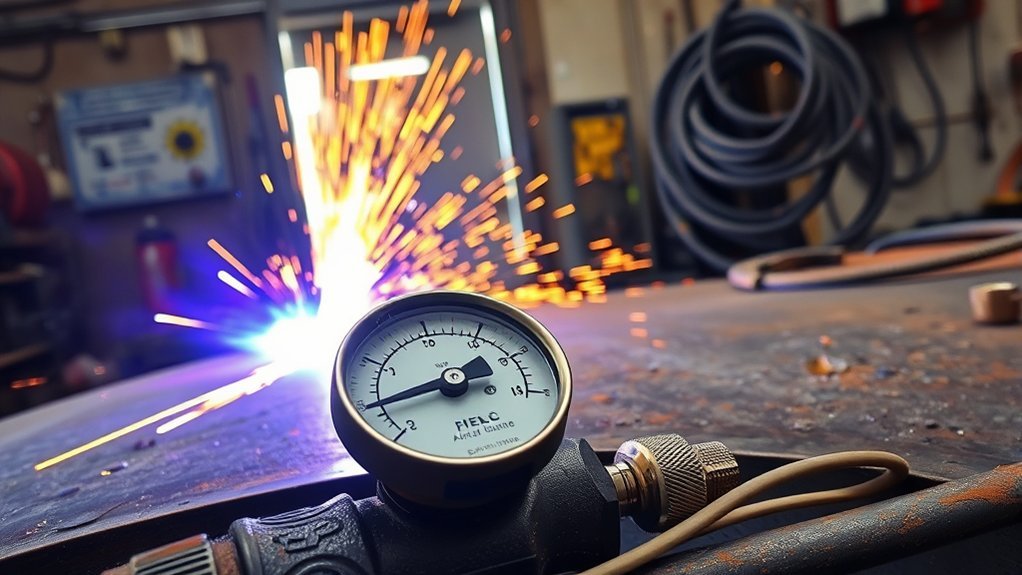
The key phrase is under flow. A regulator can show 90 PSI when the machine is idle, then drop much lower when you press the torch trigger. That drop can make the arc sputter, leave dross, or fail to cut through.
Note: Do not treat one PSI number as universal. Use the pressure range in your cutter manual or cut chart, then confirm it with air flowing through the torch.
Too little pressure can make the arc unstable because the plasma stream cannot clear molten metal from the kerf. Too much pressure can spread or disturb the plasma column, which may widen the kerf, increase bevel, and create more dross. The best setting is the lowest stable pressure that matches the manual and gives a clean cut face at the correct amperage and travel speed.
How Air Quality Affects Cut Quality and Consumable Life
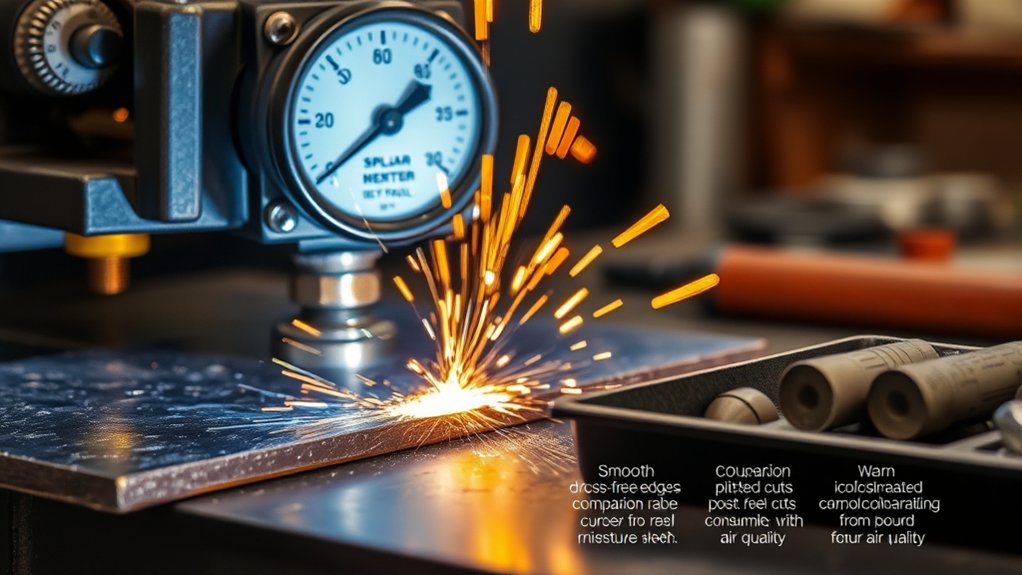
Clean, dry air matters as much as pressure. Moisture, oil mist, rust, and dust can disturb the arc, shorten electrode and nozzle life, and leave rougher edges. Wet air also makes the cut less predictable because water can condense in the tank, hose, filters, and torch line as compressed air cools.
Use staged filtration when possible:
- Water separator: removes bulk water before it reaches the cutter.
- Particulate filter: catches rust, scale, and dirt from the tank and air lines.
- Coalescing filter: removes fine oil aerosols from lubricated compressors.
- Desiccant or refrigerated dryer: lowers moisture when you cut often, cut in humid weather, or run long duty cycles.
Drain the compressor tank daily during plasma work. Check filter bowls before long cuts, and replace filter elements when flow drops or the manufacturer’s service indicator shows restriction. A clogged filter can make the gauge look fine at idle while the torch starves for air during the cut.
Pro Tip: If you see random arc sputtering after the machine has been cutting well, drain the tank and filter bowls before changing consumables. Moisture carryover is a common hidden cause.
Choosing the Right Air Compressor and SCFM Requirements

Choose an air compressor by SCFM at pressure, not by tank size alone. SCFM tells you how much air the compressor can actually deliver at a stated pressure. A large tank helps buffer demand, but it cannot replace a pump that is too small for the cutter.
Use this simple sizing rule:
Compressor target SCFM = plasma cutter required SCFM × 1.25 to 1.5, measured at the cutter’s required PSI.
For example, if your cutter requires 6 SCFM at 75 PSI, choose a compressor that can deliver at least 7.5–9 SCFM at that pressure. If you plan to make long cuts, use CNC, cut thicker plate, or work in hot weather, the higher margin is safer.
Tank size still matters. A 20-gallon tank may work for short hobby cuts with a small cutter, but the pressure may fall during long cuts. A 60-gallon or larger compressor gives more reserve and cycles less often, especially when cutting 1/4-inch steel or thicker.
Products Worth Considering

CUTTING THICKNESS UP TO 20MM: Featuring a brand-new MCU technology upgrade, the plasma cutter machine has a high degree of internal integration, combining full digitalization for more precise control of cutting parameters such as current and voltage. This results in better cutting effects and improved stability. Cutting thickness: Quality 12mm (1/2"), maximum 20mm (3/4").

[55A 110V/220V Cutting Power]: The SILATU STC550P plasma cutter delivers up to 55A of cutting power with advanced IGBT inverter technology. Use 110V at 15-40A for home garage and lighter-duty jobs, or switch to 220V at 15-55A for thicker metal and more demanding projects. Maximum cutting capacity reaches 1/2" (12mm) at 110V/40A and 7/10" (18mm) at 220V/55A under recommended air pressure (Note: For circuit protection, this machine must be used with 40A circuit breaker)

COMPLETE BUILT-IN AIR SYSTEM: Equipped with an integrated high-performance air pump, this plasma cutter eliminates the need for an external air compressor—simply plug into power and start cutting with no extra equipment or complicated setup required
Recommended Pressure, Flow, and Filtration Setup

The best setup gives the plasma cutter stable, dry air at the pressure and flow listed in its manual. Set the compressor high enough to feed the cutter without sagging, then use the cutter regulator to set the actual working pressure.
| Parameter | Recommendation |
|---|---|
| Compressor supply | High enough to hold the cutter’s required inlet pressure during airflow, often 90–120 PSI on many shop setups |
| Cutter regulator | Set to the manual’s required dynamic pressure with air flowing |
| Flow capacity | Manual SCFM requirement × 1.25 to 1.5 reserve |
| Filtration | Water separator + particulate filter + coalescing filter; add dryer for frequent or humid cutting |
| Quality check | No water in bowls, no oil smell, no major pressure drop during a test cut |
After setup, make a short test cut on scrap of the same material and thickness. Look at the bottom dross, cut face angle, and arc sound. A steady arc has a smooth, even sound. A starving air system often sounds rough, sputtery, or inconsistent.
Products Worth Considering

Desiccant Air Dryer System: Engineered with a compressor desiccant air filter dryer system that effectively traps water vapor, oil aerosols, and dirt particles from the air supply. This unit functions as a reliable air line dryer, helping to prevent moisture-related damage to pneumatic tools and ensuring smoother operation for workshop projects.

【Designed for Drying】The Desiccant Air Dryer allows the Air to be Thoroughly Dried and Cleaned before it Enters your Pneumatic Tools. The Desiccant Beads need to be Added to the Metal Bowl. When it needs to be Replaced, the Beads will Change from Blue to Pink.
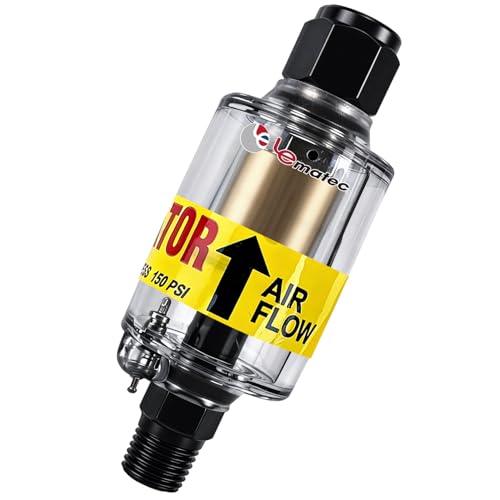
Moisture Protection: 1-micron reusable element removes air compressor oil and water from compressed air systems; essential for precise spray painting and plasma cutting
Sizing Air Lines, Tanks, and Regulators for Steady Delivery

Even a good compressor can perform poorly if the hose, fittings, or regulator restrict airflow. Long, narrow hoses create pressure drop. Quick-connect couplers with small internal passages can do the same thing.
For most handheld plasma cutters, a 3/8-inch air hose is a good baseline for short to medium runs. If the hose run is long, the cutter has a high SCFM demand, or pressure drops during cuts, step up to 1/2-inch line or shorten the run. Use full-flow couplers when possible.
A good regulator should hold pressure steady while air flows. Cheap or undersized regulators may show the correct static PSI, then fall sharply as soon as the torch starts. If the gauge drops during every cut, check these items first:
- Compressor SCFM rating at the required PSI
- Tank pressure recovery during long cuts
- Hose diameter and length
- Quick-connect coupler size
- Filter restriction or clogged dryer media
- Leaks at fittings, drains, and hose ends
Use soapy water to check fittings for leaks. Small leaks may not seem serious, but they can cause pressure sag when the cutter is already near the compressor’s limit.
Tips for Dialing In Settings by Material and Thickness

Material and thickness matter, but they should not be the only reason you change air pressure. First set pressure to the manual’s recommended range. Then tune amperage, travel speed, torch height, and consumables for the material.
Steel Thickness Presets
For mild steel, start with the cut chart for your machine. Thin sheet usually needs lower amperage and faster travel speed. Thicker steel needs more amperage, slower travel, and a nozzle rated for the amperage. The air pressure should stay within the manufacturer’s range unless the chart tells you to change it.
If the cut does not go through, do not raise pressure first. Check these in order:
- Correct amperage for the thickness
- Correct nozzle size and consumables
- Proper work clamp contact
- Correct torch height or drag tip setup
- Enough SCFM during the cut
- Clean, dry air
If all of those are correct, adjust pressure in small steps, usually 2–5 PSI at a time, and make another test cut.
Aluminum-Specific Adjustments
Aluminum cuts differently because it conducts heat quickly and forms oxide on the surface. Instead of assuming aluminum always needs lower PSI, start with your plasma cutter’s chart for aluminum or non-ferrous metal. Many air plasma cutters use similar air pressure but different amperage and travel speed.
For thin aluminum, use lower amperage and move fast enough to avoid a wide, melted edge. For thicker aluminum, raise amperage as the manual allows and keep the torch moving steadily. If the arc blows out, the kerf gets too wide, or dross builds up heavily, check torch height, consumable condition, and air dryness before making large pressure changes.
Warning: Do not exceed the maximum inlet pressure listed on your plasma cutter or air filter. Wear proper eye and face protection, gloves, nonflammable clothing, and hearing protection. Keep sparks away from fuel, solvents, sawdust, and other combustibles.
Step-by-Step Pressure Setup
- Read the manual. Find the required PSI and SCFM for your torch, amperage, and consumables.
- Drain the compressor tank. Remove water before connecting the cutter.
- Check filters and dryer media. Empty bowls and replace saturated desiccant or clogged elements.
- Set the compressor regulator. Set the supply high enough to feed the cutter without exceeding equipment ratings.
- Press the air-test button or trigger. Adjust the cutter regulator while air is flowing.
- Make a short test cut. Use scrap of the same material and thickness.
- Read the cut. Check dross, bevel, cut face smoothness, and arc sound.
- Record the setting. Note material, thickness, amps, PSI, SCFM, nozzle size, and travel speed.
Troubleshooting Air Pressure Problems
| Symptom | Likely Air-System Cause | Fix |
|---|---|---|
| Arc sputters or drops out | Low dynamic pressure, wet air, or restricted hose | Check pressure under flow, drain tank, inspect filters, shorten or upsize hose |
| Heavy bottom dross | Wrong speed, low airflow, worn consumables, or wet air | Verify PSI/SCFM, replace consumables, adjust speed in small steps |
| Wide kerf or excessive bevel | Pressure too high, wrong torch height, or wrong nozzle | Return to manual setting, check standoff, use the correct consumables |
| Pressure falls during long cuts | Compressor cannot keep up or tank is too small | Use a higher-SCFM compressor, allow recovery time, or reduce cut length |
| Fast nozzle or electrode wear | Dirty/wet air, wrong pressure, or too many starts | Improve filtration, verify pressure, and replace consumables before they fail |
Frequently Asked Questions
What PSI should I run my plasma cutter at?
Use the PSI listed in your plasma cutter manual and set it while air is flowing. Many portable air plasma cutters work around 60–80 PSI under flow, but small CUT-40 machines may use about 40–60 PSI and larger units may need more inlet supply. Do not rely on idle gauge pressure.
How big of an air compressor do I need to run a plasma cutter?
Check the cutter’s required SCFM at the required PSI, then choose a compressor with 25–50% more capacity. If the cutter needs 6 SCFM, target about 7.5–9 SCFM at the same pressure. Long cuts, CNC cutting, thick plate, and hot shops need more reserve.
What size air compressor do I need for the Titanium Plasma 65?
Use the current Titanium Plasma 65 manual as the final authority because model revisions can change requirements. As a practical rule, choose a compressor that exceeds the machine’s SCFM demand by 25–50% at the listed pressure, and use a larger receiver tank if you plan to make long cuts.
What is the air pressure for a CUT-40 plasma cutter?
Many CUT-40 style plasma cutters run around 40–60 PSI under flow, but the correct setting depends on the exact machine, torch, and consumables. Set the pressure with the torch flowing air, then make a short test cut and adjust only within the manufacturer’s safe range.
Why does my plasma cutter show good pressure but still cut poorly?
The gauge may be showing static pressure instead of pressure under flow. Press the air-test button or trigger, then read the gauge while air is moving. If pressure drops, check compressor SCFM, hose size, leaks, clogged filters, and moisture in the tank.
Conclusion
The right plasma cutter air pressure is the setting your machine can hold under flow, with enough SCFM and clean, dry air behind it. Do not choose PSI by material alone. Start with the manual, confirm dynamic pressure at the cutter, use a compressor with a 25–50% airflow reserve, and keep moisture and oil out of the torch. Then fine-tune with test cuts, watching dross, bevel, arc sound, and consumable wear. That process gives you cleaner cuts, longer consumable life, and fewer frustrating pressure problems.
Sources
- OSHA 1910.133 Eye and Face Protection — supports eye and face protection guidance for welding and cutting work.
- OSHA 1910.252 Welding, Cutting, and Brazing General Requirements — supports fire prevention and safe hot-work practices.
- OSHA 1910.254 Arc Welding and Cutting — supports arc cutting safety context.
- Cutting and Shield Gases Pressure Effects on Plasma Cutting Quality — supports the point that gas pressure affects plasma cut quality along with other process variables.